Live Photos haven't caught on as much as Apple probably would like, but they're far from the gimmick that critics initially claimed they were — and things are only getting better as time moves on. Some aspects of the feature are somewhat hidden, however, and you need to find them to unlock Live Photos' full potential.
For those in the Apple ecosystem, Live Photos offer a way to go beyond a simple photograph without the investment of watching a full video clip. Essentially, you get a higher-quality moving image when compared to a GIF, complete with audio. To view one, tap-and-hold on the image on your iPhone, and watch the mini-video, which records 1.5 seconds before and after the primary photo, in action.
In iOS 13, Apple improved the feature so that you can stitch Live Photos together for one long video. It also made it easy to share Live Photos as videos. But back in iOS 11, Apple added GIF-like effects so you can make your Live Photos loop or bounce back and forth, and they work the same way now as they did then.
- Don't Miss: How to Turn GIFs into Live Photos on Your iPhone
Step 1: Add the Loop or Bounce Effect
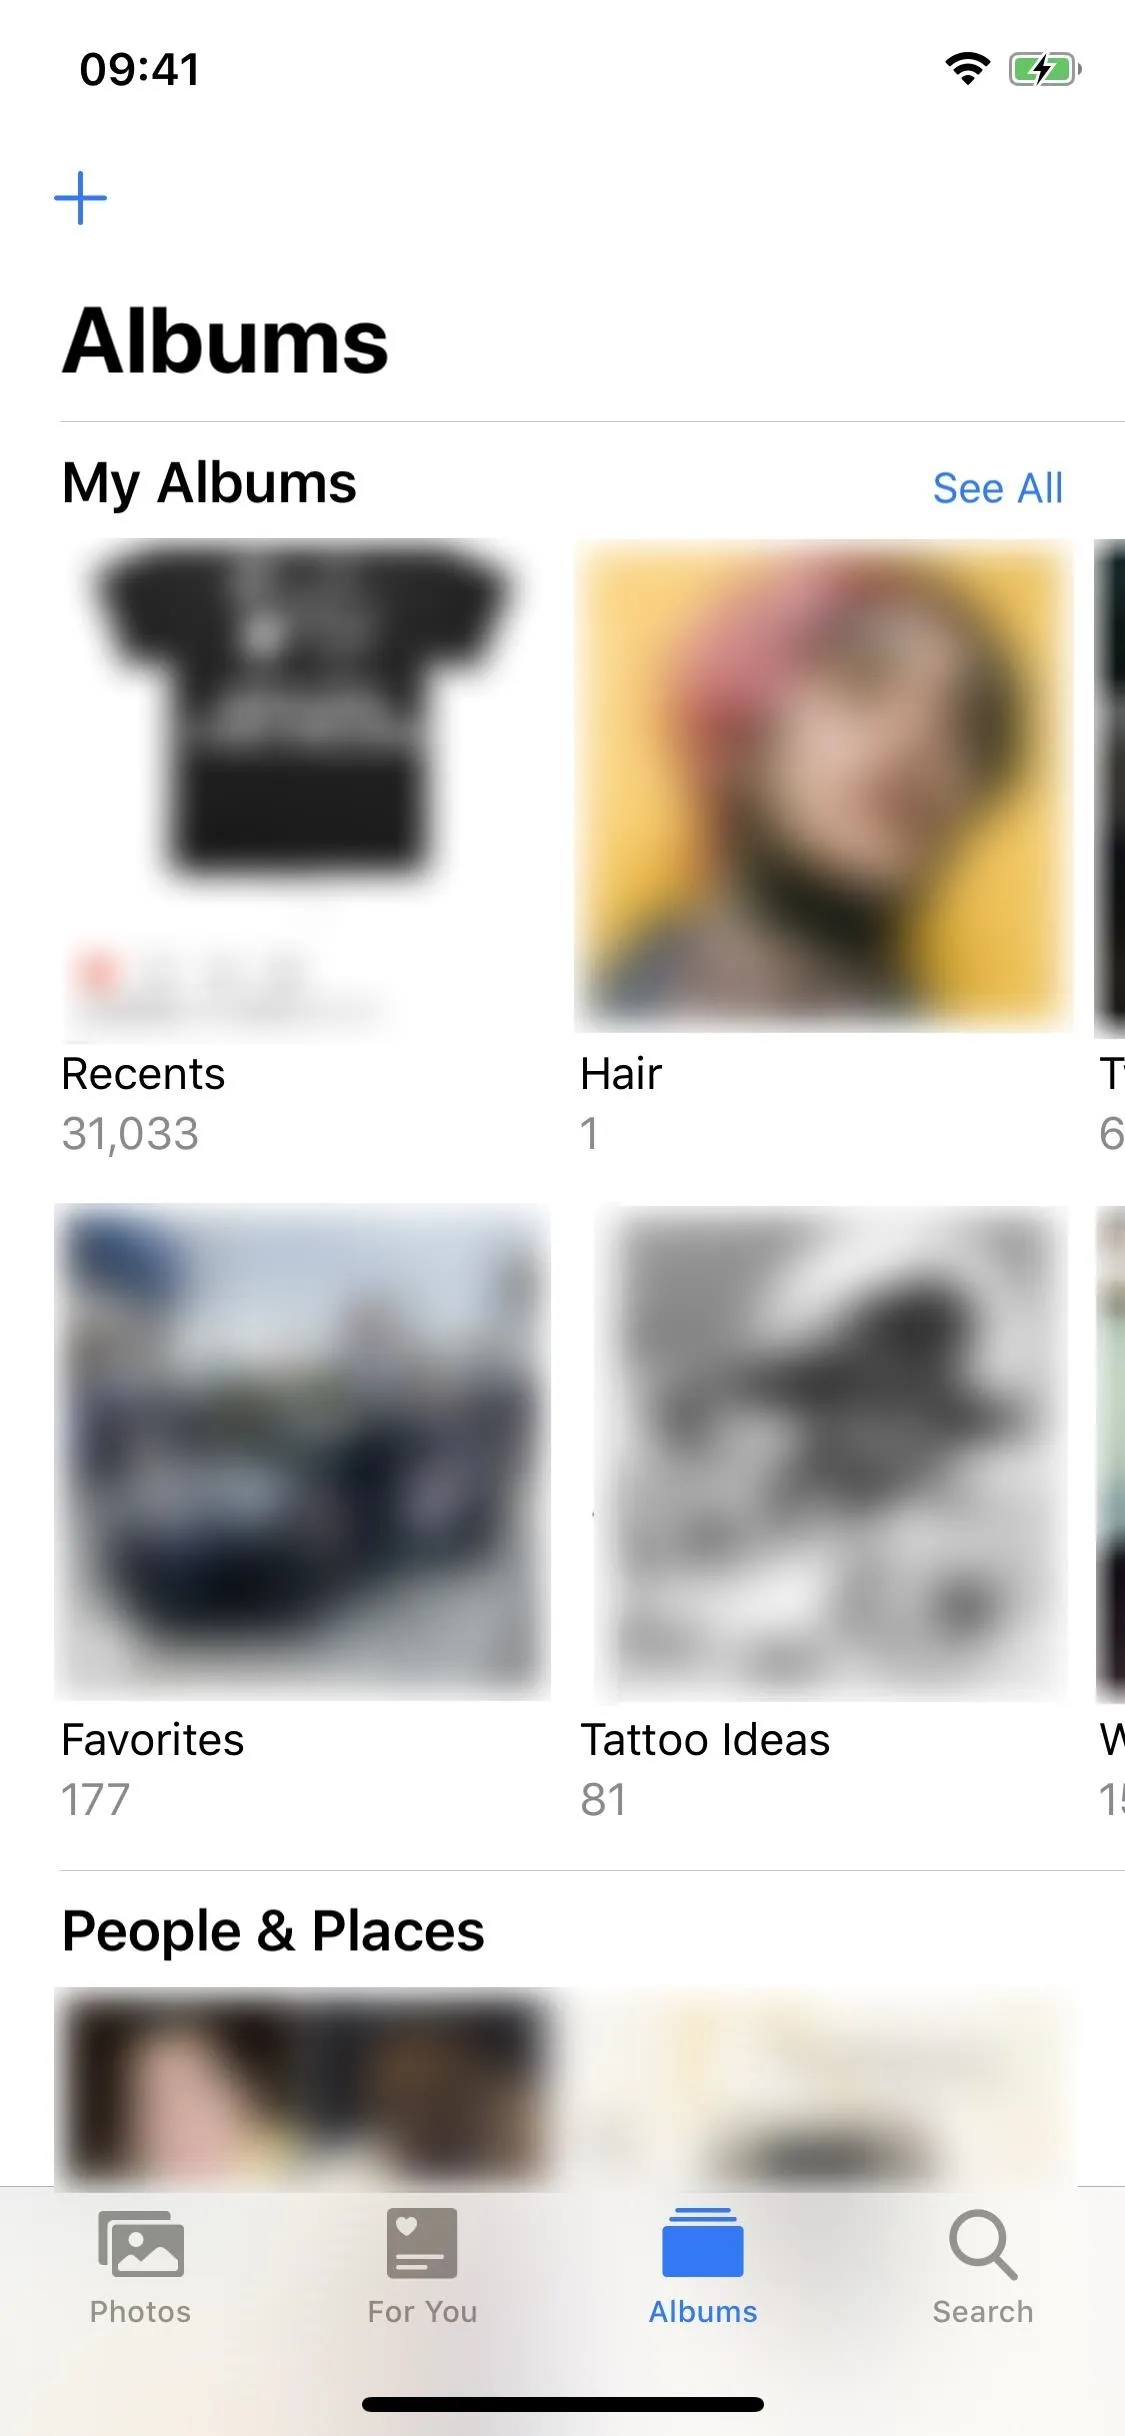
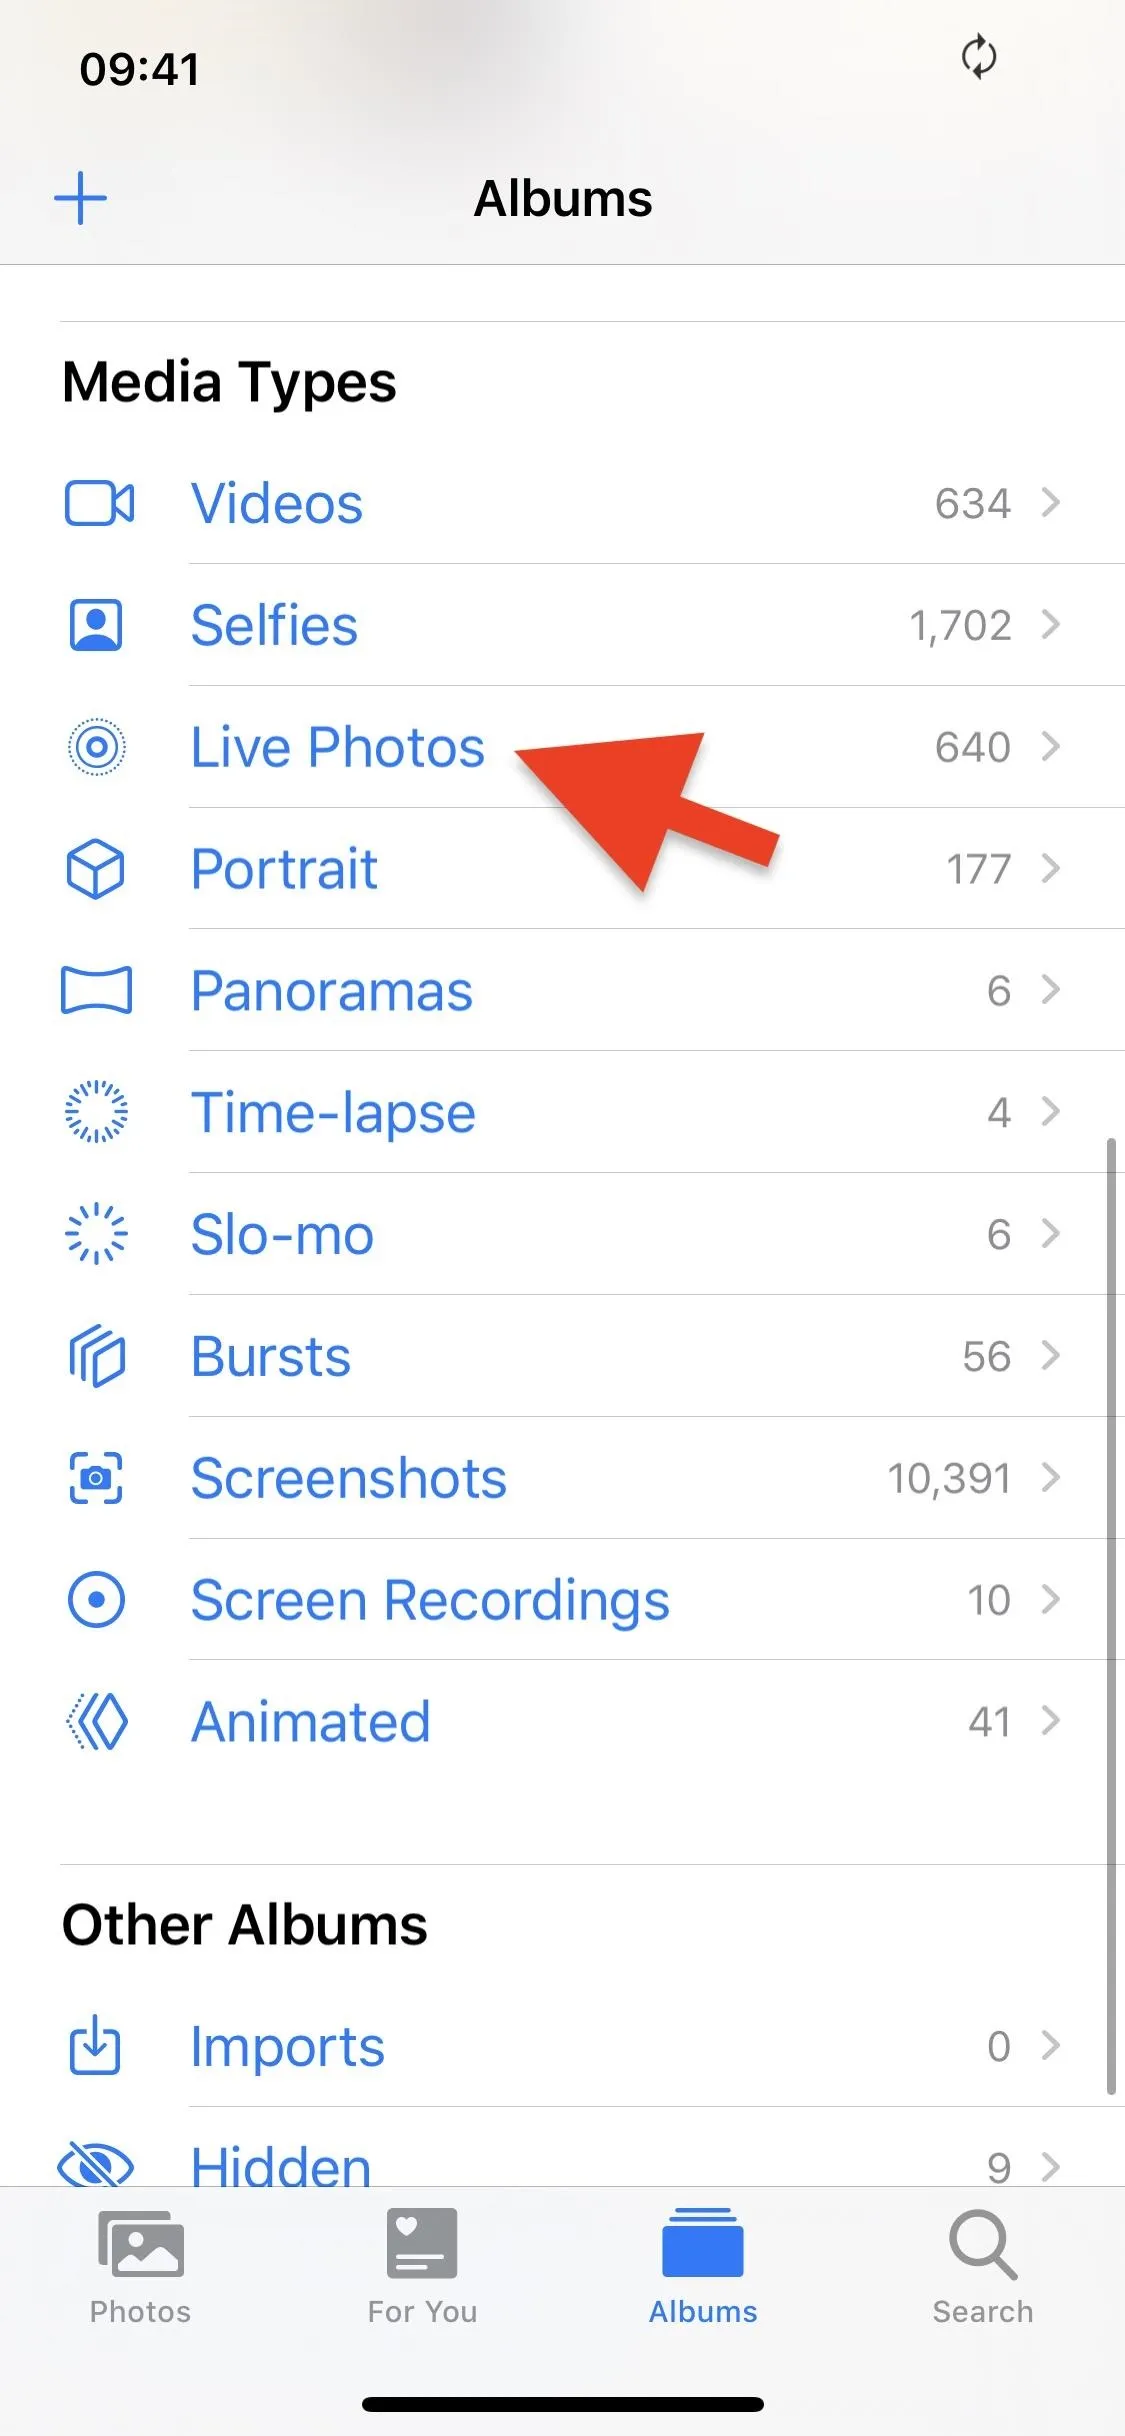
In Photos, tap on the "Albums" tab, then select "Live Photos" under the Media Types section. All of your Live Photos will be in here, including Live Photos you took and Live Photos that you saved.


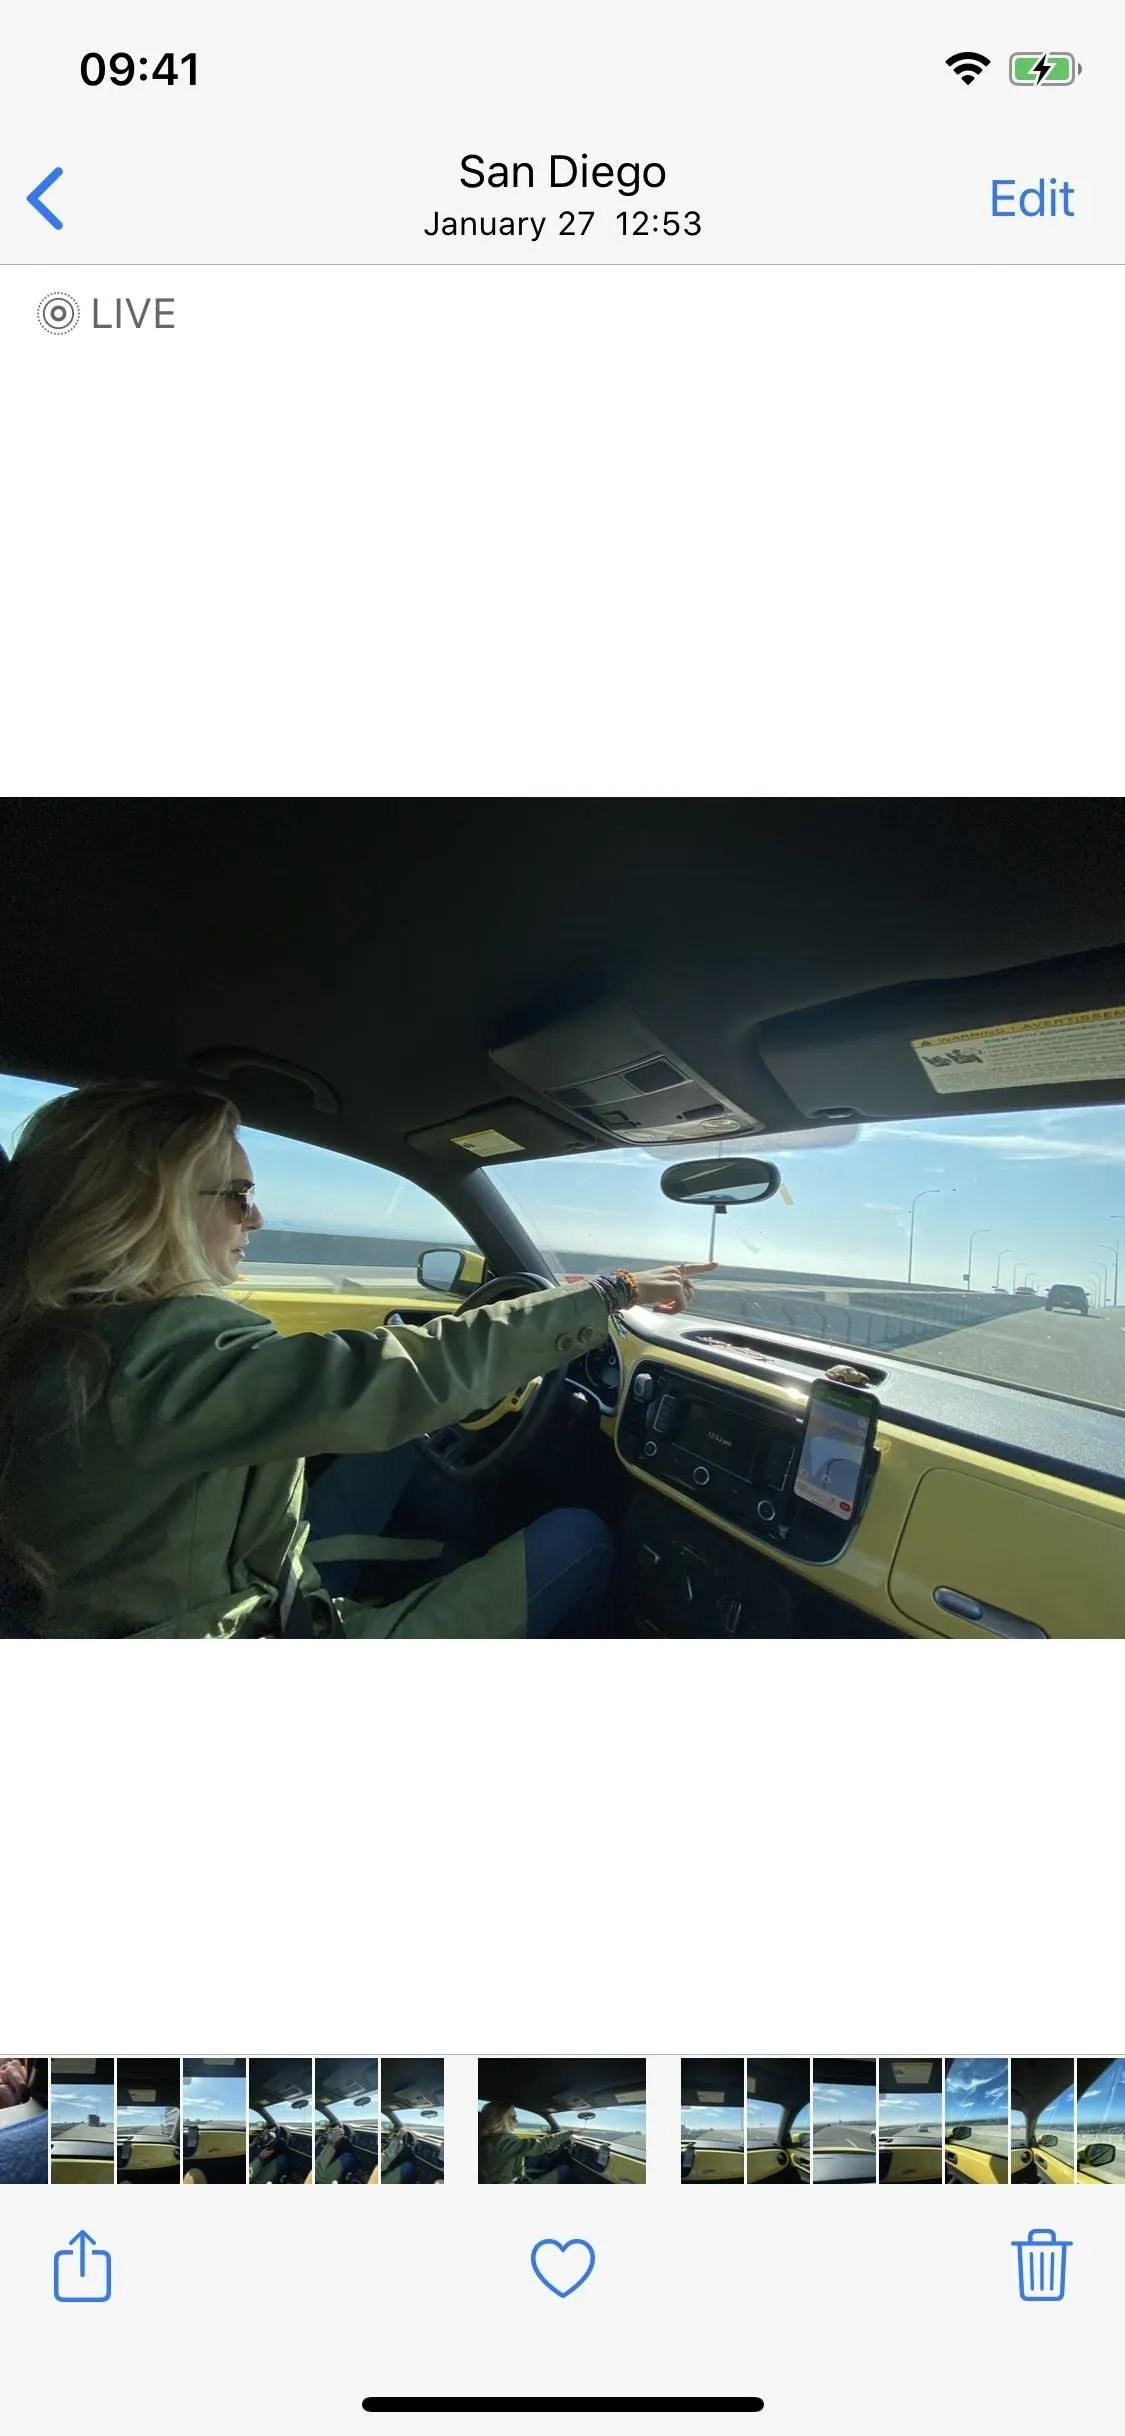
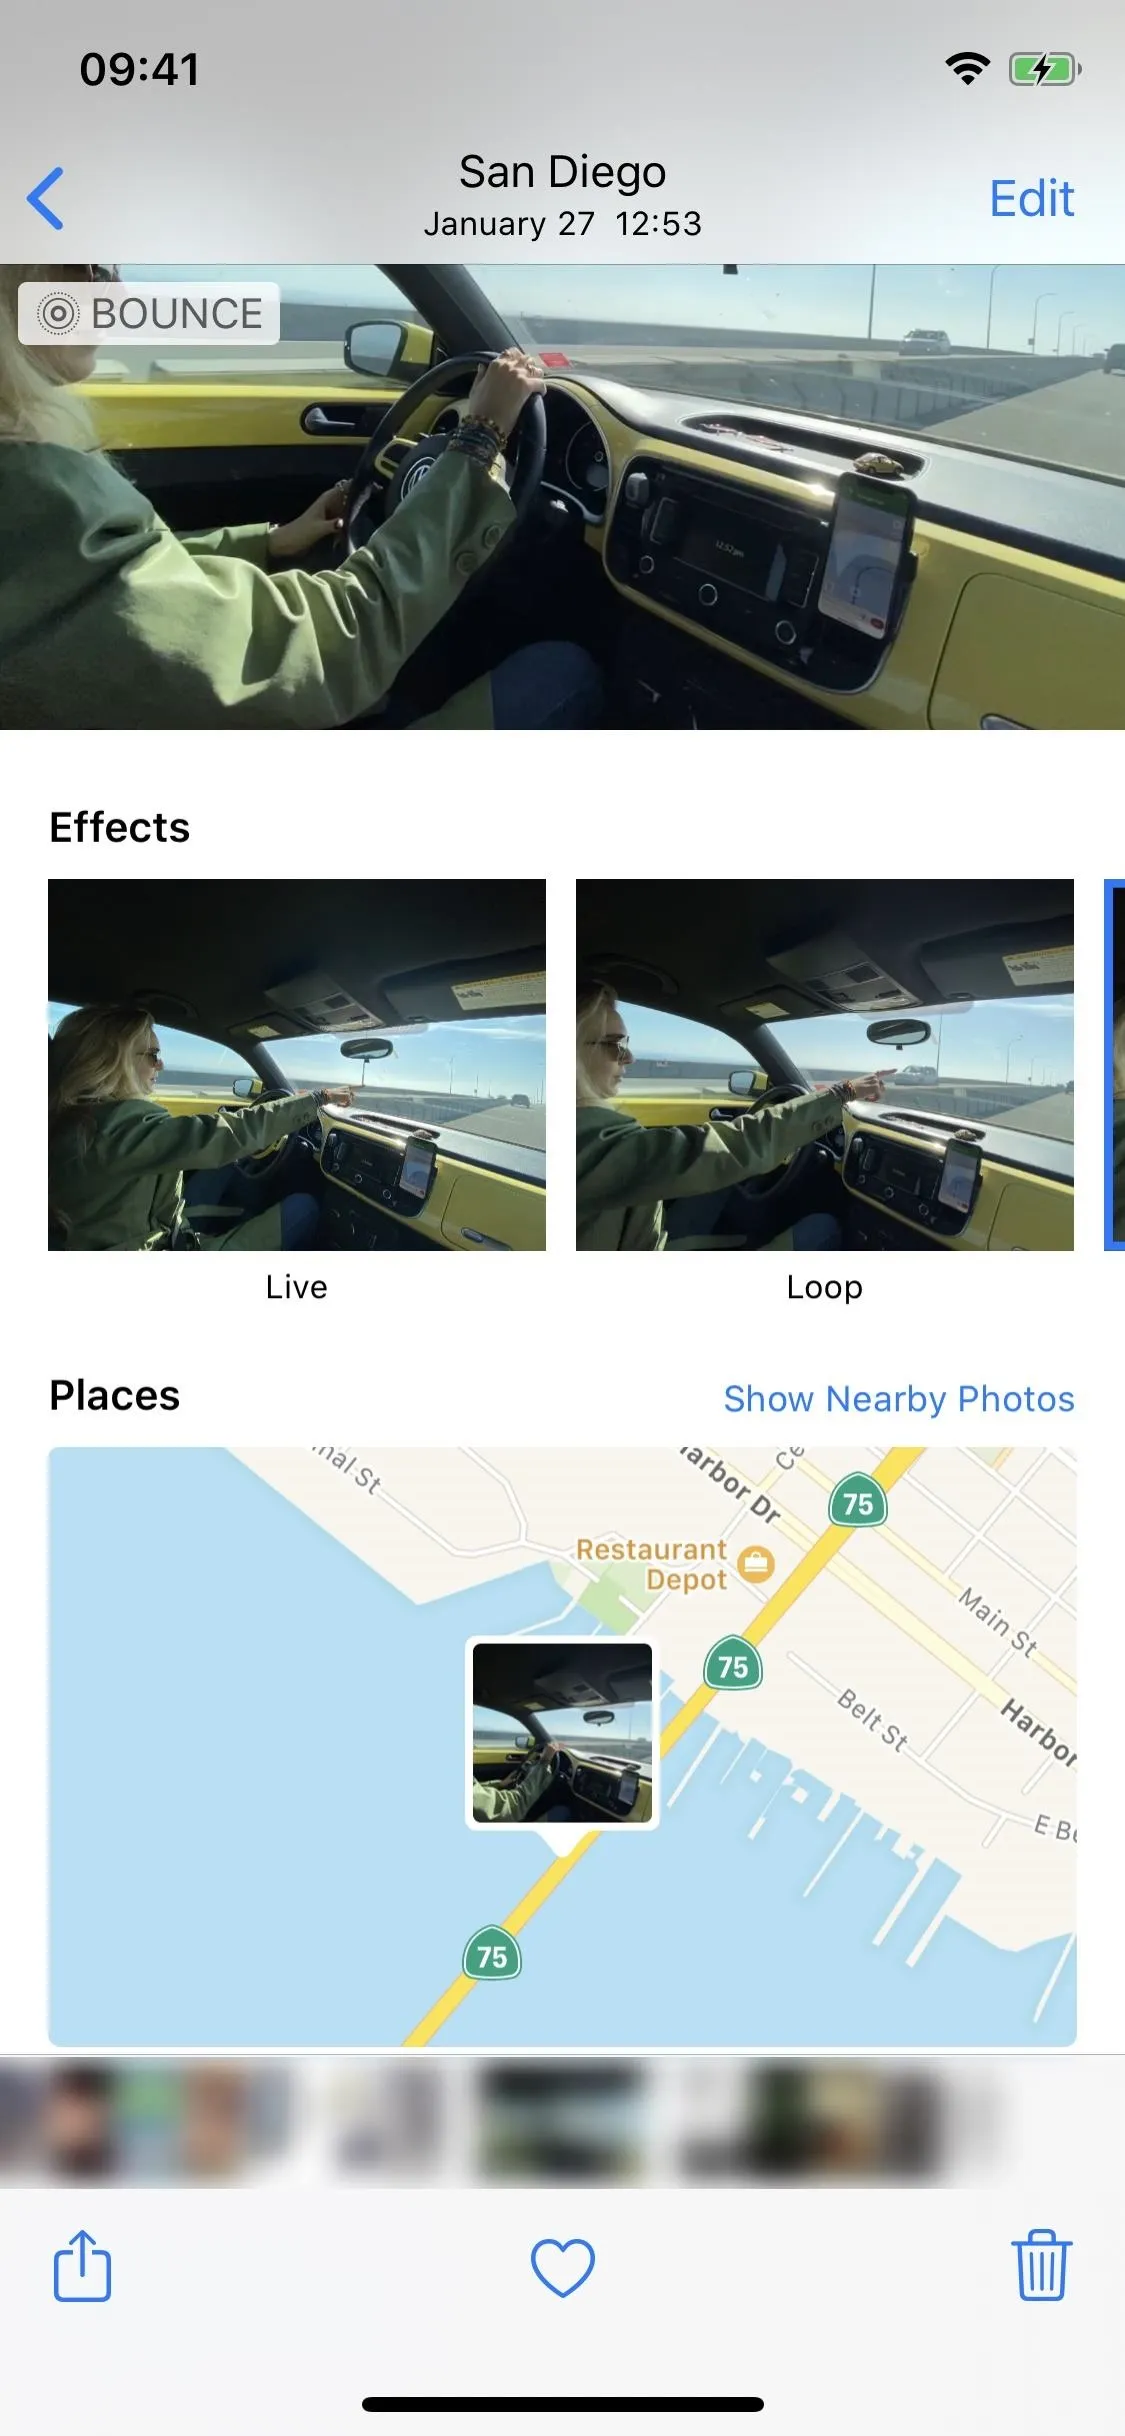
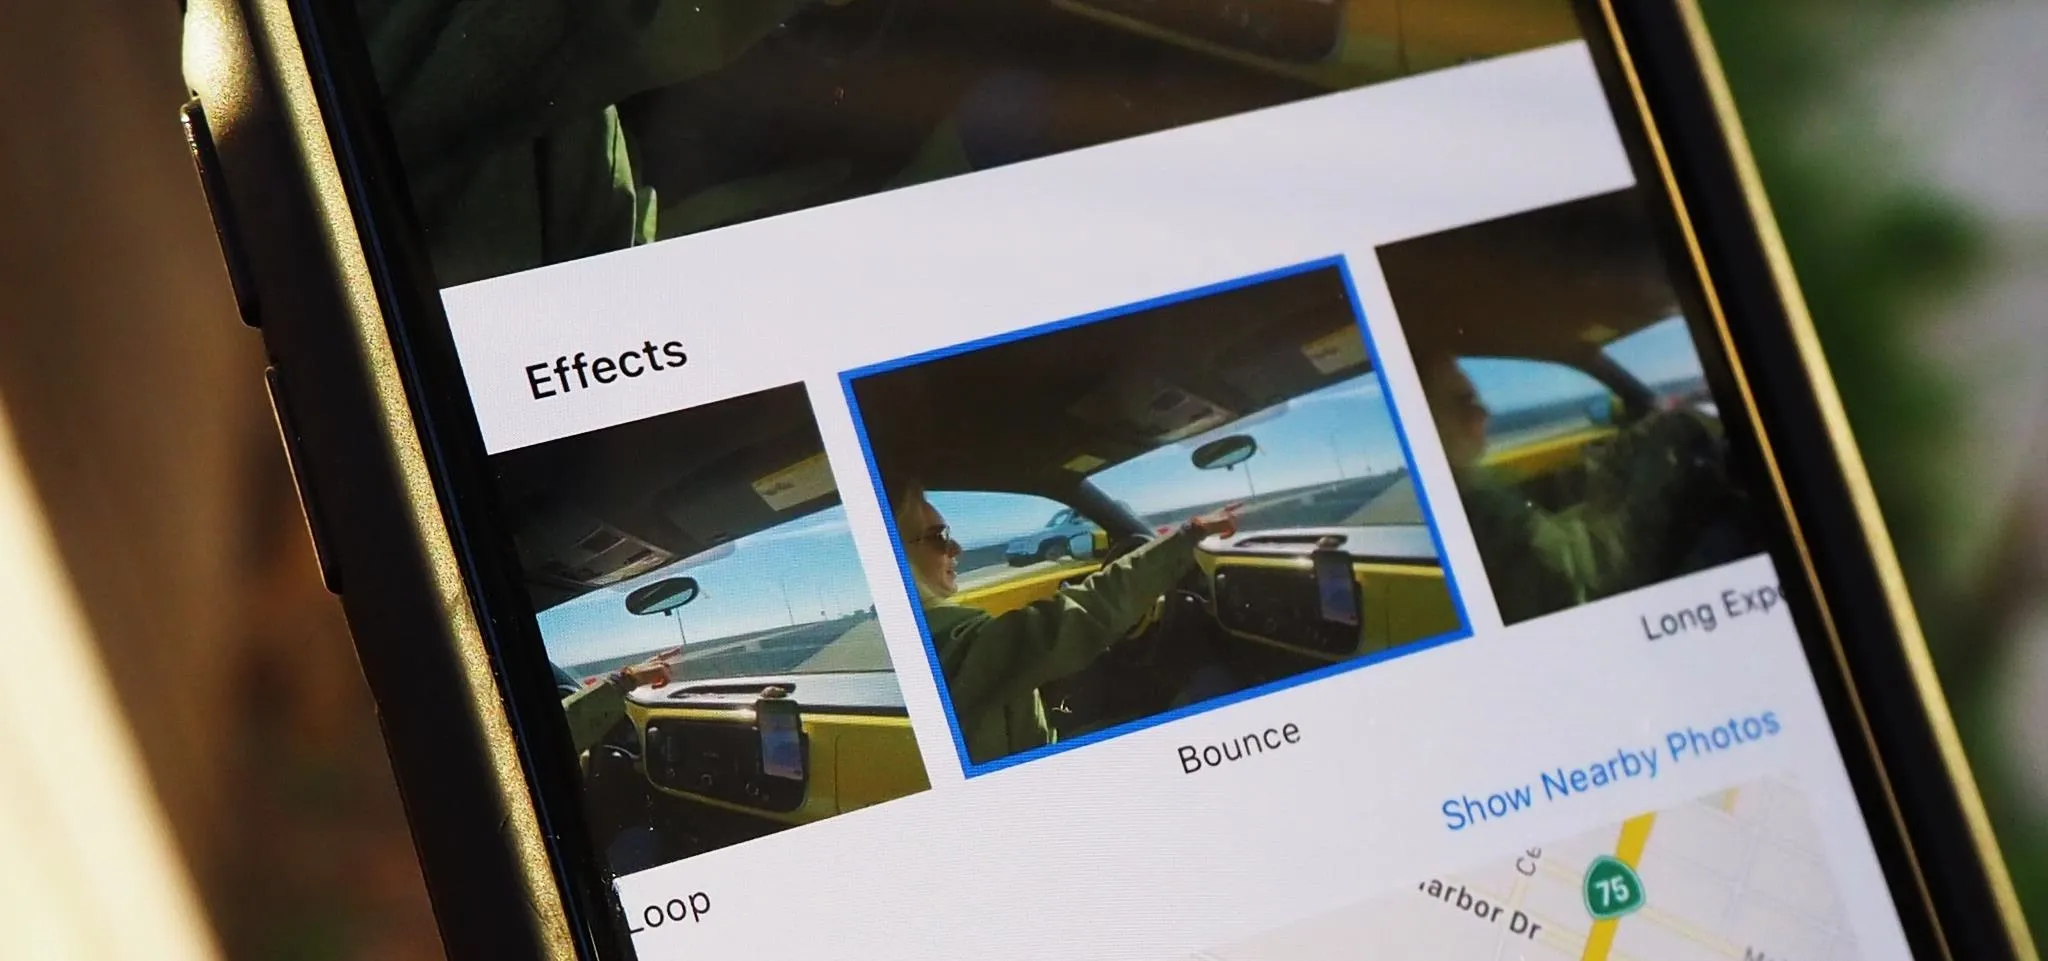
Find a Live Photo and swipe up on it to view the effects that you can add. You can see your choices by swiping left or right in the Effects section. "Live" will always be the default, and "Long Exposure," which layers frames from the video on top of one another to create a cool action look. However, the ones we're interested in are:
- Live Loop: This plays the Live Photo as a loop, over and over again.
- Bounce: This plays the Live Photo forward, then backward, over and over again.
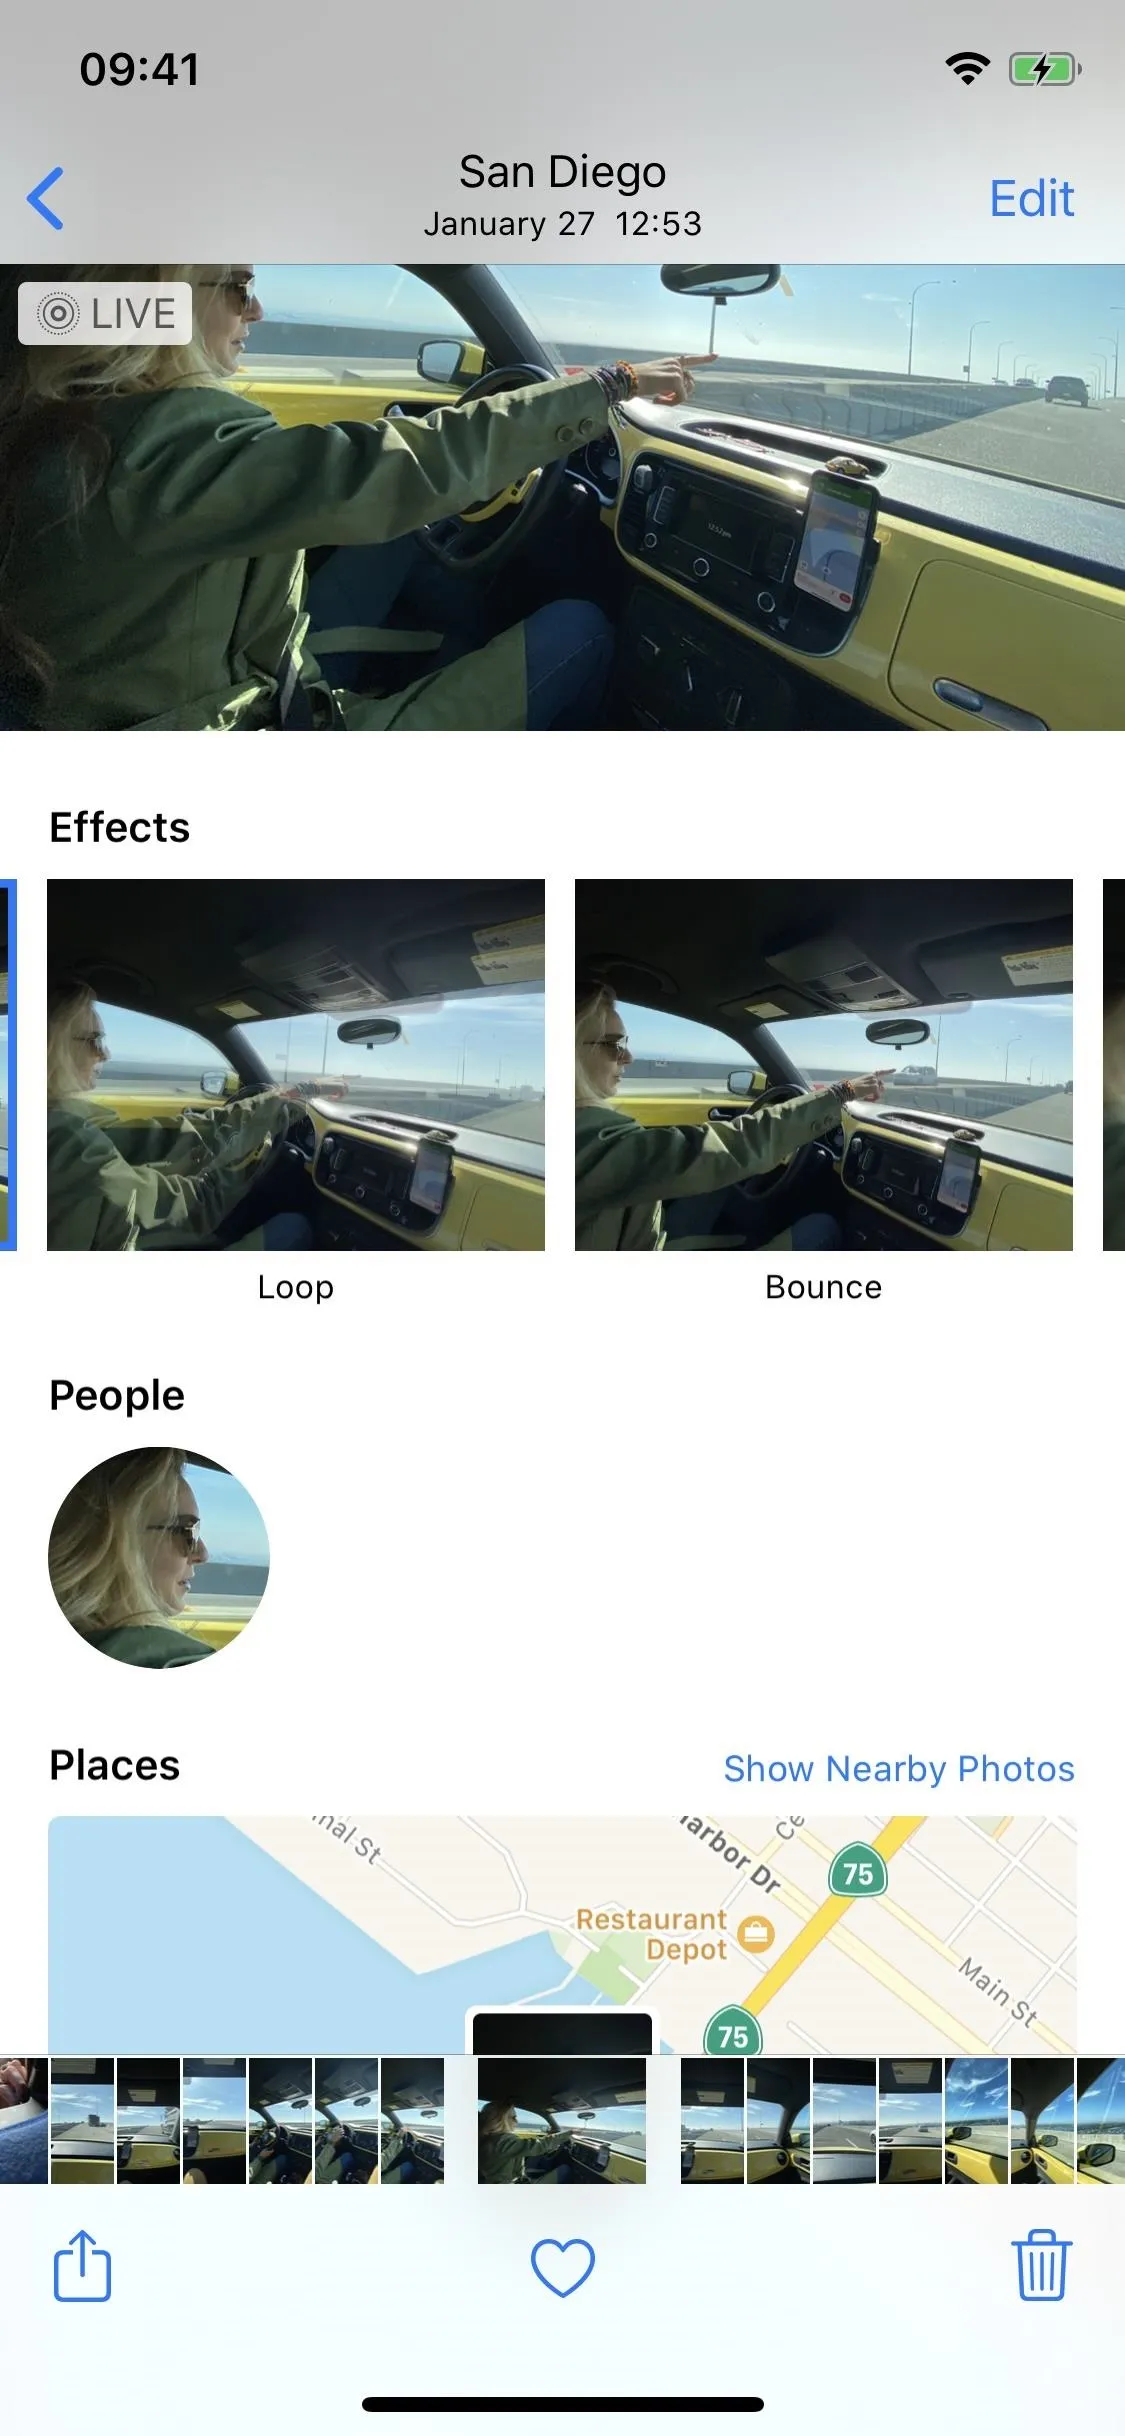


You can view each effect in action via the previews, but it's better to just tap on the effect to see it in full. Doing so won't alter the original files, so you can always go back to "Live" or another effect if you change your mind.
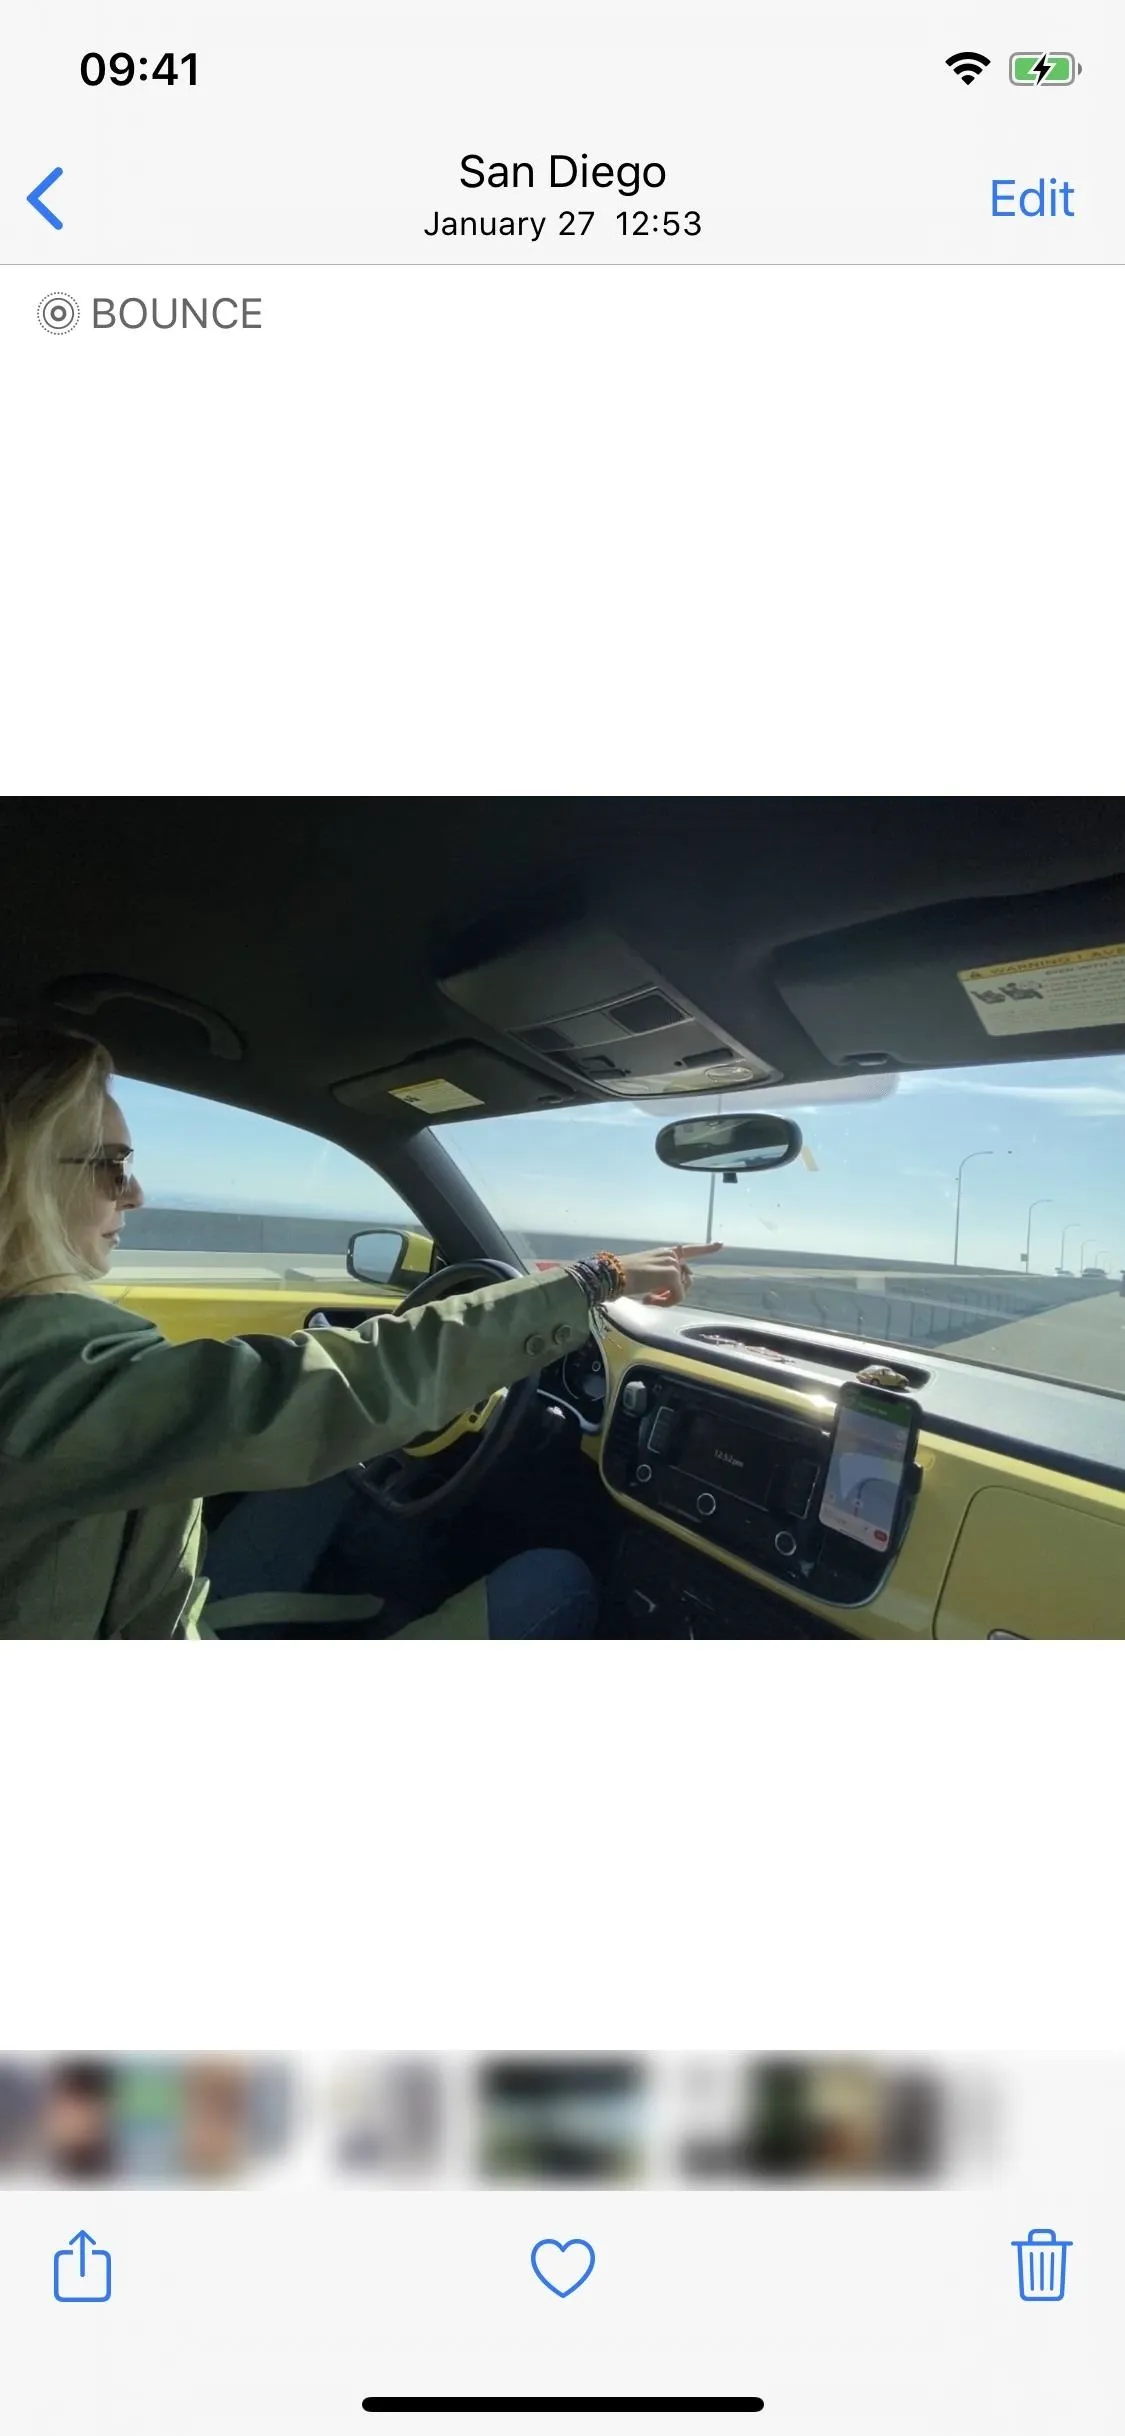
Unlike regular Live Photos, which you press on to activate, any effects will play when you view the image. Below, you can see the Loop (left) and Bounce effects (right) in action.
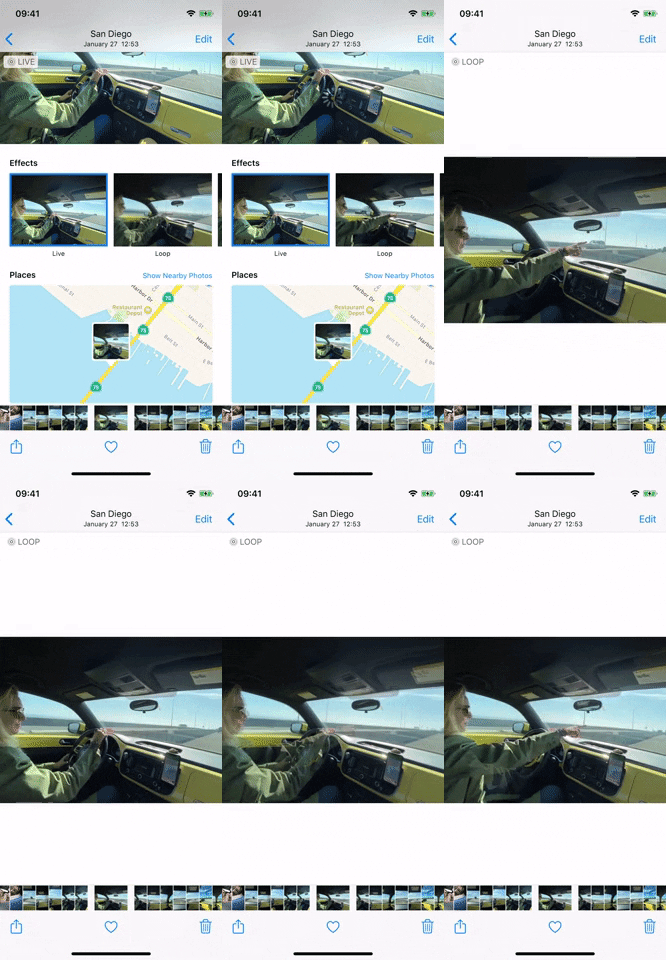
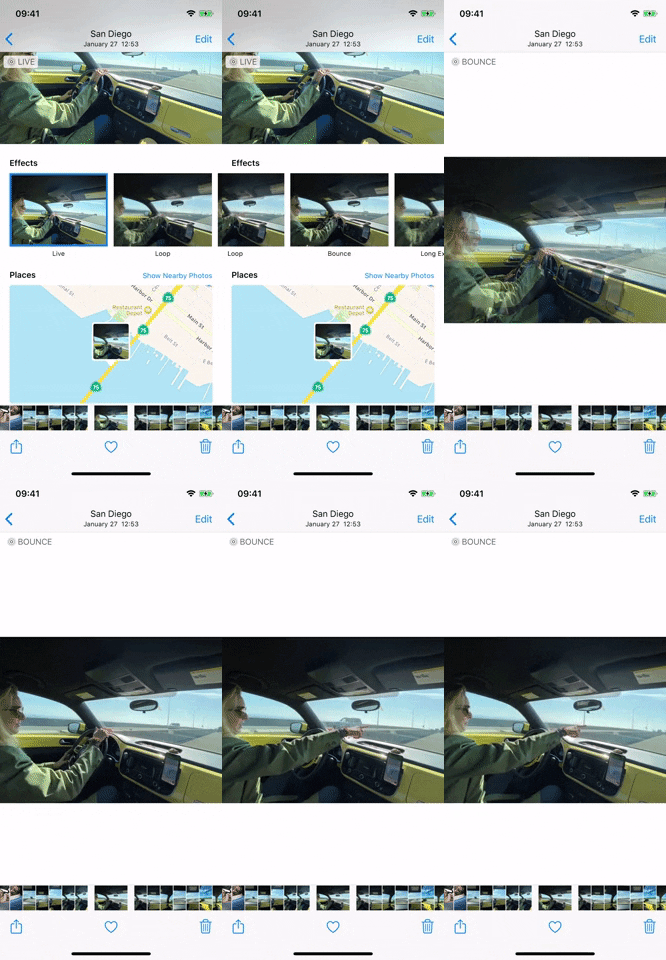


If you're satisfied, leave the effect on or tap on "Live" to go back to the original.
Step 2: Find All of Your GIF-Like Videos
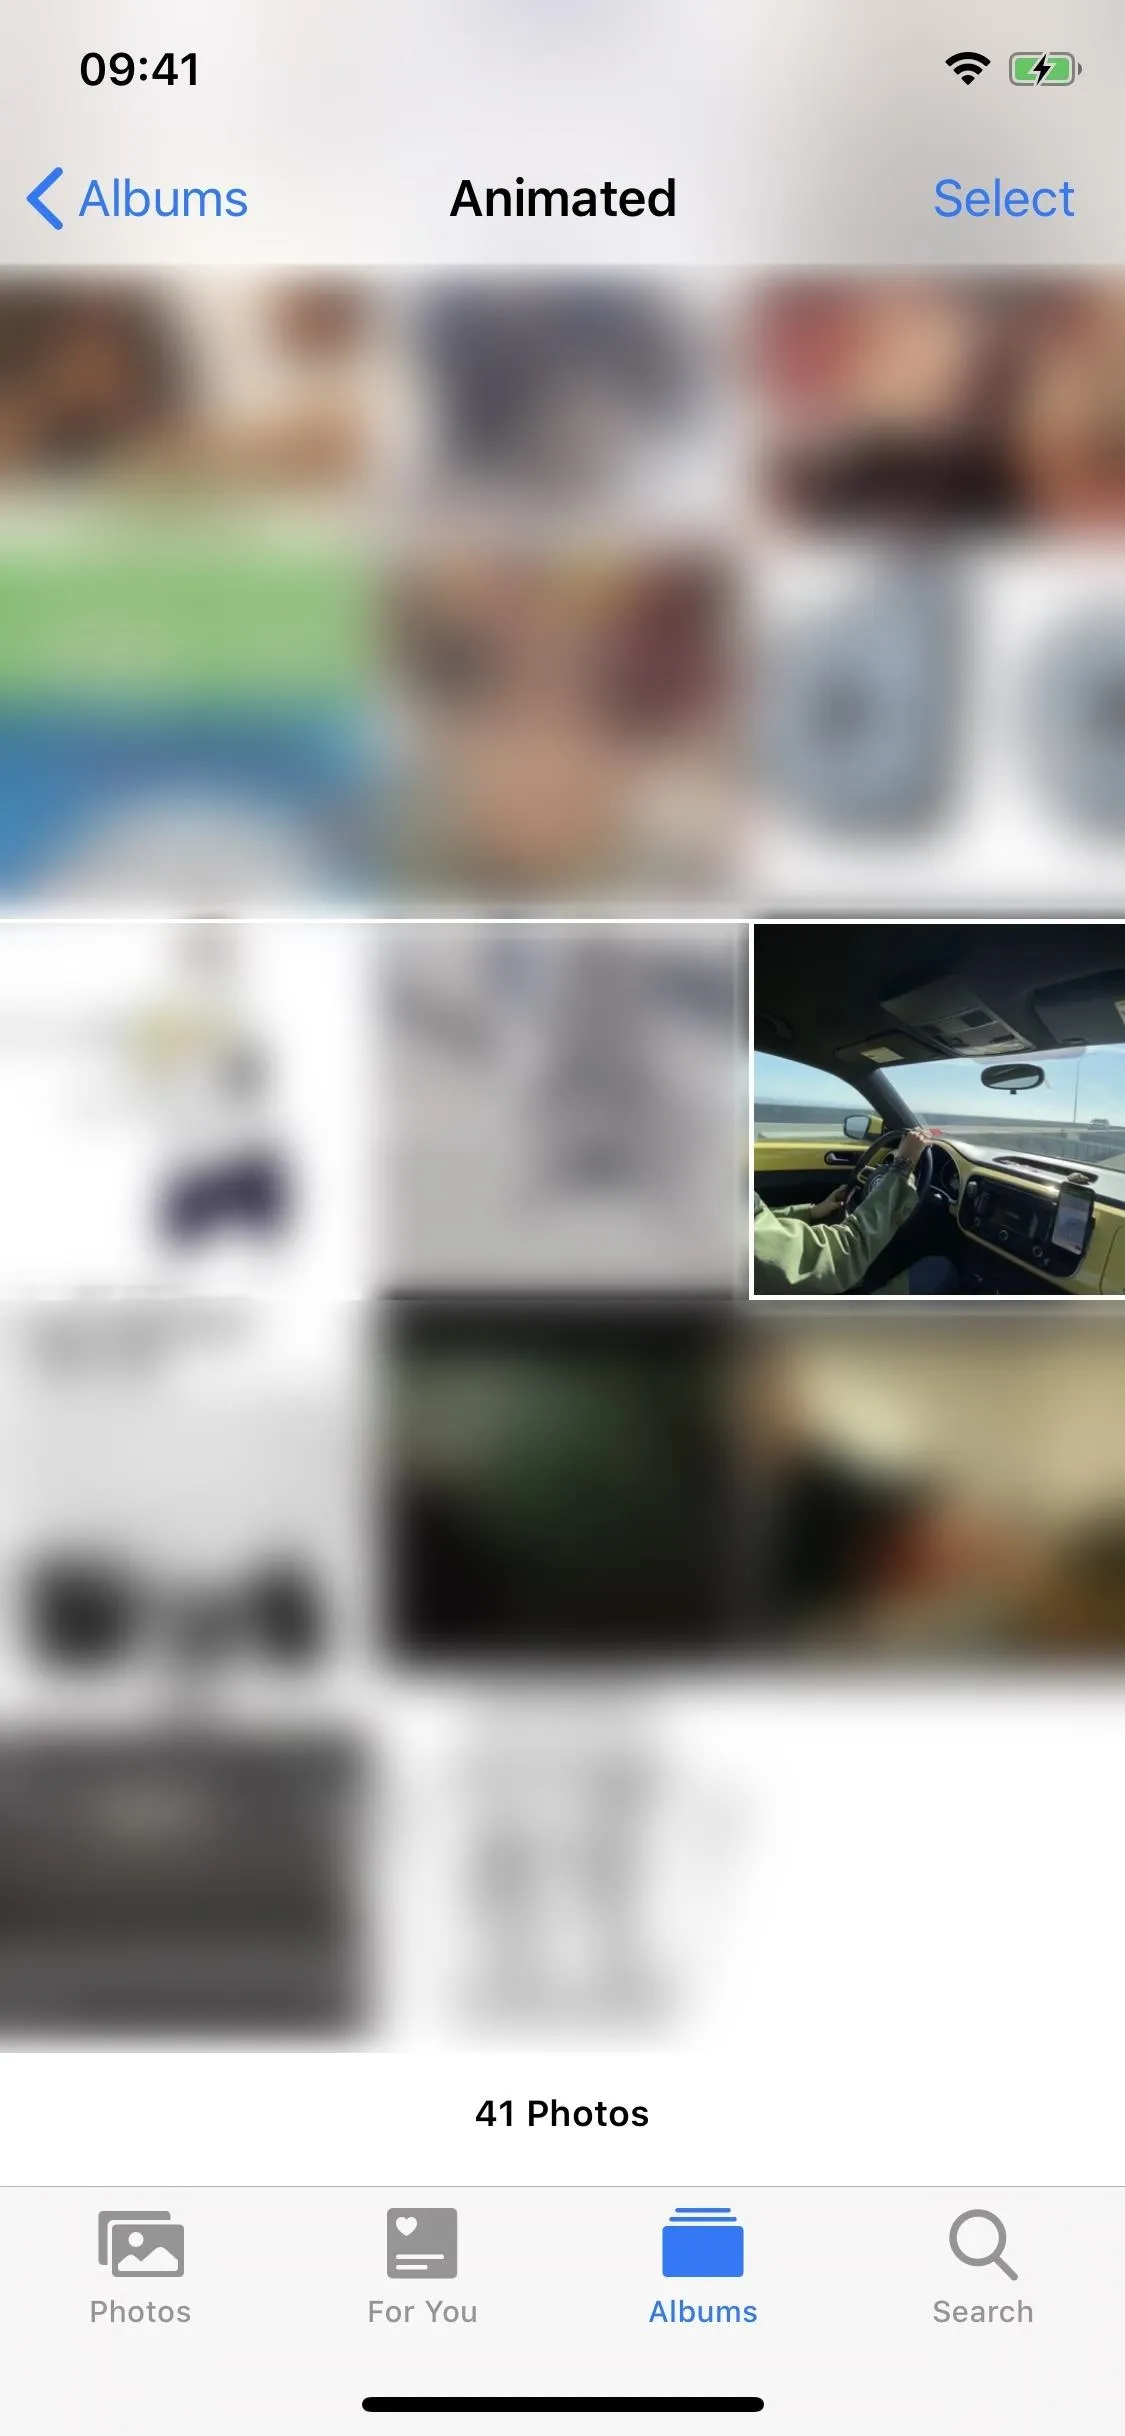
Once you turn a Live Photo into a GIF-like looping or bouncing video, you can still find it via the "Live Photos" folder, but it will also end up in the "Animated" folder in the same section. If you didn't have any animated photos before or GIFs downloaded from the internet, you might not have seen the "Animated" folder before, but it'll be created once you do. It makes it easier to find your animated photos, rather than digging in another folder with other media types.
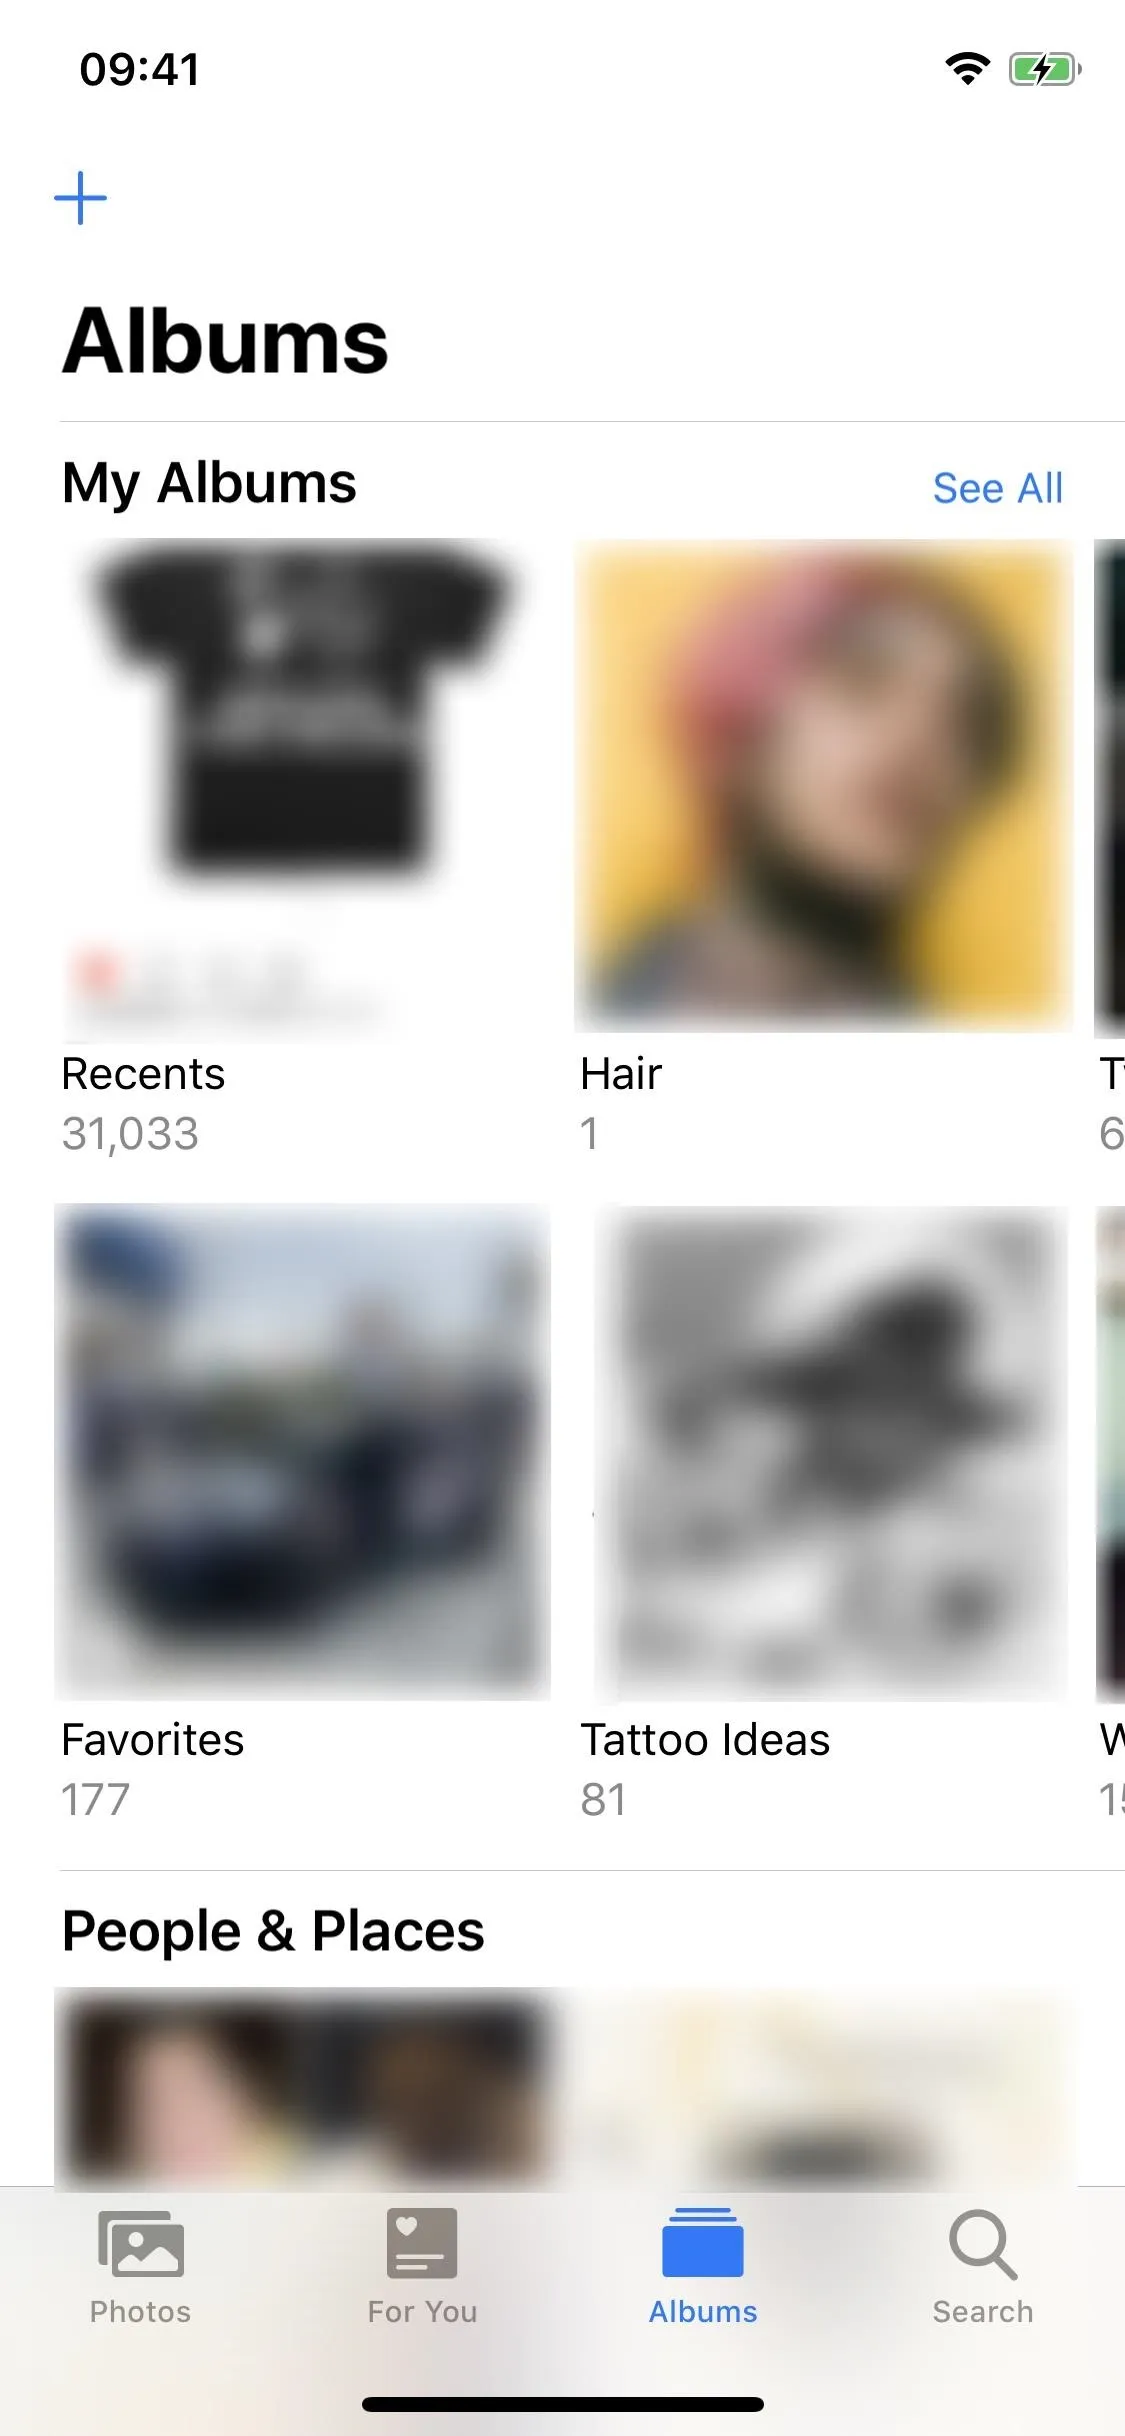
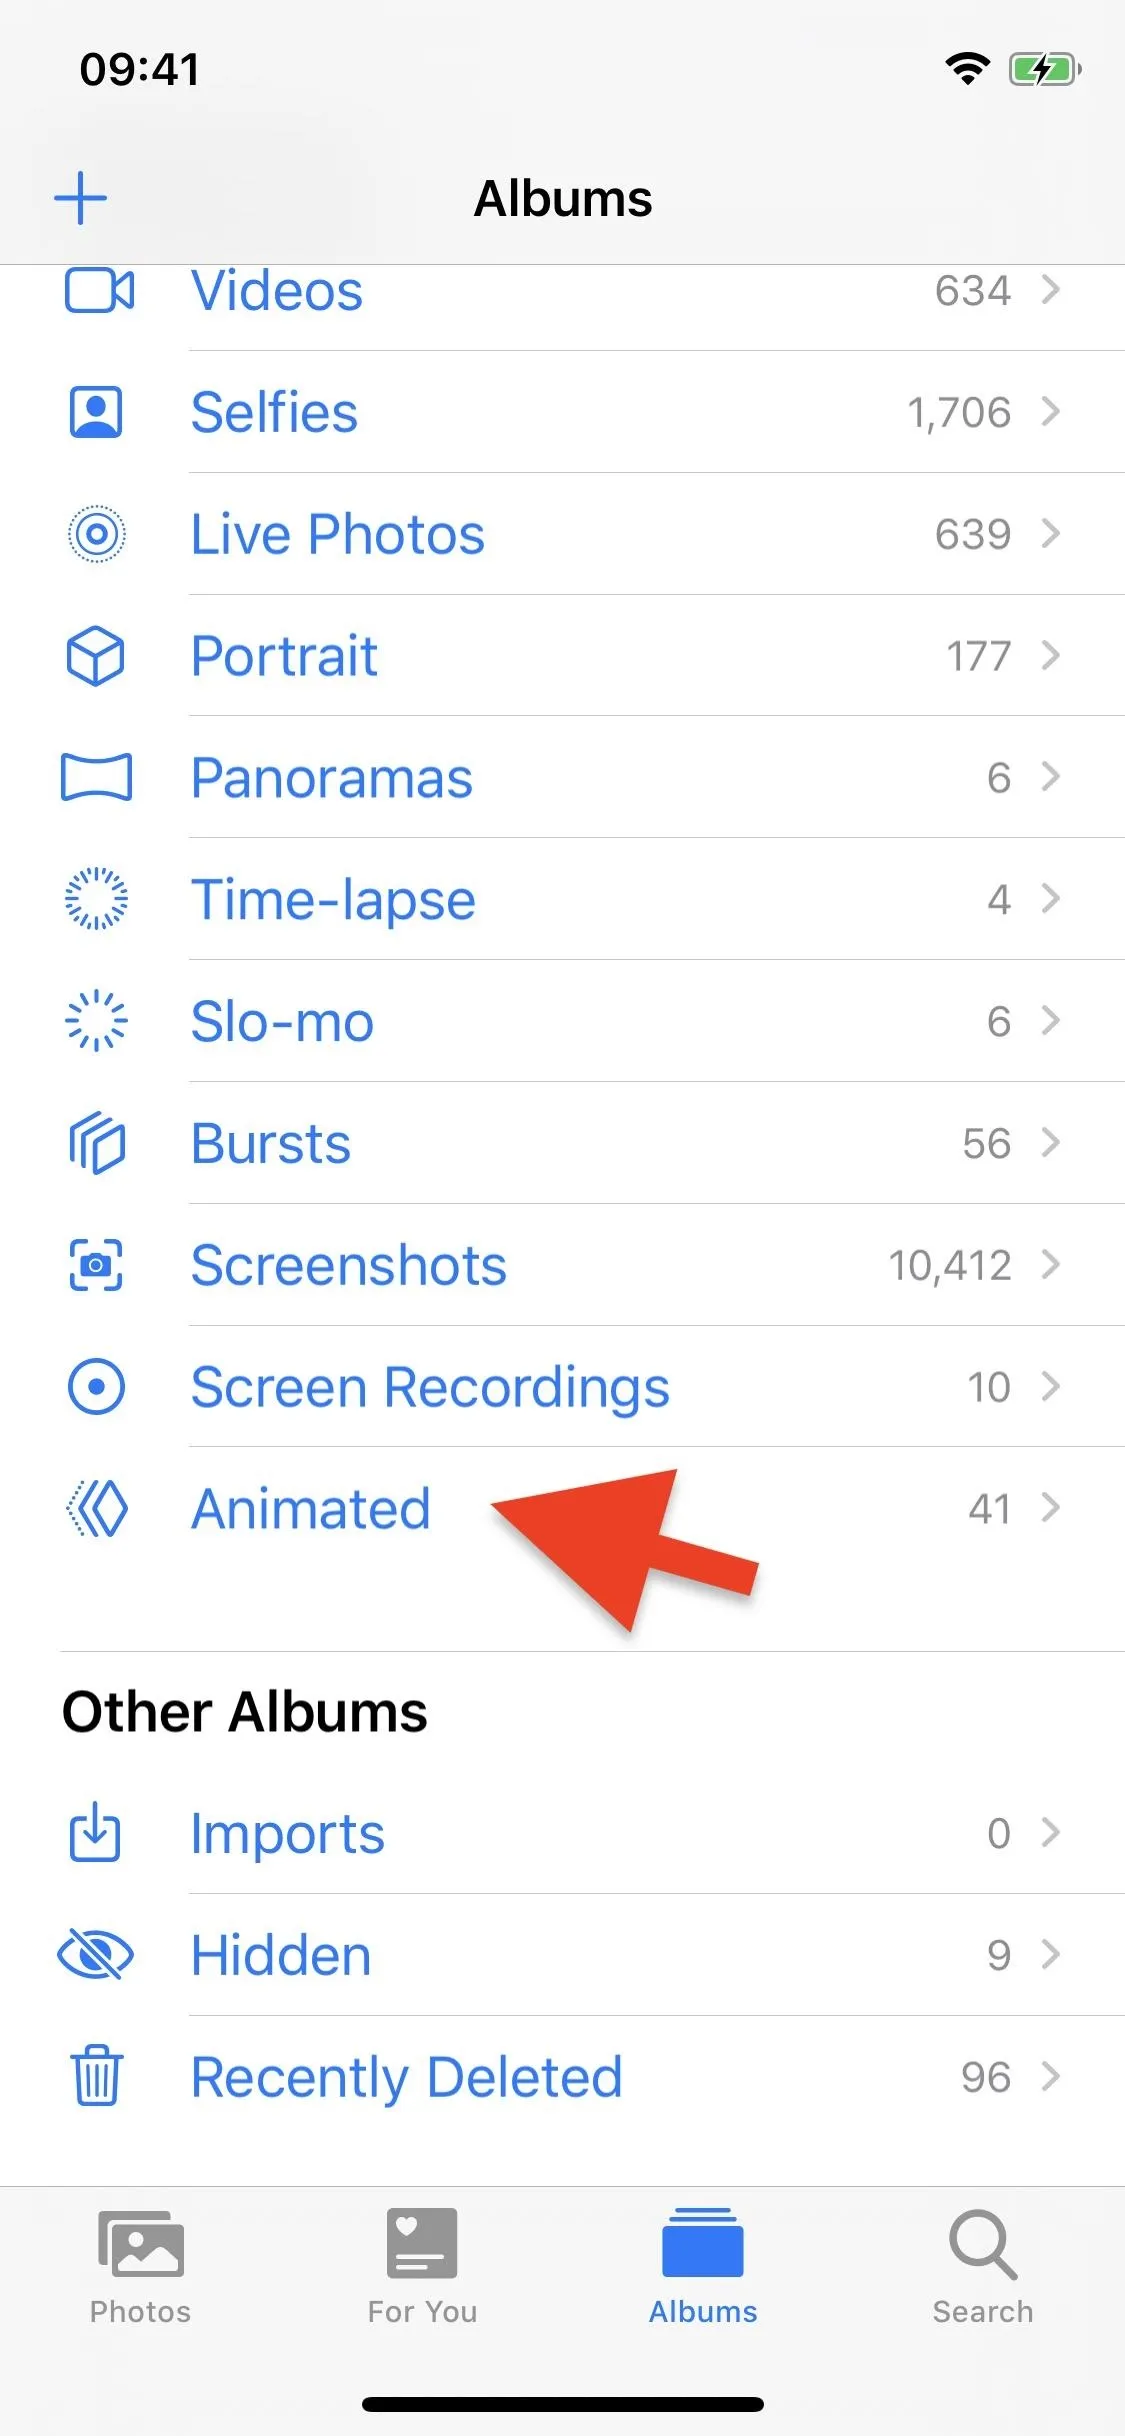


Your iPhone will sort animated photos by their original date, not the date you turned them into animations. Keep that in mind when trying to find a specific image. Once you find your animated Live Photo, you can view its effect. Then, you can swipe up on it to change its effect if you want, as shown in the previous section.


Step 3: Share Them via Text, Social Media & More
You can share your looping or bouncing Live Photos through text, messaging apps, and social media as if they were GIFs — but they'll technically be uploaded as short, looping videos. In Messages, the Live Photo replays automatically in the thread, just as a GIF would. On Twitter, the Live Photo is uploaded as a short video, but when you publish the tweet, the video loops continuously, so it acts like a GIF on there even though it's a MP4 in disguise.
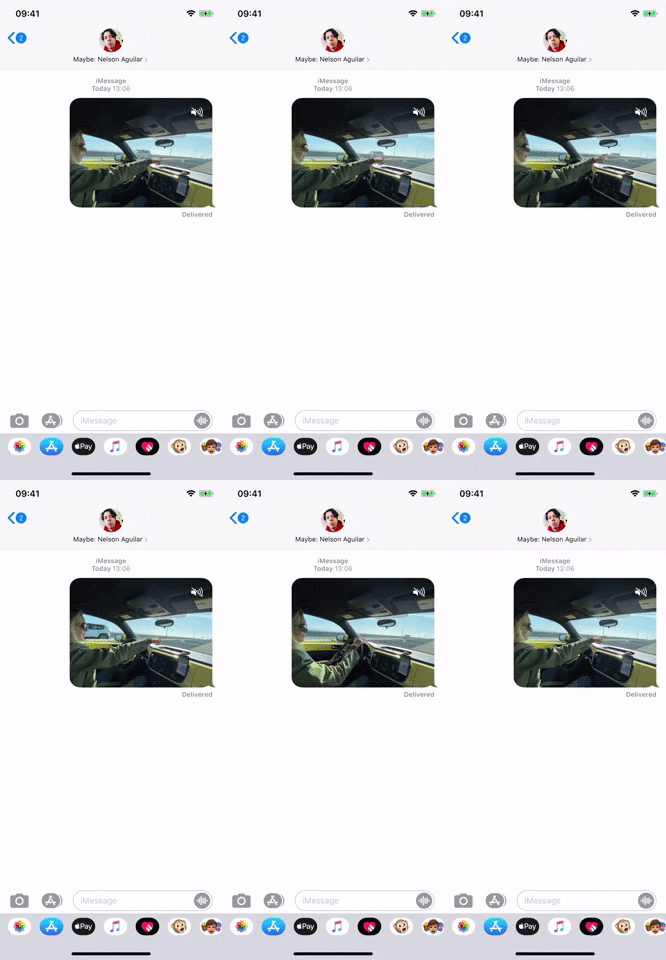
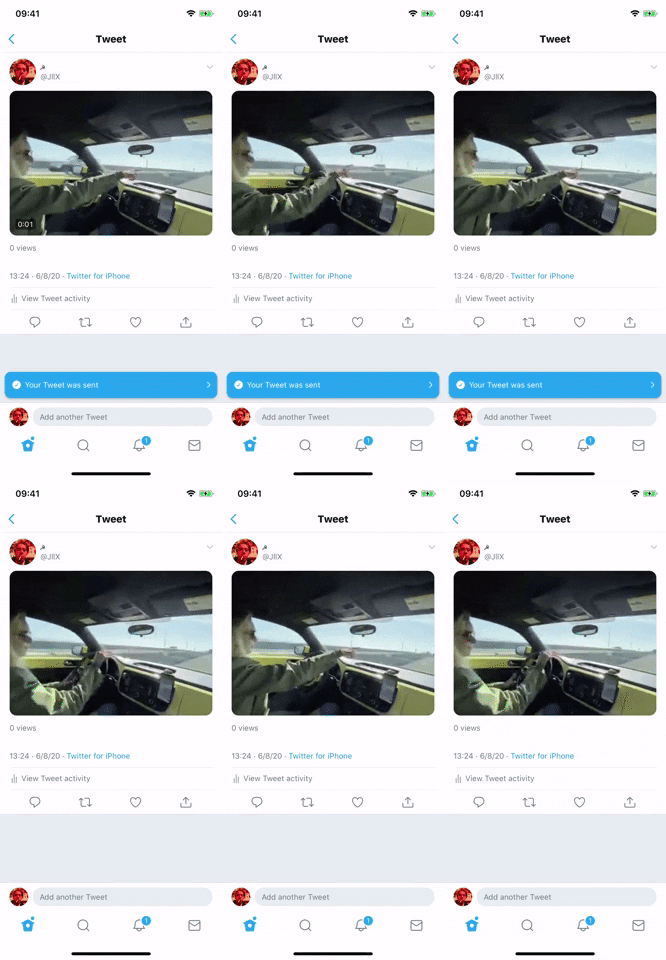


Results may vary depending on the app you're using, so you'll have to test it out and see what you get. Generally, the Live Photo will be uploaded as a video and not an official GIF, so just be on the lookout because it may not always come out how you want it to.
Cover photo, screenshots, and GIFs by Nelson Aguilar/Gadget Hacks



Comments
No Comments Exist
Be the first, drop a comment!