Officially, in order to use AirPlay to stream music from your iOS device, you would need either an Apple TV, AirPort Express, or an AirPlay-enabled receiver or set of speakers. Despite what Apple wants you to think, there is another way to stream music without any of those AirPlay-capable devices—you just need to have two iOS devices (or just one iOS device and a Mac).
AirFloat, from trenskow, is an iOS app that lets you stream music from one iOS device (or Mac running iTunes) to any other iPad, iPhone, or iPod touch over your home Wi-Fi network. You can stream both local and online music from the sender device to the receiver that's hooked up to some speakers (via headphone jack, Bluetooth, or USB cable), and best of all—without having to jailbreak.
Step 1: Install Emu4iOS Store
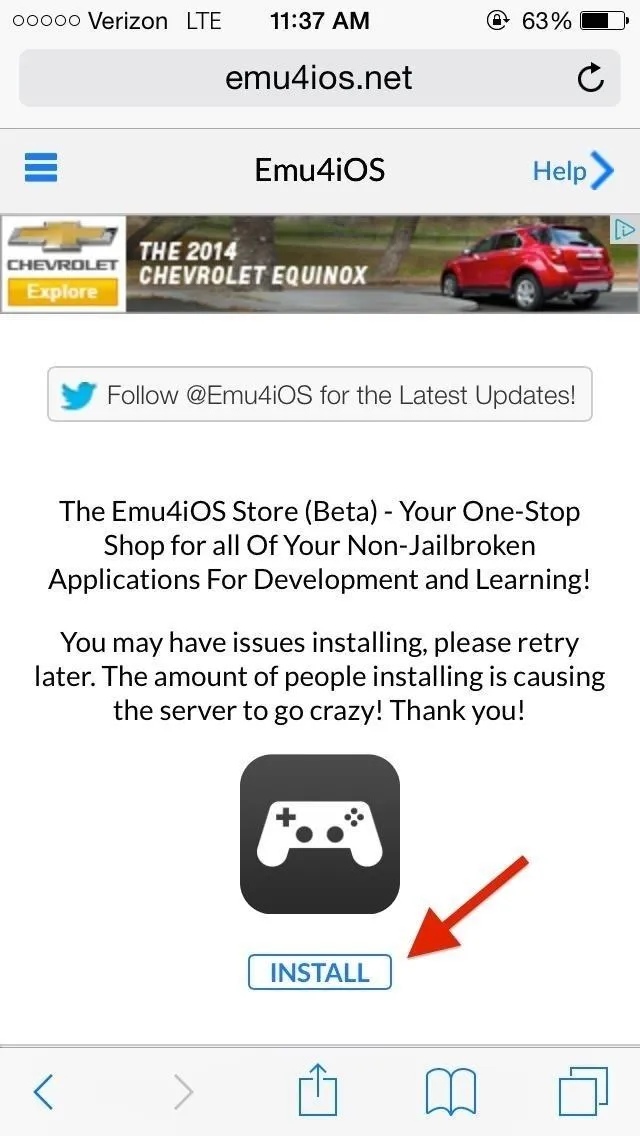
On the iOS device that you want to be the AirPlay receiver, head over to emu4ios.net to download and install the Emu4iOS Store (Beta). You'll be using this app to sideload AirFloat, along with any other apps you want, like iRec (Beta), which lets you record videos of your iOS device's screen.
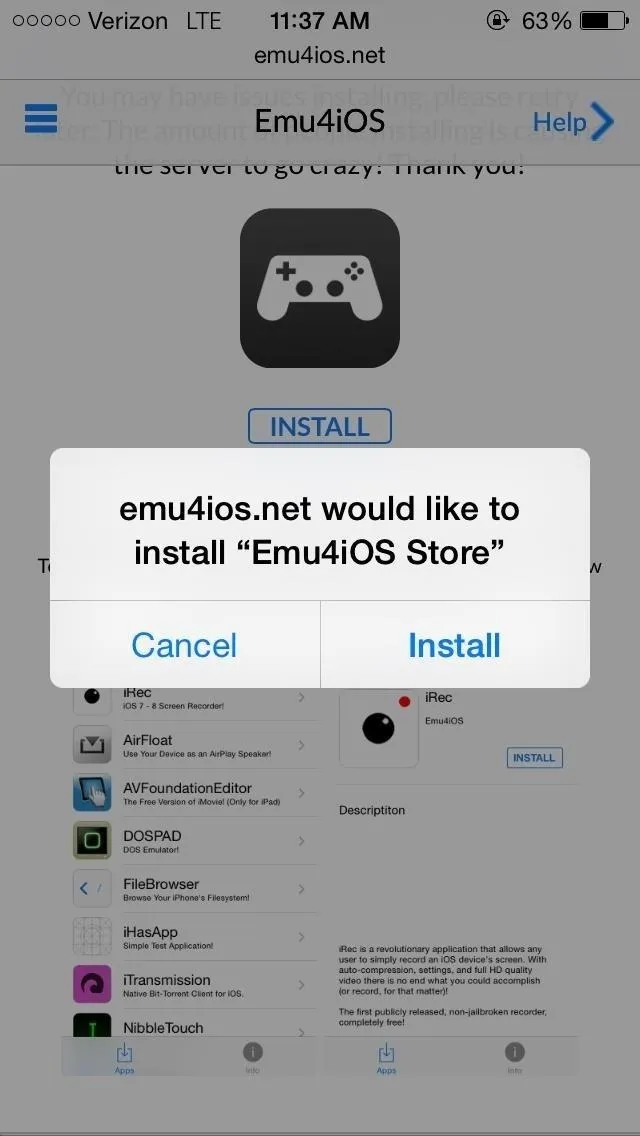


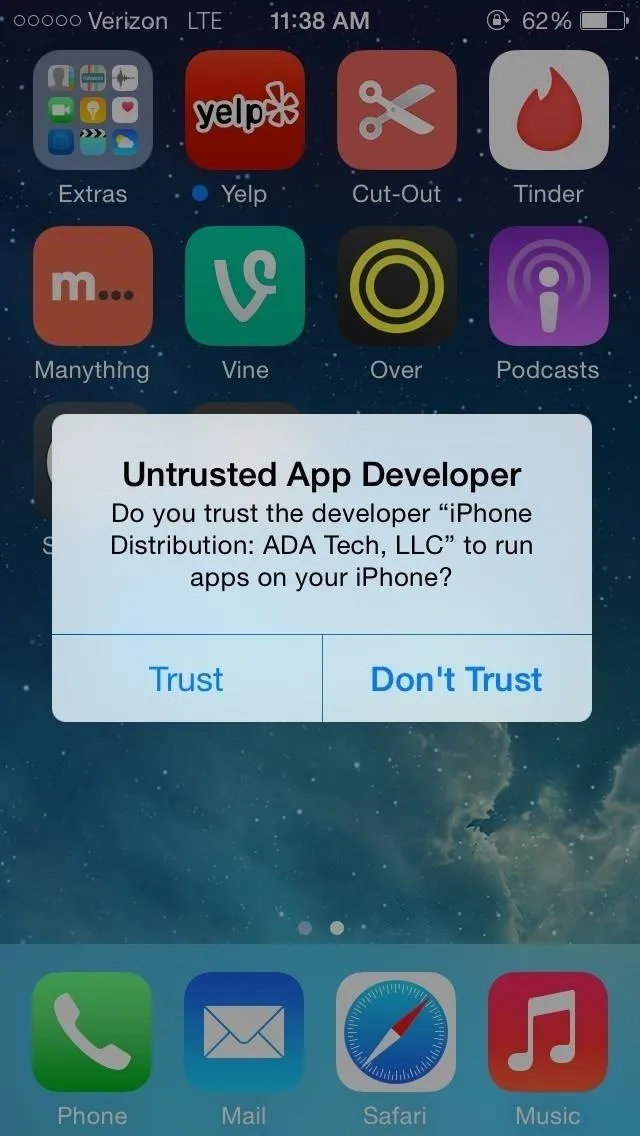
Once installed, open up Emu4iOS and tap Trust.
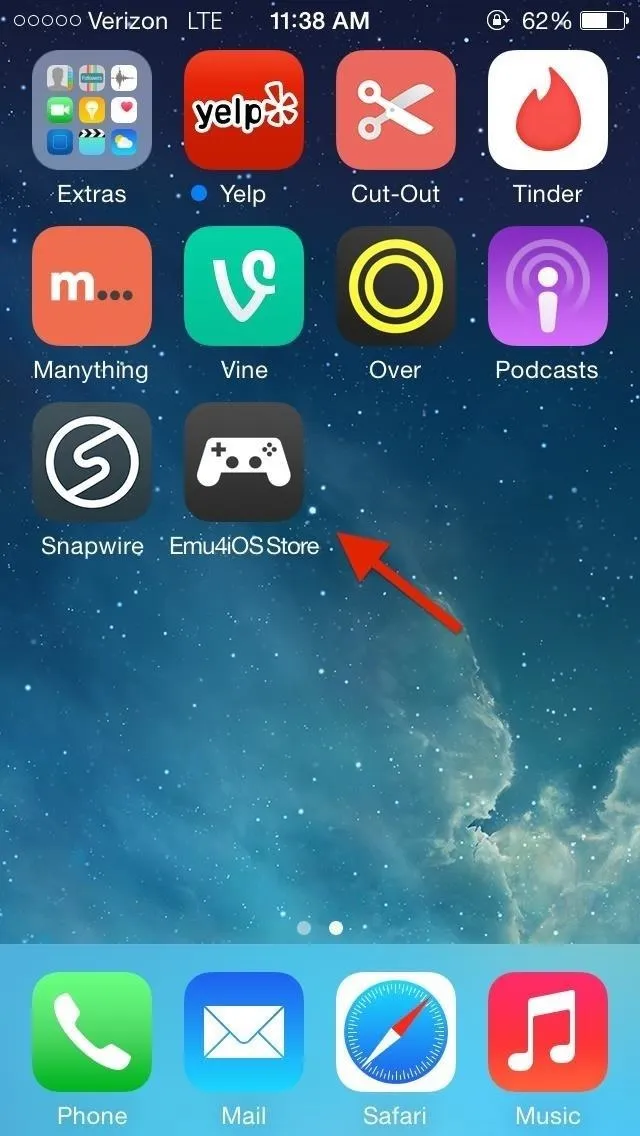


You do not need to install the Emu4iOS Store or AirFloat app on any device but the receiver. Your other device will be using its built-in AirPlay feature to do the streaming. All that AirFloat does is trick that device into thinking your receiver device is an actually AirPlay-enabled receiver.
Step 2: Install AirFloat
Now, through the Emu4iOS Store app, find and install AirFloat.
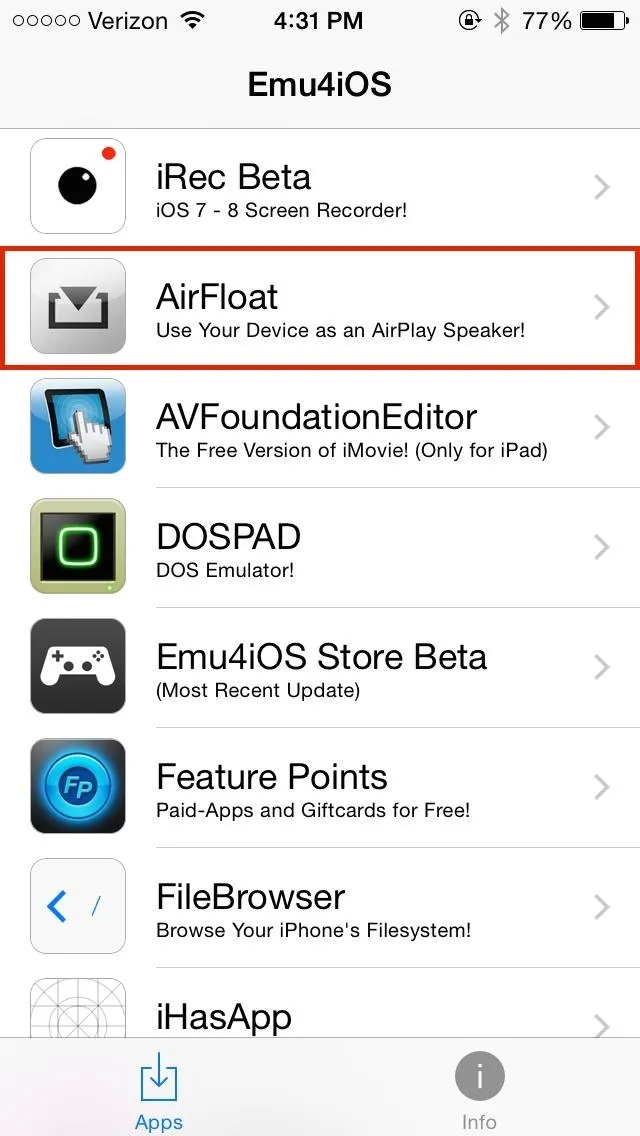
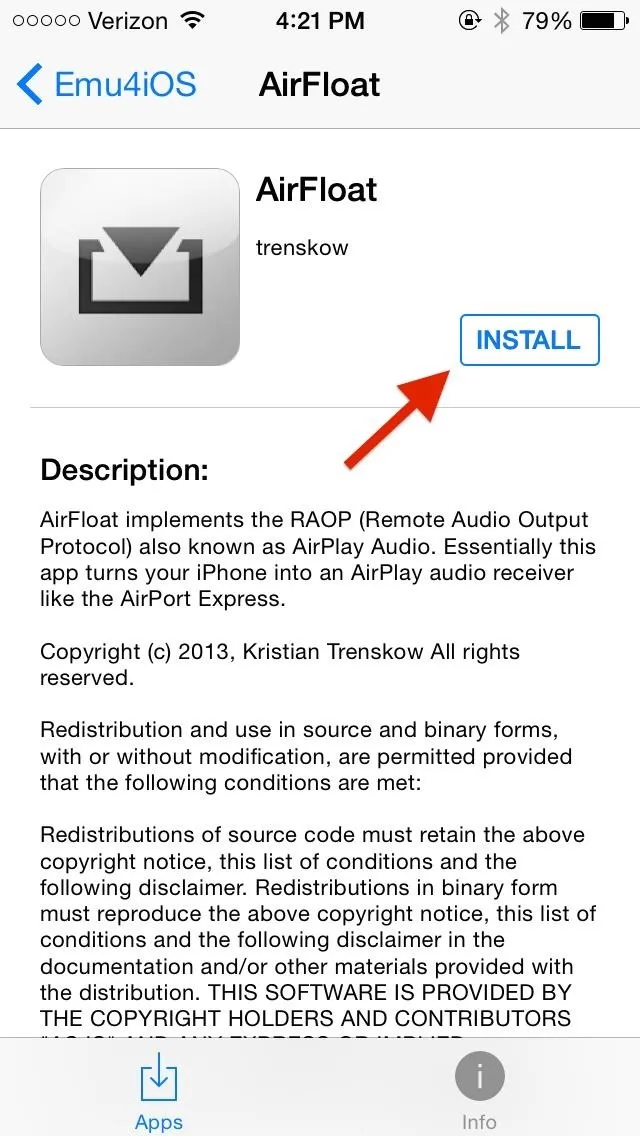


Step 3: Use Your Device as an AirPlay Speaker
On the receiver device, open up AirFloat, and in its Settings, enter an optional name for your AirPlay connection and a password (under "Authentication"), if desired. Close the settings and just leave your device on the main page of AirFloat.
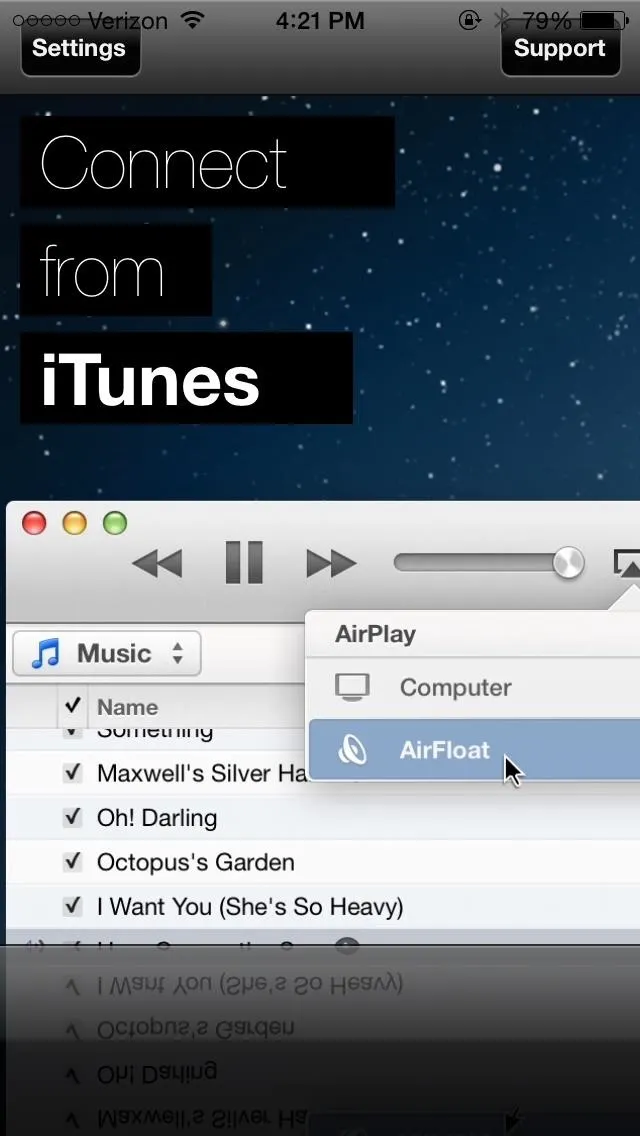
AirFloat's main page.
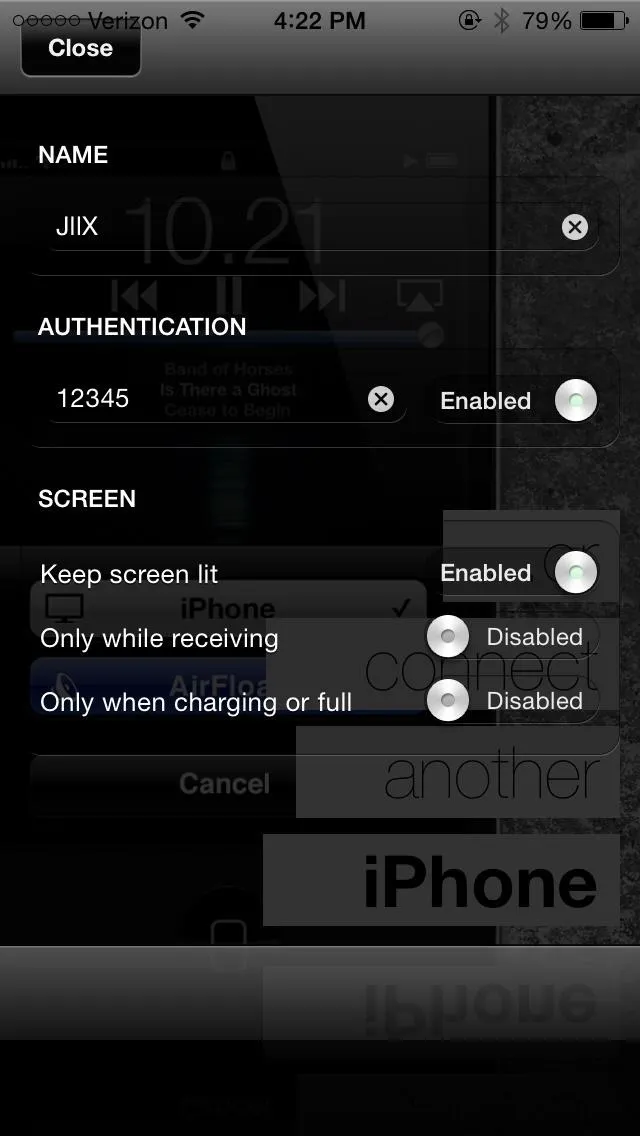
You can change the name and add a password in Settings.

AirFloat's main page.

You can change the name and add a password in Settings.
Now with the sender iPad, iPhone, or iPod touch (you can even use iTunes on your Mac as the sender), make sure you're on the same Wi-Fi network as the receiver device. Then, swipe up the Control Center, tap on AirPlay and find your receiver device.
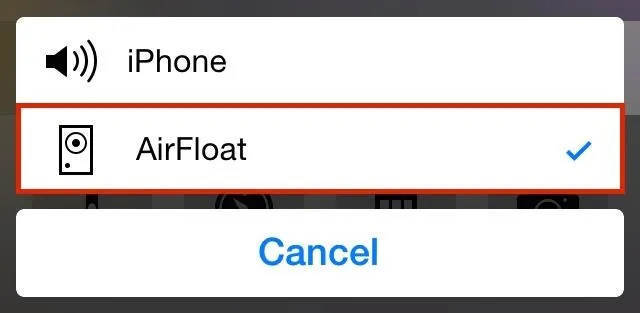
On your sender device, select your newly created AirPlay receiver.
Once the connection is made, play music from your stock Music app, Spotify, Pandora, etc. On the receiver device, you'll see that the screen will now show the artwork of whatever music you're playing from your sender device.

Play music on your sender device.

And stream to your receiver!

Play music on your sender device.

And stream to your receiver!
I found that controlling music playing on my iPad (or old iPod touch) connected to some speakers from my iPhone was ideal, especially when I'm walking around my apartment, blasting music, and wanting to change songs or artists. The connection was solid, with only about a split-second lag when playing a song.
AirFloat works great with music stored on your device as well as streaming music, so give it a shot as let us know what you think.


Comments
No Comments Exist
Be the first, drop a comment!