Will the name "slofie" ever catch on? Probably not. But that won't stop the feature from being a hit. Slo-mo selfies aren't new in the smartphone world, but they are new to iPhone, arriving for the first time on iPhone 11, 11 Pro, and 11 Pro Max. Here's what you need to know before you start shooting your first slofie.
First of all, unlike other camera modes on the iPhone, slofies only have one fixed resolution and frame rate — 1080p at 120 fps. Sure, it'd be nice to shoot up to 240 fps as you can on the rear cameras, but it's also nice to not worry about fiddling with any camera settings. Shooting in 4K, for example, requires some work on your part, as Apple doesn't enable the resolution out of the box.
To get started, fire up Apple's Camera app, then make your way to "SLO-MO" in the options carousel. Make sure the front camera is engaged by tapping the arrows in the bottom right so it's in selfie mode, then tap the record button to begin shooting. Tap the button again to stop recording.


Editing Your Slofie's Slo-Mo Time
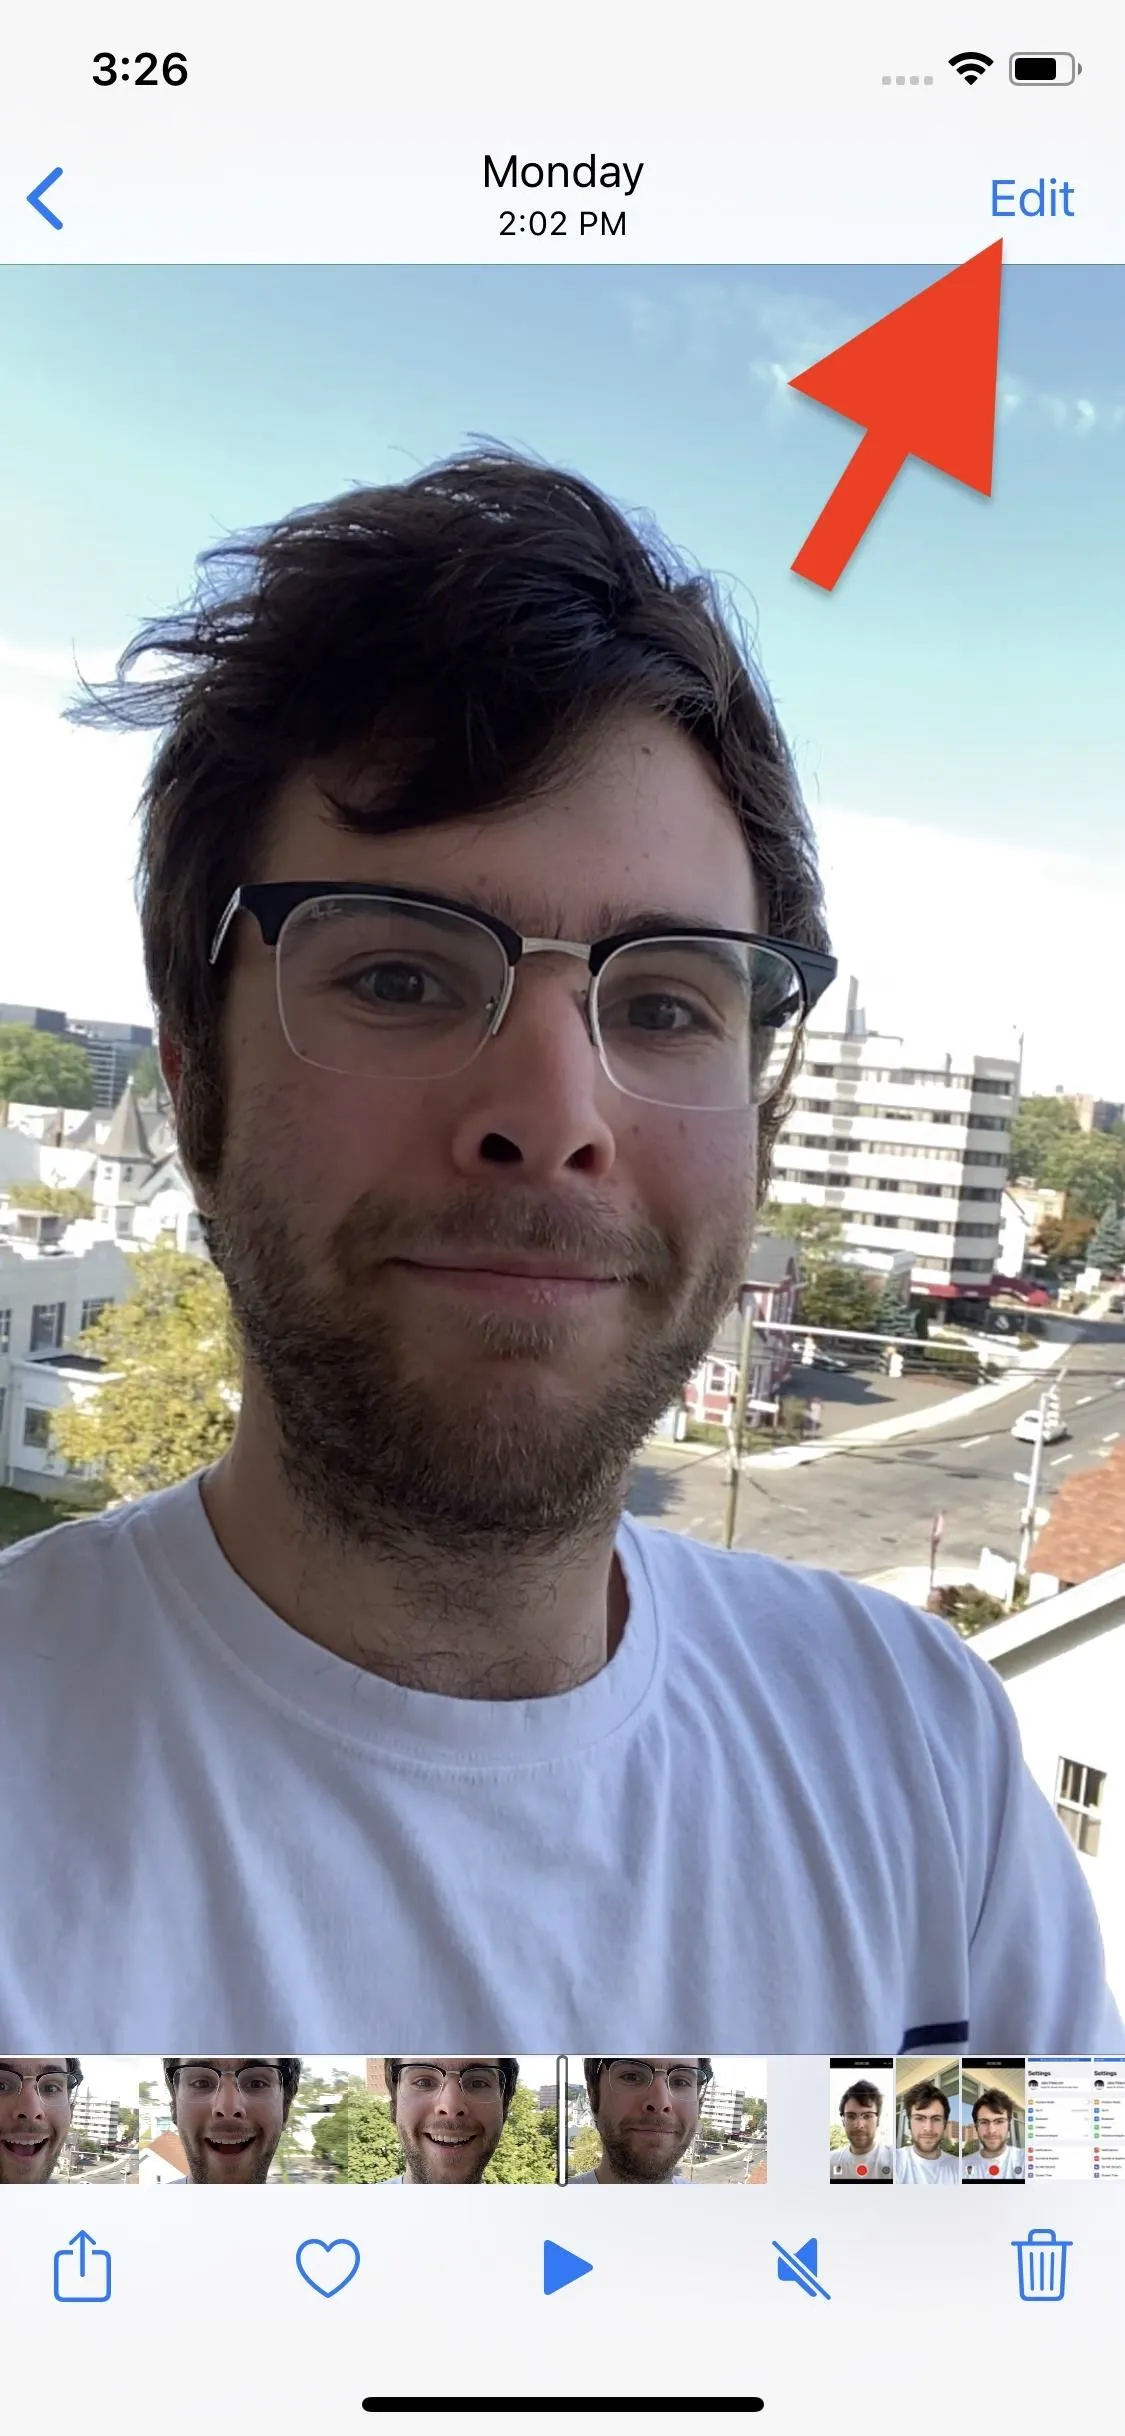
As you might notice in the example above, Apple automatically plays the beginning and end of your slofie (as well as all regular slo-mo videos) at full speed. If you'd prefer all of your slofie to be in slo-mo, it's easy to do.
Select your slofie in Photos, then tap "Edit." Here, drag the thin white start and stop points wherever you'd like in the timeline. You can preview how these changes affect your video by tapping the play button. When finished, tap "Done."


Cover image, screenshot, and GIFs by Jake Peterson/Gadget Hacks


Comments
No Comments Exist
Be the first, drop a comment!