
Having your home and work addresses set in Apple Maps makes them incredibly easy to navigate to no matter where you're located. If you move to a new house, stay in a hotel or resort while vacationing, report to a different office, or have multiple job sites to visit regularly, updating these addresses isn't only straightforward — there's more than one way to do it.
Unlike Google Maps or Waze, setting your home or work address for the first time is done outside of Apple Maps in the Contacts app, which houses all of your addresses. Once set, however, editing or adding multiple addresses can easily be done from both Apple Maps and the Contacts app, and we'll show you how below.
Step 1: Add a Home or Work Address
As mentioned before, Apple Maps retrieves your home and work addresses from the Contacts app, which can also be accessed via the "Contacts" tab in Phone.
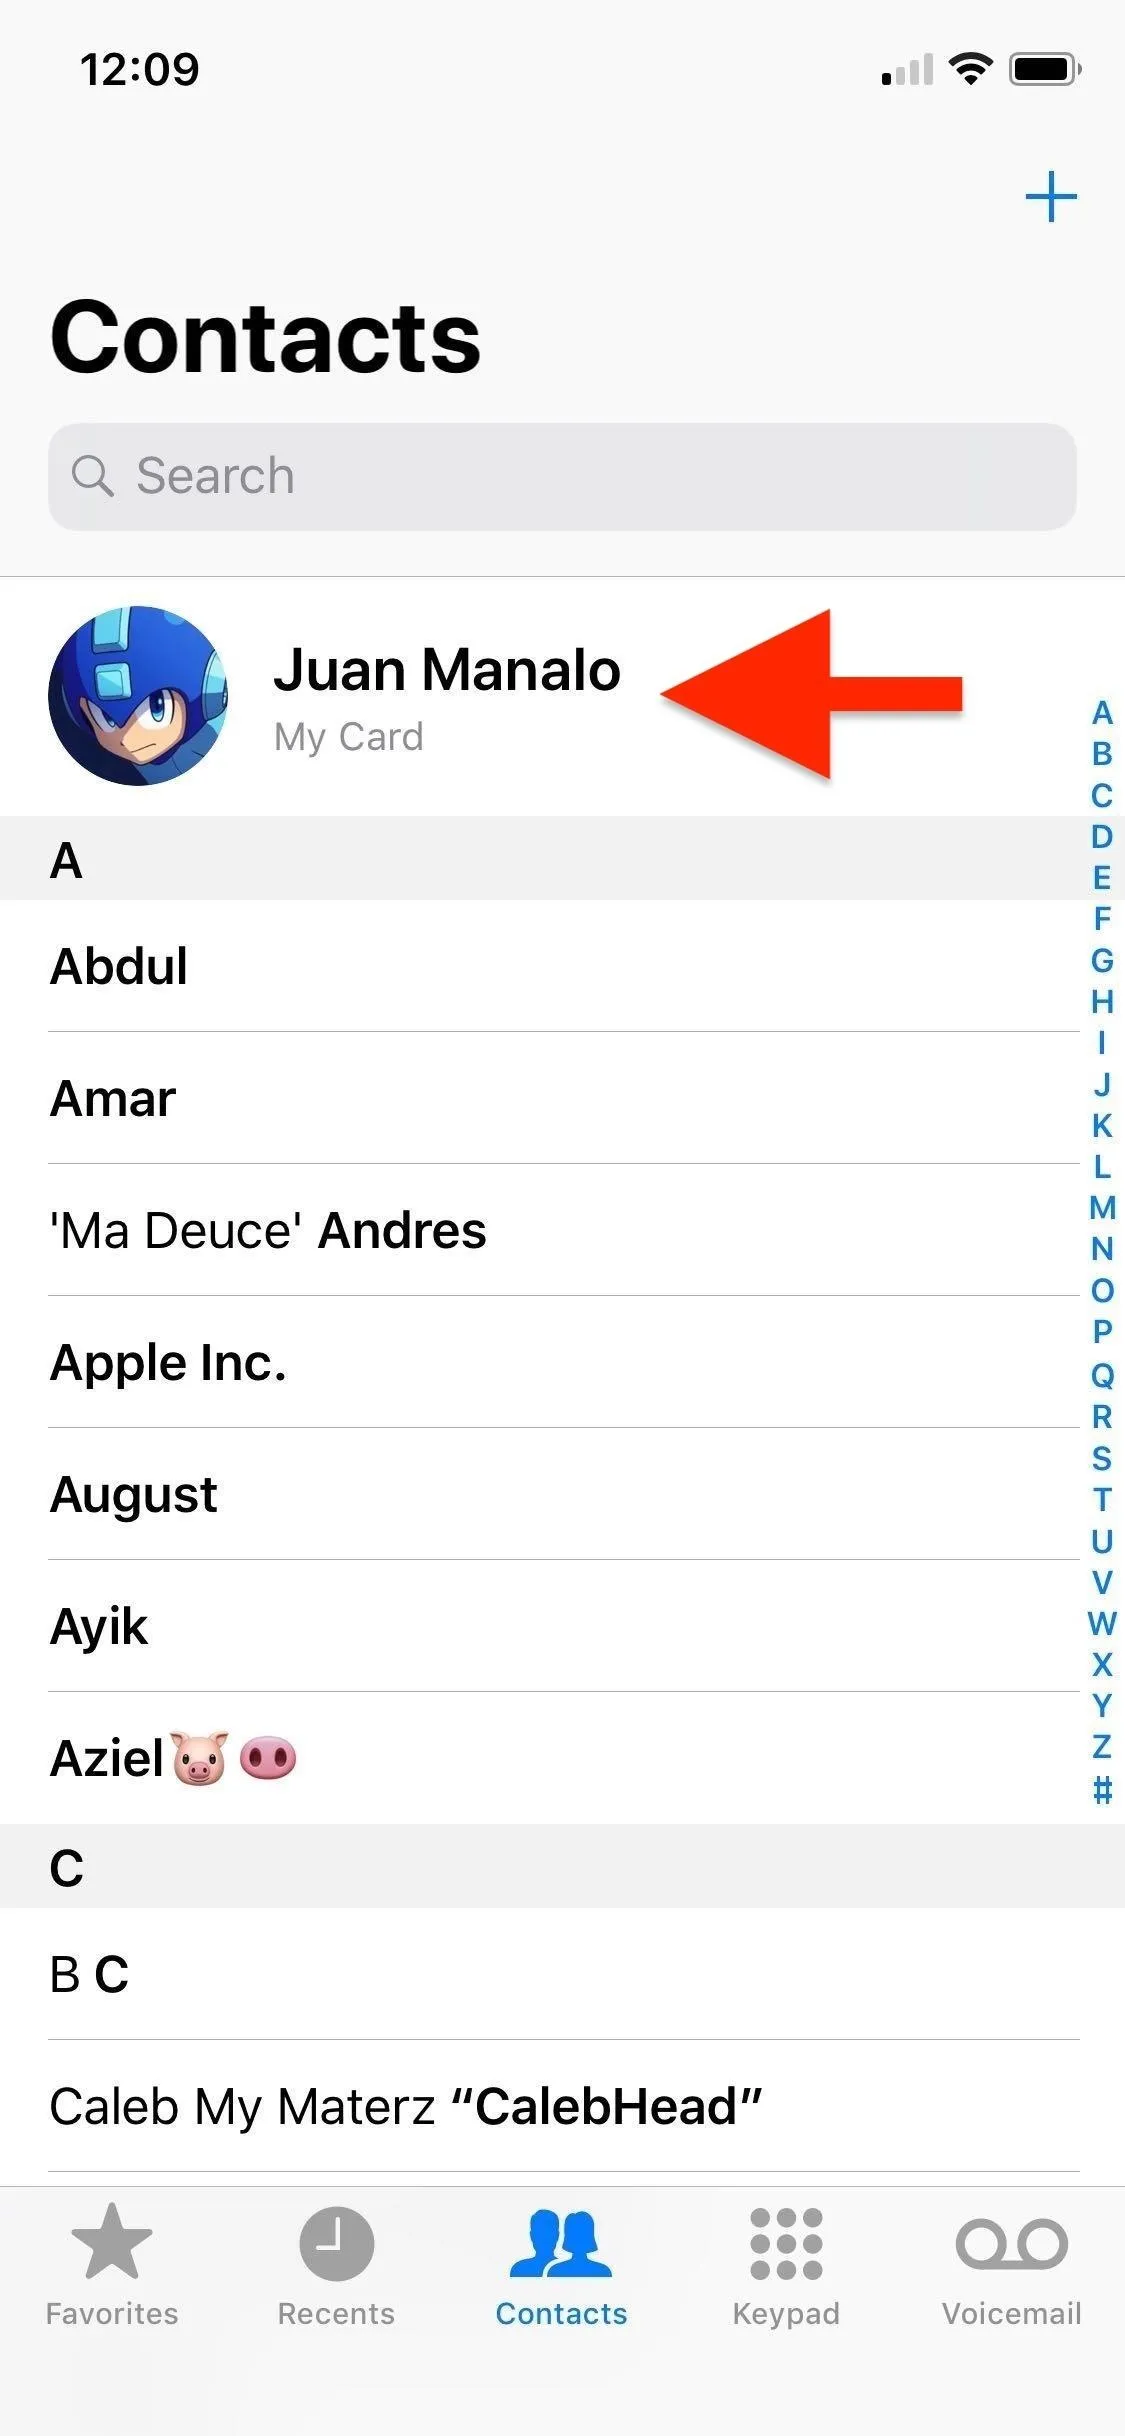
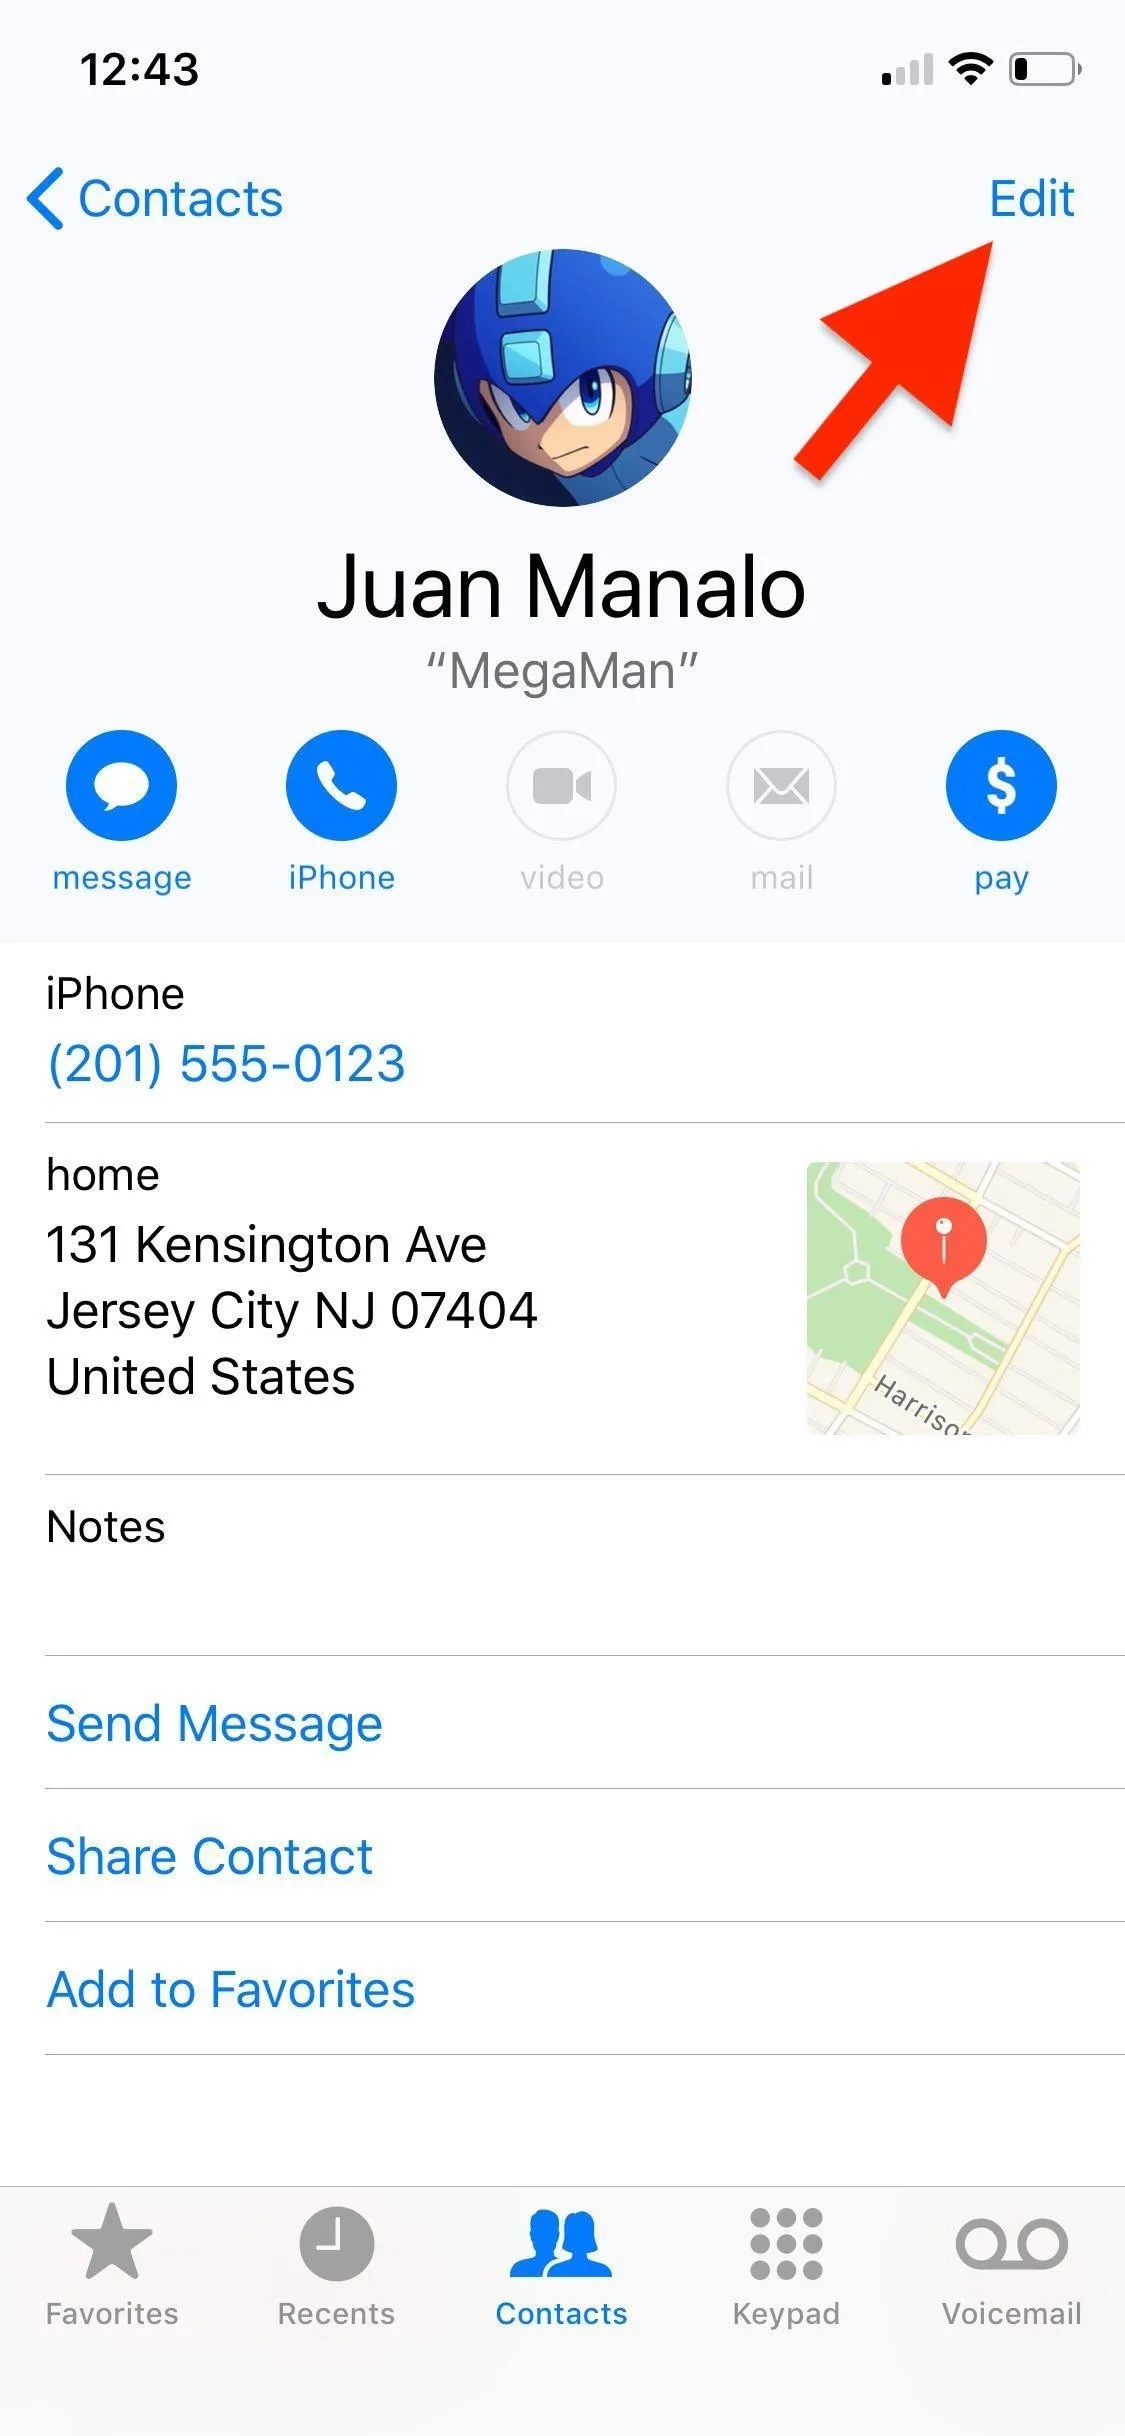
If you haven't already entered a home or work address, simply open Contacts up directly or via the Phone app. Tap on your name at the very top of the contact list to go to your personal information card, then select "Edit" in the upper right.


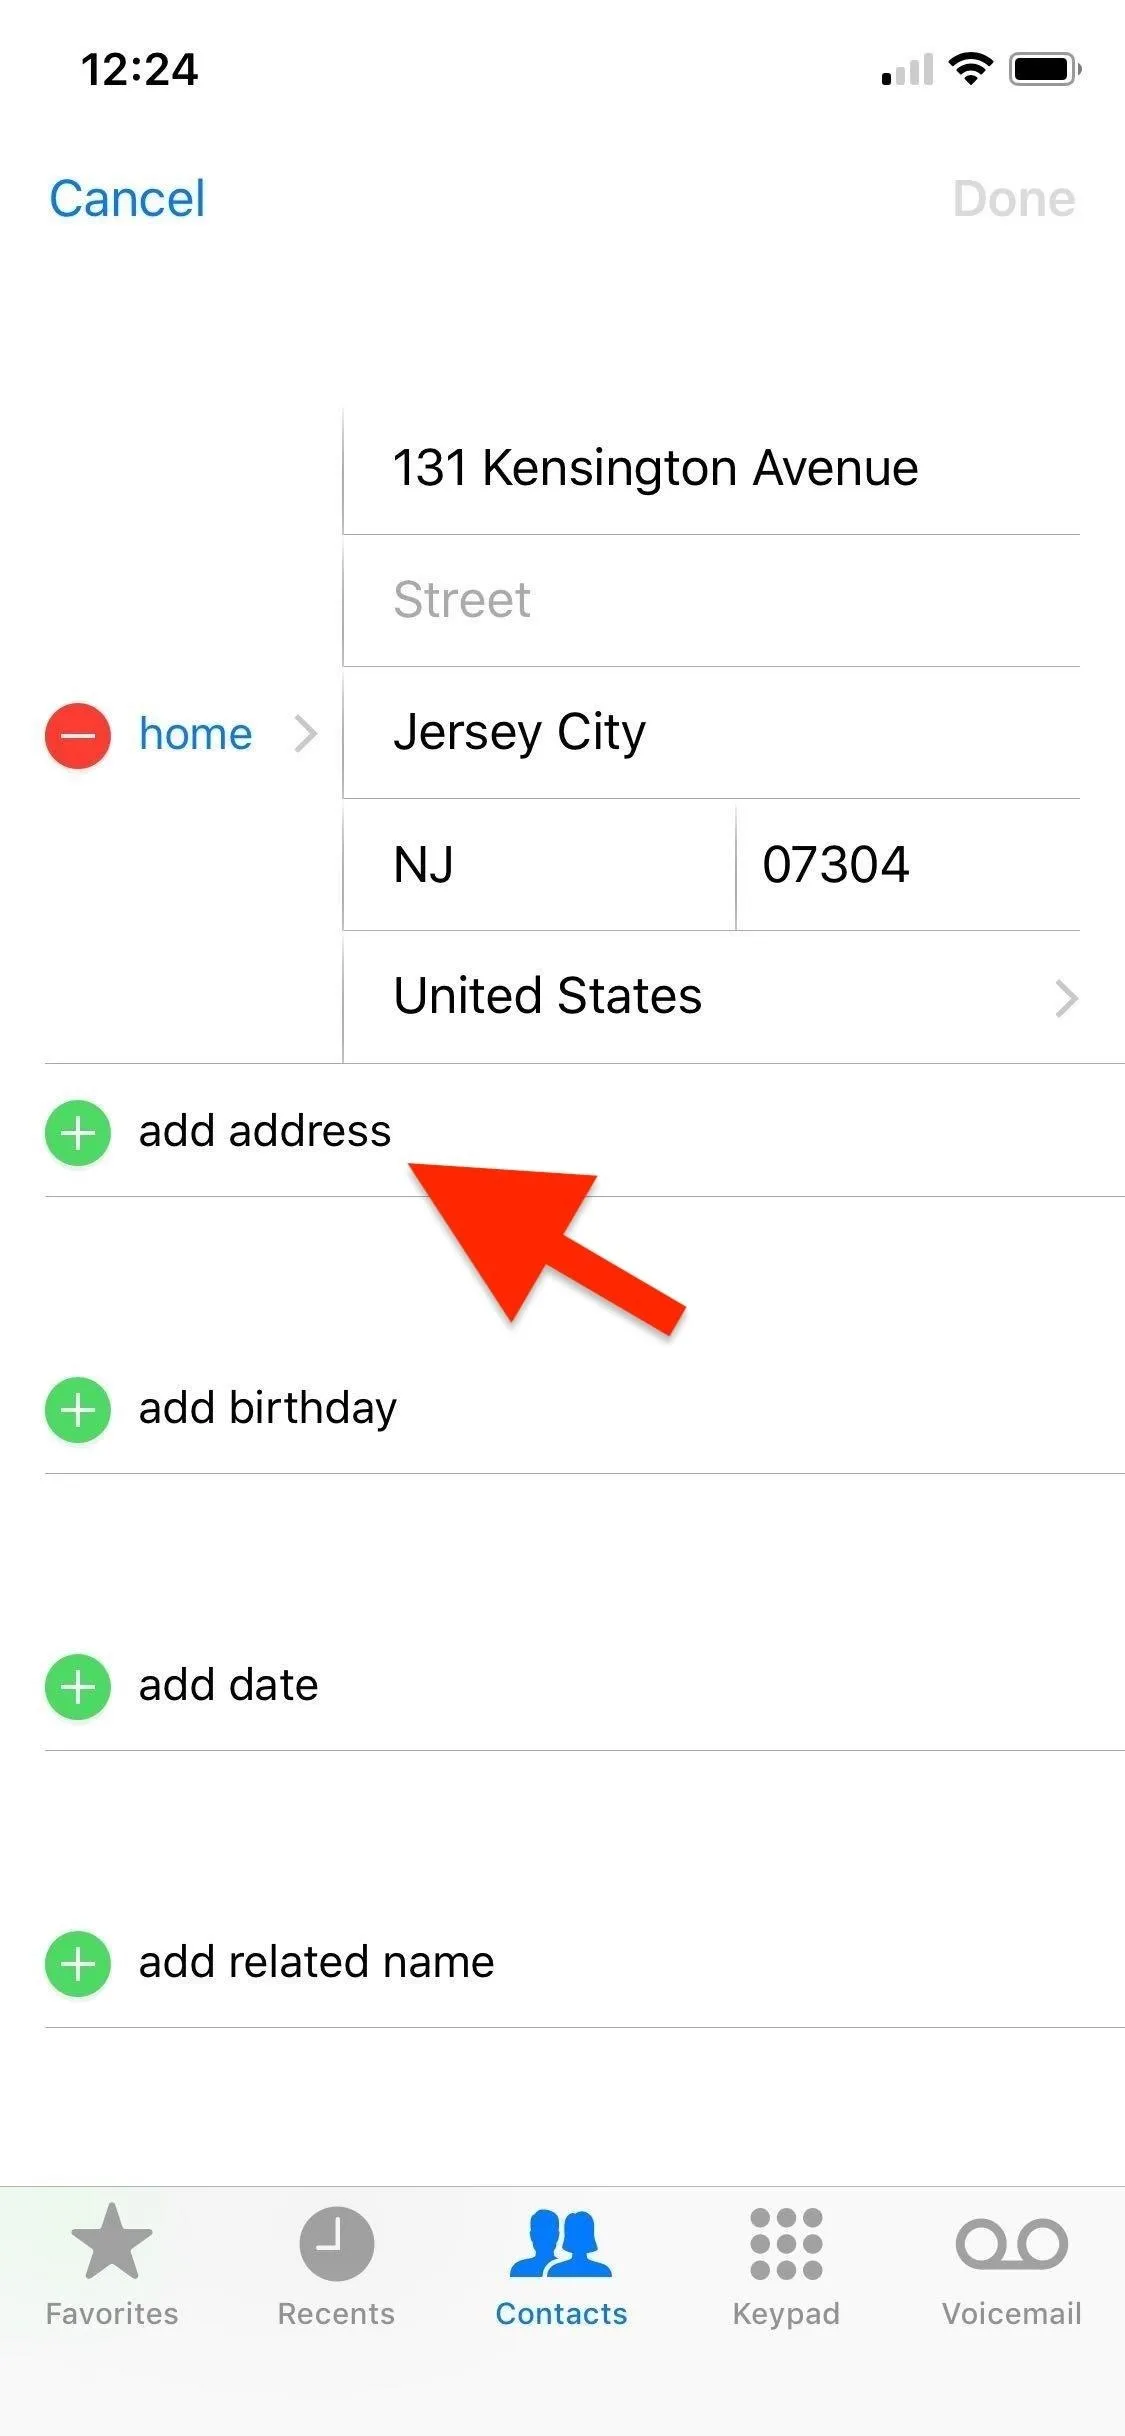
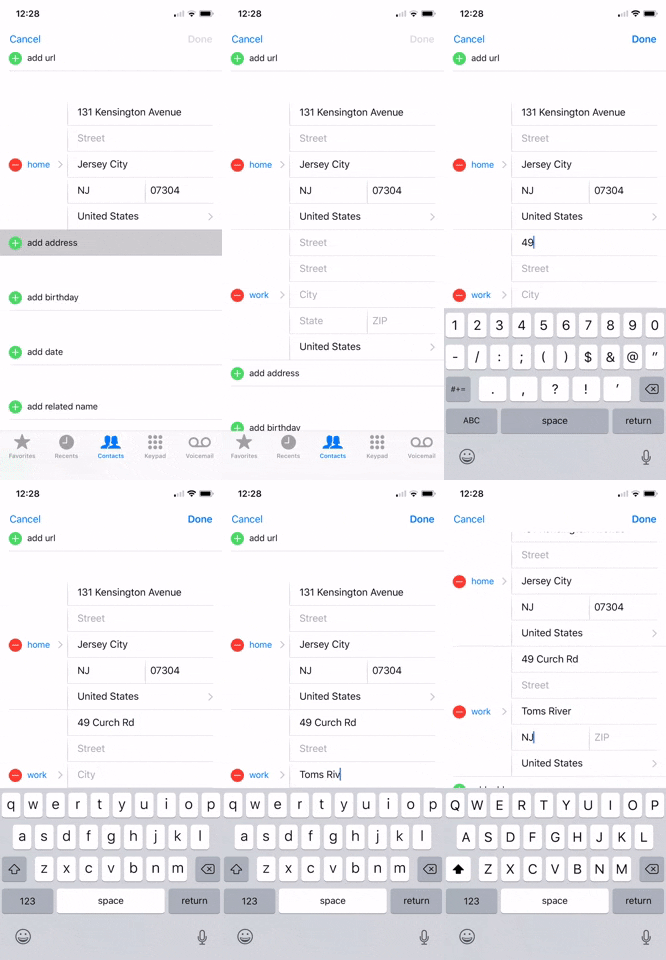
Now, scroll down and select "add address." By default, Apple will think it's a "home" address, so if you'd rather select "work" instead, tap on "home" next to the red delete button and select the right option. Whether you use "home," "work," "other," or a custom name, you'll be able to find it easily in Apple Maps later.
After that, input your address by filling in the blank sections with the appropriate street, state, and zip code. Once you've entered the complete address, tap "Done" to finish and go back to your information card. From our experience, you can add any number of separate addresses (we stopped counting at 50), so simply repeat the steps if you have more than one or two addresses you need to store.


Step 2: Navigate to Your Home or Work
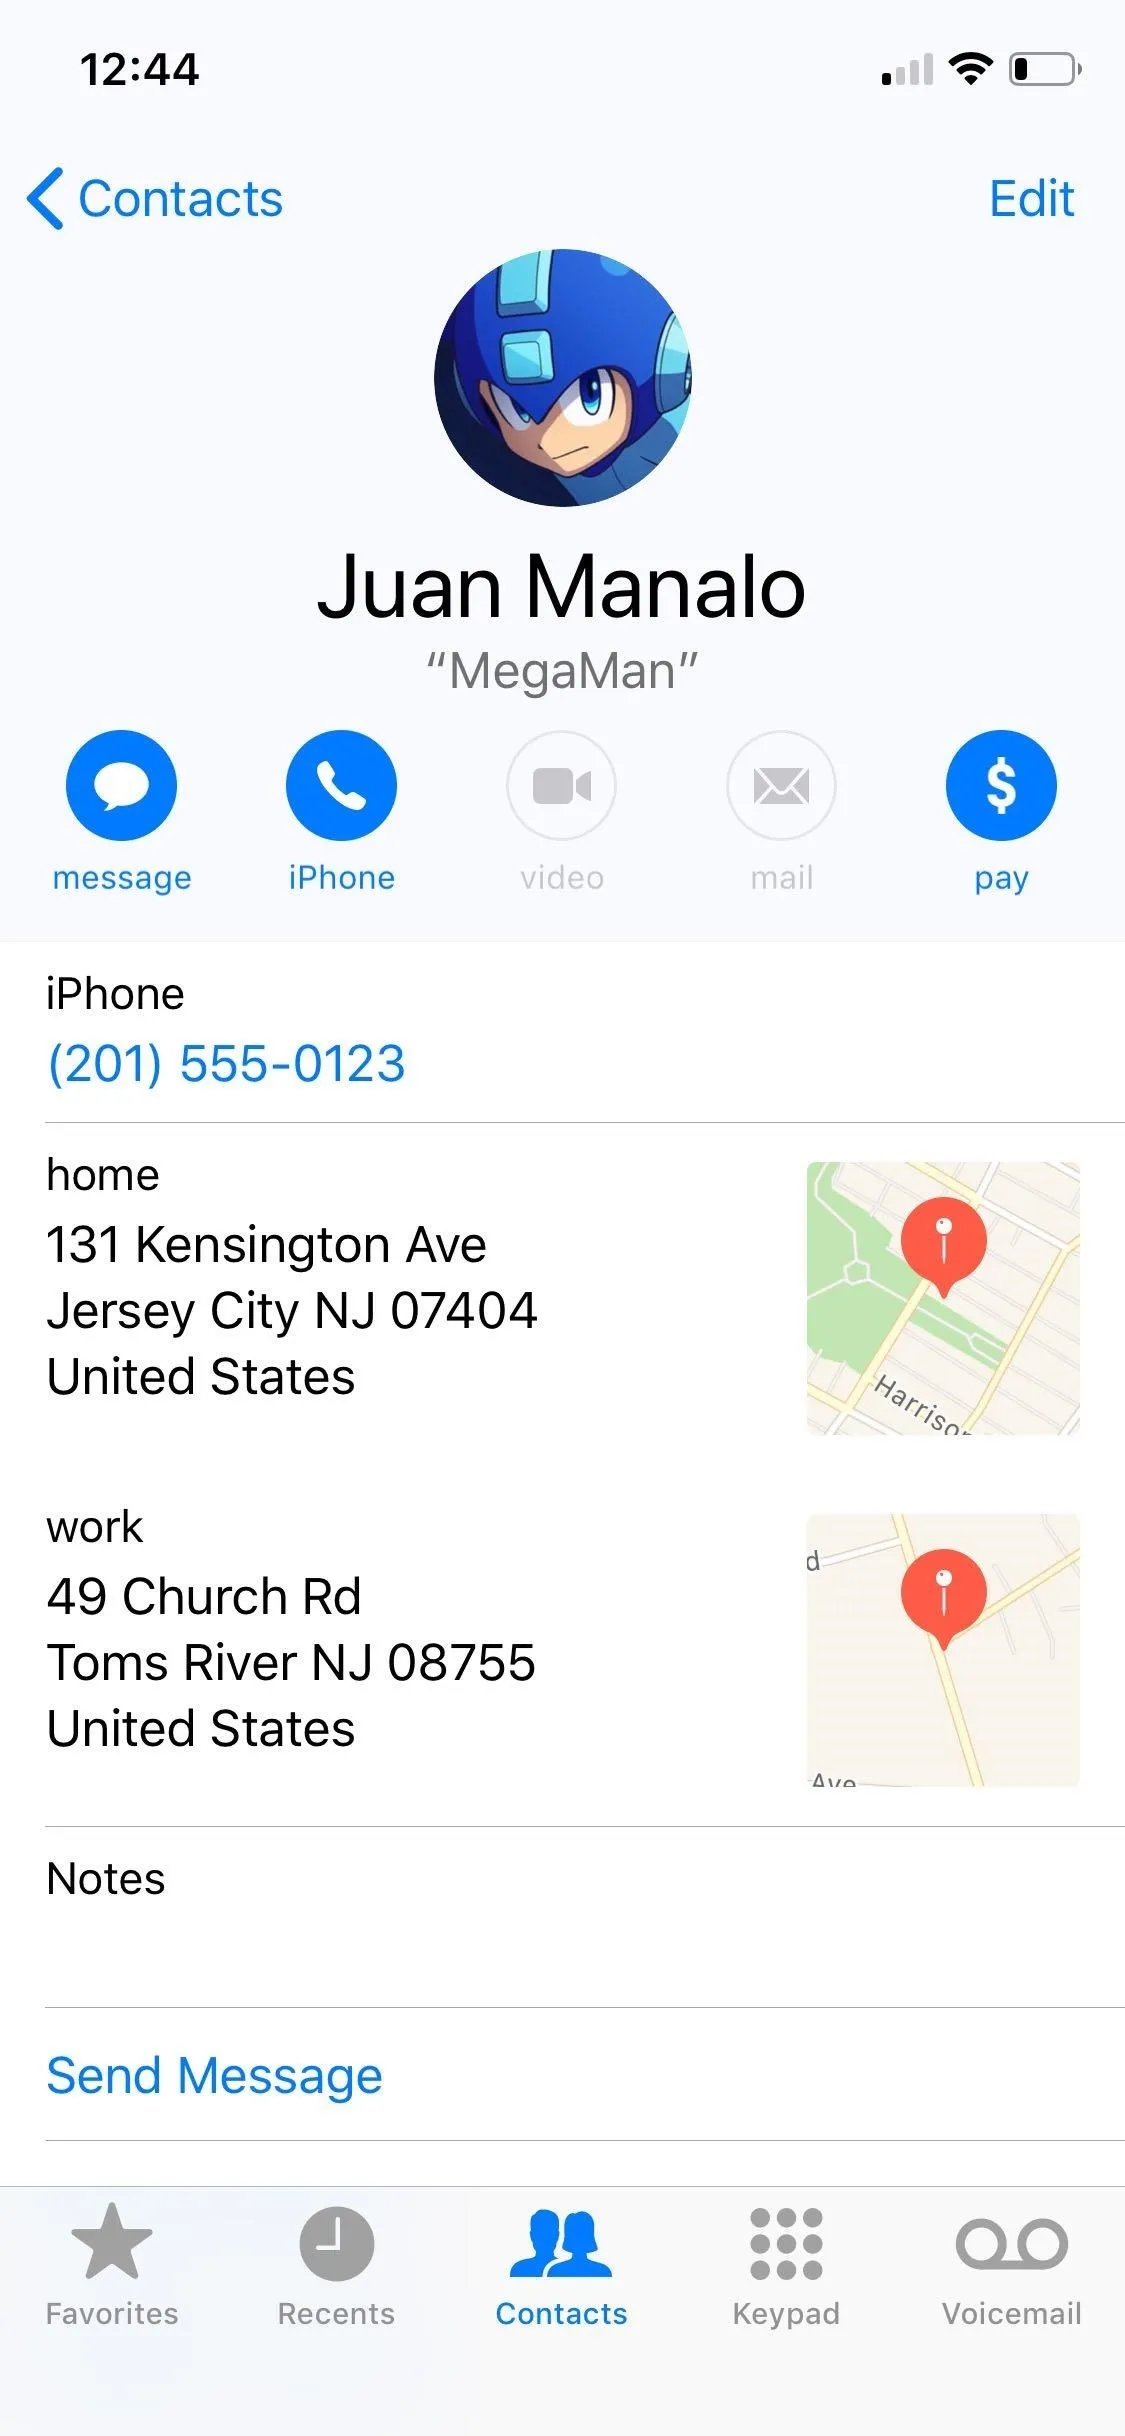
Your saved addresses will be visible on your contact card and will also be accessible in Apple Maps. When zoomed in enough, your home address will be marked by a blue house icon on the map, and your work will be a brown one, but any "others" or custom labels won't show up with icons.
- Don't Miss: Zoom In & Out One-Handed in Maps on Your iPhone
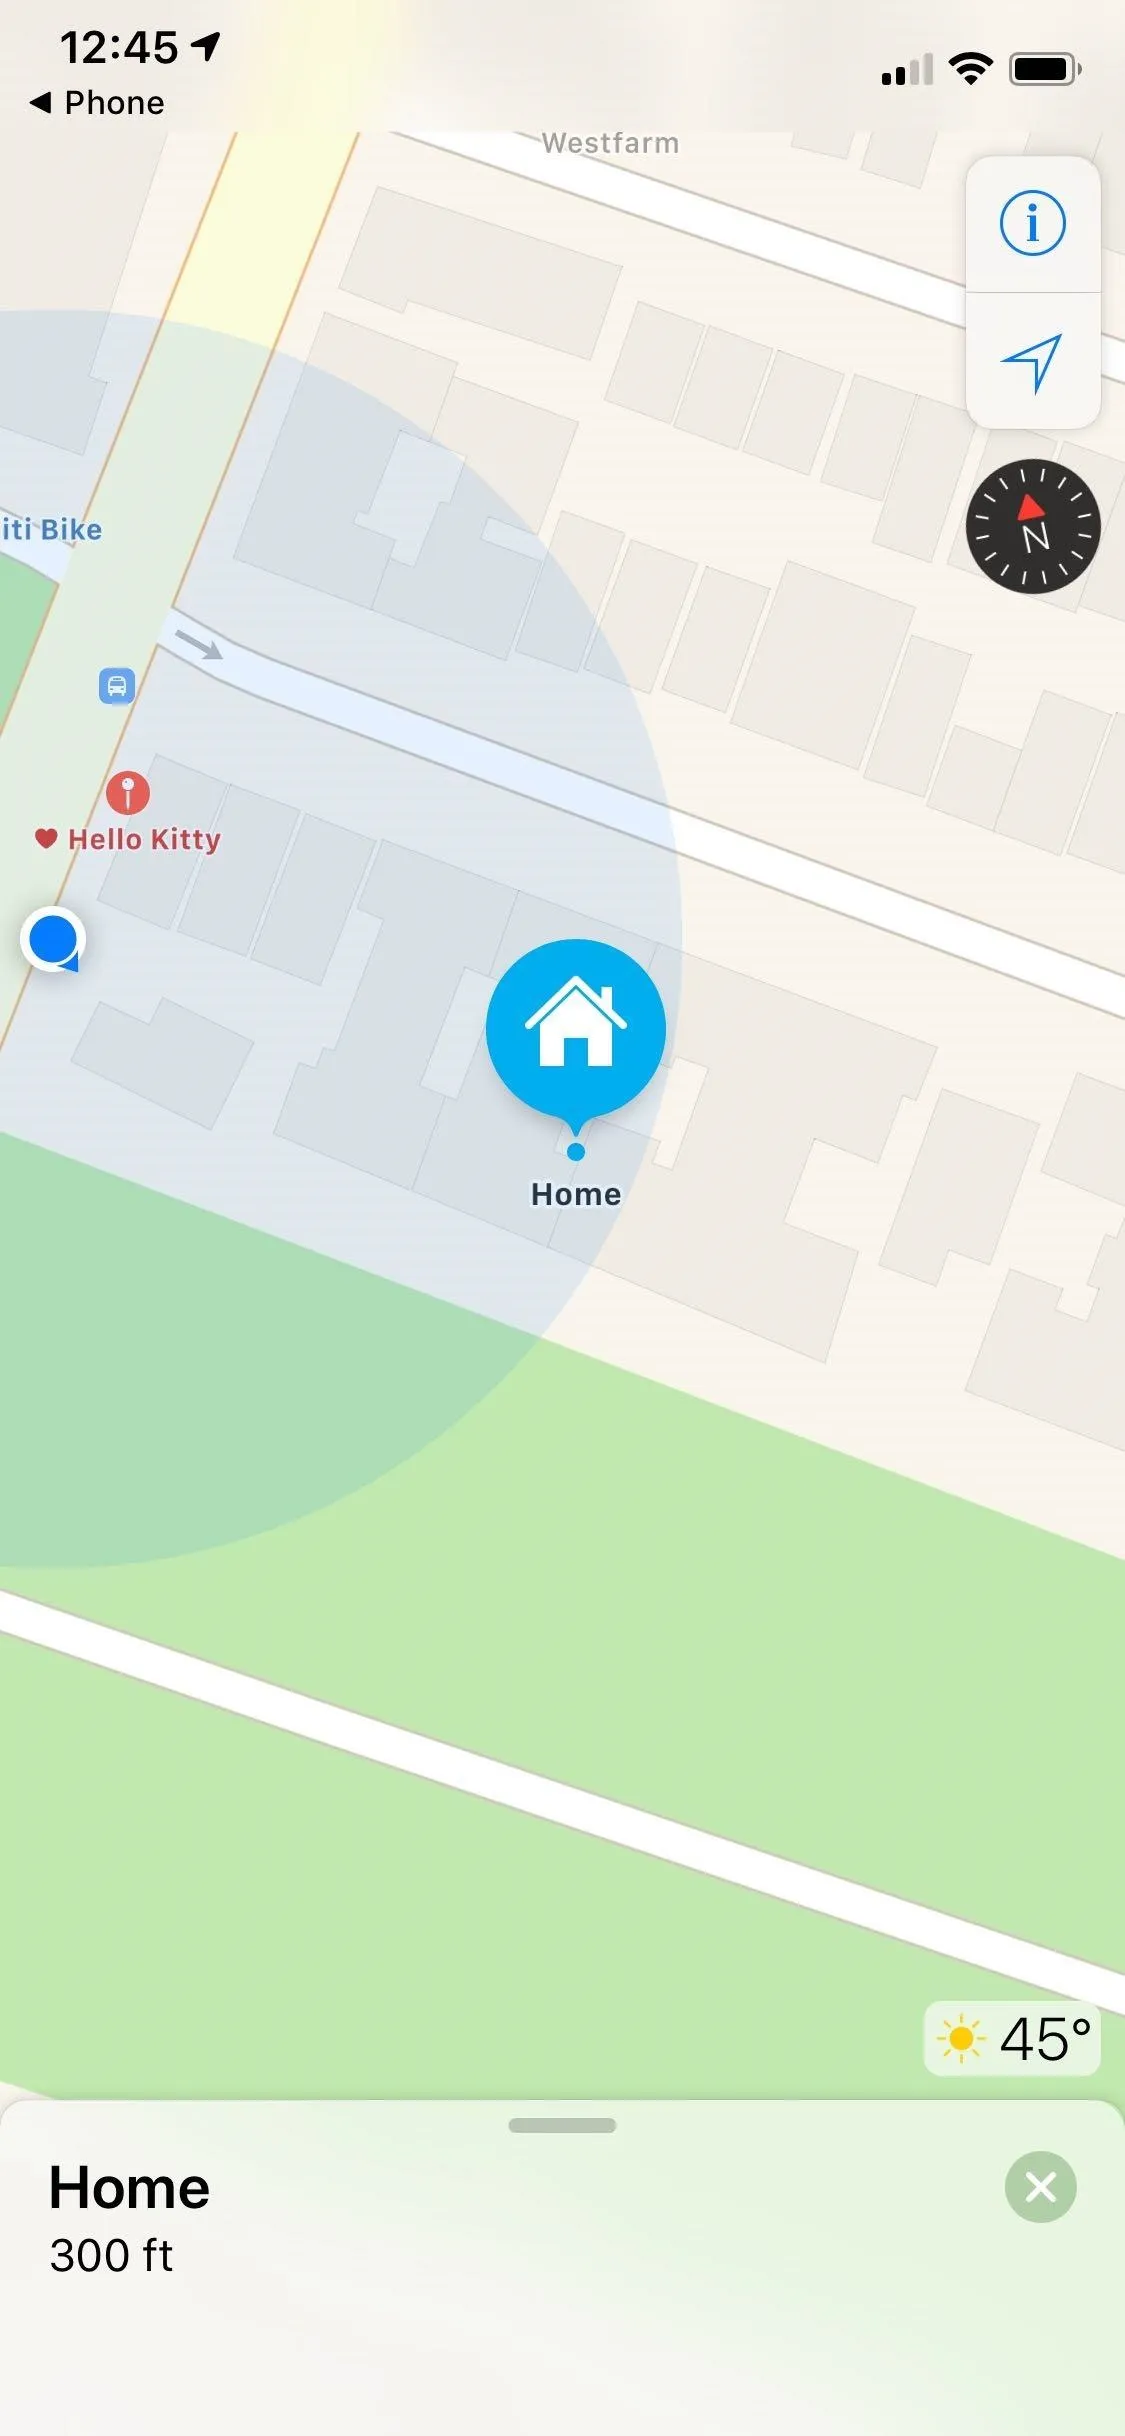
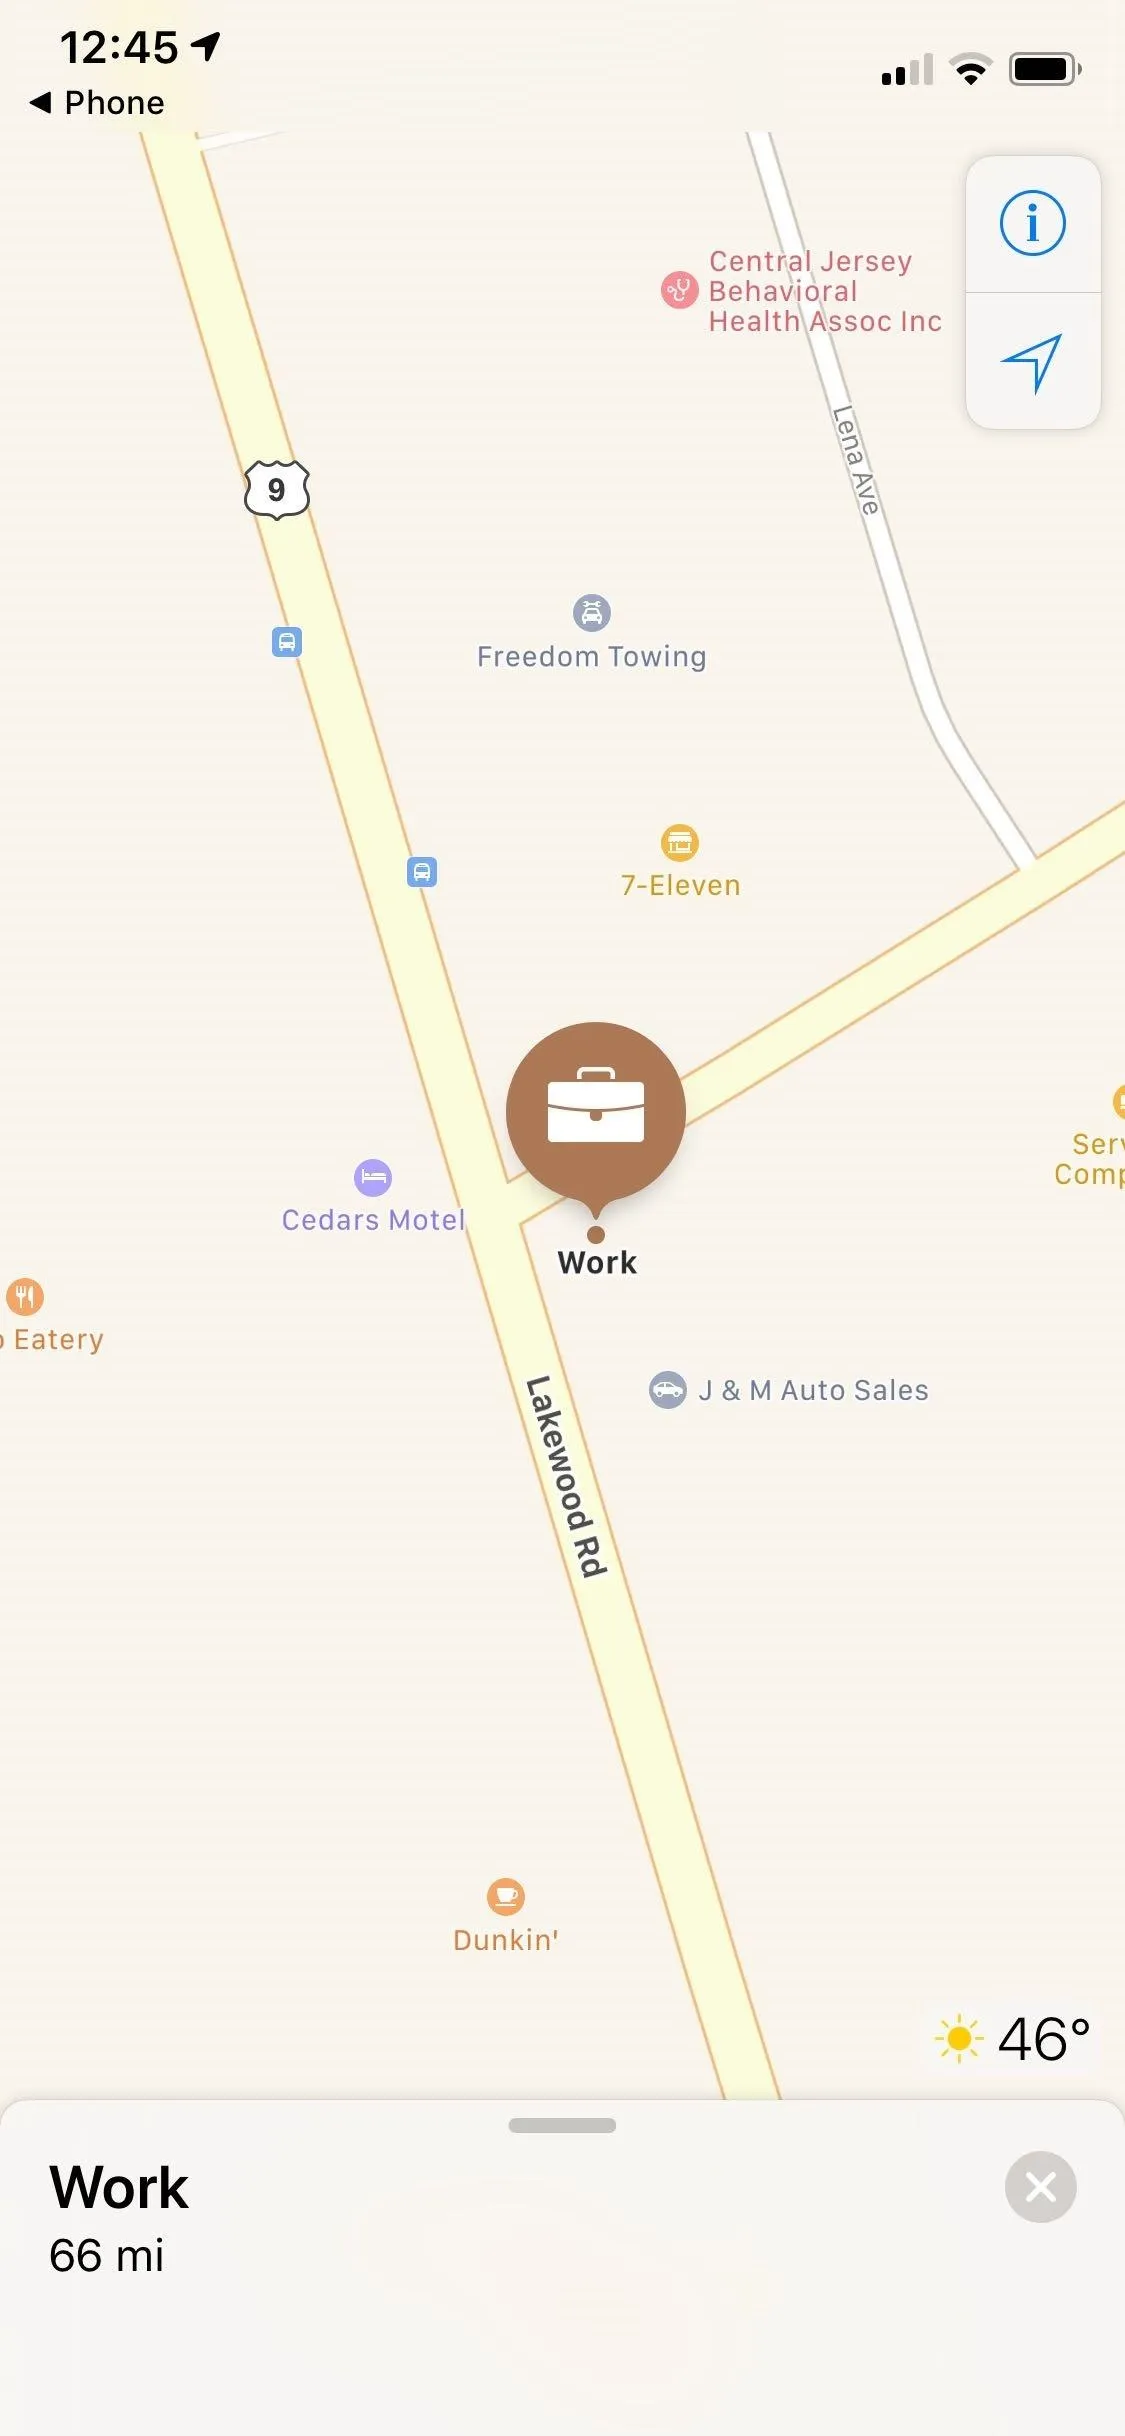


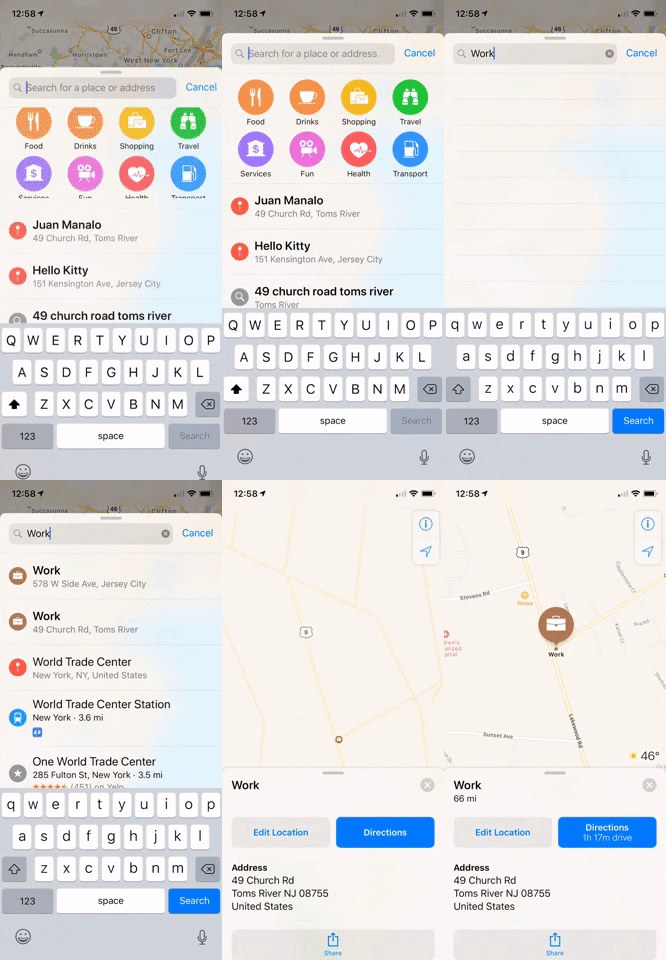
Typing in either "home" or "work" — or whatever else you called the locations — in the search bar in Apple Maps will also instantly bring them up. Tap on your desired destination from there, and start navigation as you normally would.
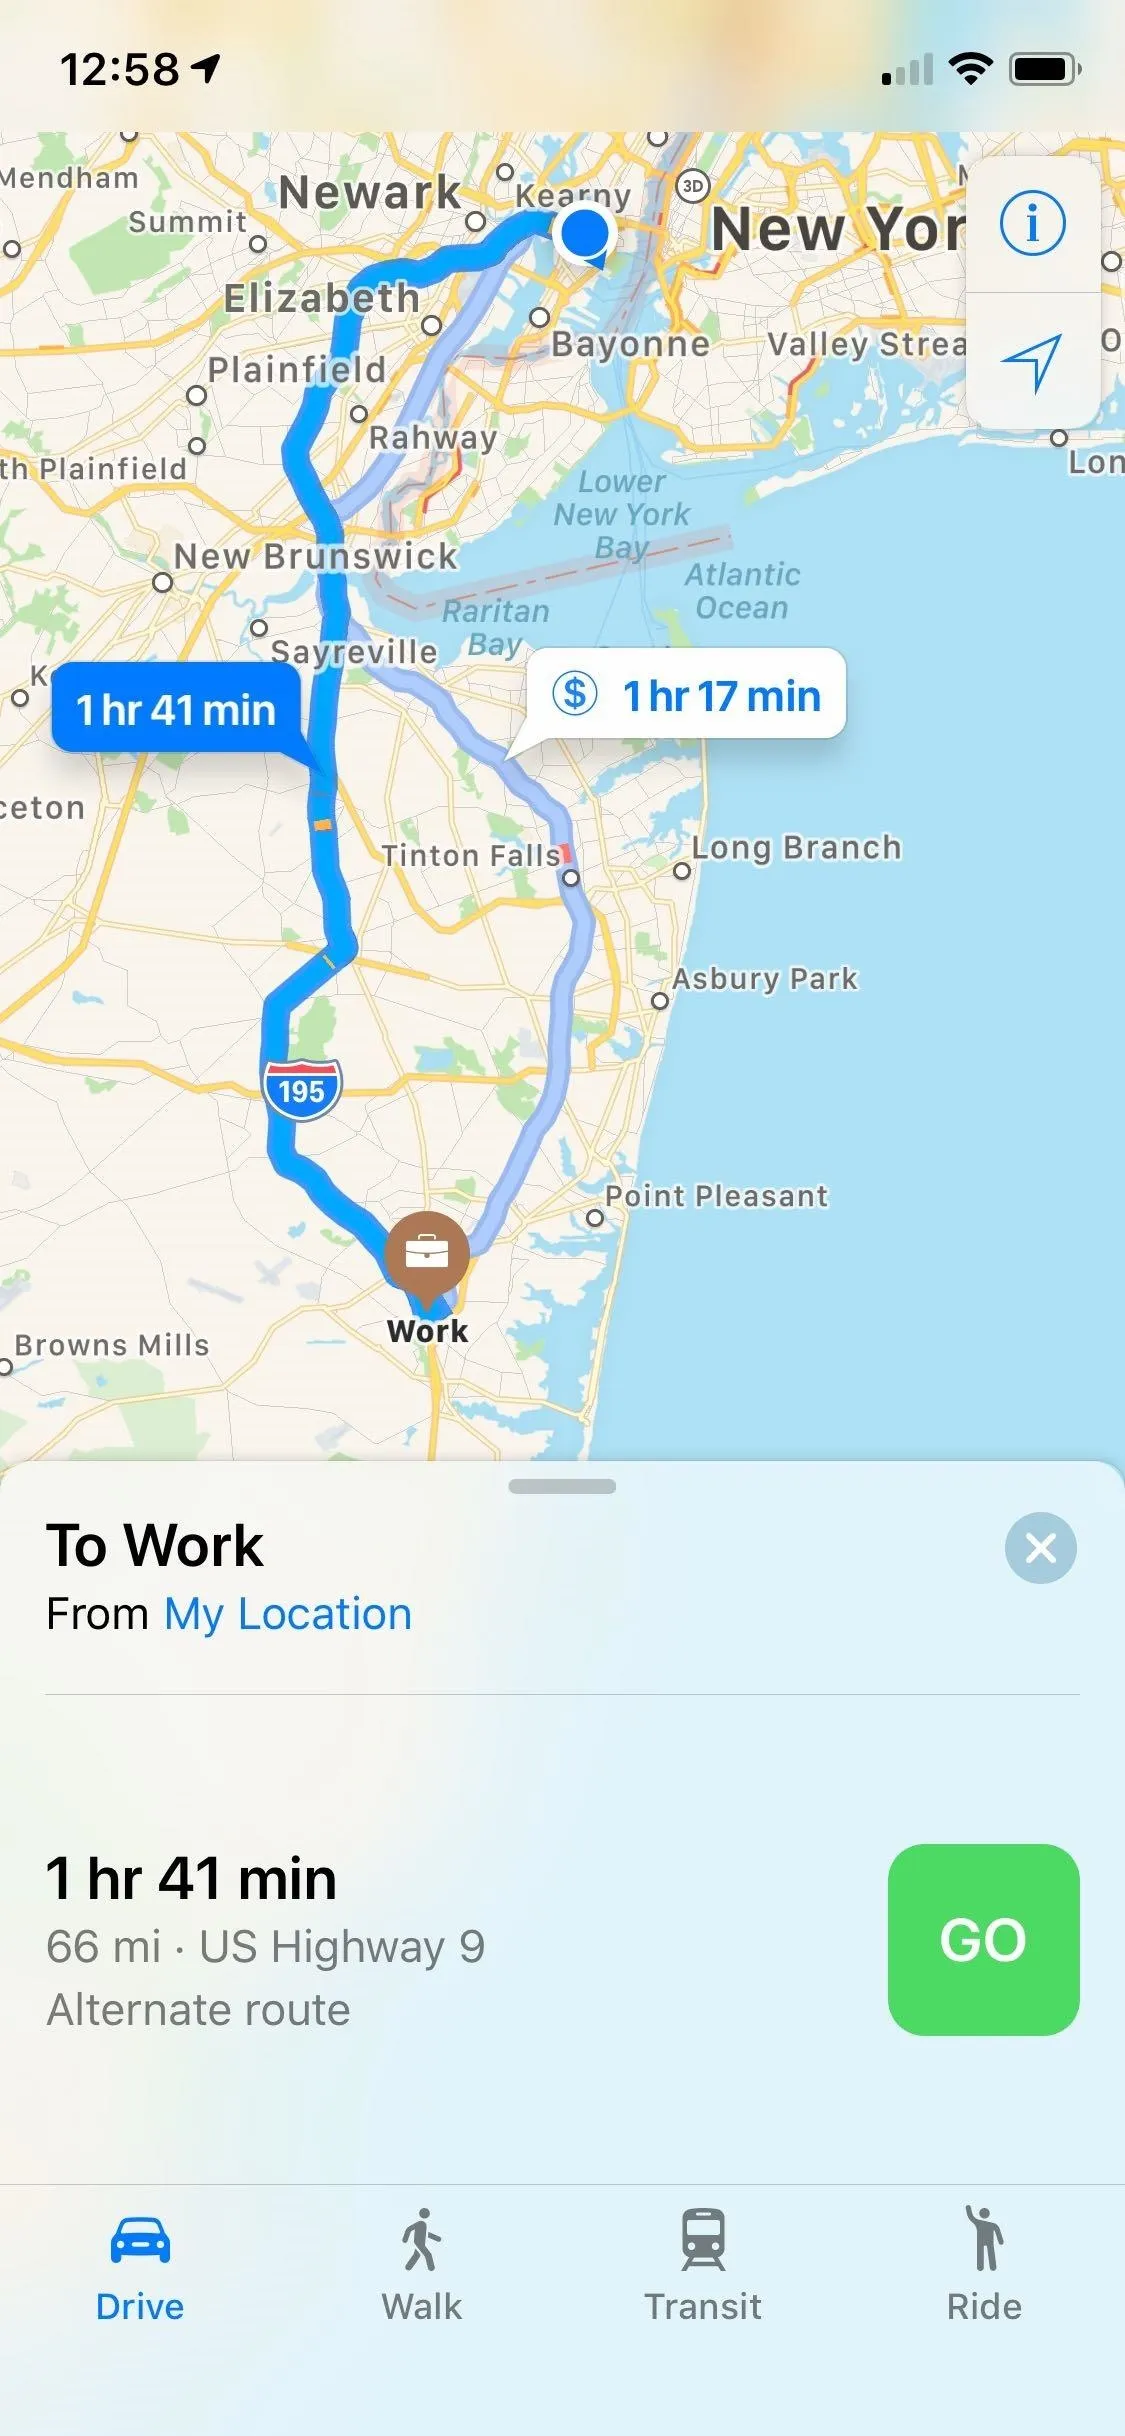


If you prefer a more hands-free approach for safety reasons, you can use the "Hey Siri" feature and simply command Siri to "navigate to home" or "work," and Siri will automatically set directions for you.
With more than one home or work address, Siri will display all your saved home or work addresses, so tap on the address you want to go to and navigation will start automatically. If you try to speak the one you want, Siri will reply asking you to update your address, even if it's already stored. Hopefully, this feature is refined so that Siri understands and processes your address selection when vocalizing for a better hands-free experience.


Step 3: Edit or Change Existing Addresses
To edit or change an existing home or work address, you can either repeat the steps outlined above in Step 1 and type the new address over the existing one within the Contacts app or edit it straight from within Apple Maps.
If you want to use Apple Maps, open it up, and either pinch out with two fingers to zoom in on the general location of your target address, then tap on its location pin, or input "home" or "work" in the bottom search bar, then select it from the list of results that appear.
Using either method will yield an information card for your current home or work address, so just tap on "Edit Location" (you may need to swipe up on the card first to expand it, depending on your iPhone model and settings). If you are trying to change "other" or a custom name, you'll notice that you can only "View Contact," which gives you access to the full info card that you can edit.
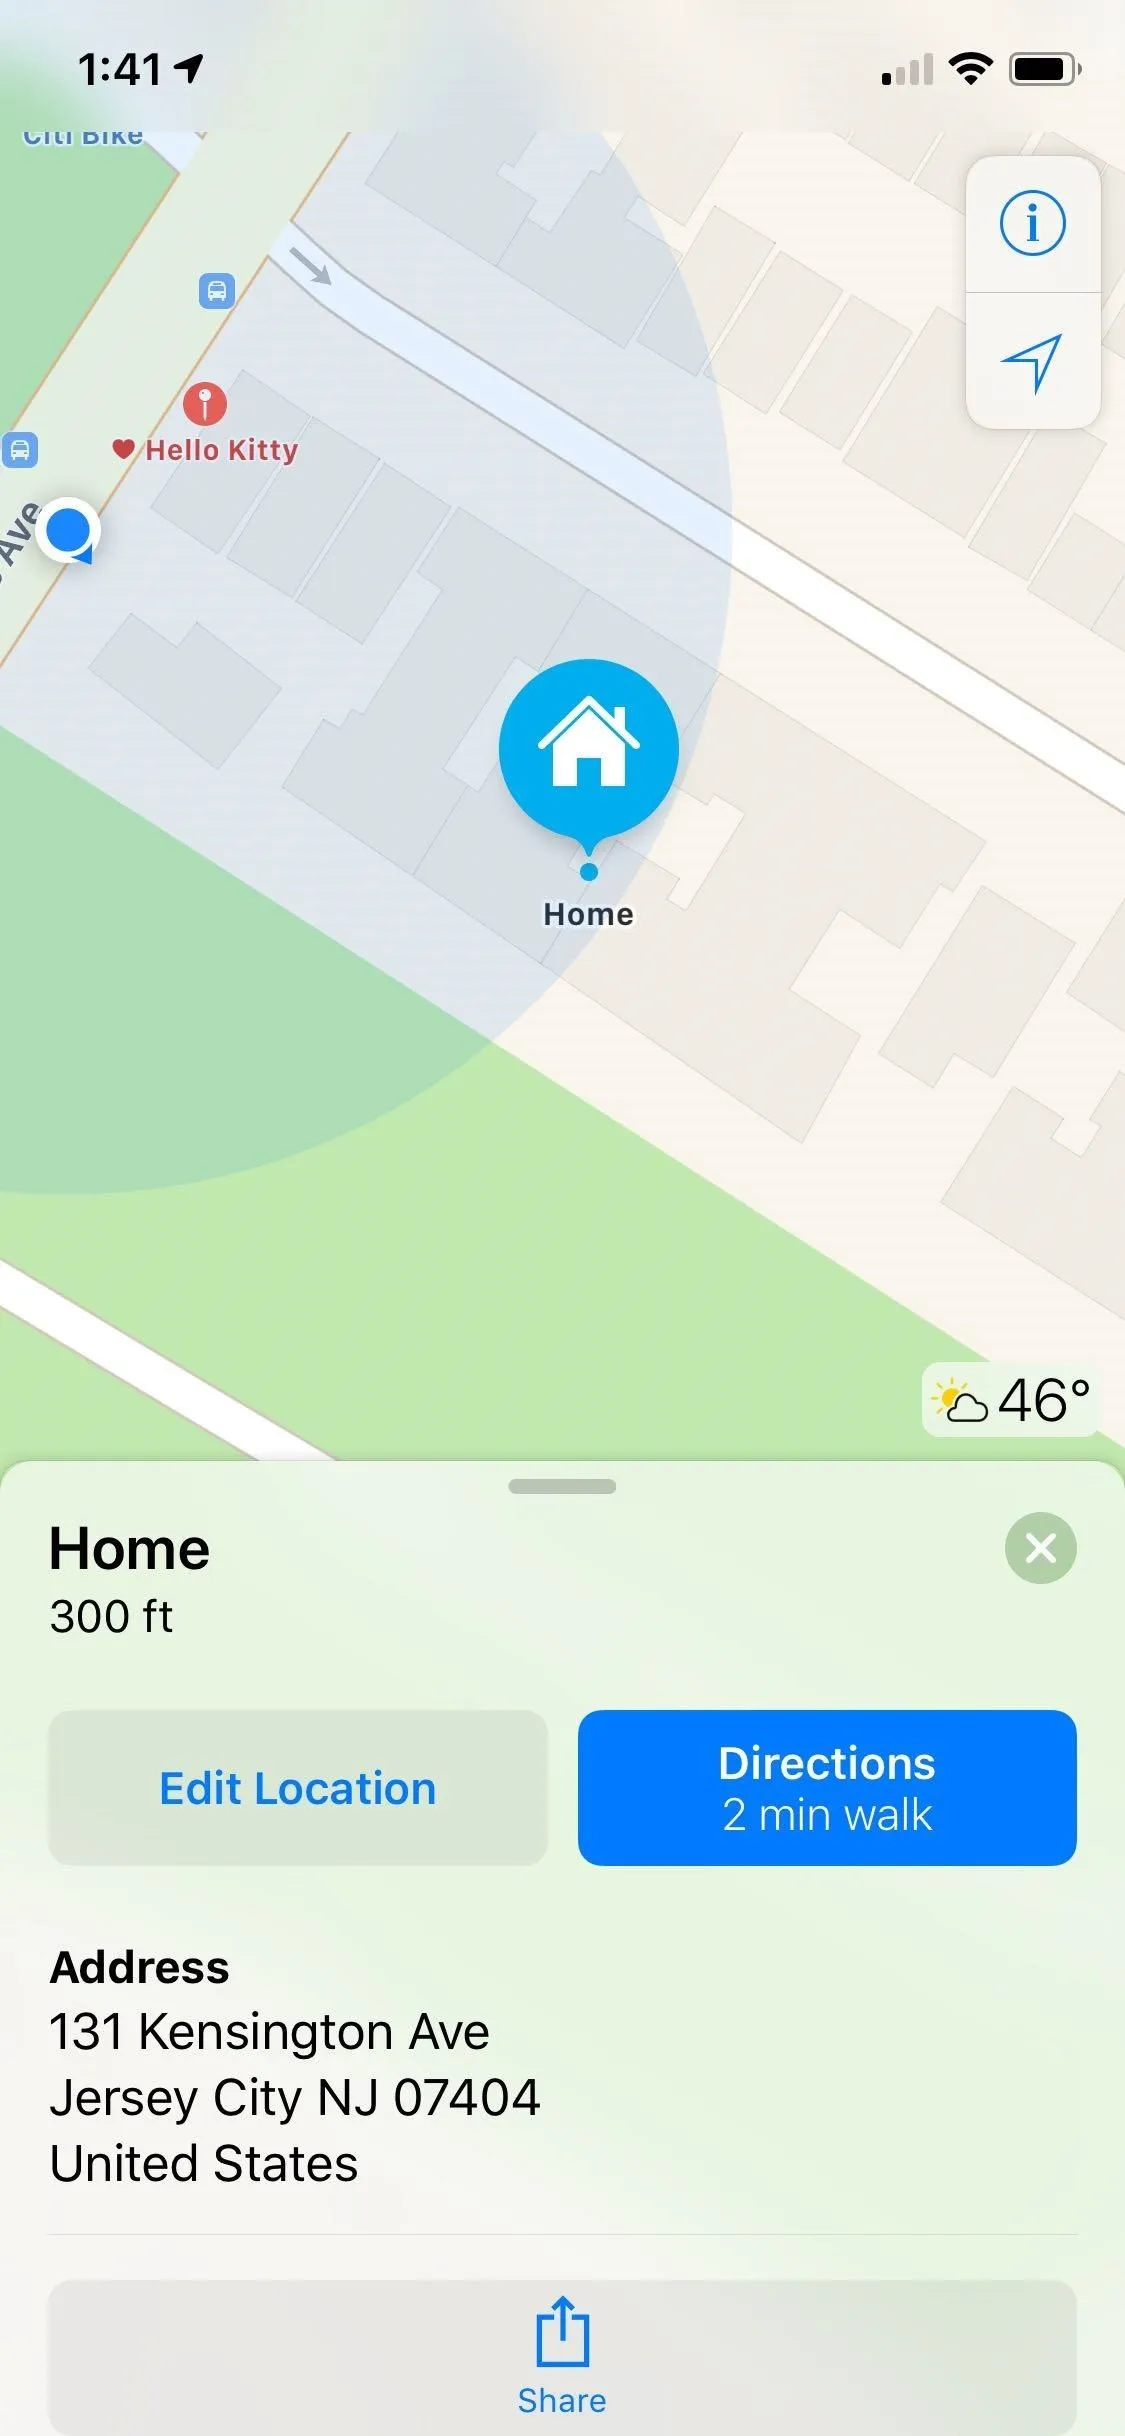
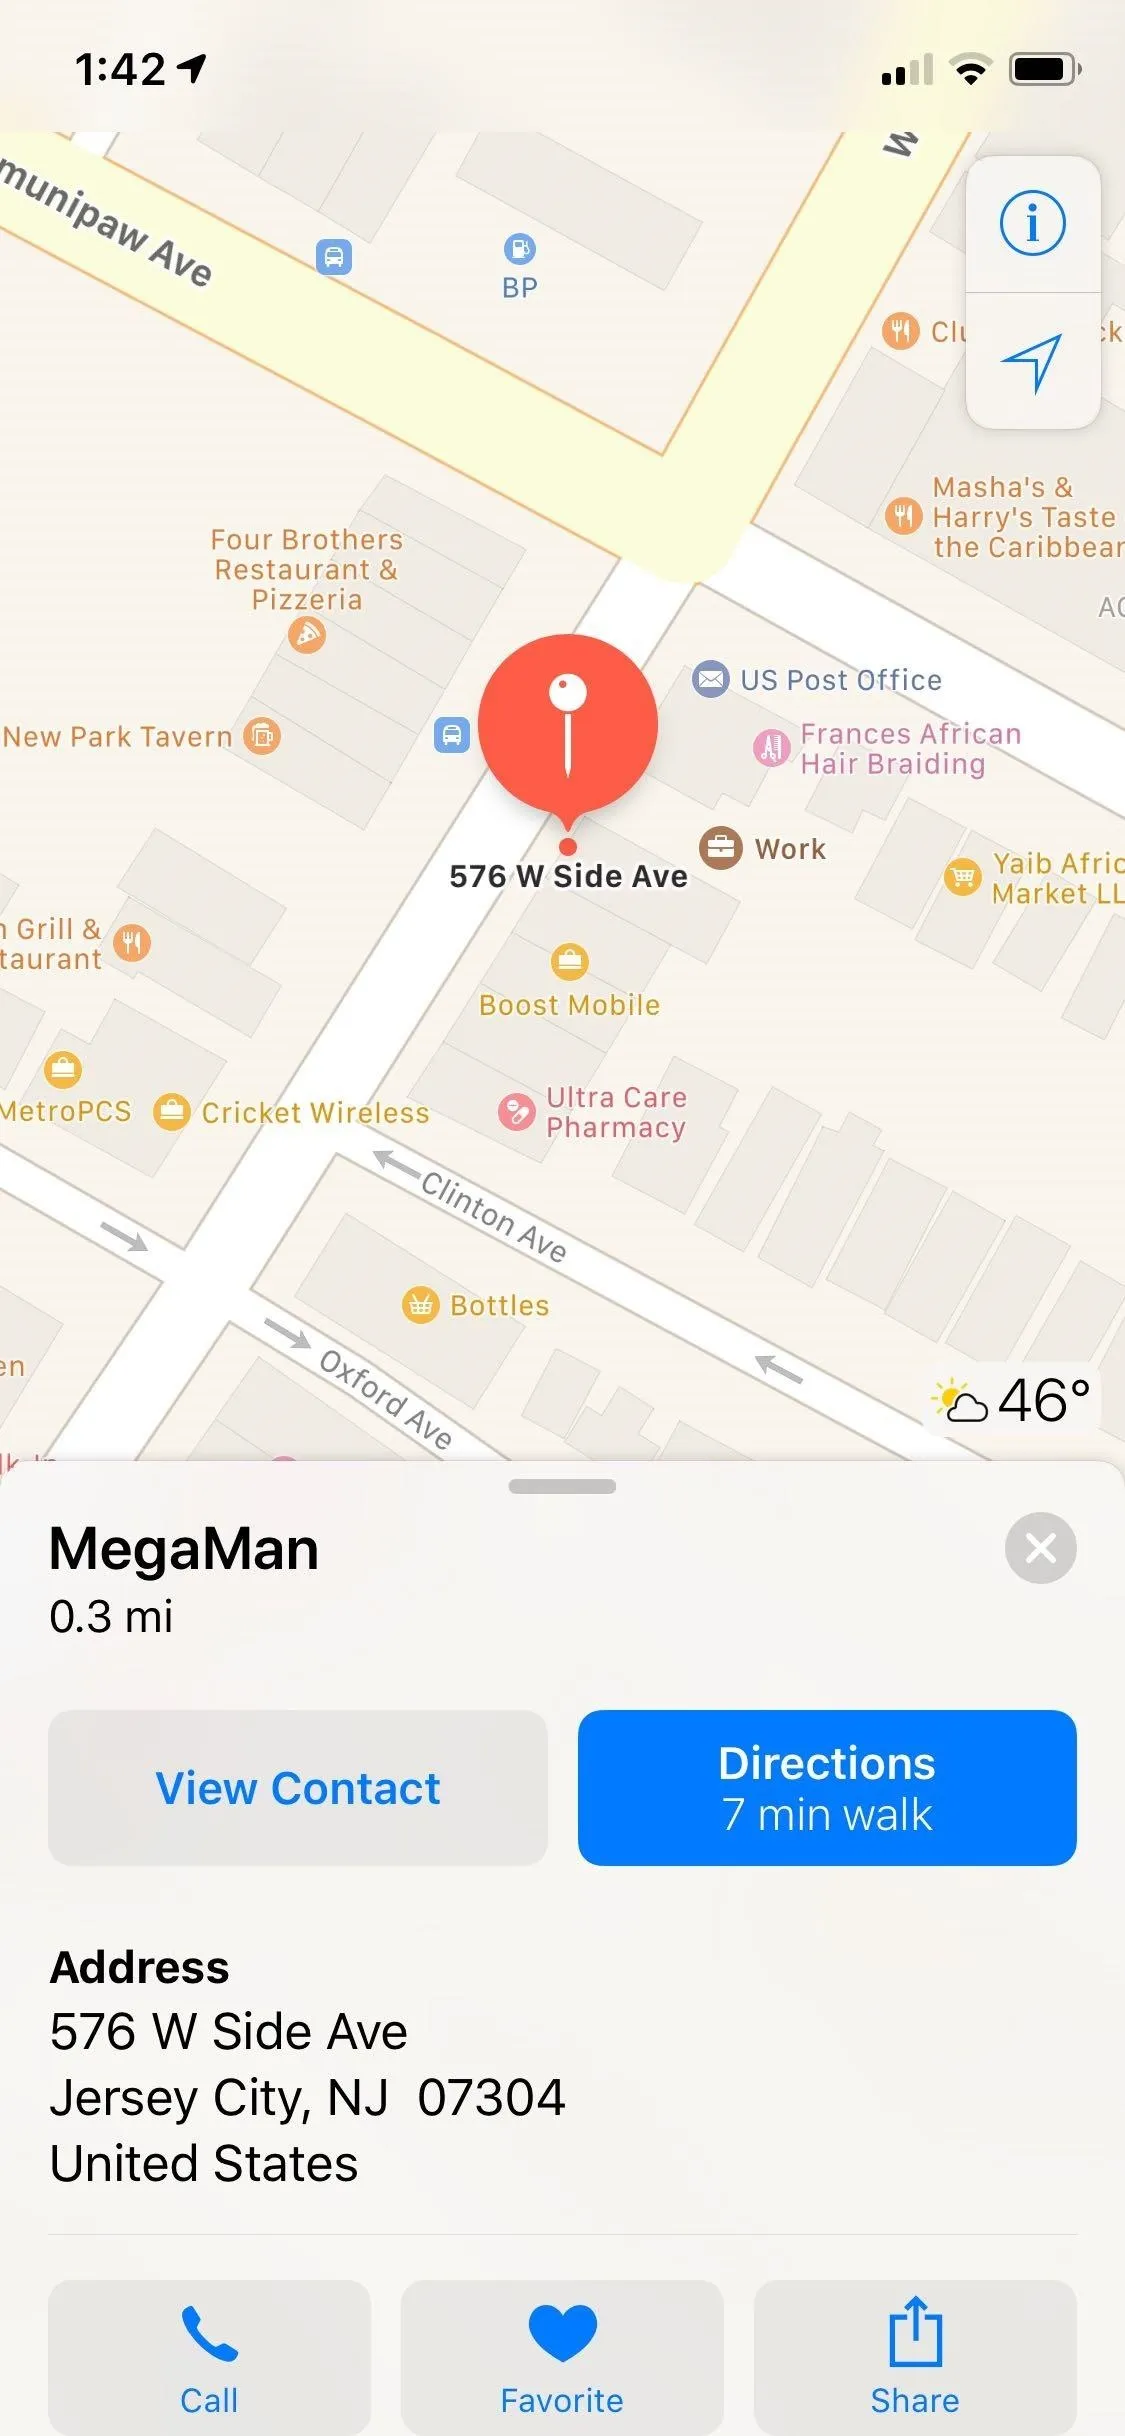


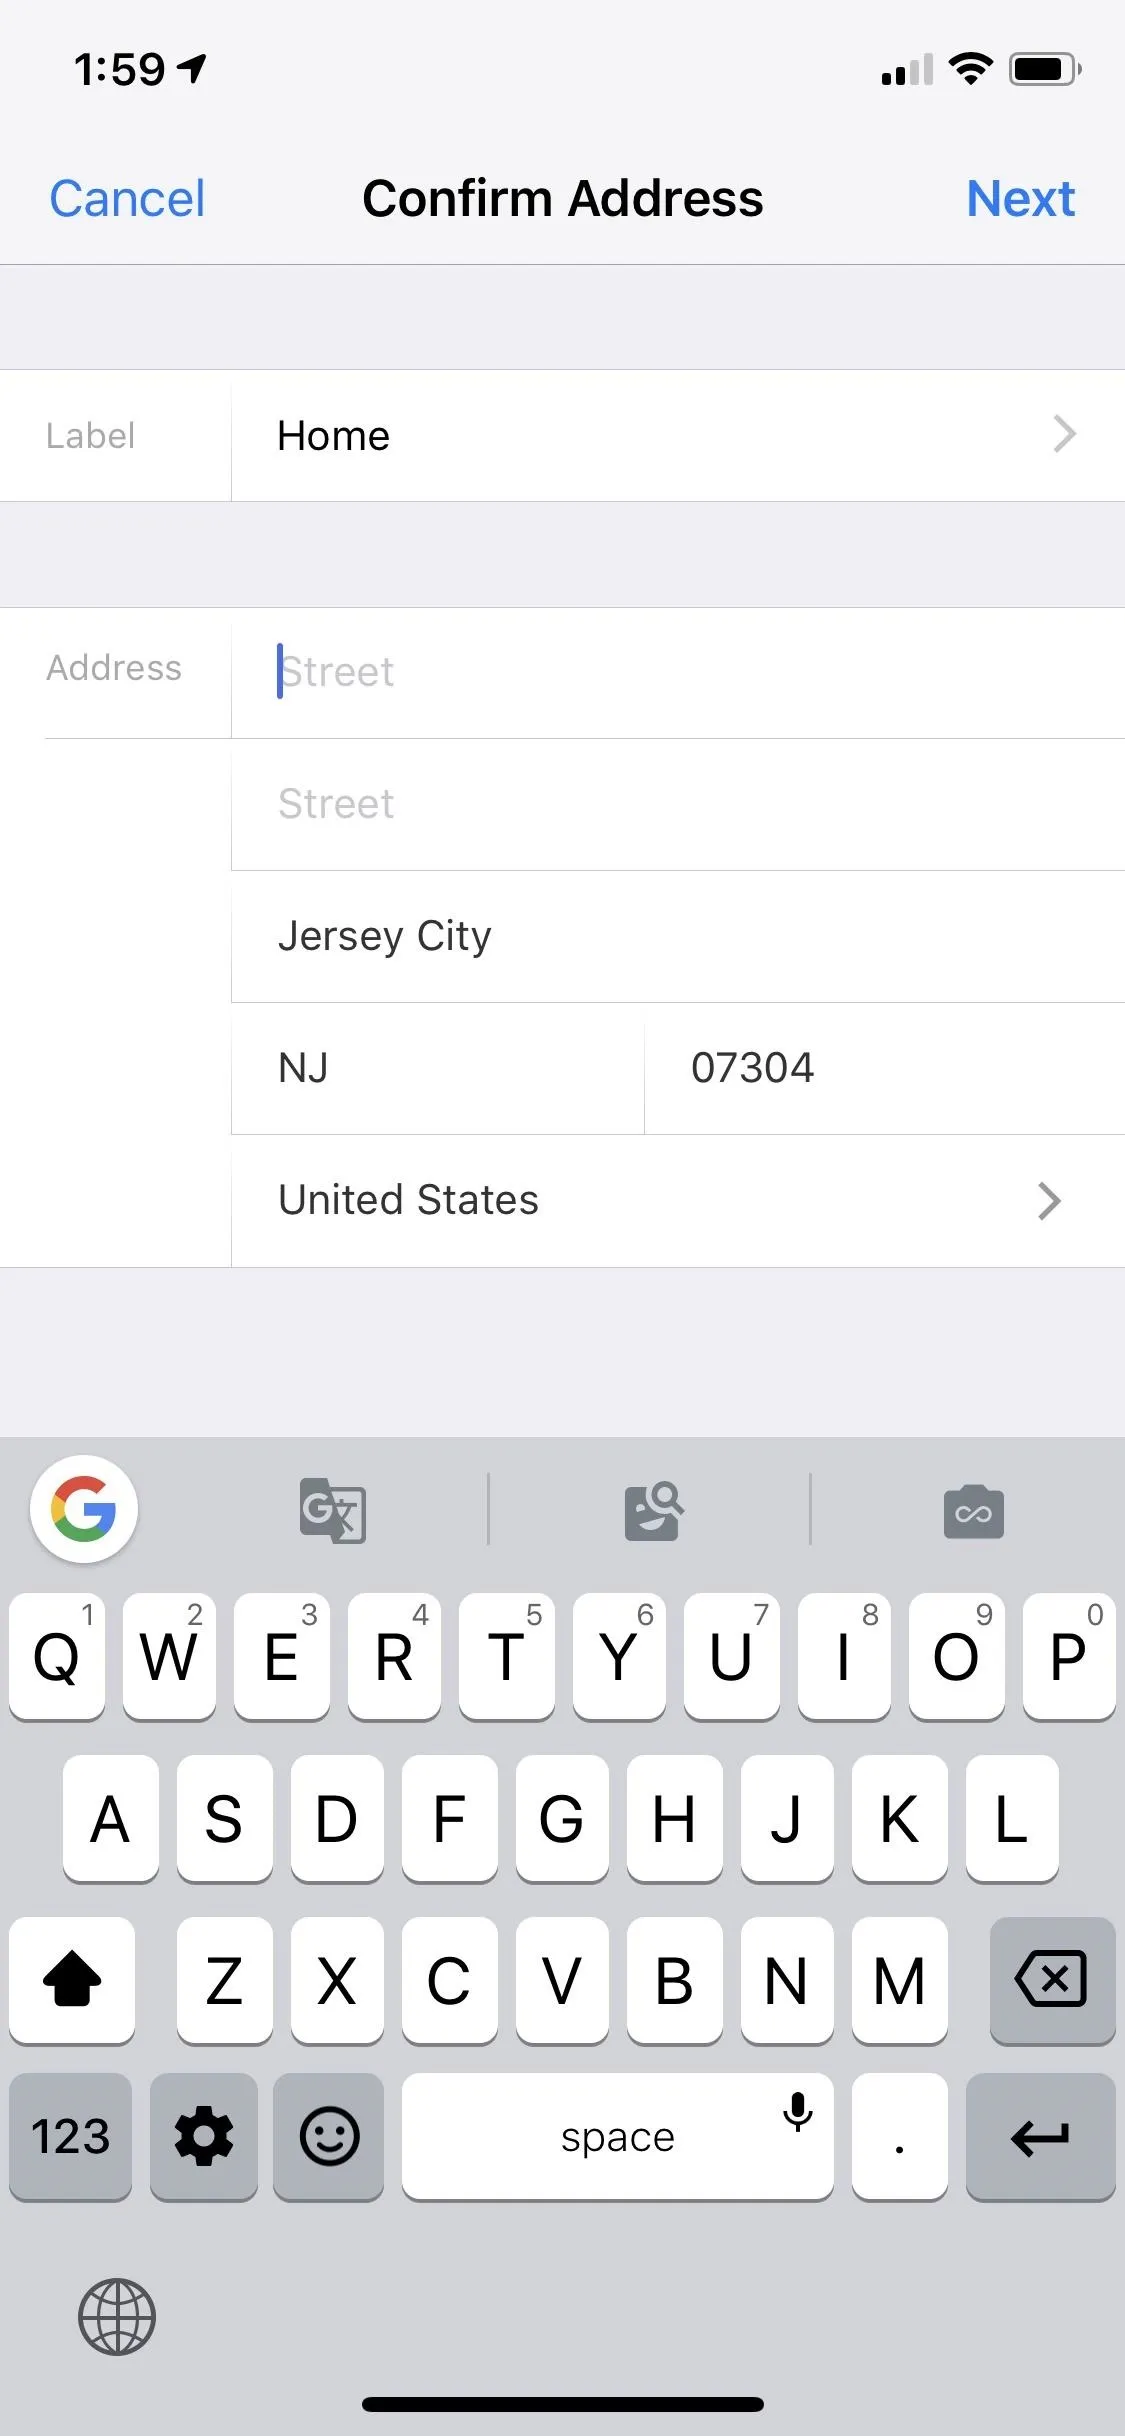
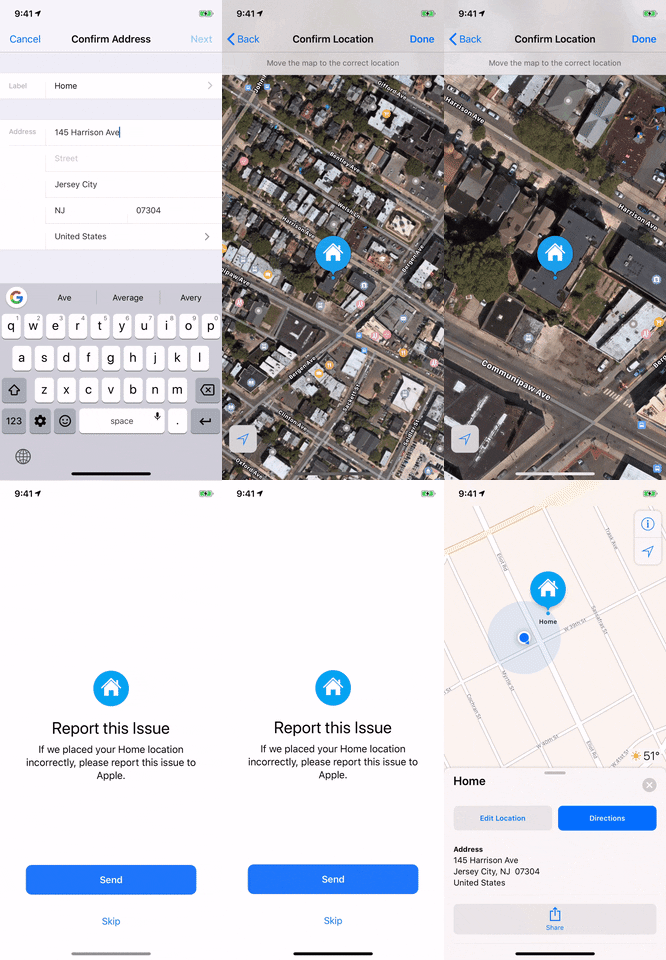
If you're just changing your work or home address, a quick edit box will pop up. You can tap on "home" next to Label to change the name to a custom one, otherwise, just update your address accordingly, then hit "Next" in the top right when done.
You'll now need to confirm the new address location on the map, so zoom in using the pinch-out gesture, and move it to its exact location if it wasn't already pinned there. If you move it to a different place, Apple will ask you to report the change to them so they can update their maps overall, if necessary.
Tap on "Done" once you're finished to go back to the main screen. Your new home or work address will now be saved in both Apple Maps and the Contact App.


This article was produced during Gadget Hacks' special coverage on traveling with your smartphone. Check out the whole Travel series.
- Follow Gadget Hacks on Pinterest, Reddit, Twitter, YouTube, and Flipboard
- Sign up for Gadget Hacks' daily newsletter or weekly Android and iOS updates
- Follow WonderHowTo on Facebook, Twitter, Pinterest, and Flipboard
Cover image, screenshots, and GIFs by Amboy Manalo/Gadget Hacks


Comments
No Comments Exist
Be the first, drop a comment!