You can send and receive money from your iPhone using Venmo, Square Cash, Facebook Messenger, and even Snapchat. There's also Zelle, which offers quick-pay solutions in major banking apps such as Bank of America, Chase, and Wells Fargo. However, Apple has a built-in system to transfer money, with person-to-person payments being available in the Messages app ever since iOS 11.2.
Apple was originally supposed to release its Apple Pay Cash system in iOS 11.0, but it didn't actually appear until iOS 11.2. That's not important right now though. All you need to know is that your iPhone should be running iOS 11.2 or higher, so iOS 12 will work just fine, in order to take advantage of Apple Pay Cash.
Step 1: Set Up Apple Pay Cash
To send and receive money, you first have to set up Apple Pay Cash. This can be done in a couple of ways. But before trying either way out, you need to enable two-factor authentication on your iCloud account. So get that out of the way before continuing, or you'll be asked to set it up during the process.
Also, you must be using an iPhone 6 or later, be at least 18 years old, and you must be in the US and have a US credit or debit card and social security card if authentication is ever needed.
Method 1: Straight from Messages
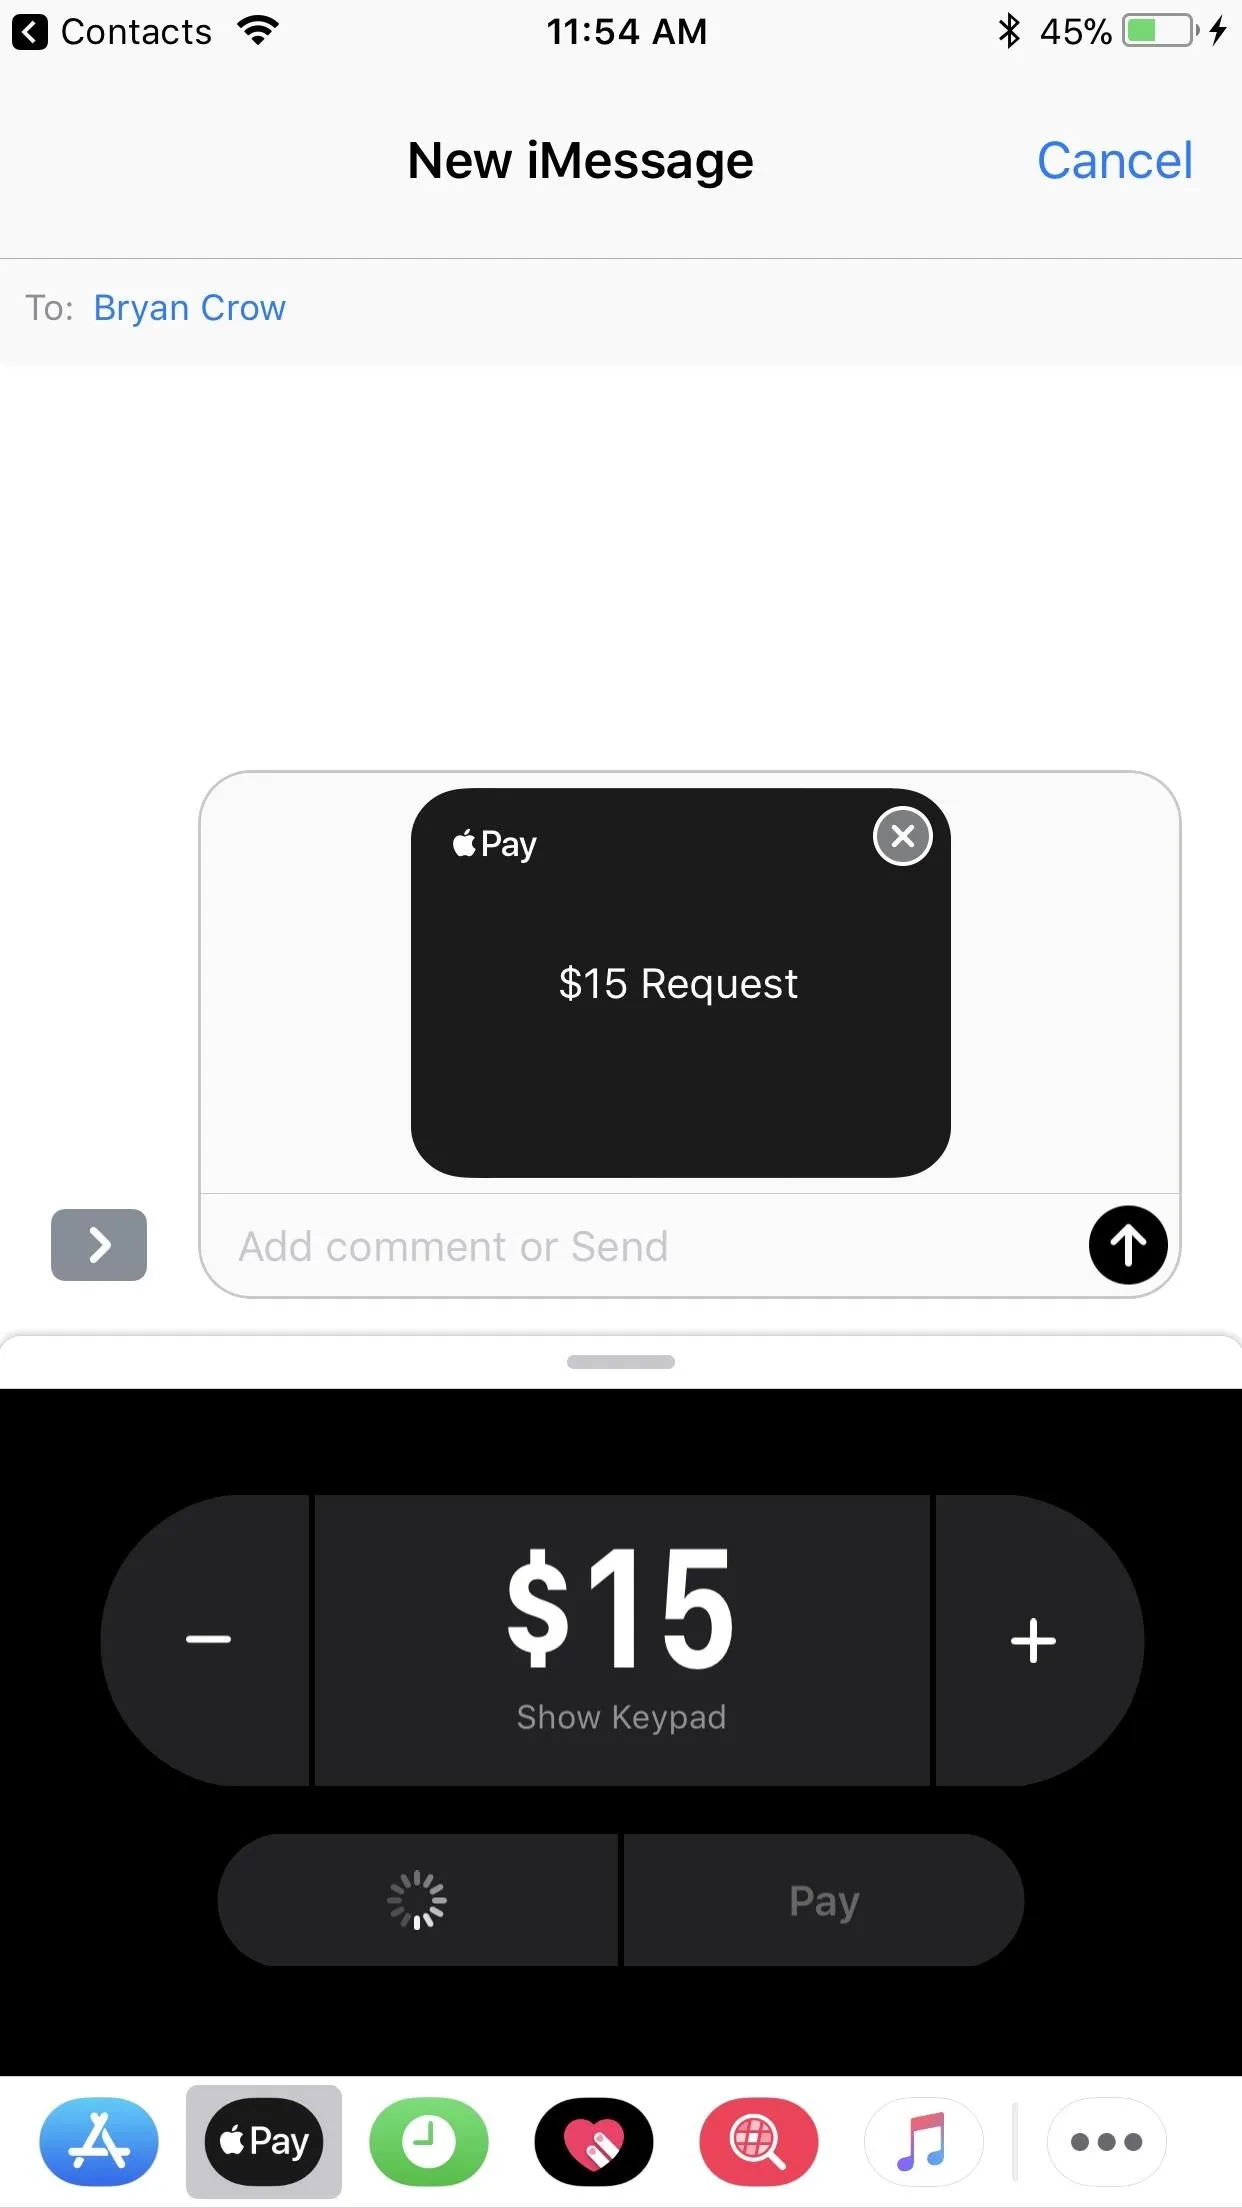
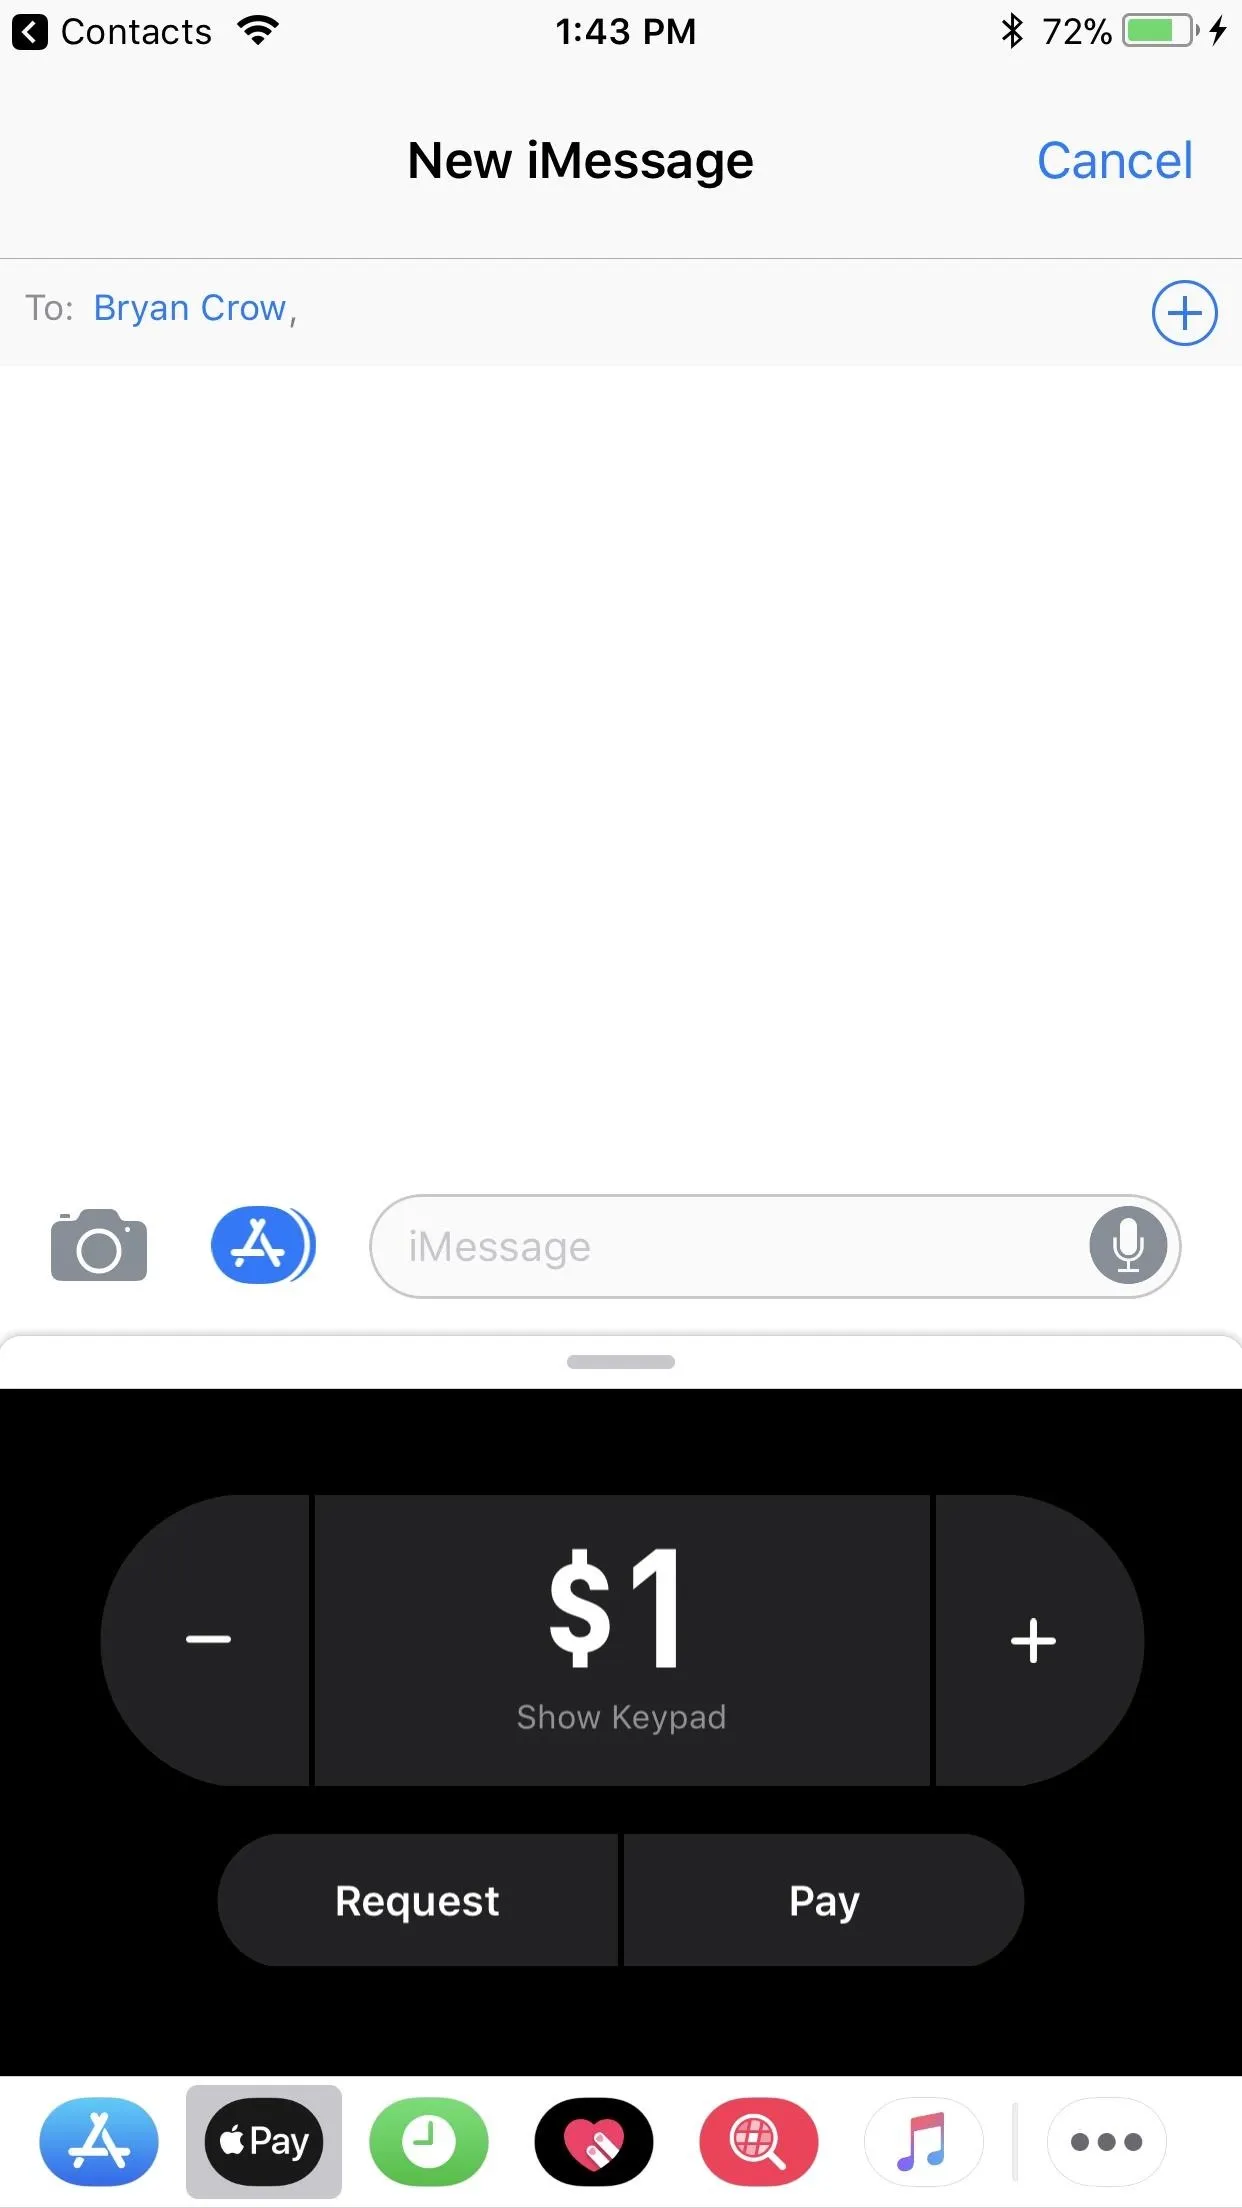
You can open up the Messages app, then select the Apple Pay Cash icon from the iMessage app drawer. This will bring up the Request/Pay screen, where you can adjust the amount you want to ask for or give to somebody.
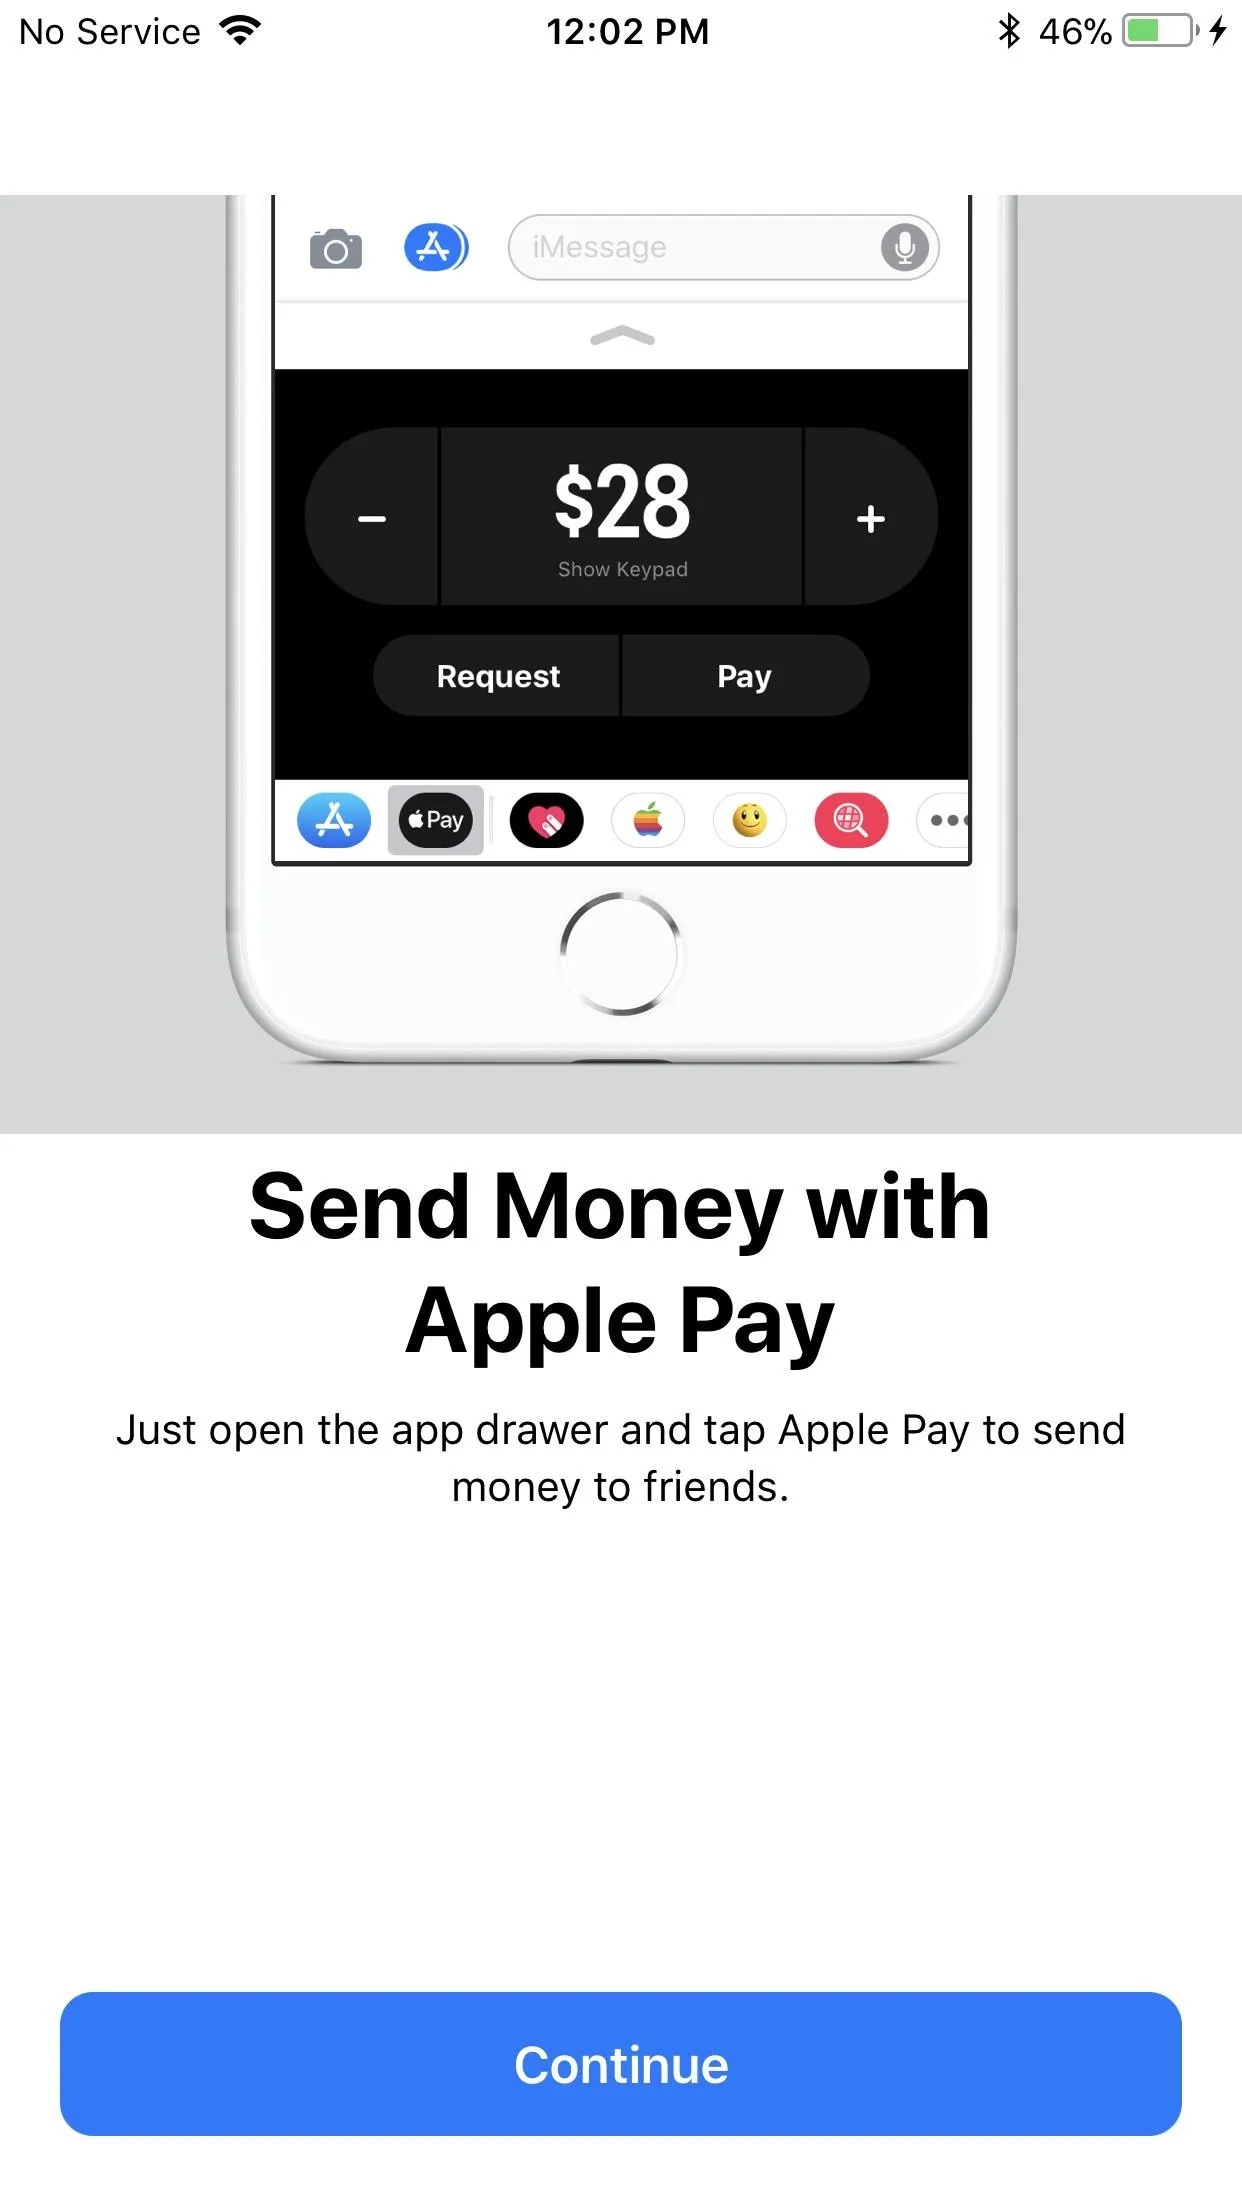
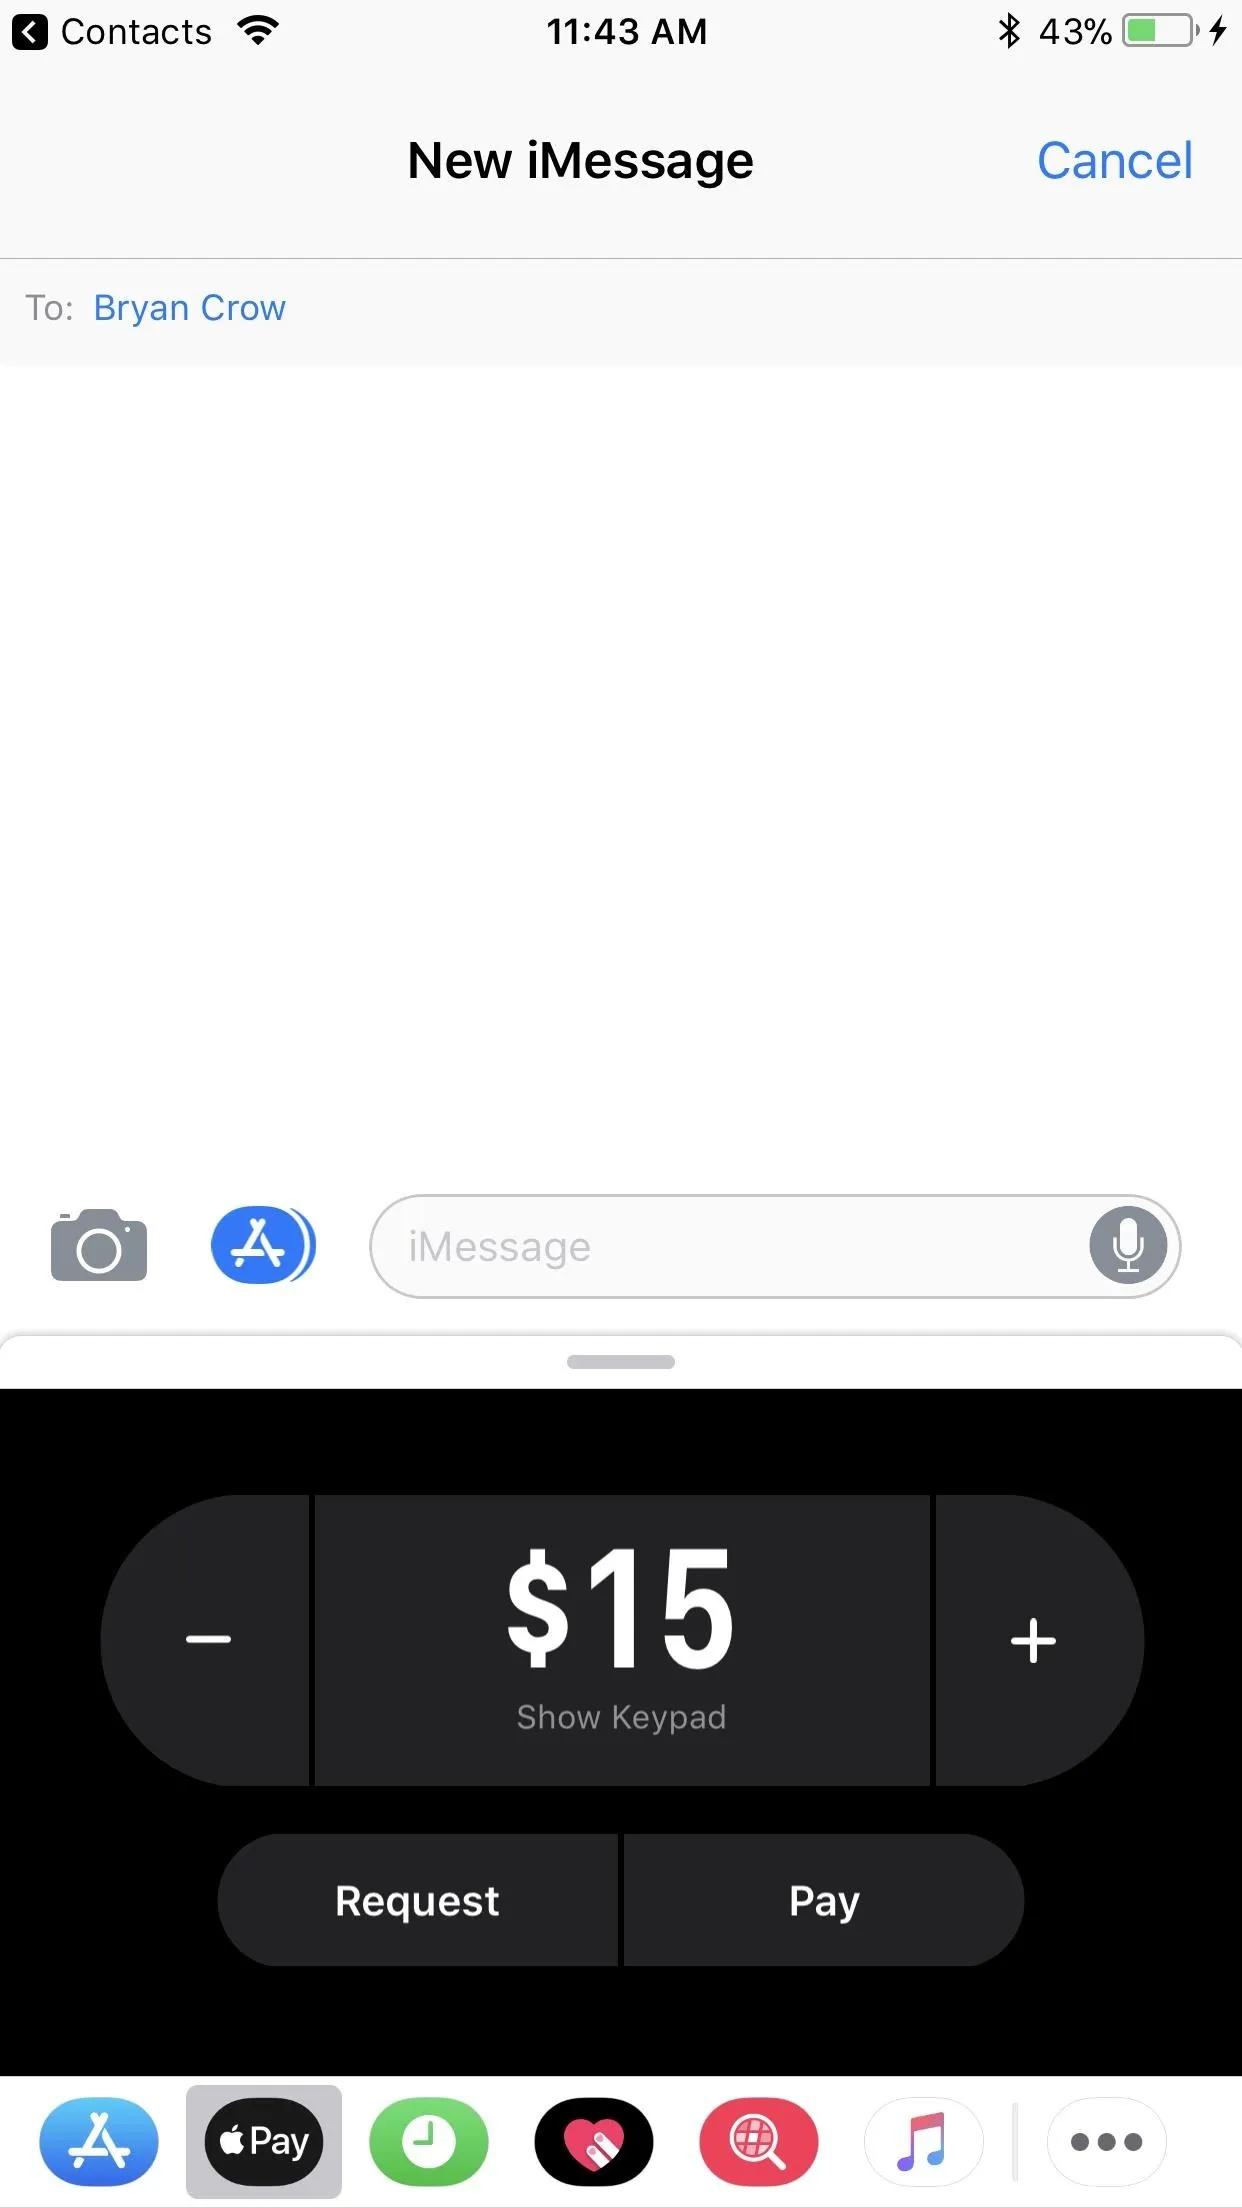


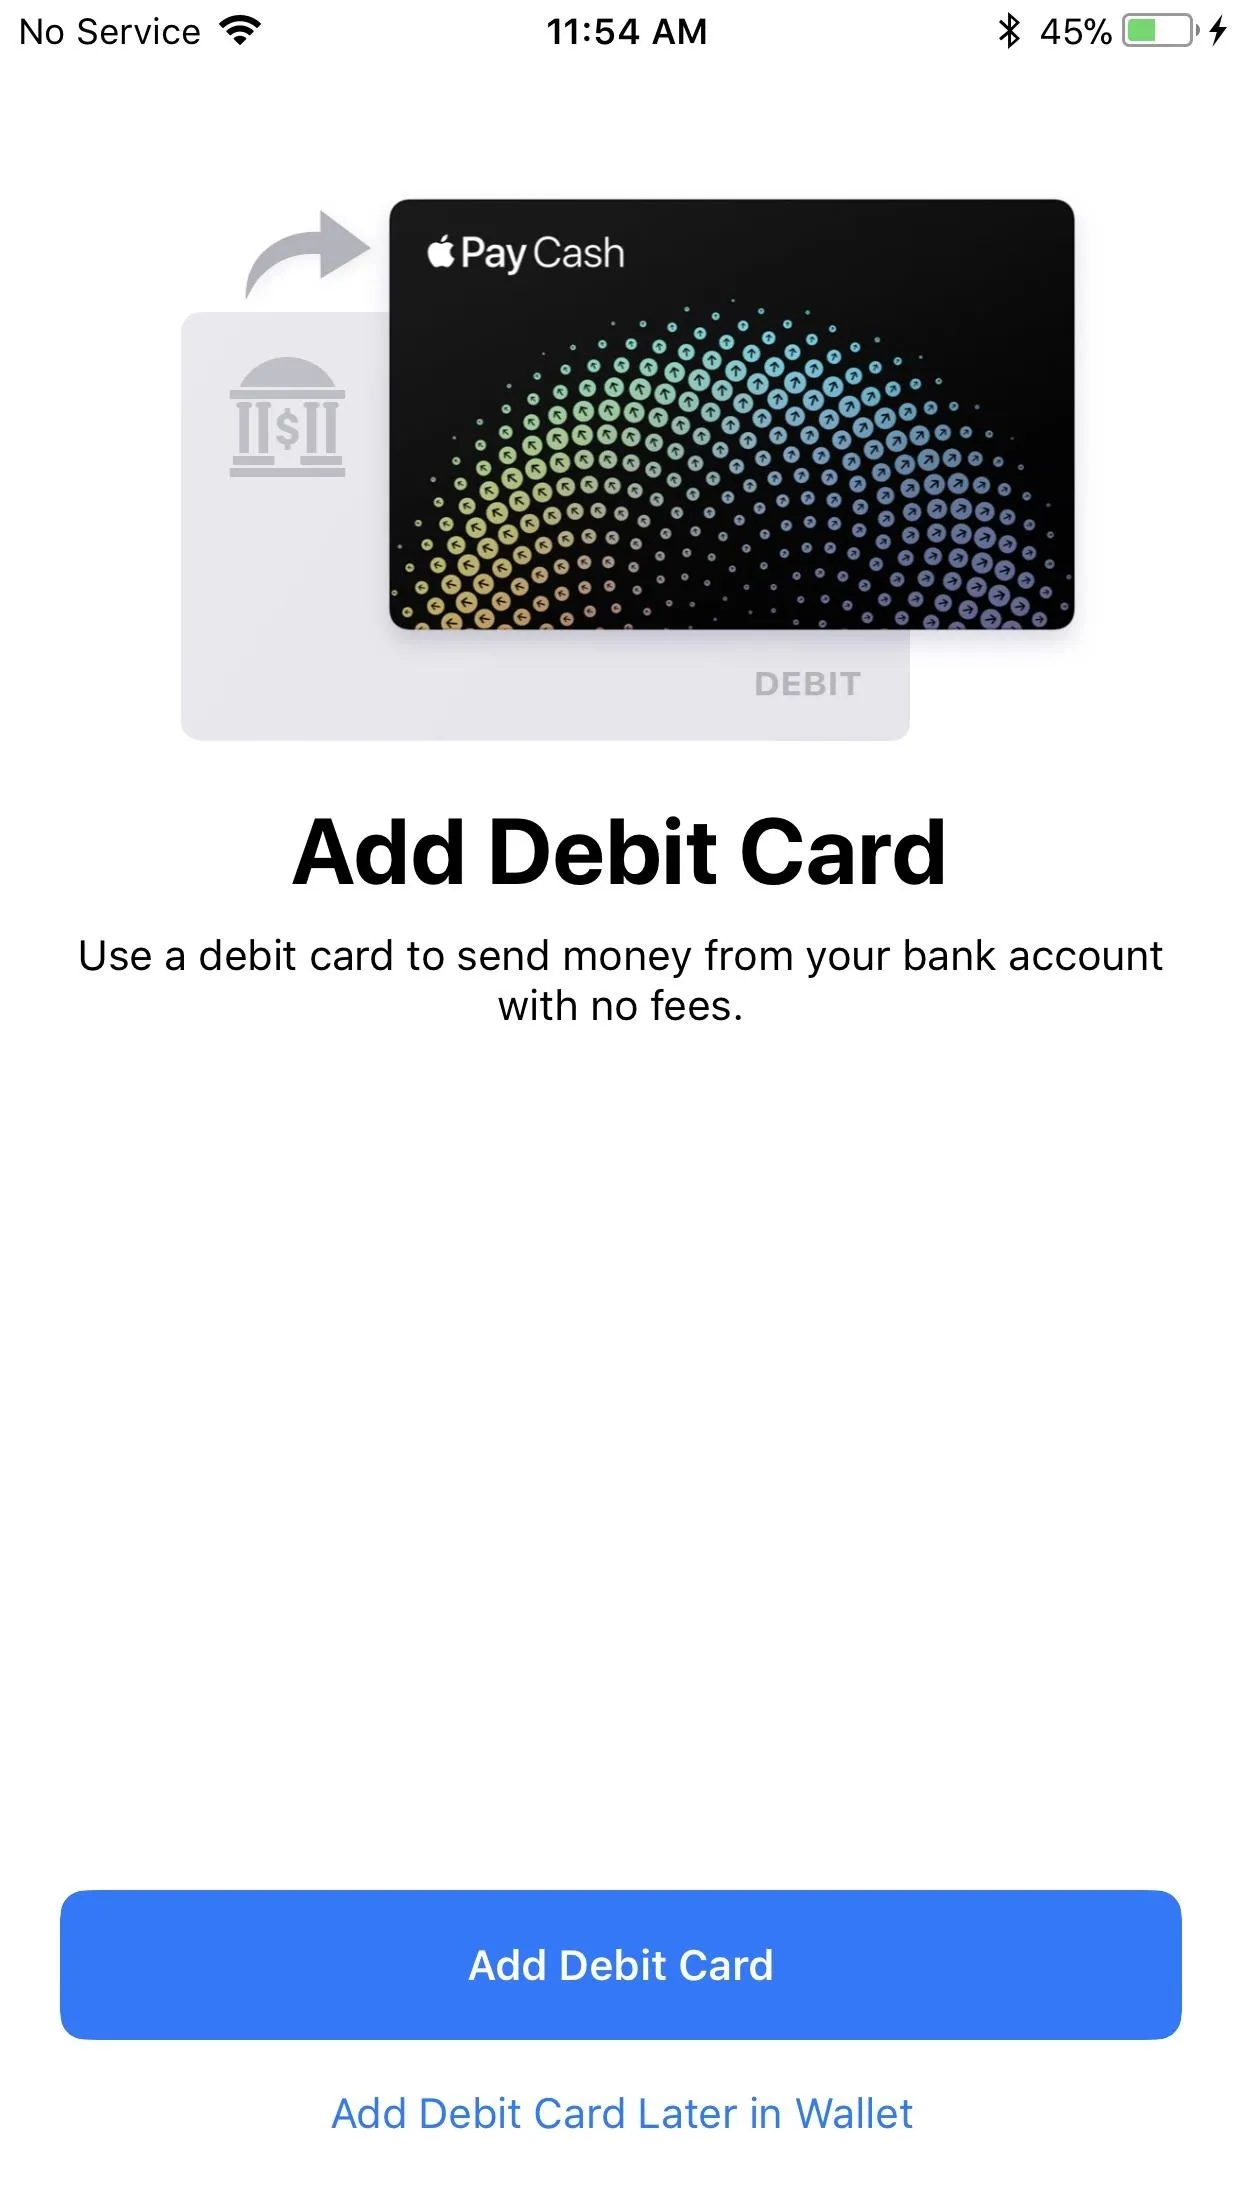
After selecting the "Request" or "Pay" button, you'll have to go through a few prompts to agree to the terms and conditions and add a debit card (if you want to).
You don't need a debit card on file to send or receive Apple Pay Cash, so you can select "Add Debit Card Later in Wallet" at this time. Of course, if you don't receive any Apple Pay Cash before attempting to send some, you will, of course, need a debit card on file to add to your Apple Pay Cash balance.
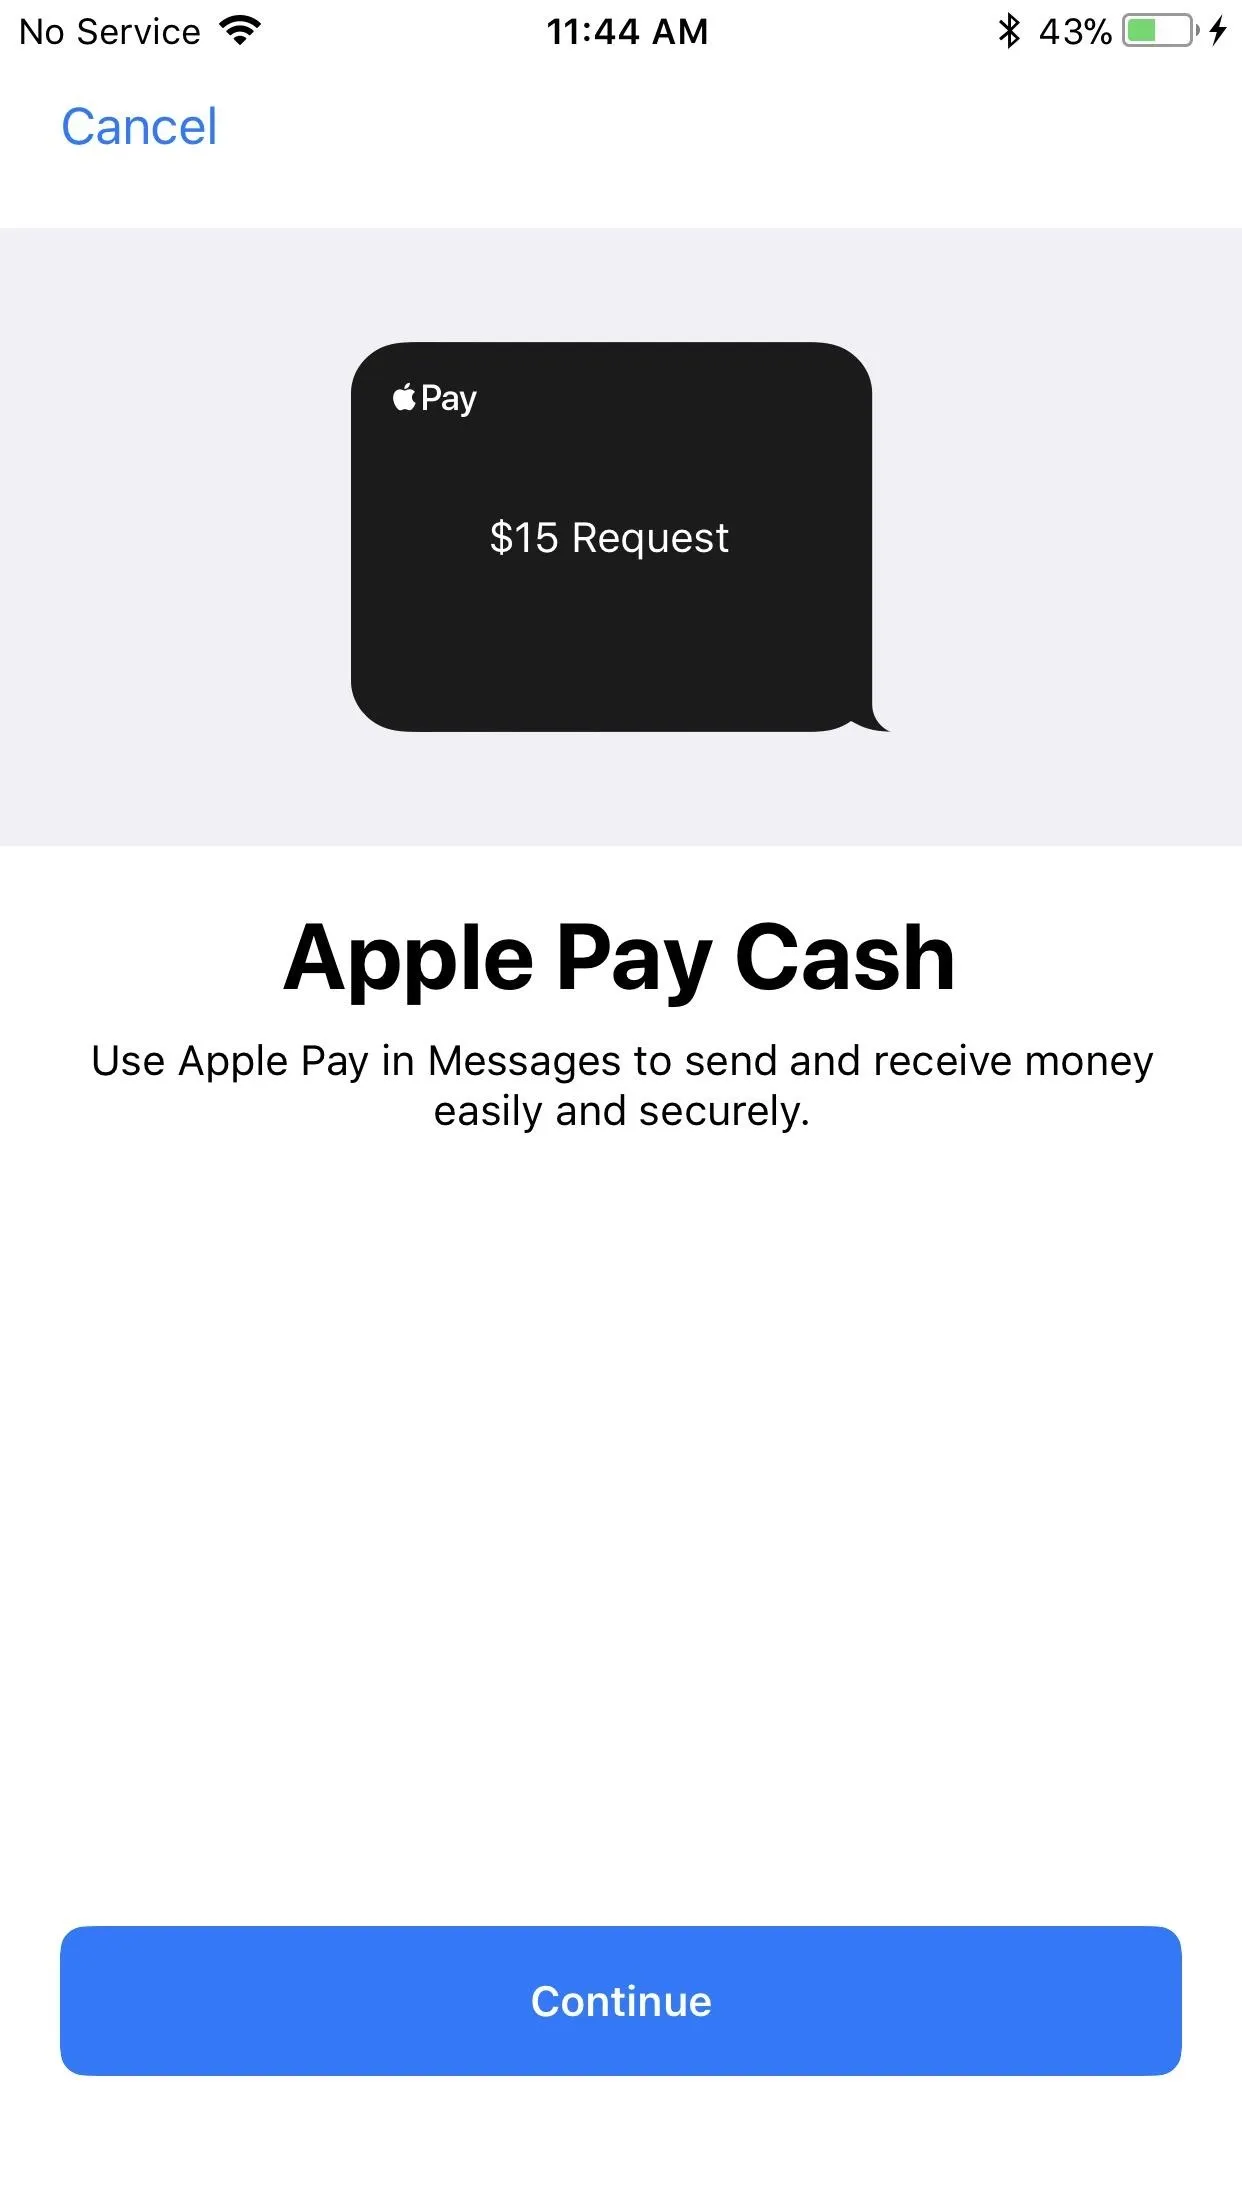
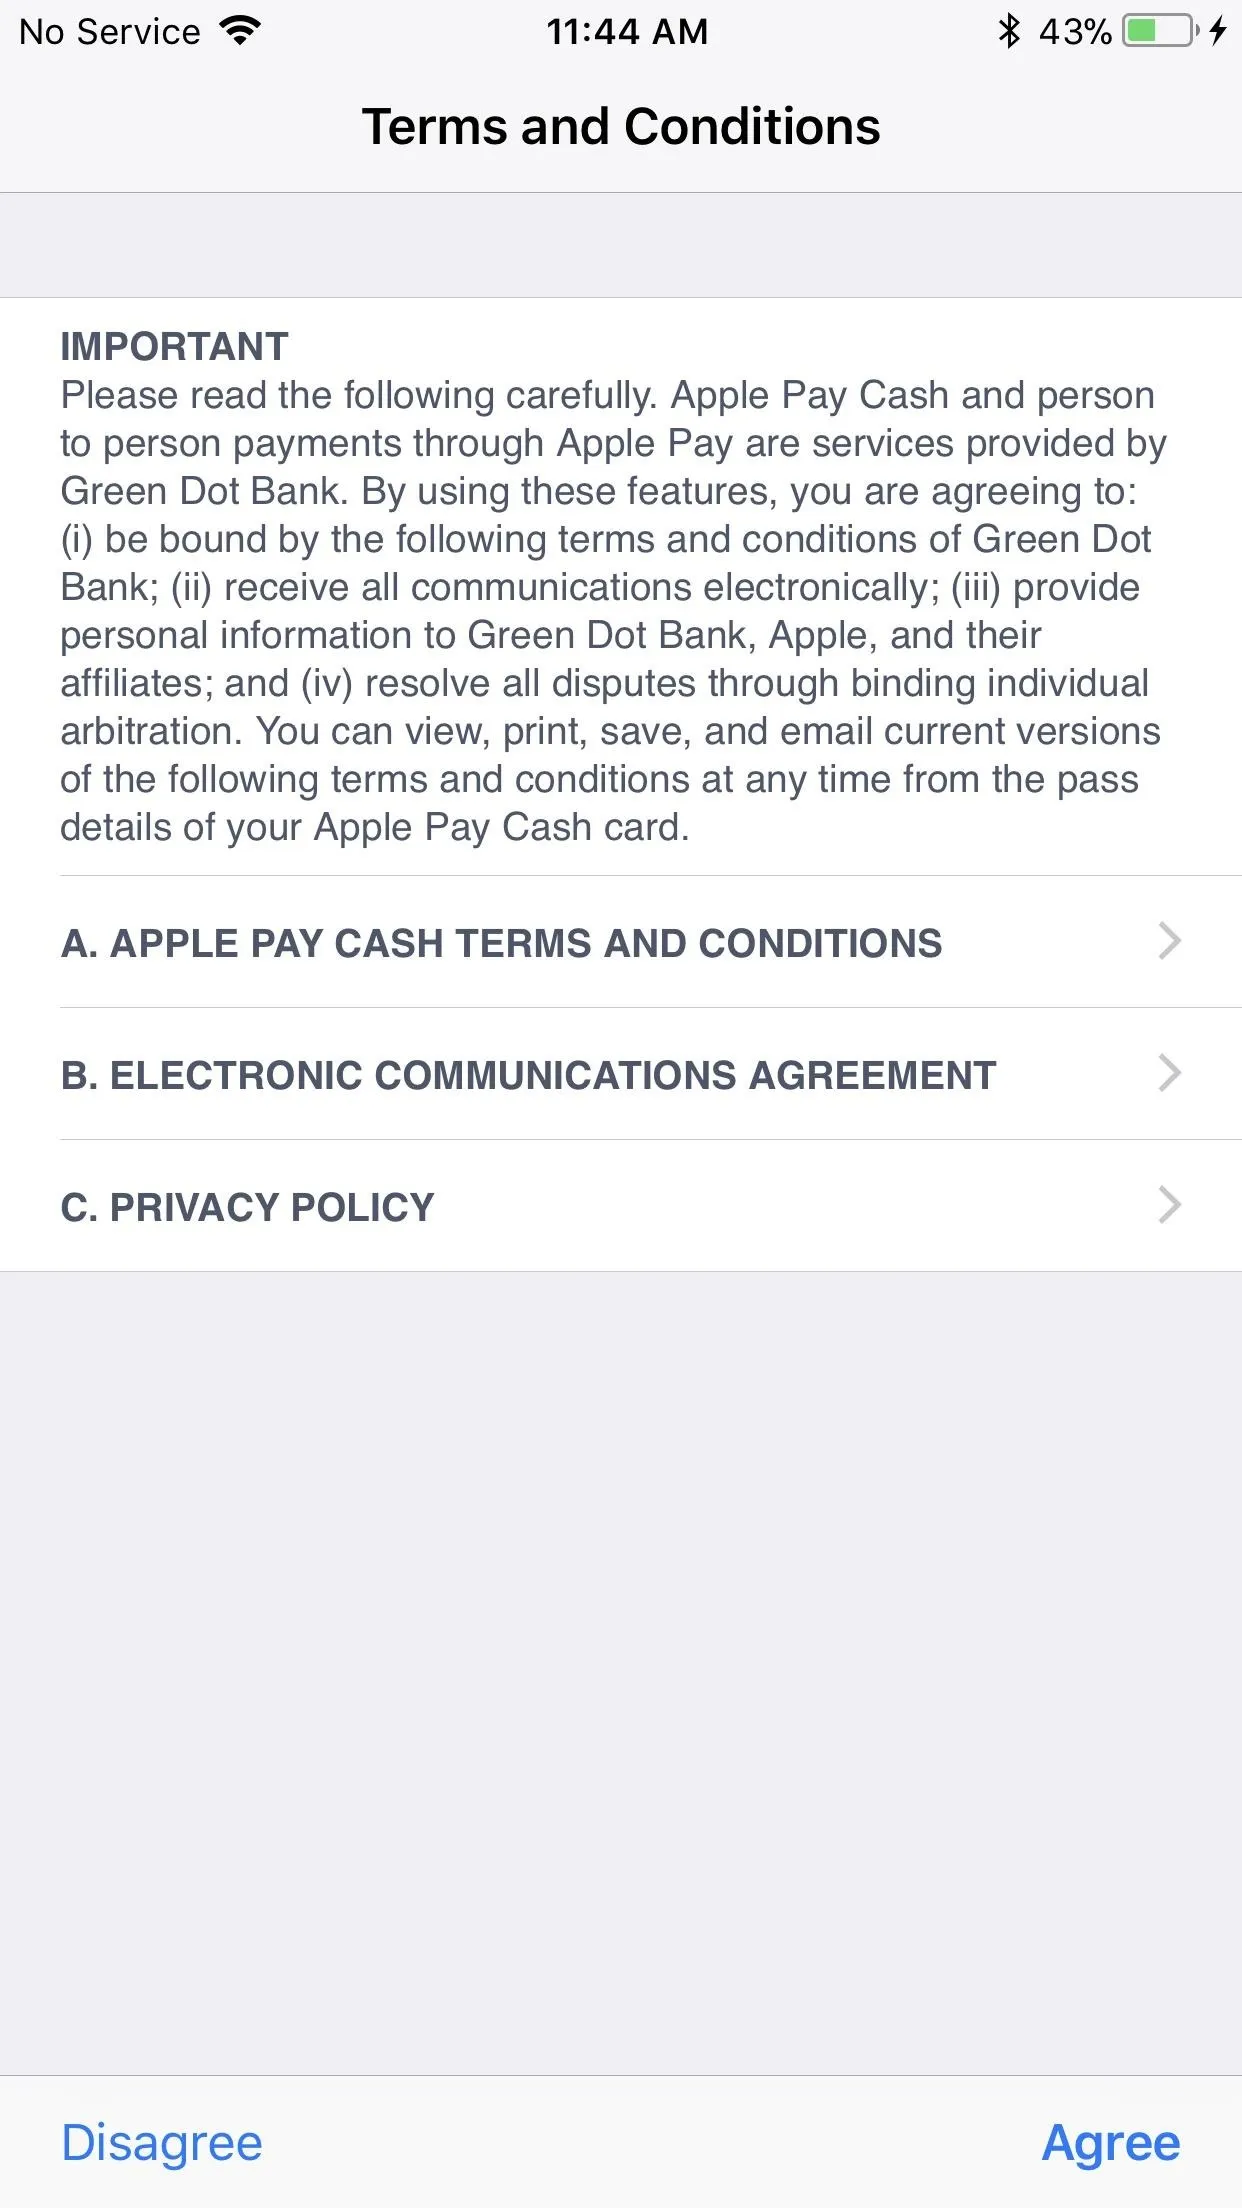


Method 2: From the Settings
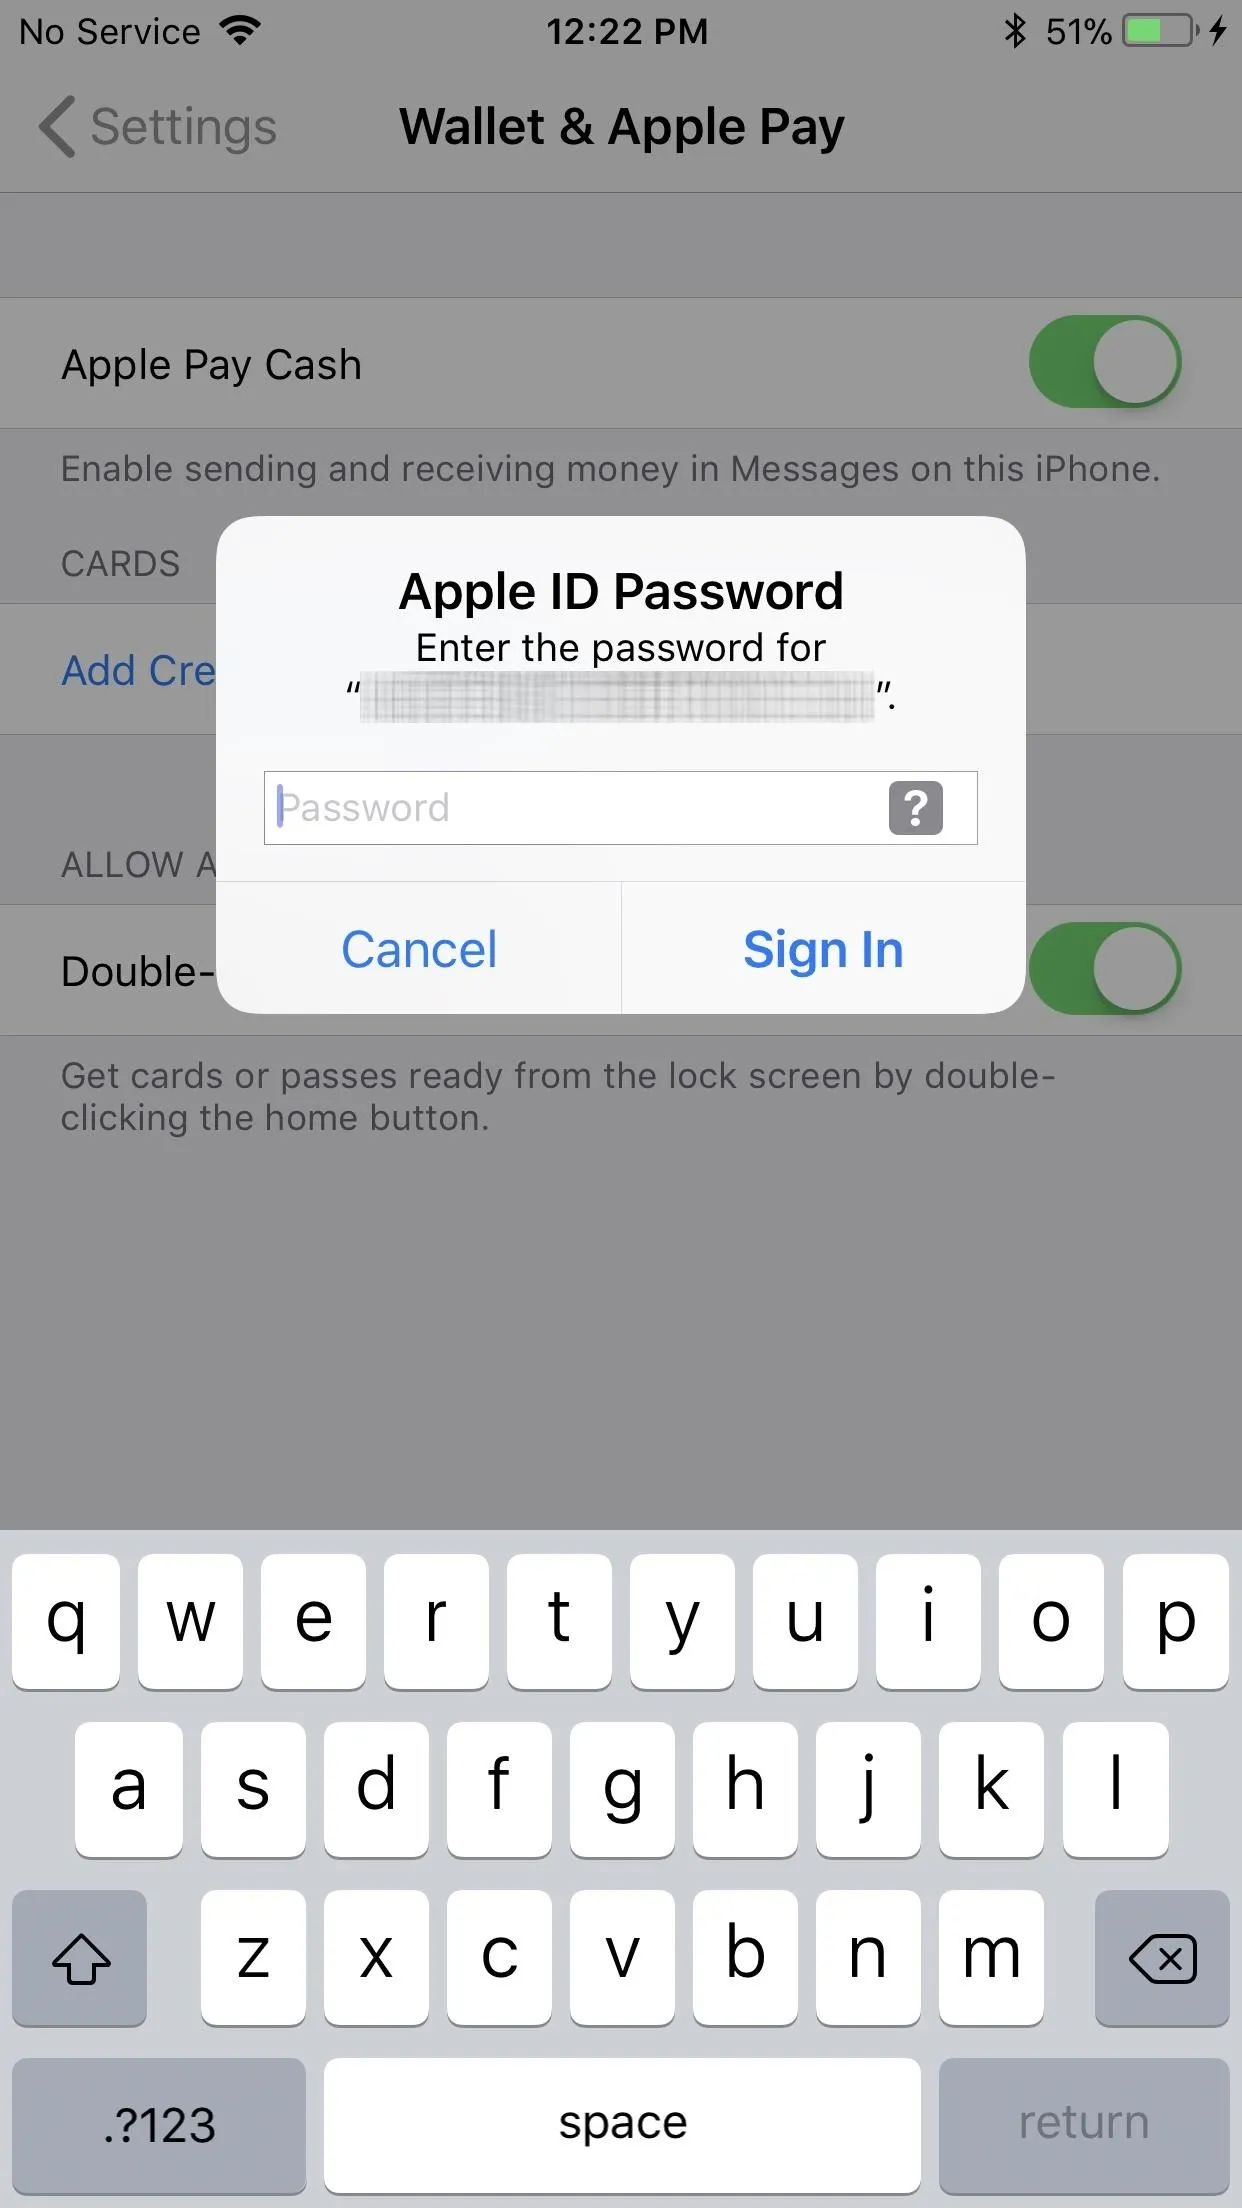
You can also set up Apple Pay Cash in the Settings app. Just head to "Wallet & Apple Pay," then tap on the "Apple Pay Cash" toggle to activate it. You will have to enter your Apple ID password to continue. Afterward, you'll have to agree to the terms and conditions just like above, and you'll get a chance to add a debit card if you want to, which would be a good idea if you plan on mostly sending money.
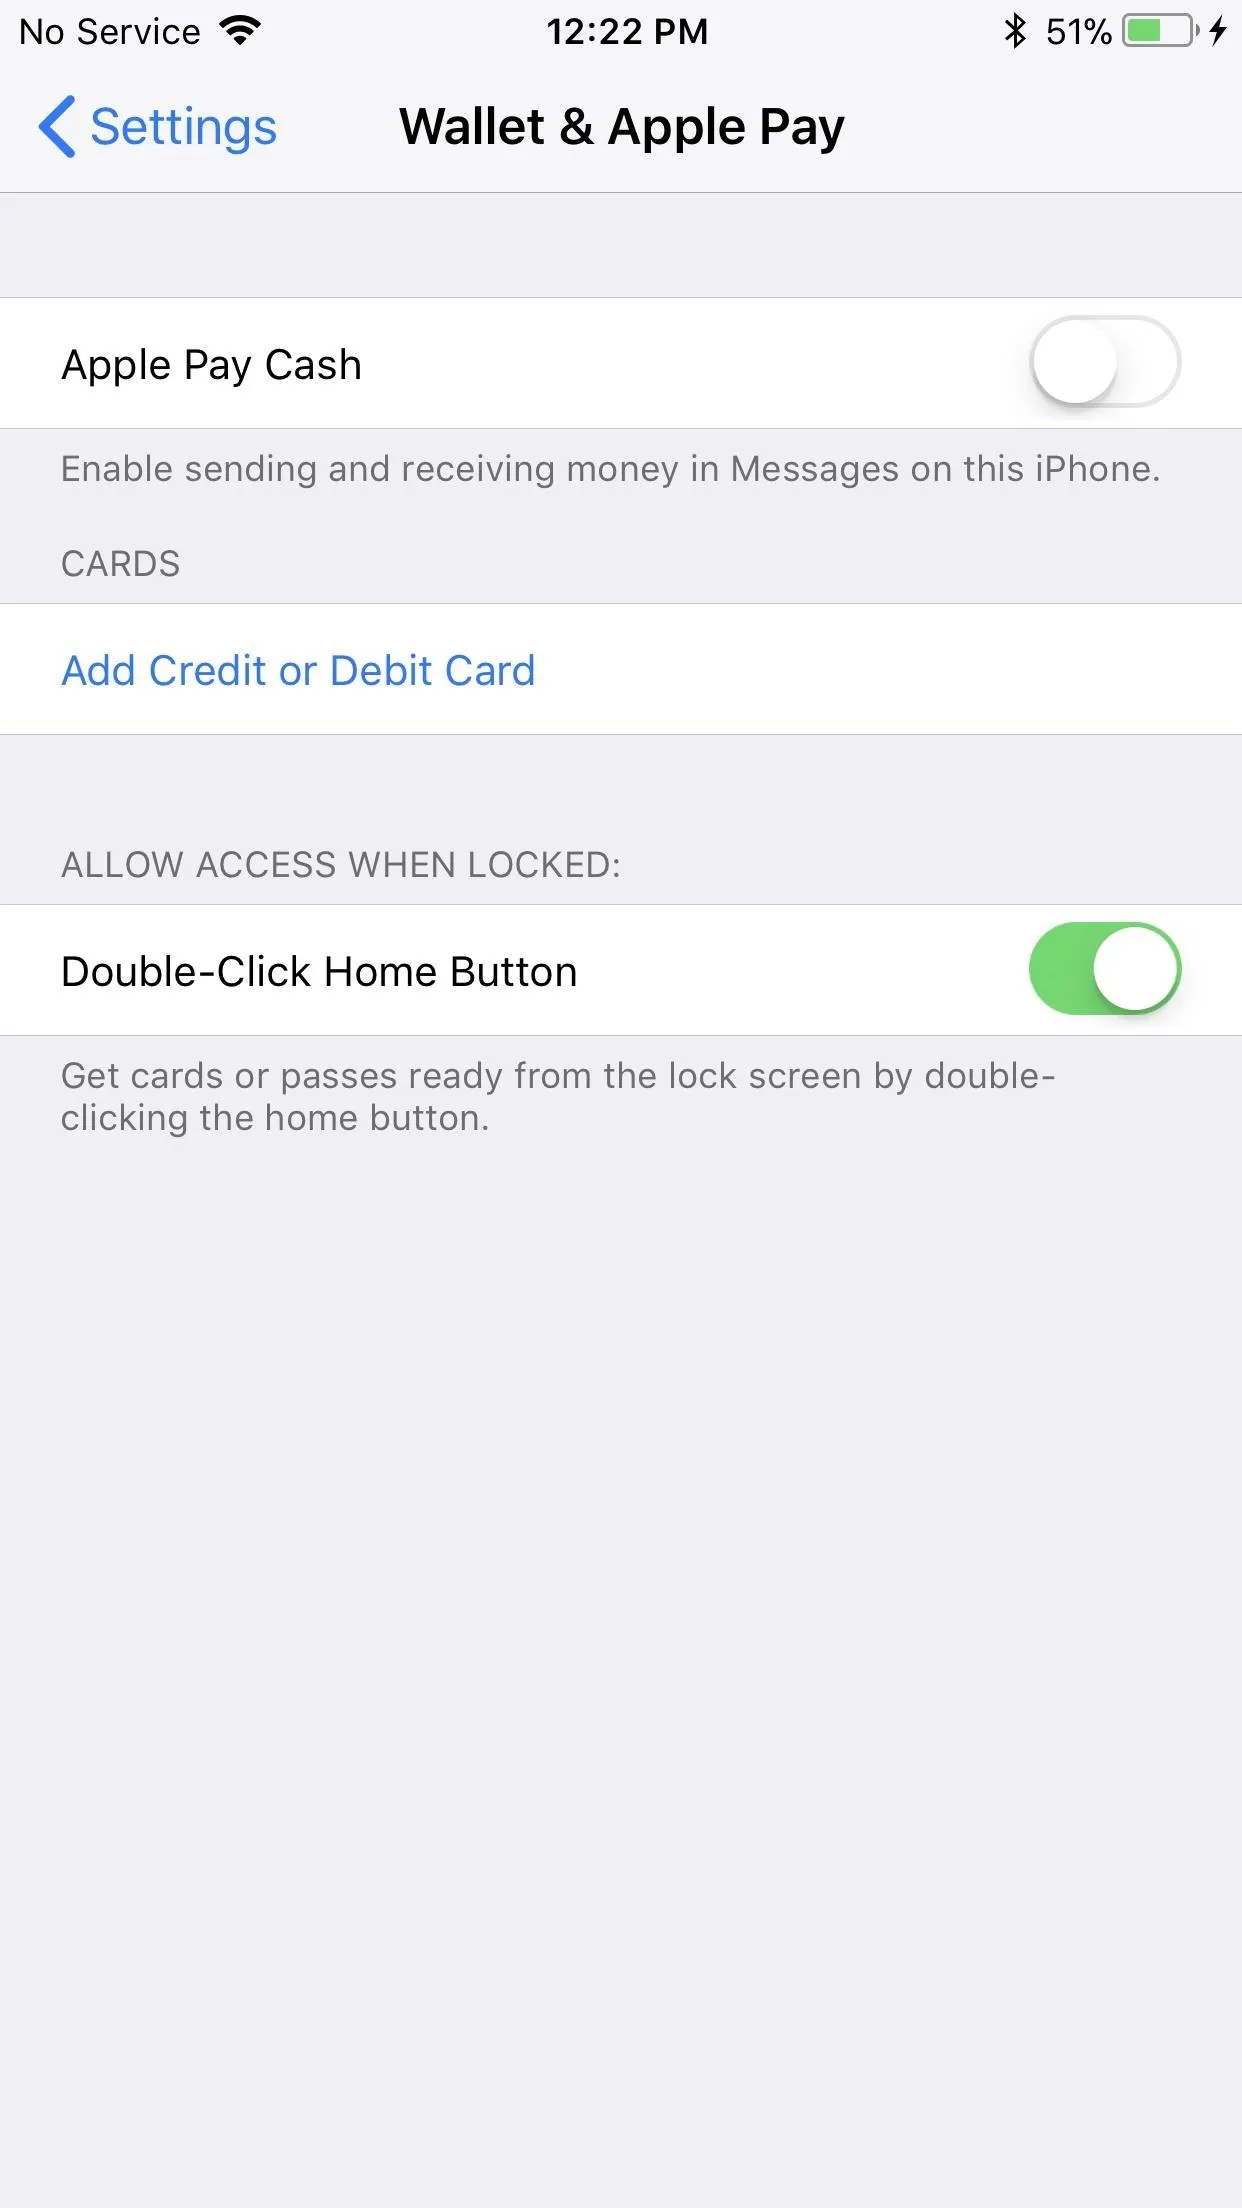


Thankfully, unlike with just using passes in Wallet, the double-click Home button gesture (or double-click Side button gesture on the iPhone X and newer) will still work with only an Apple Pay Cash card set up on your account. Previously, you would need a debit or credit card on file to use the shortcut, even if you had passes in your Wallet.
Step 2: Message a Friend
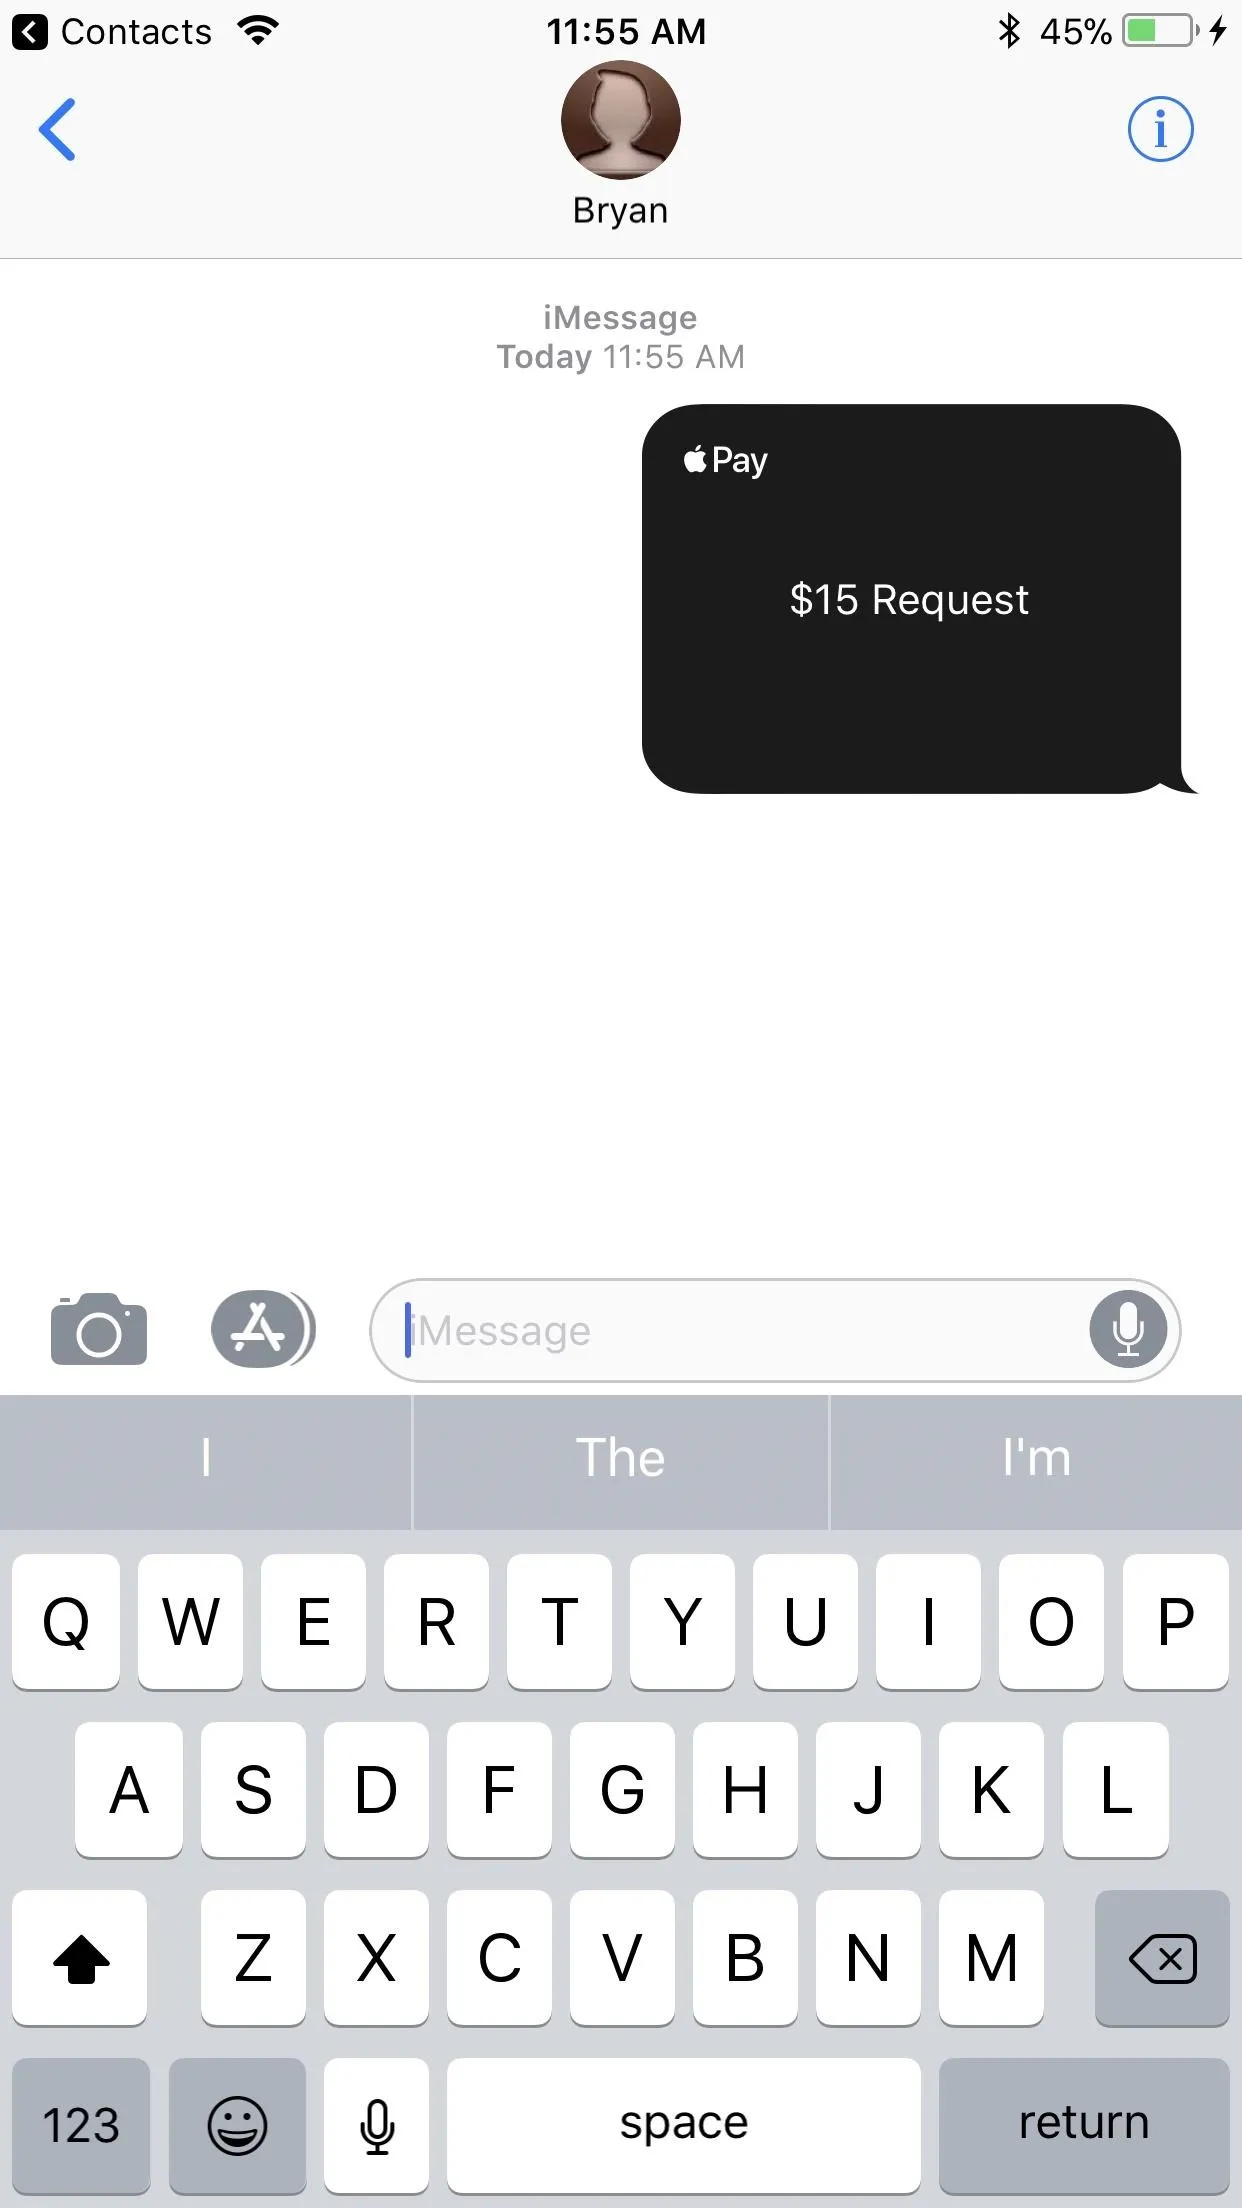
Once your card is set up, you can now send or request money. Apple Pay Cash will show up as an option in the iMessages app drawer at the bottom of the screen. To begin, tap that button and confirm the dollar amount with the on-screen controls. You will have the option to either request or send that amount of money to your correspondent.
Important note: Both you and the recipient or sender need to have iOS 11.2 or higher installed. If not, you will get a message stating that it will not work. So, if you really want to use it with them, ask them to update.
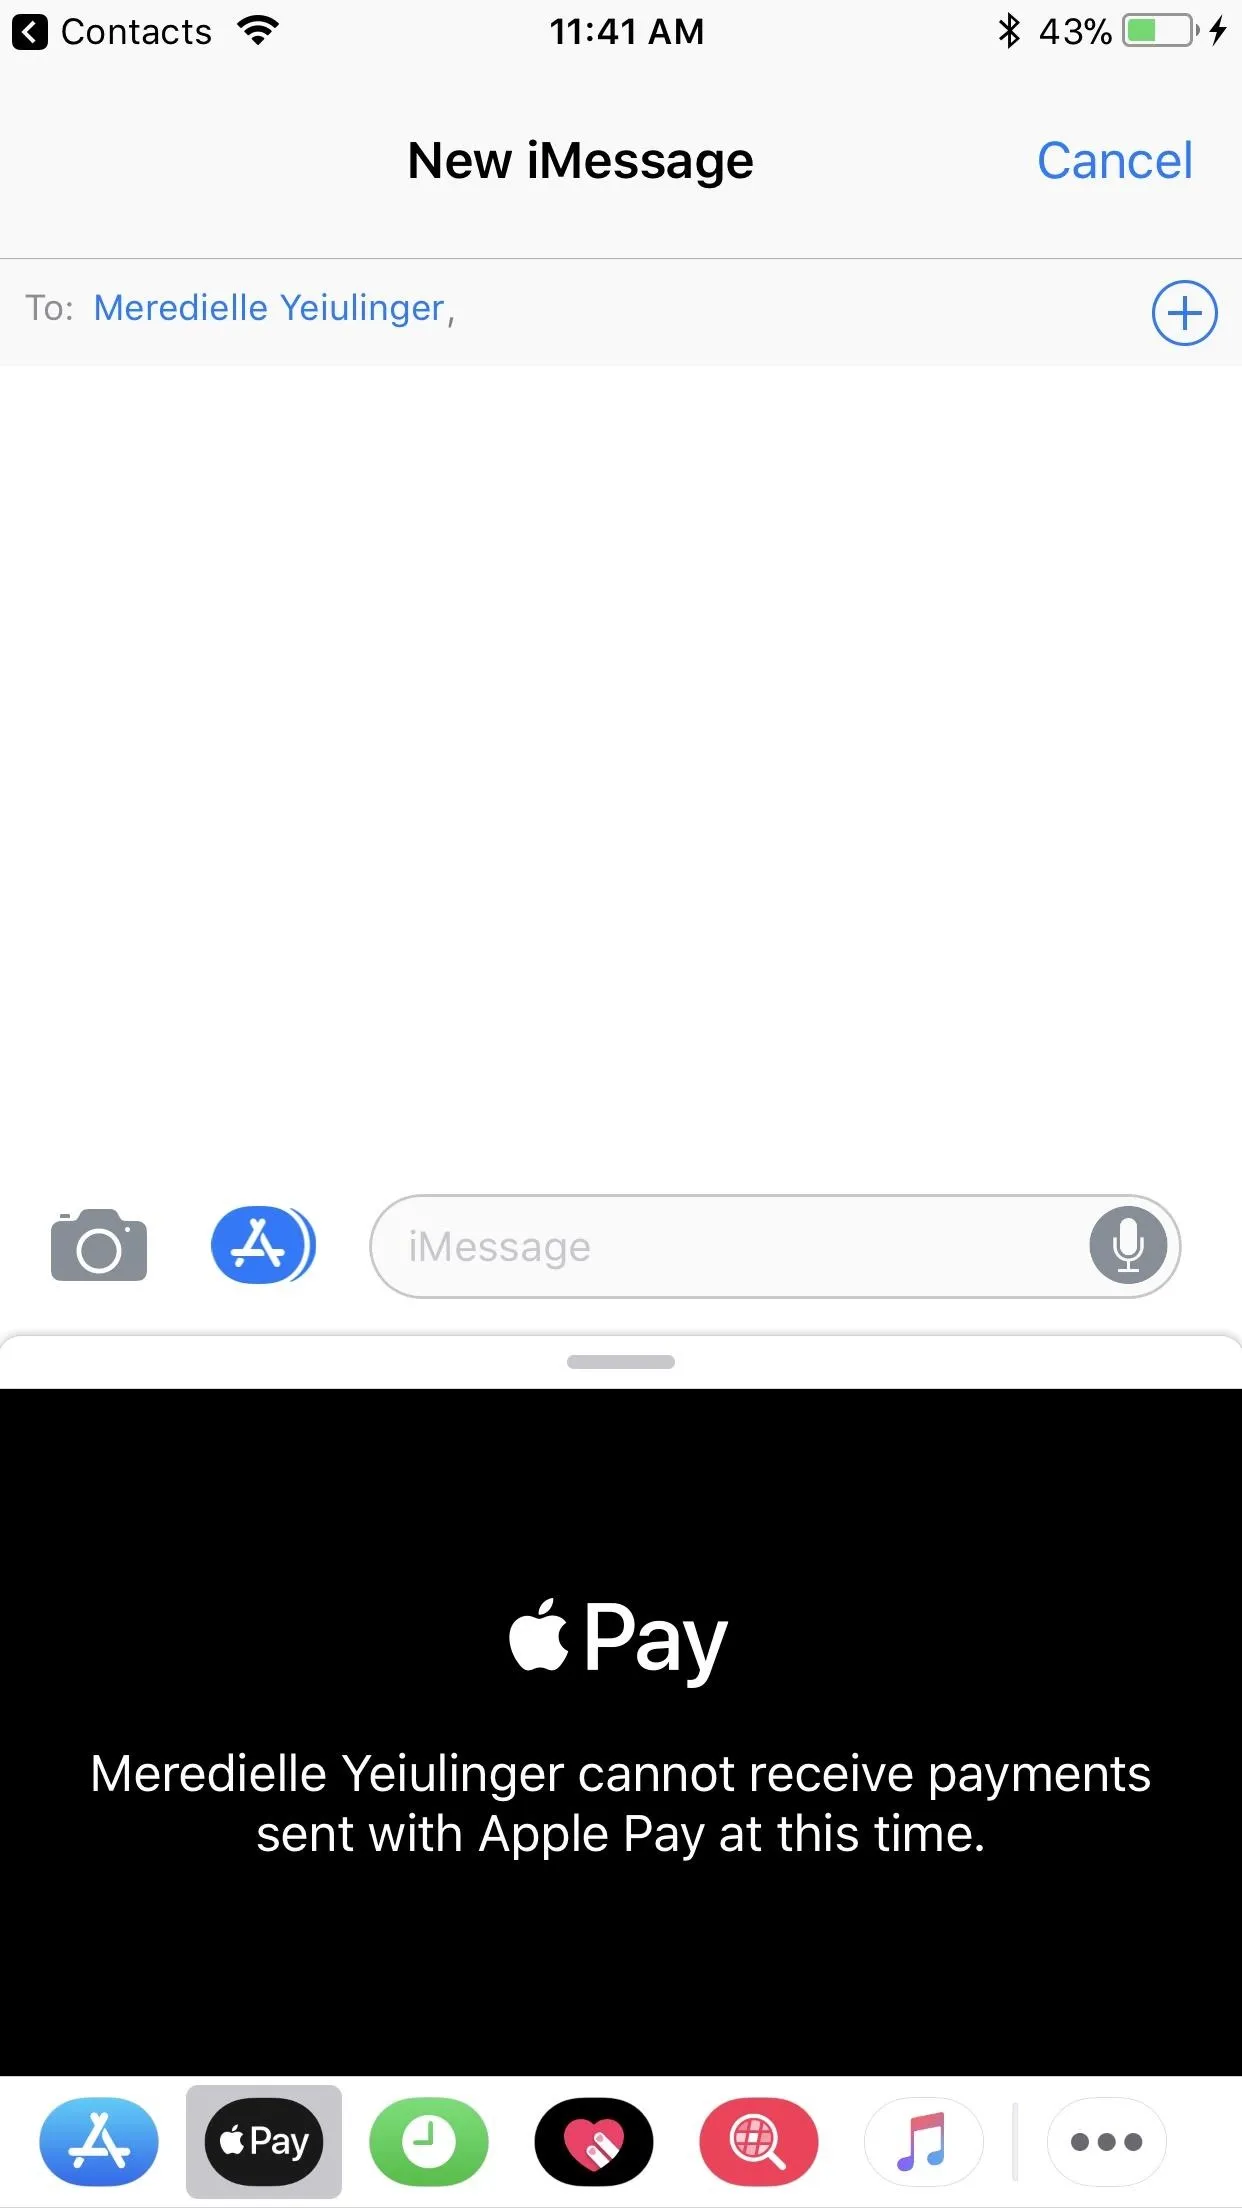


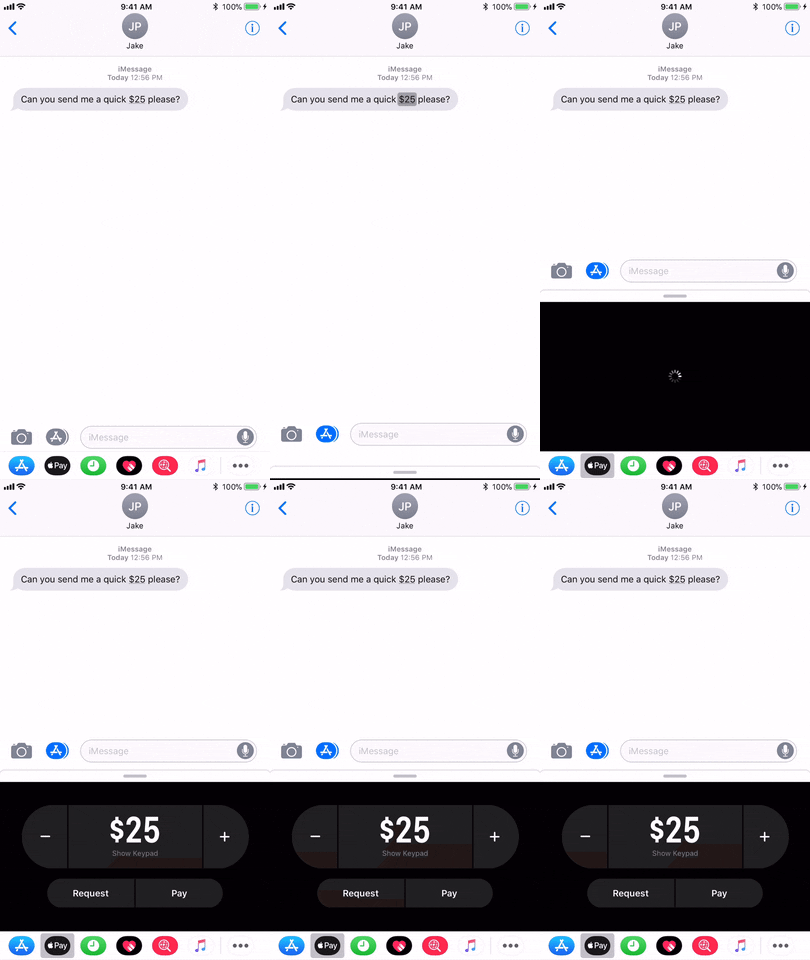
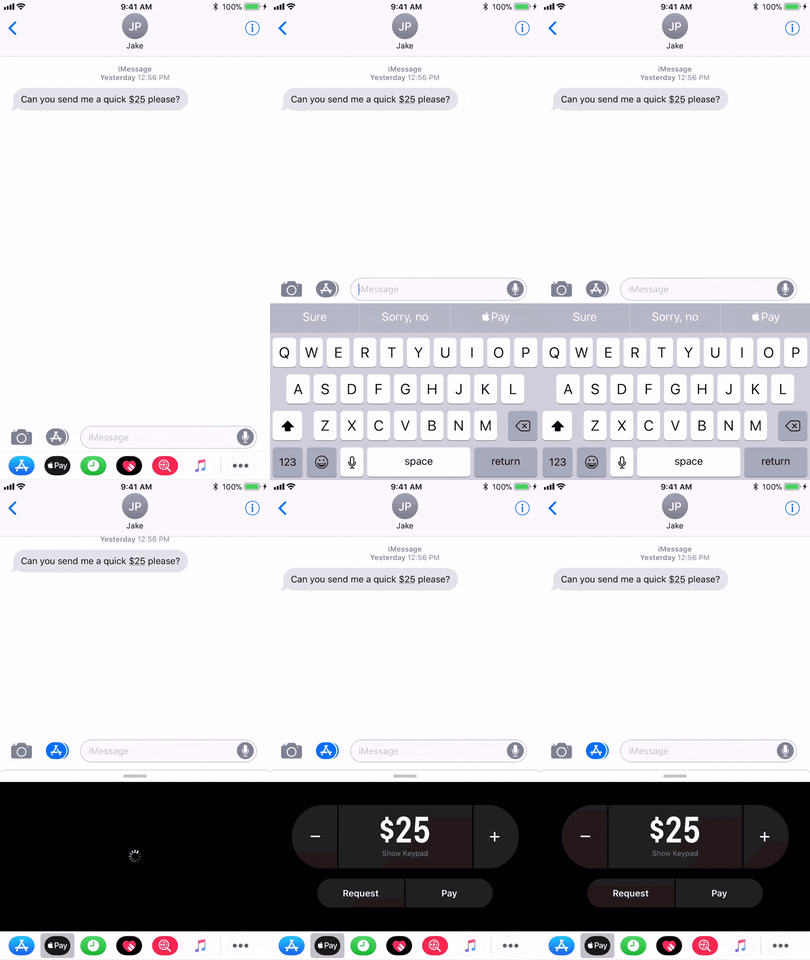
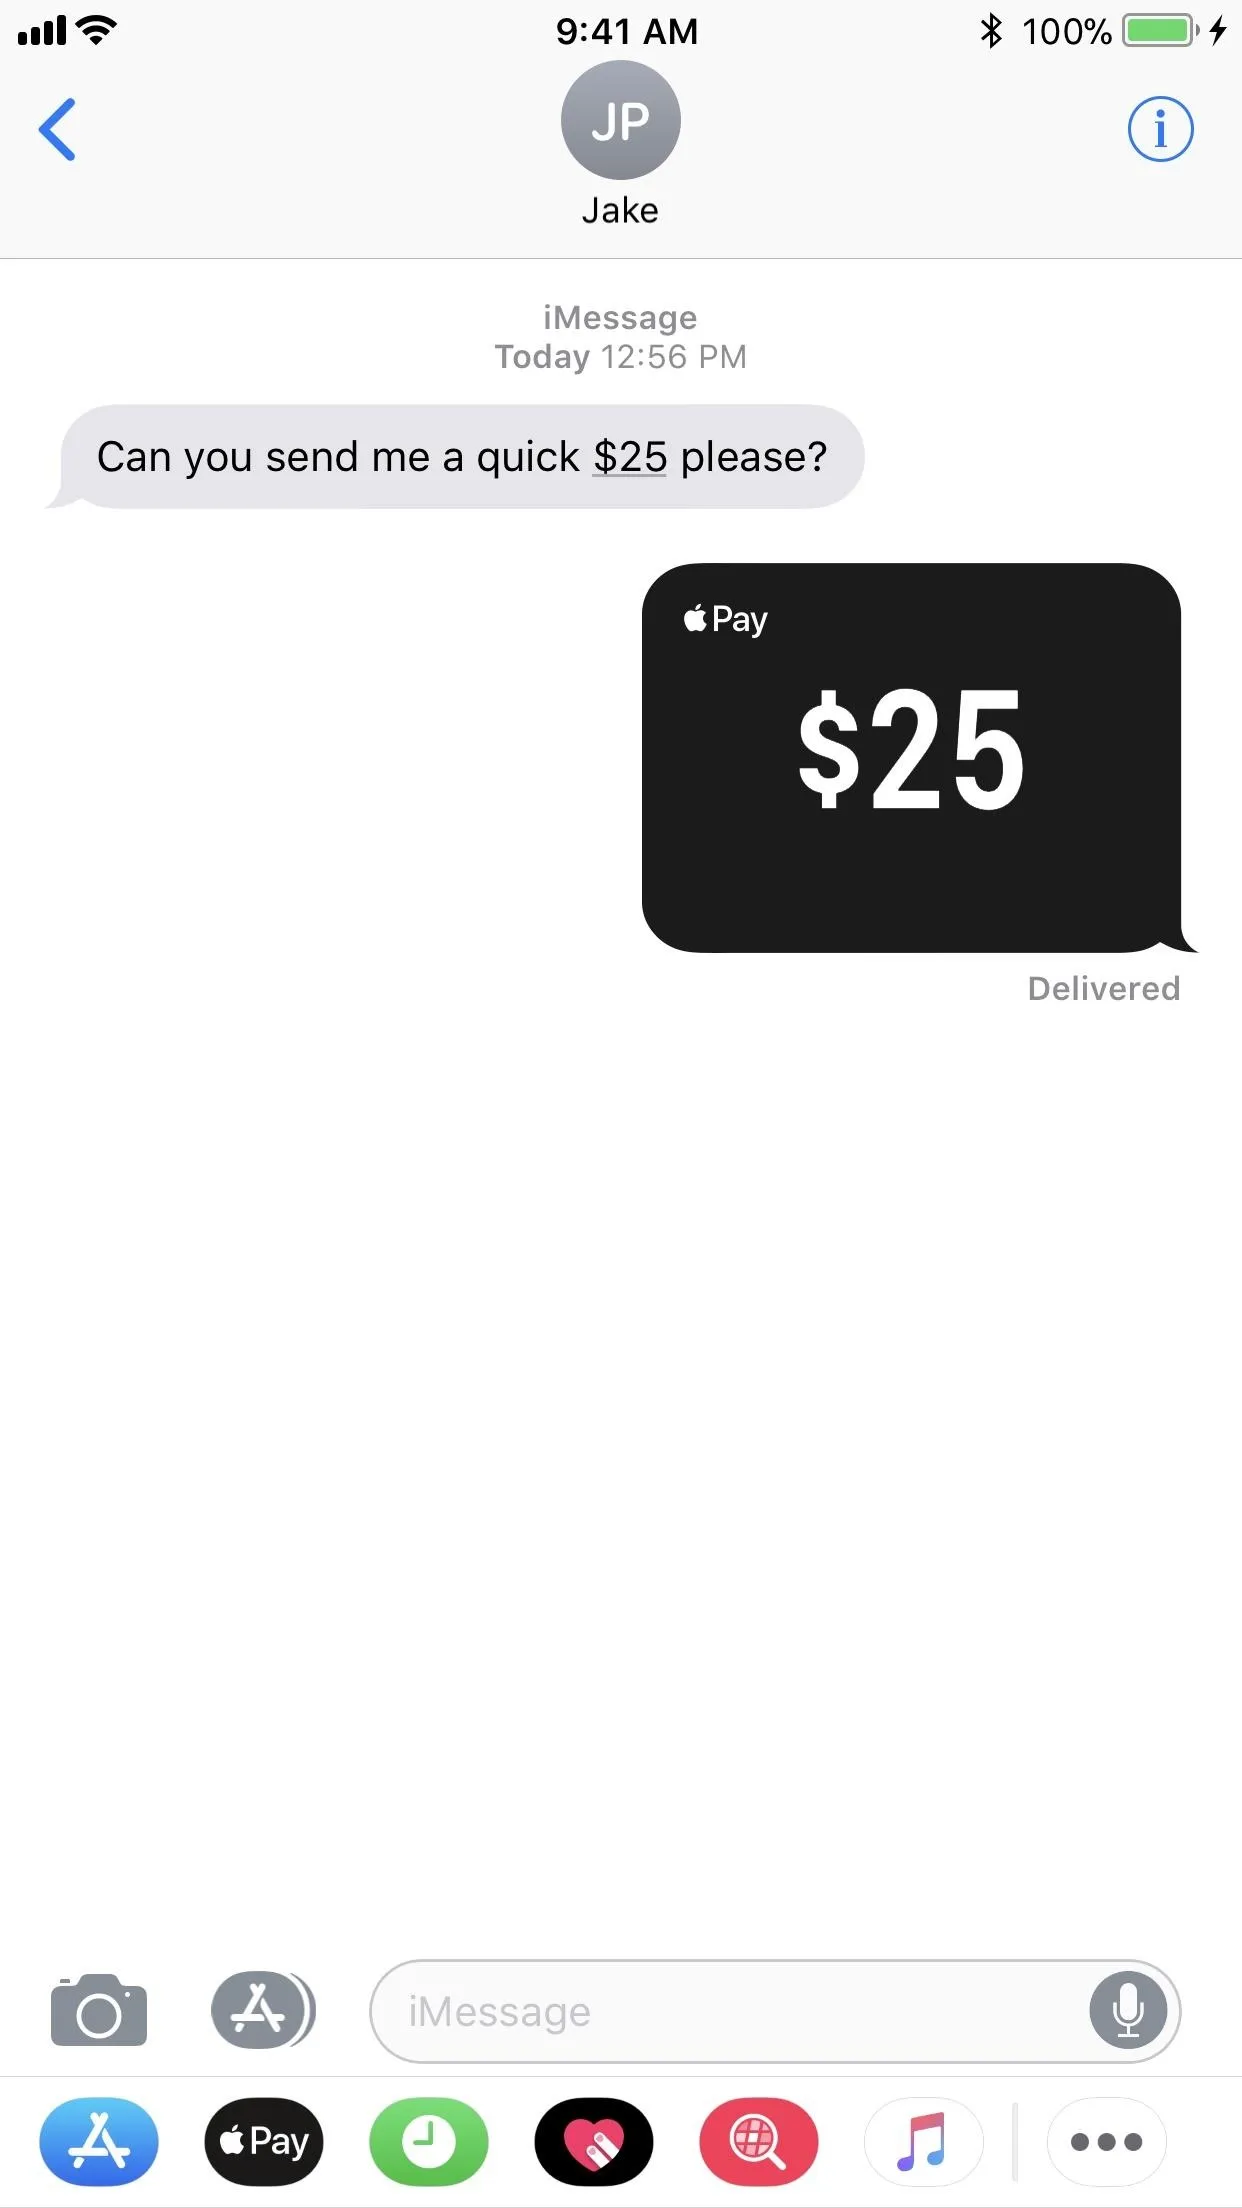
If someone requests money from you, you can tap their dollar amount, and the on-screen controls will appear for you to approve or deny it. Alternatively, you can tap on the Apple Pay icon in the QuickType bar. Of course, this only applies to people in your contacts list, so if they are not, you'll have to add them before you can tap on the dollar amount they ask for or the Apple Pay icon.


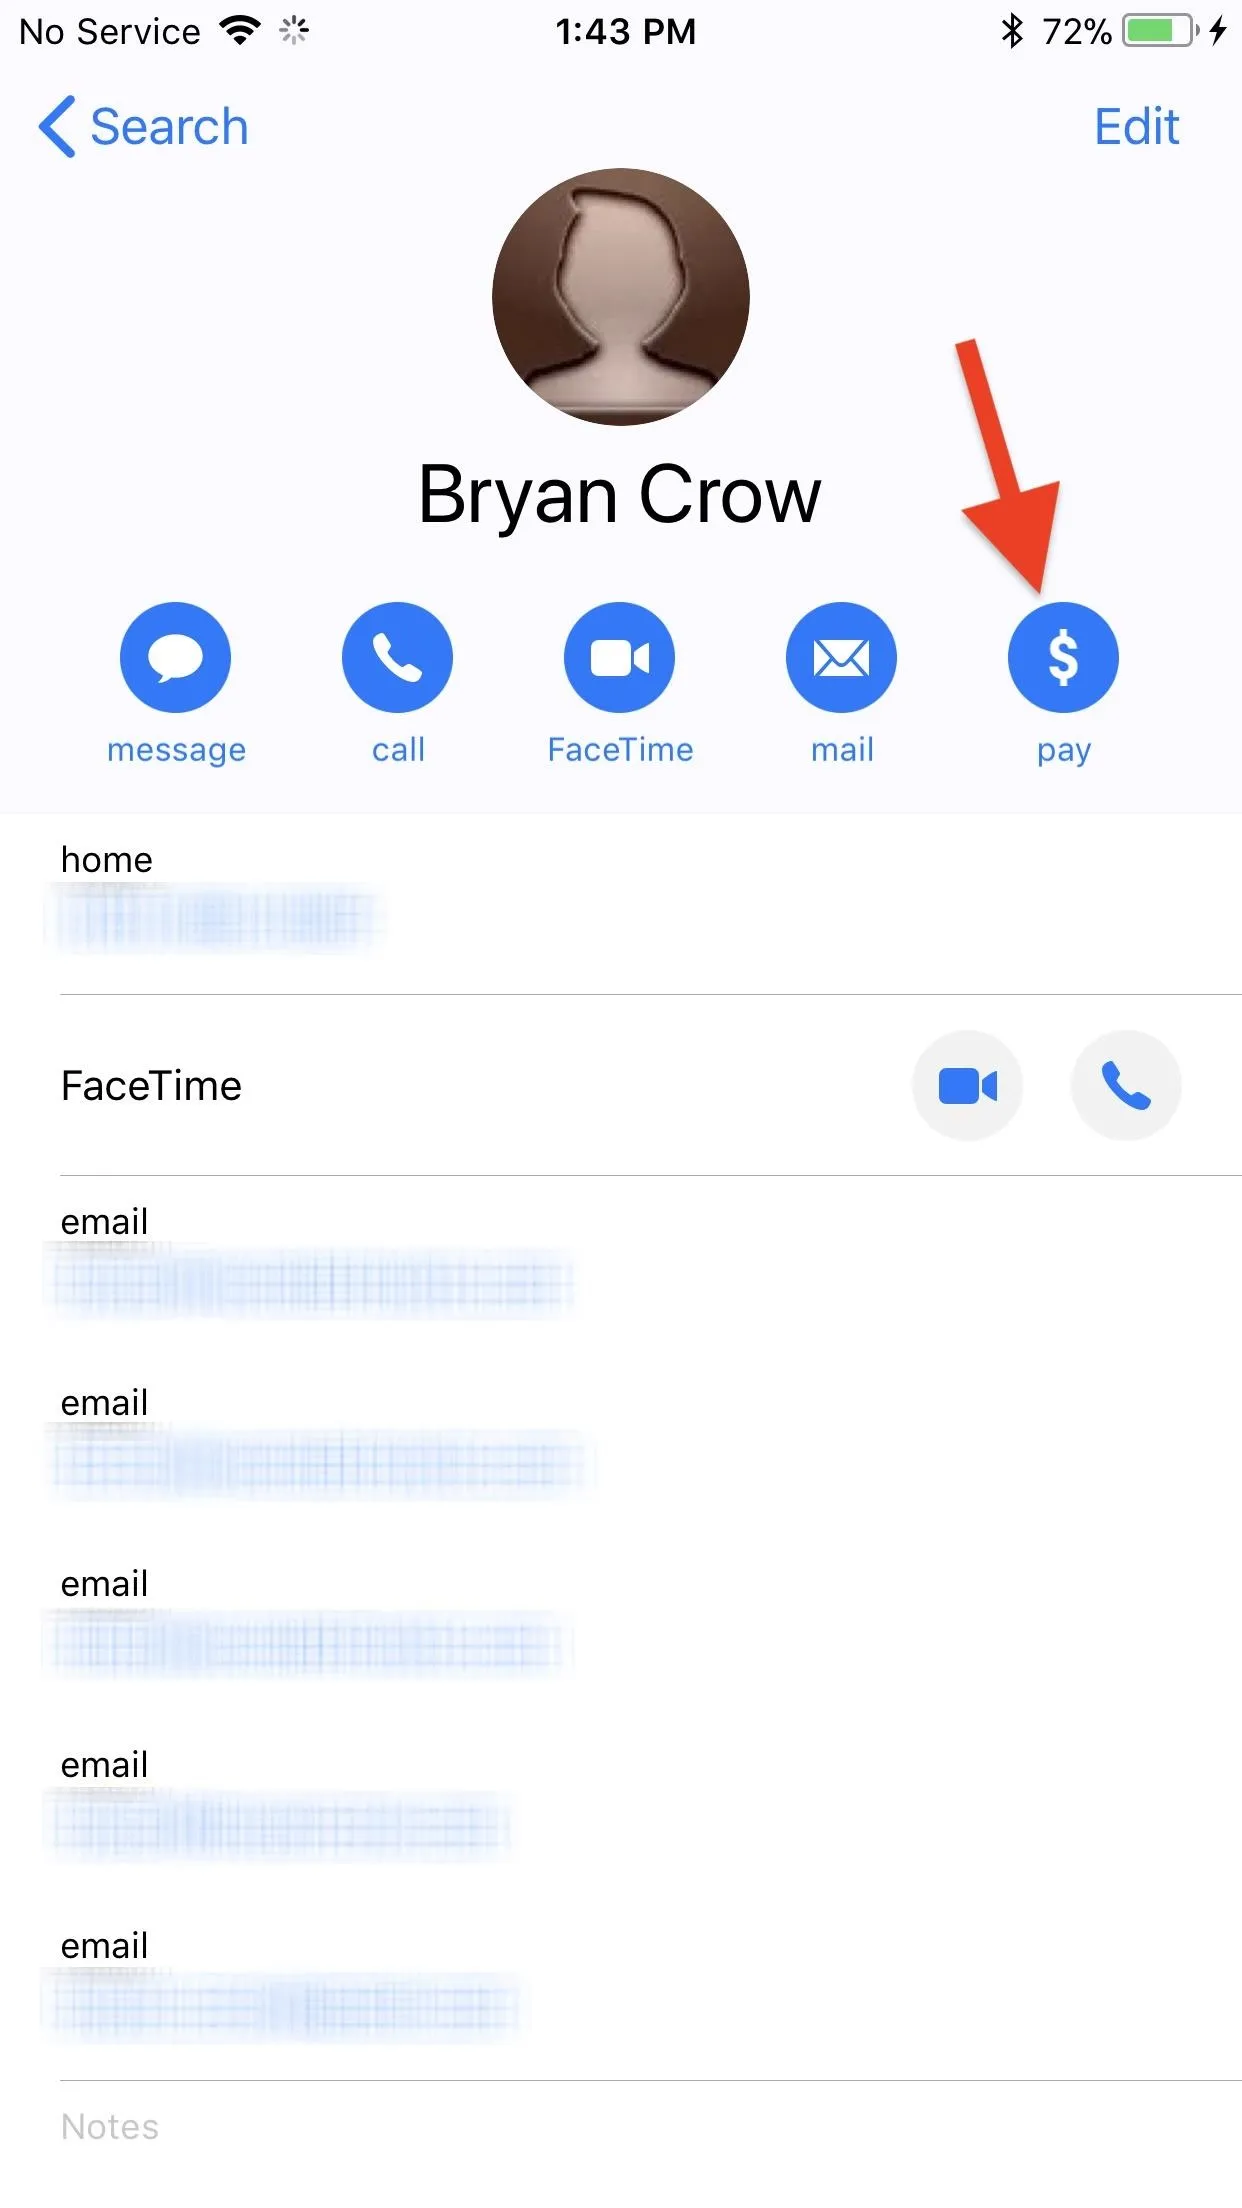
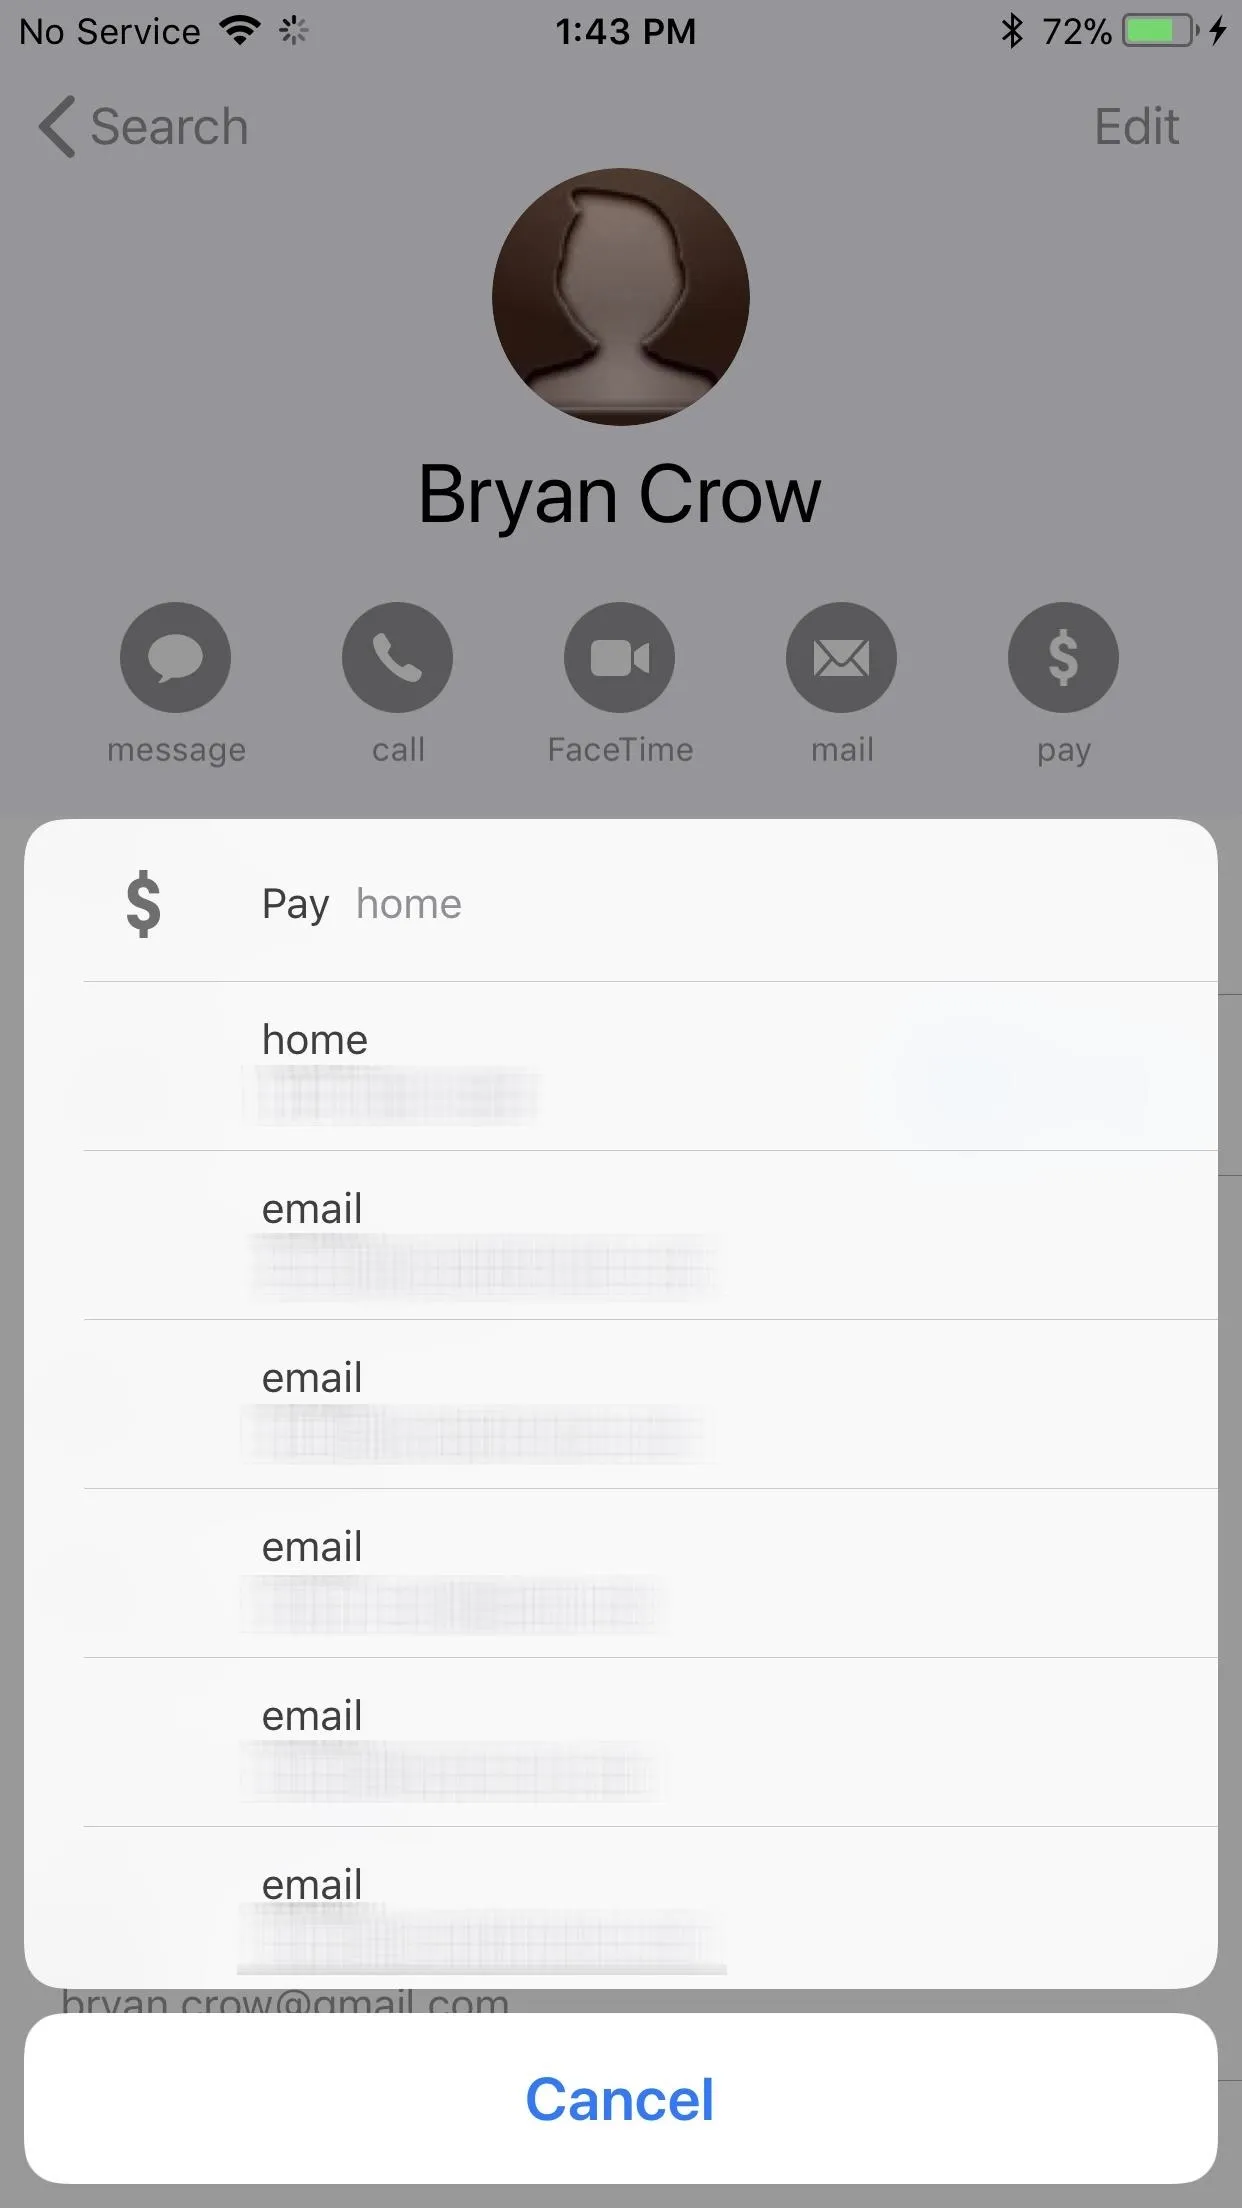
You can also start the send/receive process from a contact's information card. Just tap the new "pay" button underneath their name, then select a phone number or email address that's associated with iMessage. This will open up a new iMessage with the Apple Pay Cash selection screen already visible.


Note that if you sent money, and the other person hasn't accepted it yet, you will be able to cancel the transaction if you wish to do so. Likewise, they can cancel a transaction with you if you haven't accepted. See the next section to see how to adjust this to automatically or manually accept money.
Step 3: Manage Your Money
When you receive money, your iPhone automatically stores it as a digital Apple Pay Cash card, which can be accessed on any of your other iOS devices. This card allows you to send money to friends, spend money in-person or online, or transfer that money to your bank. This keeps your real card out of the equation, keeping you safe whether you shop in the real world or the digital one.
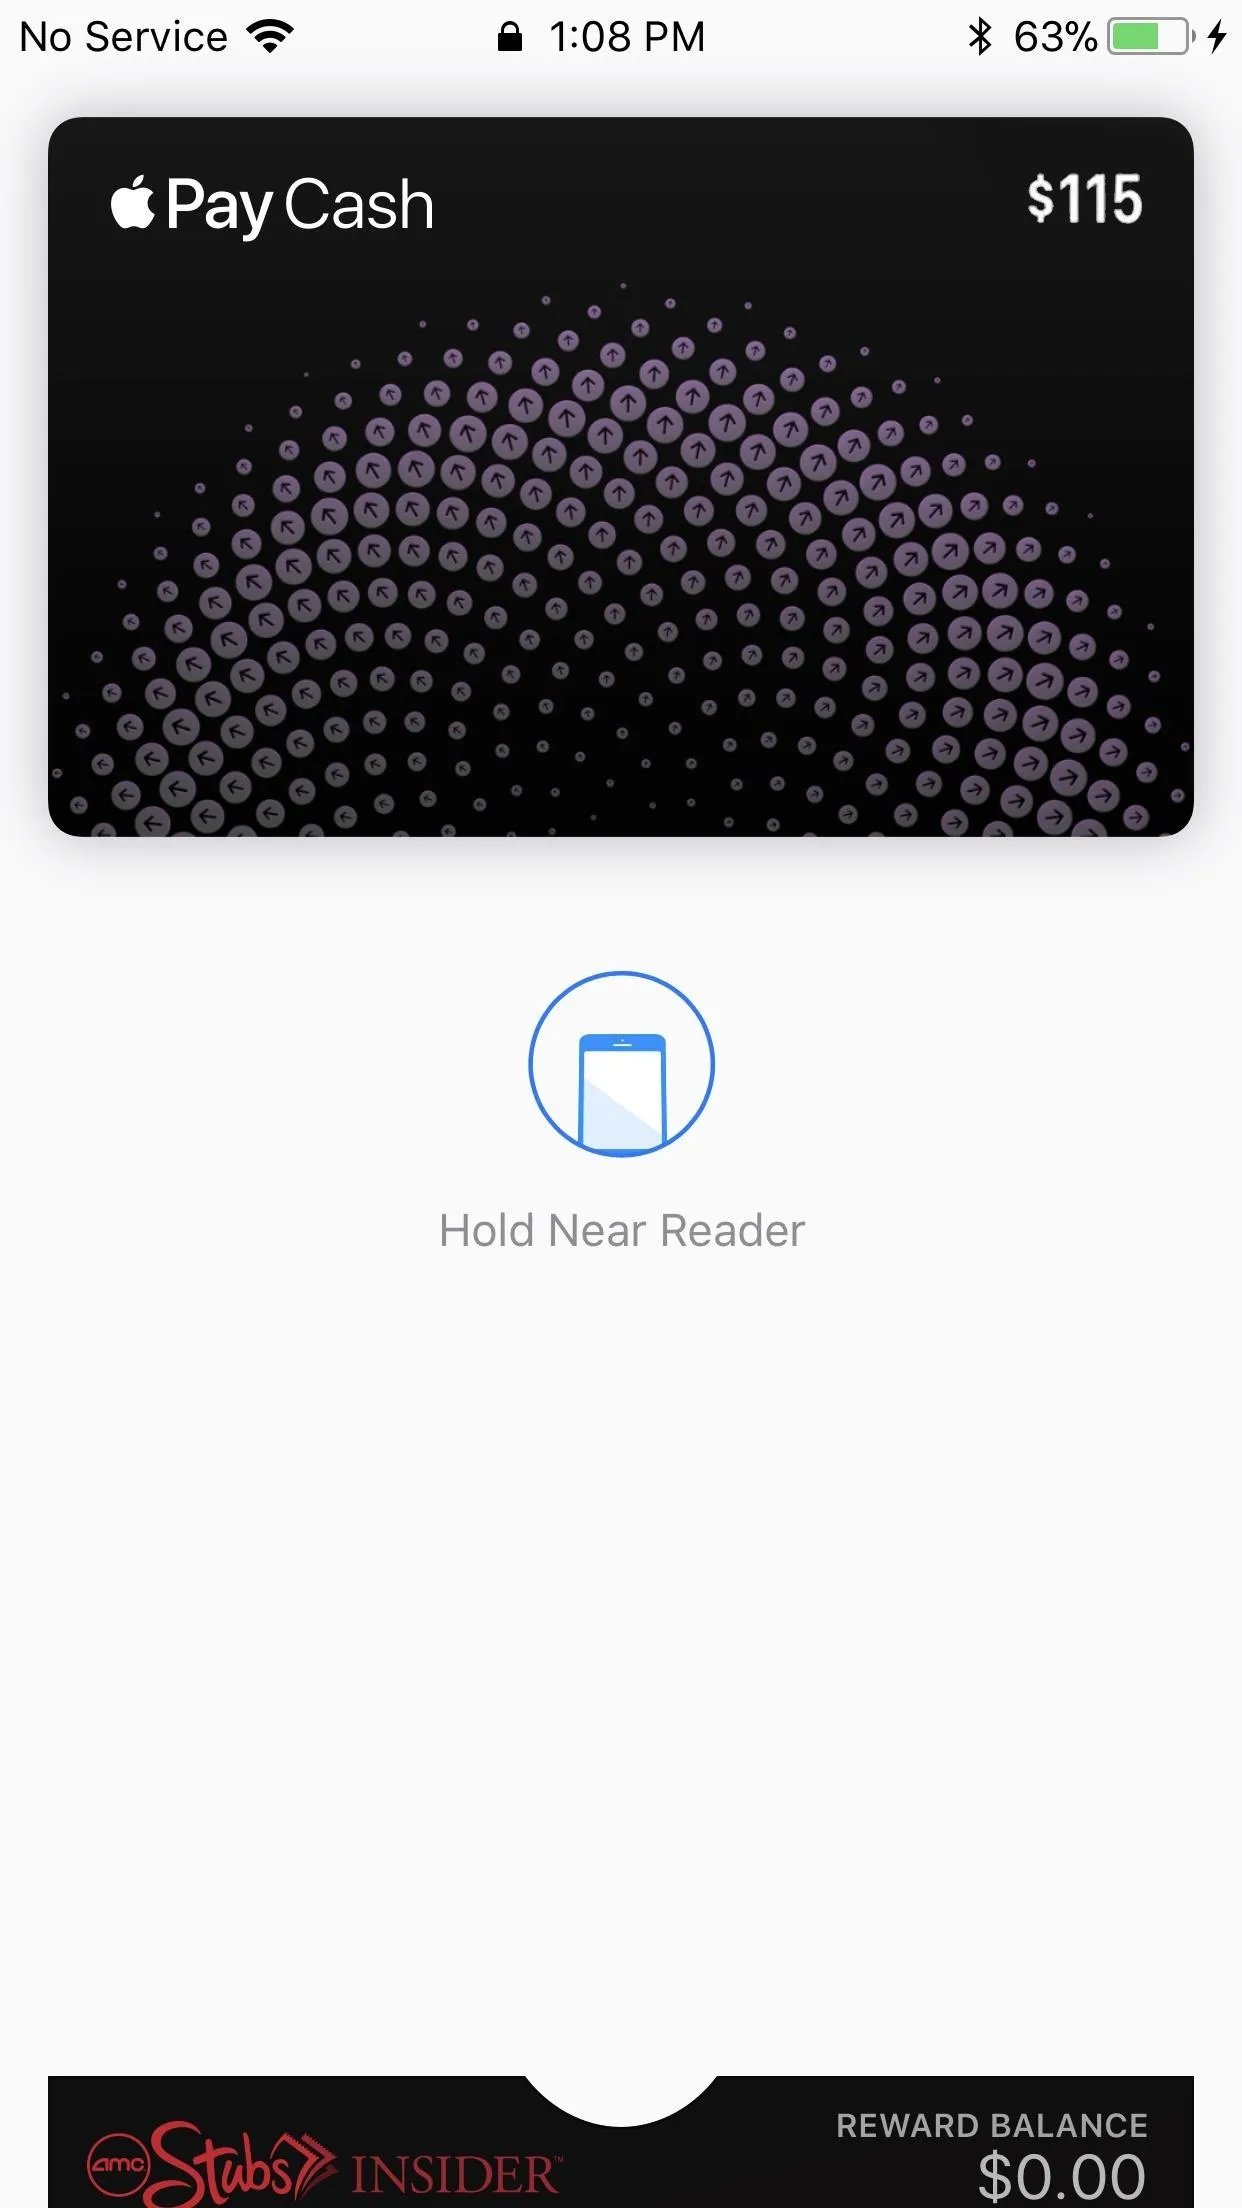
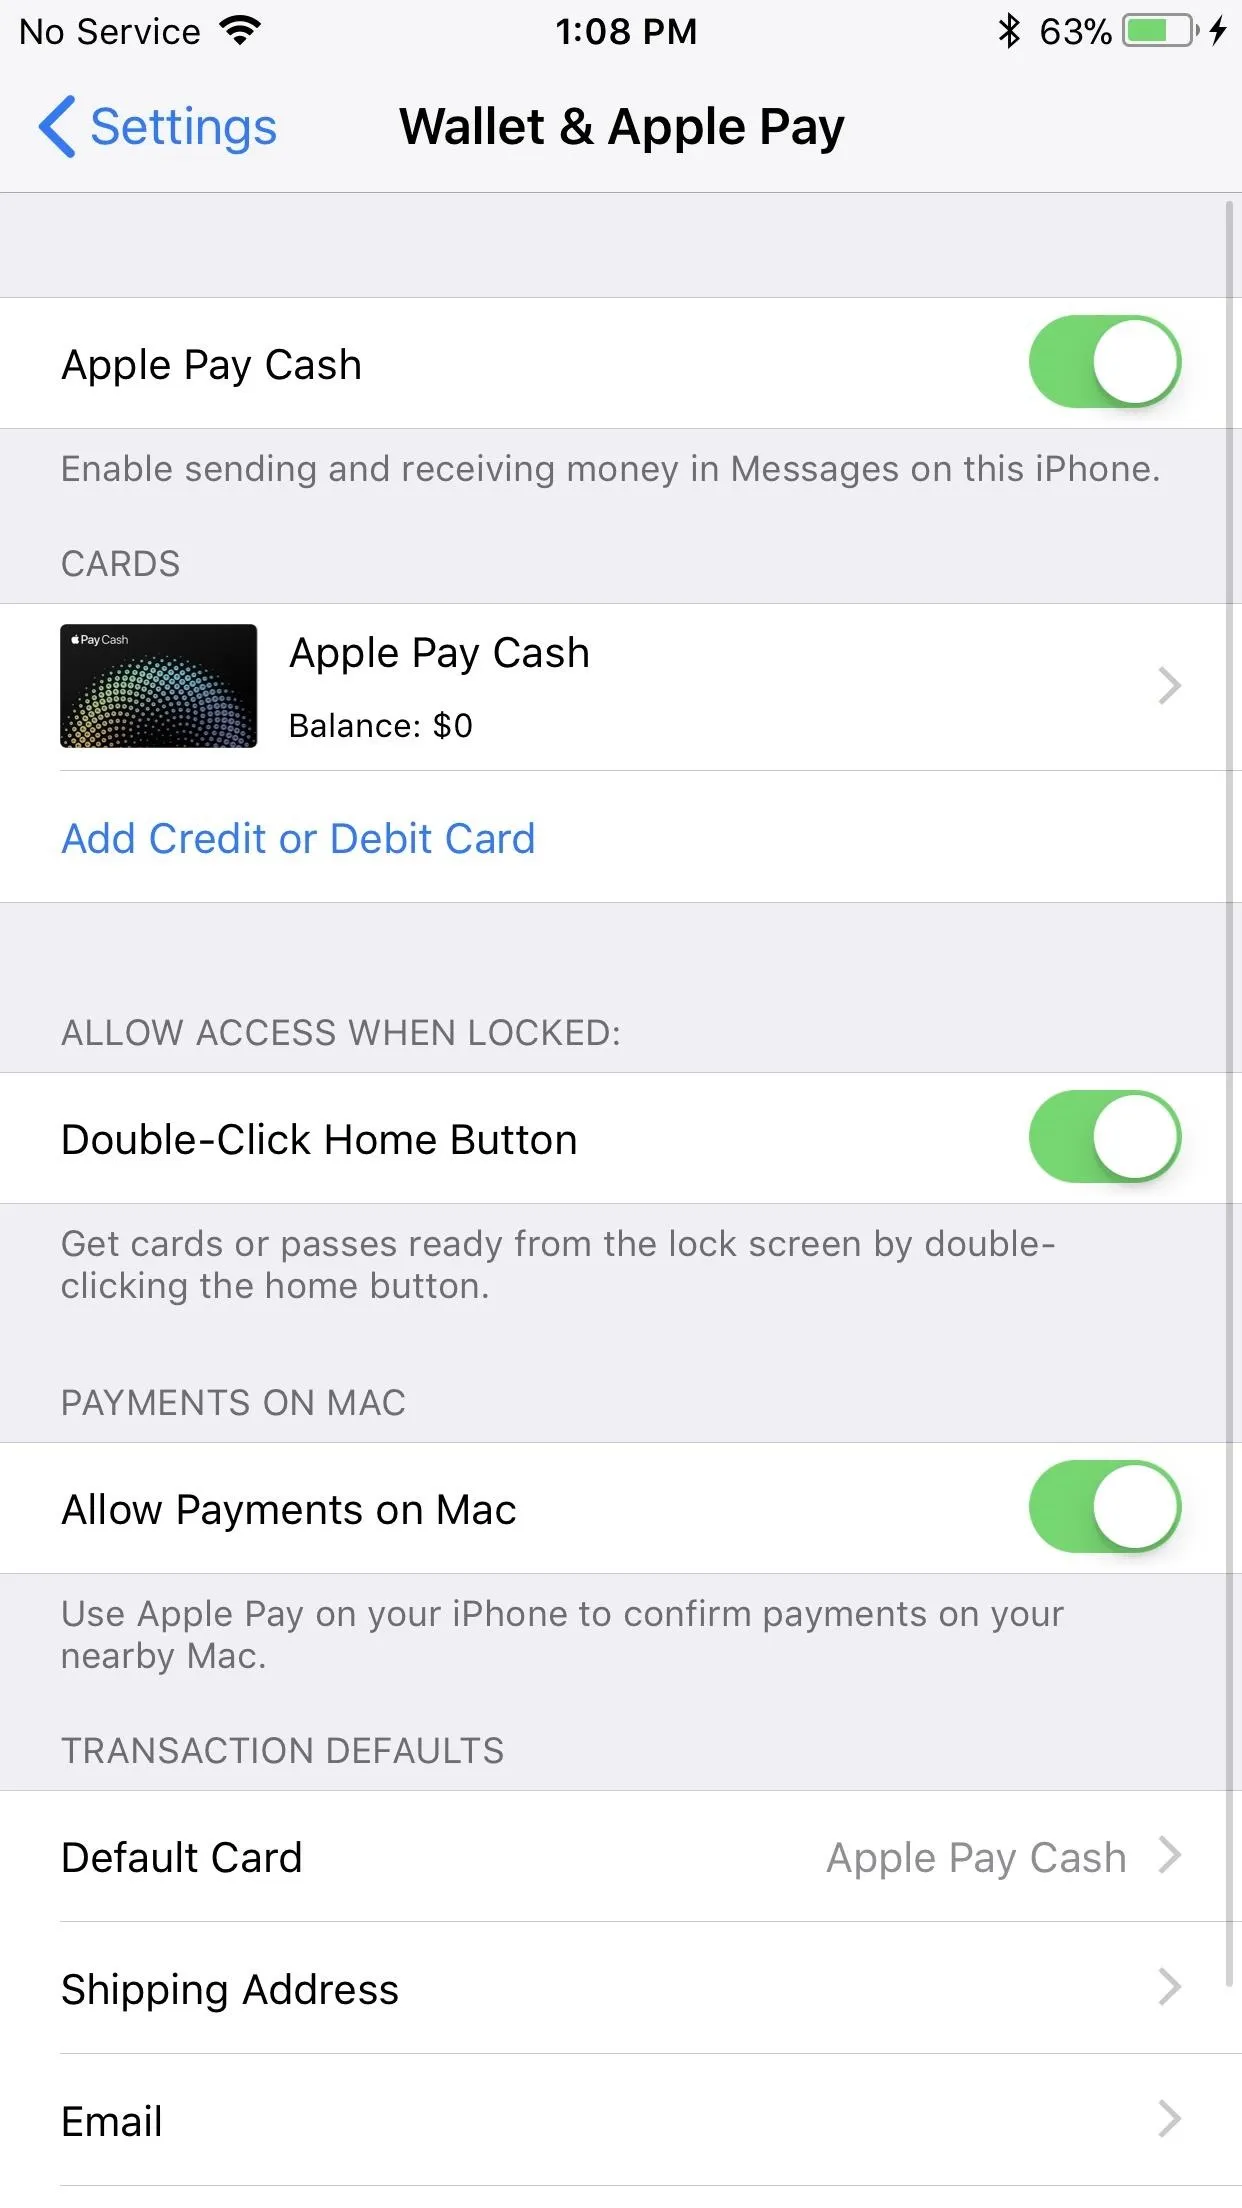
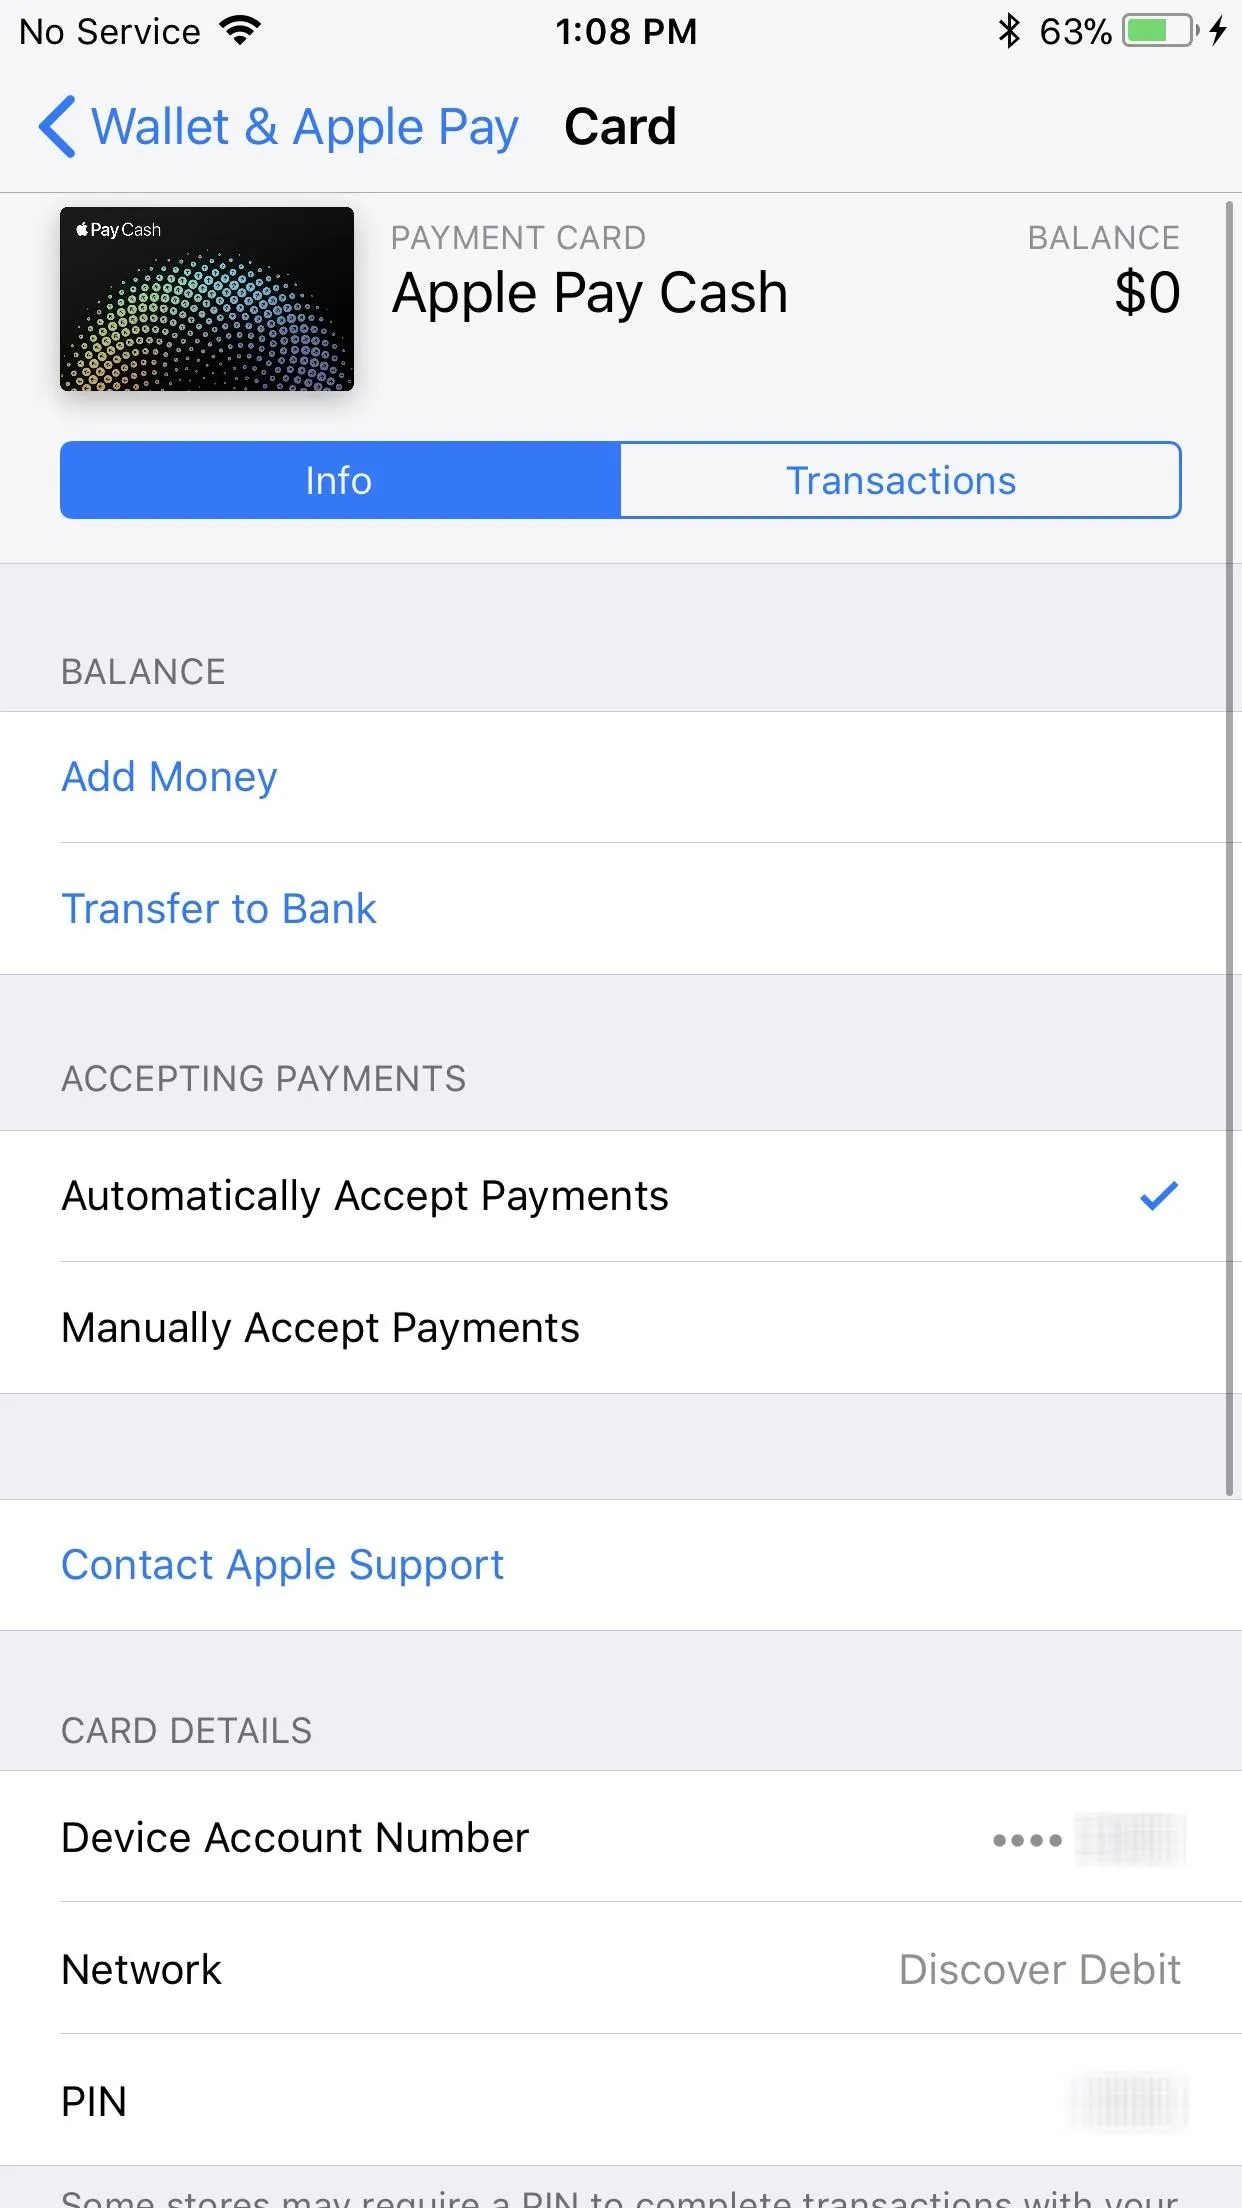


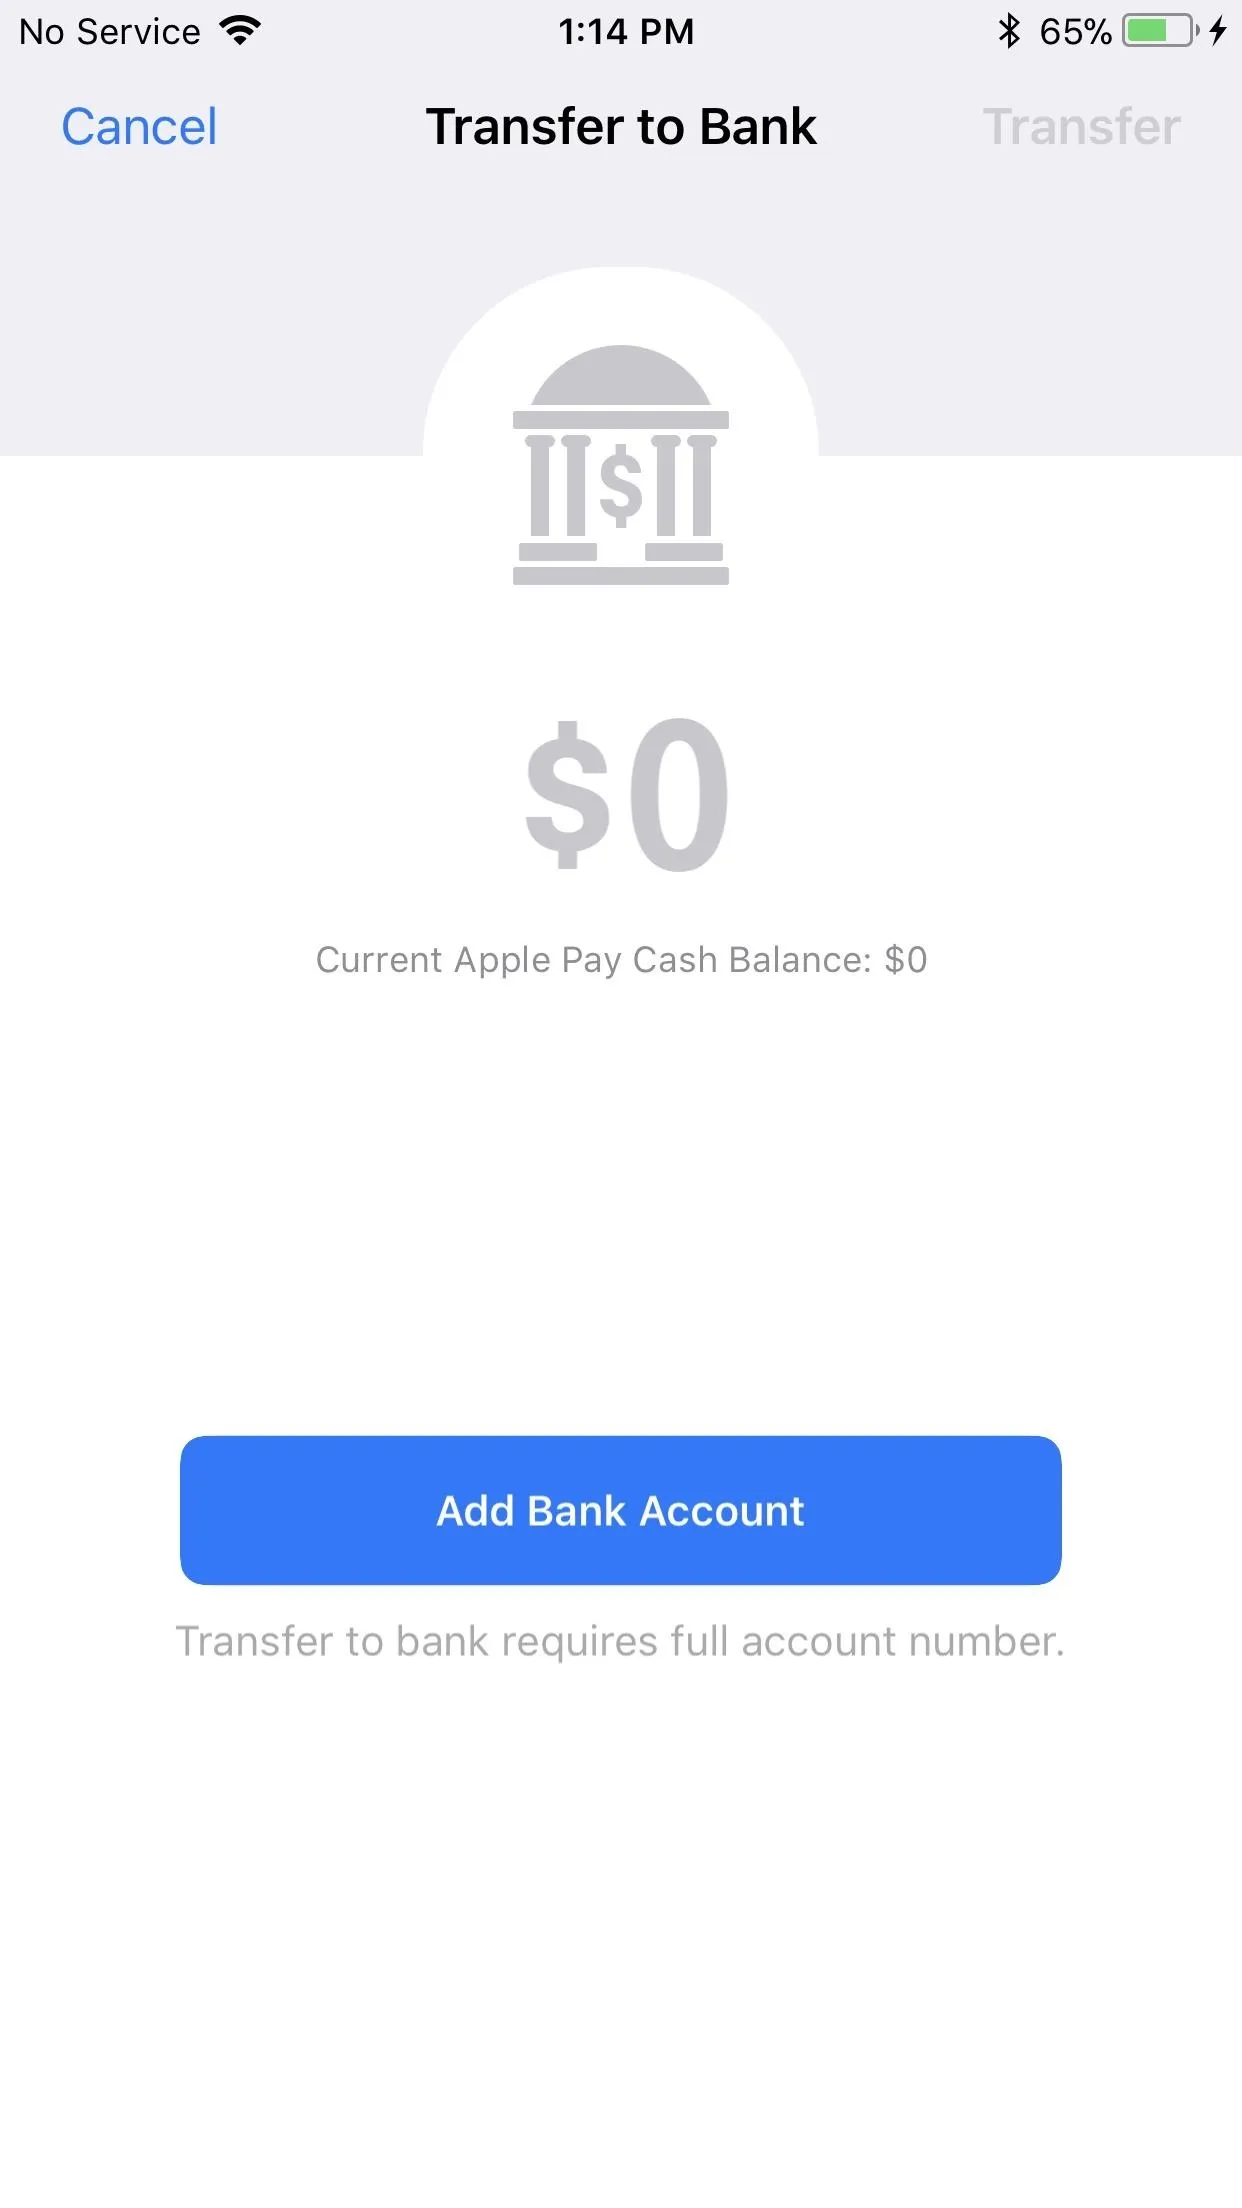
To add money to your Apple Pay Cash card, you'll need to select the "Add Credit or Debit Card" option from the "Wallet & Apple Pay" settings, if you haven't already done so. Then, you can select "Apple Pay Cash" and "Add Money." If you have an Apple Pay Cash balance, you can also select "Transfer to Bank" to do just that.
Note that if you're just sending money through iMessage, Apple Pay can use your associated debit or credit card to pull the funds if your Apple Pay Cash balance is too low.
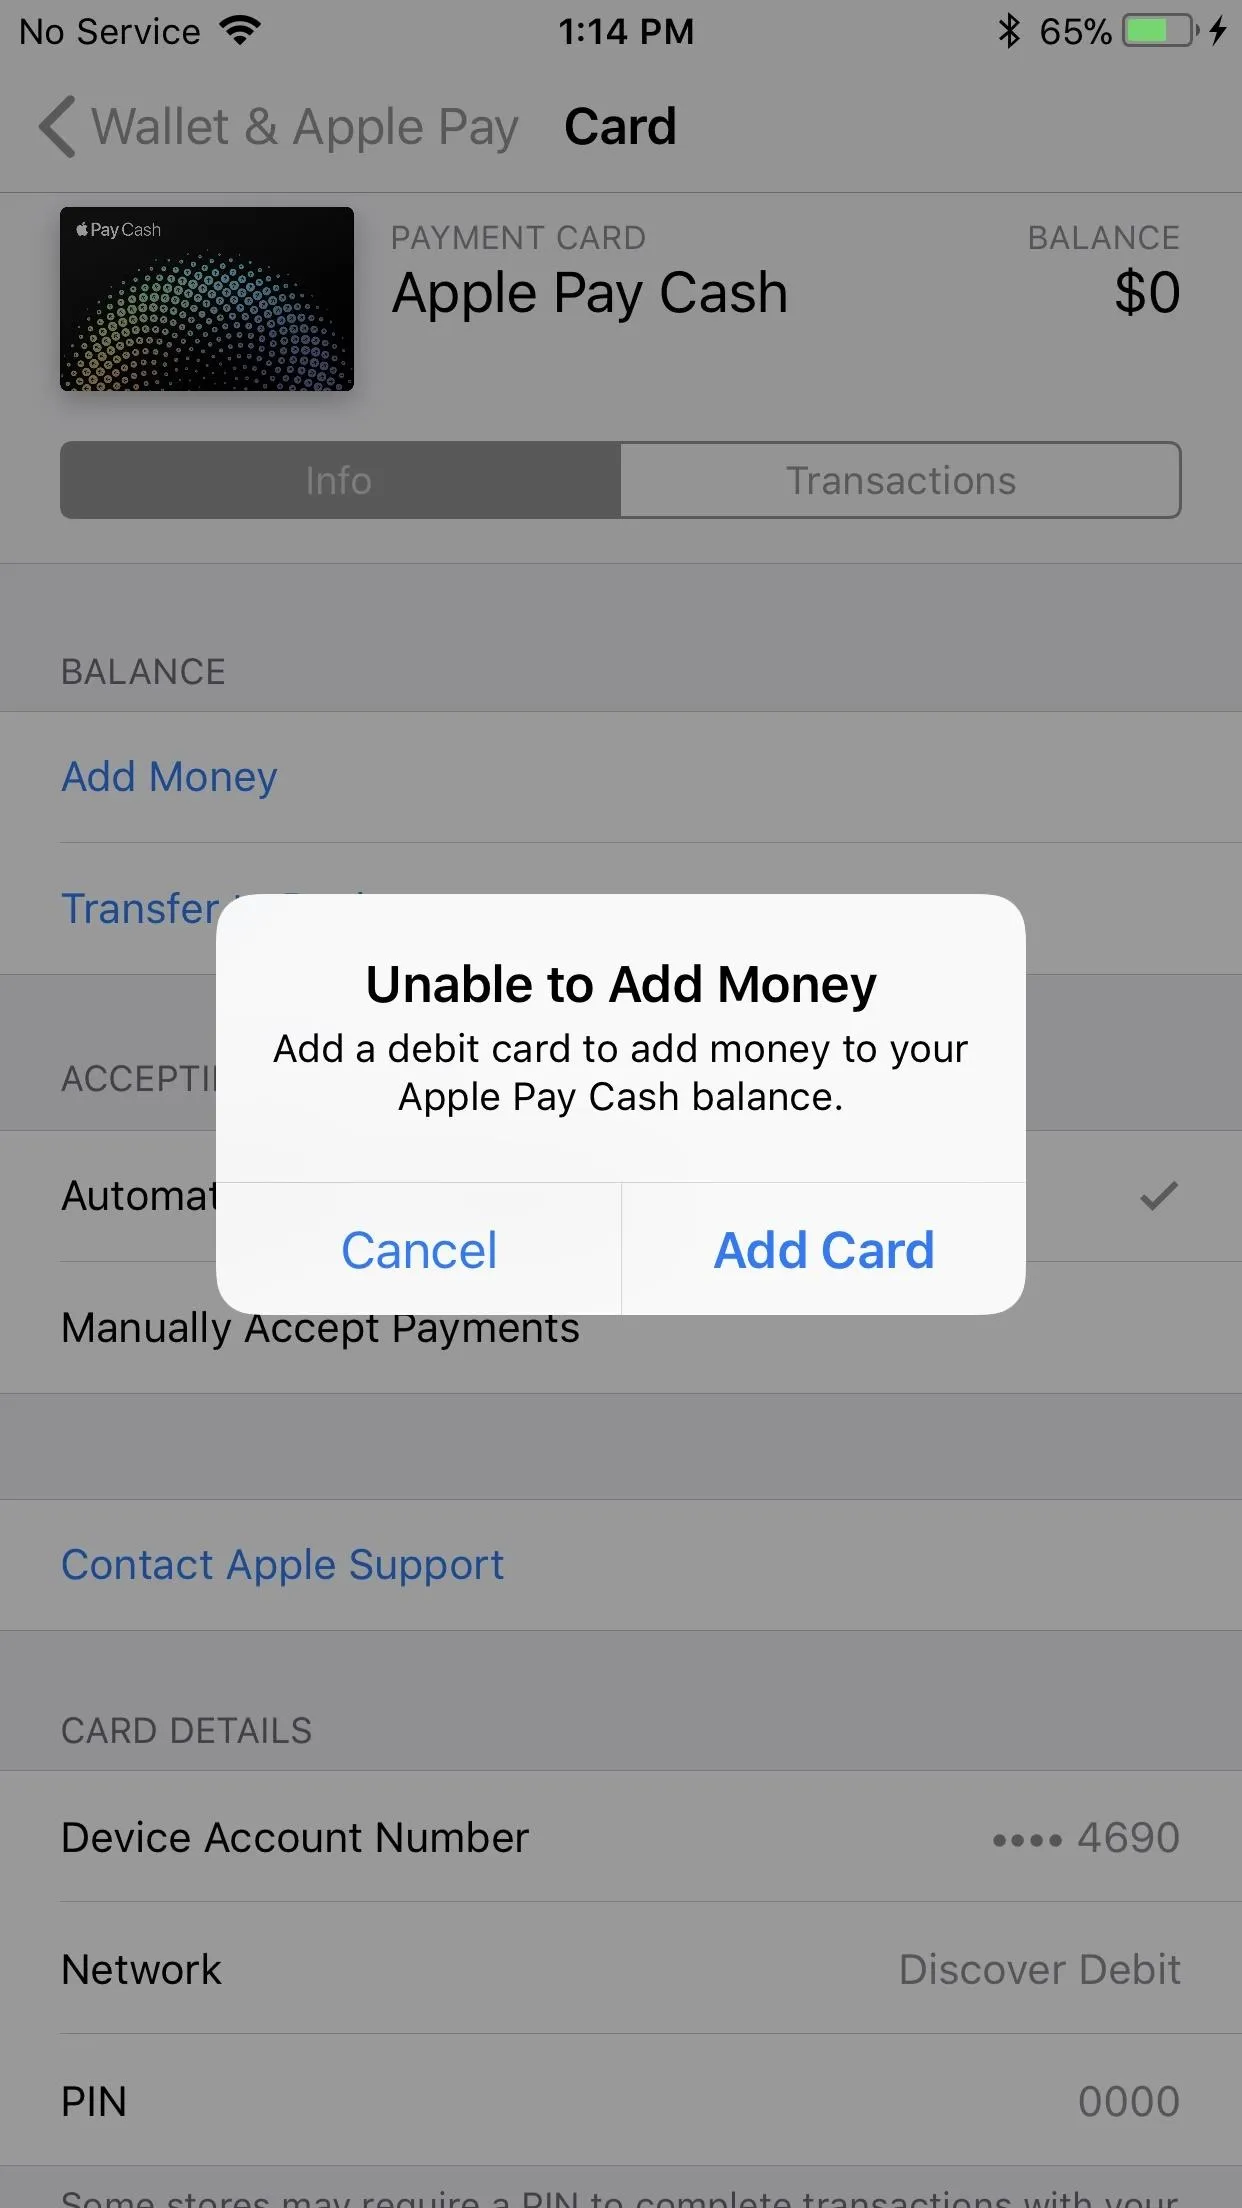


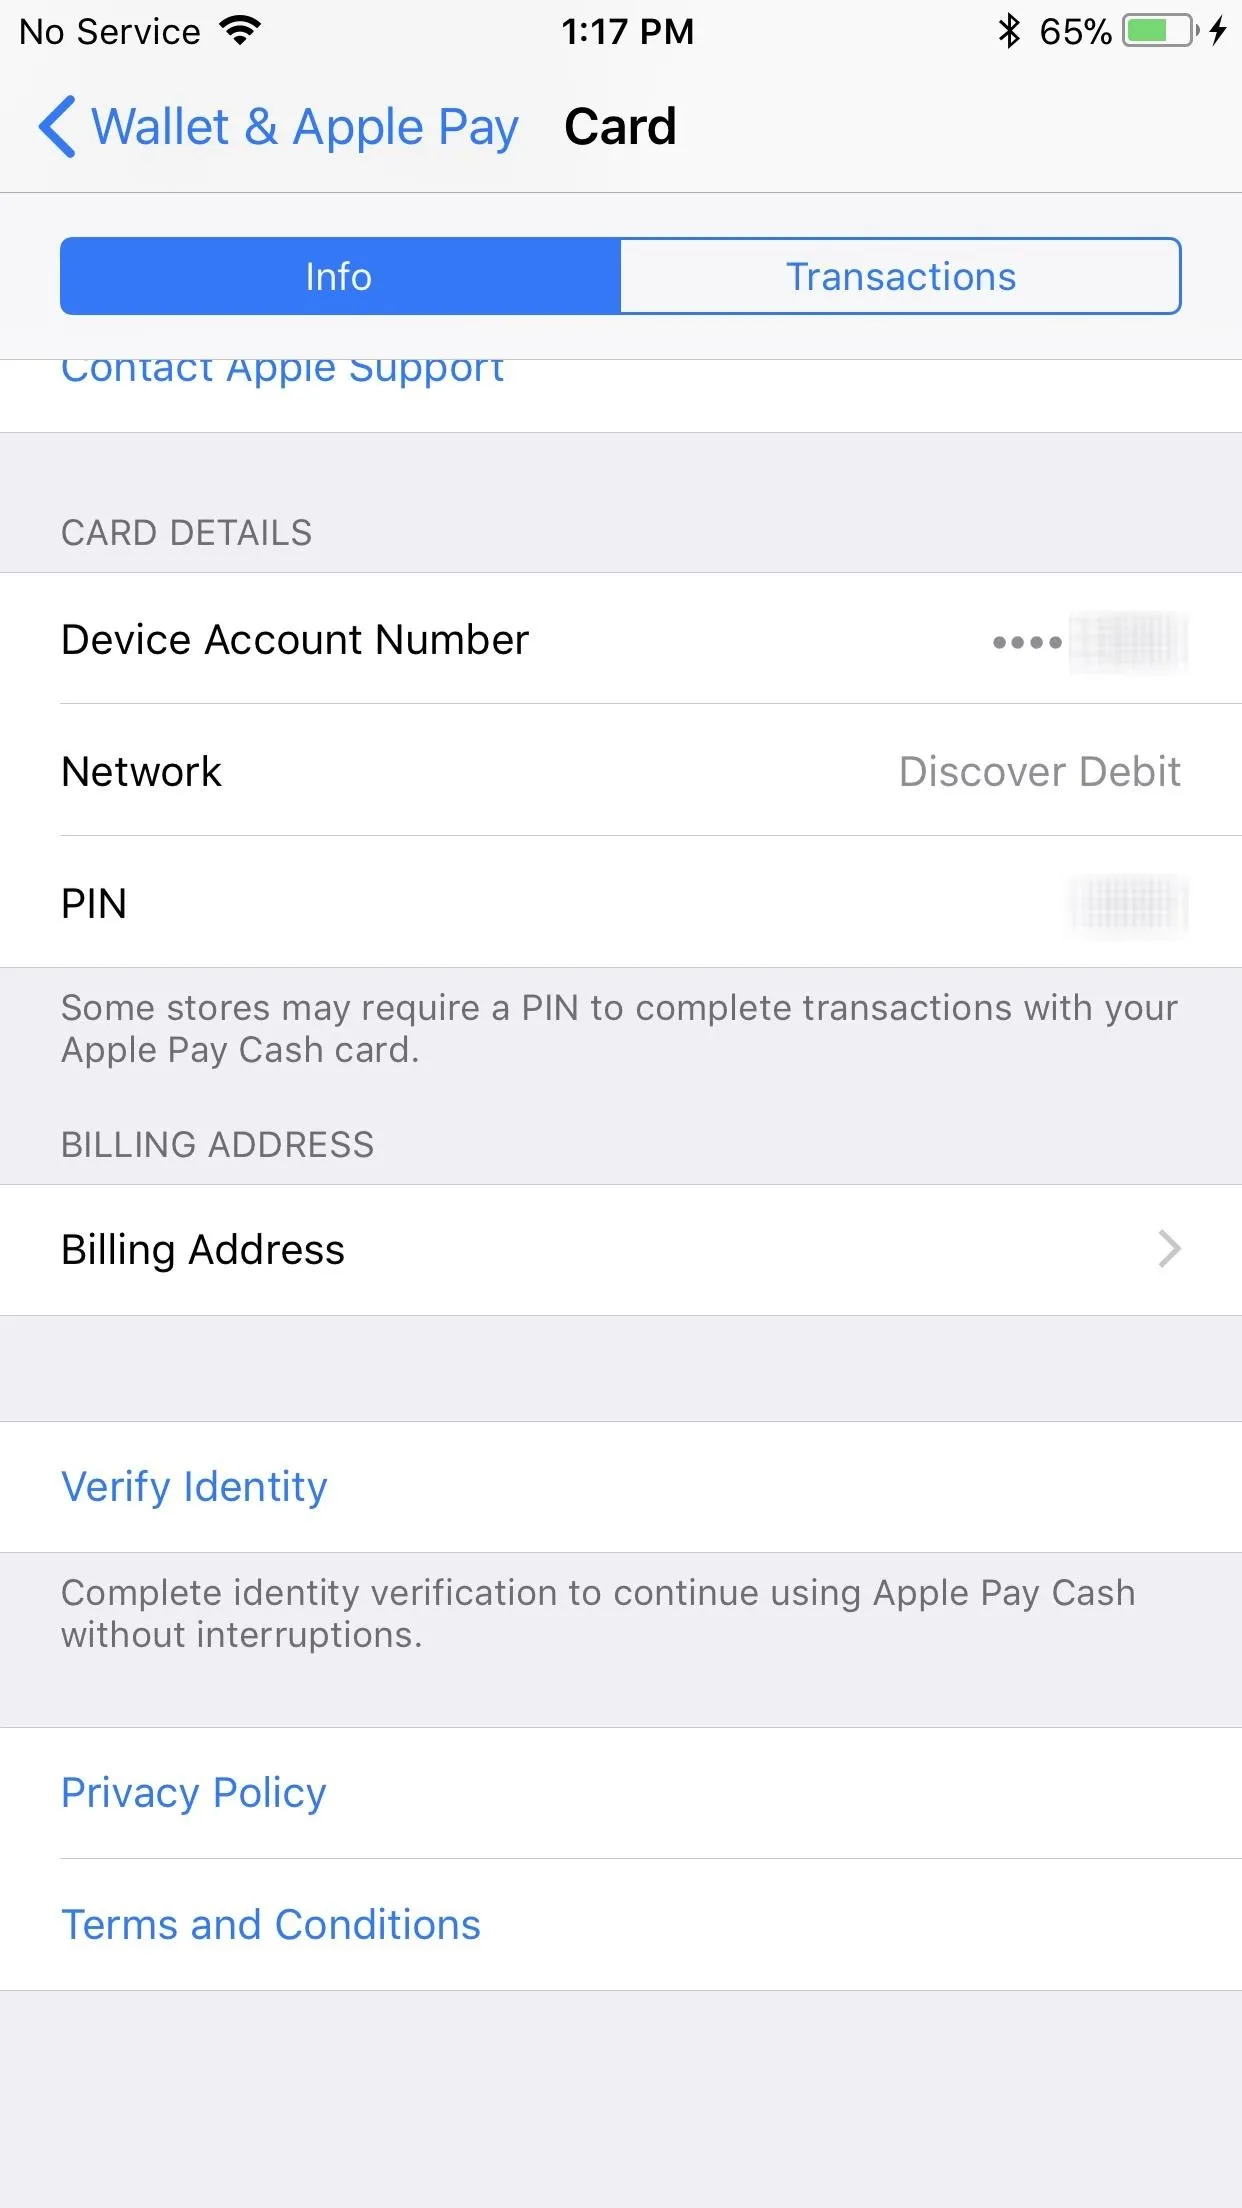
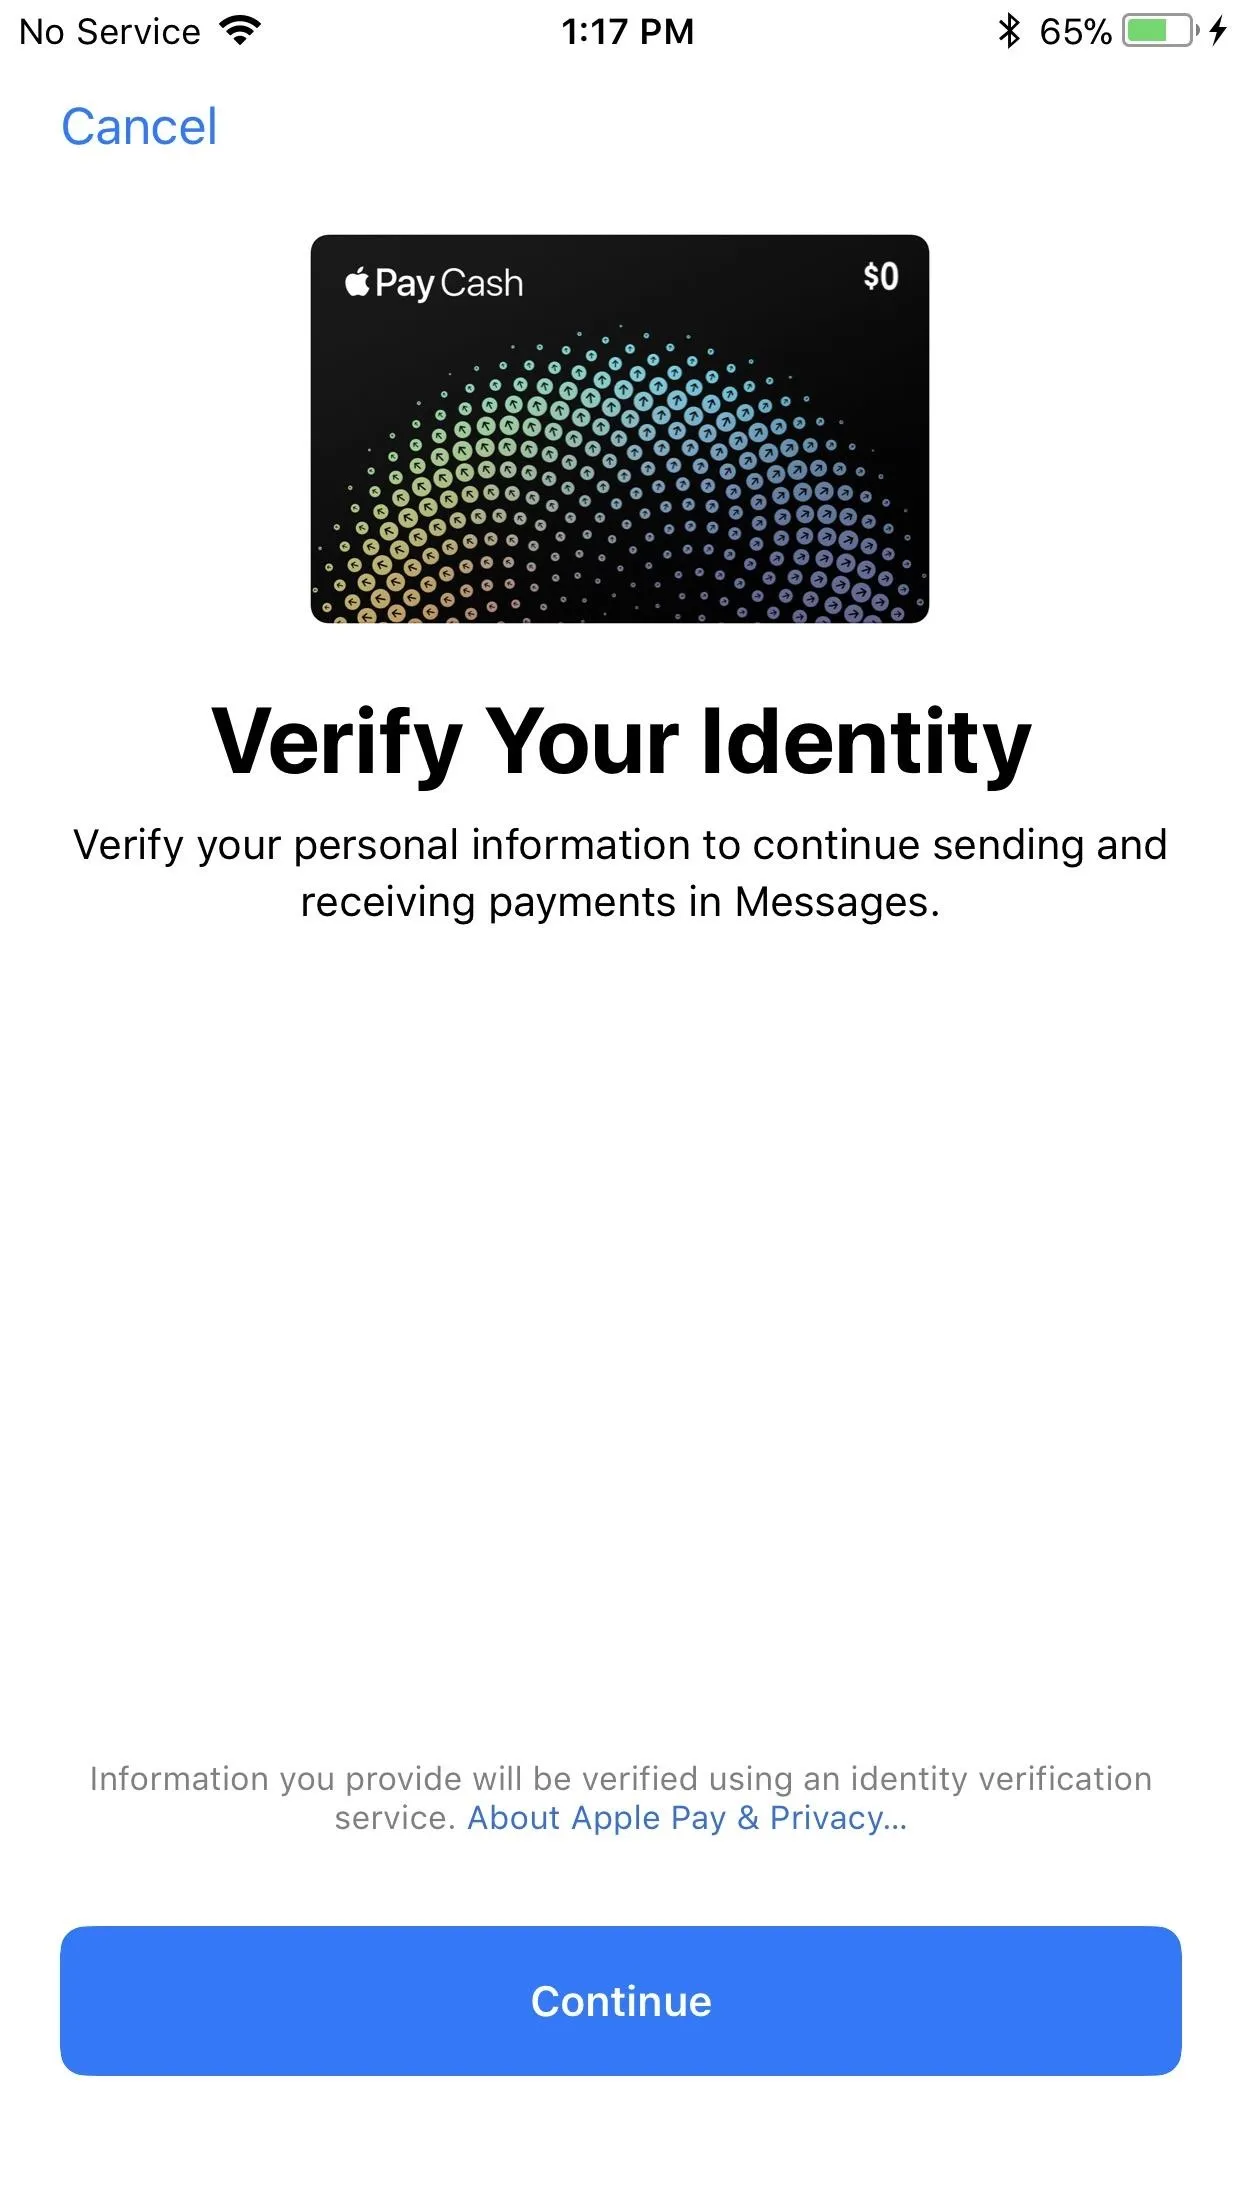
By default, "Automatically Accept Payments" is enabled, but you can change that to do so manually if you'd prefer. And to prevent any issues with Apple Pay Cash, you'll want to tap on "Verify Identity" in the Apple Pay Cash card settings, if it hasn't already been done. This is needed once you've sent or received a combined $500 with Apple Pay Cash.
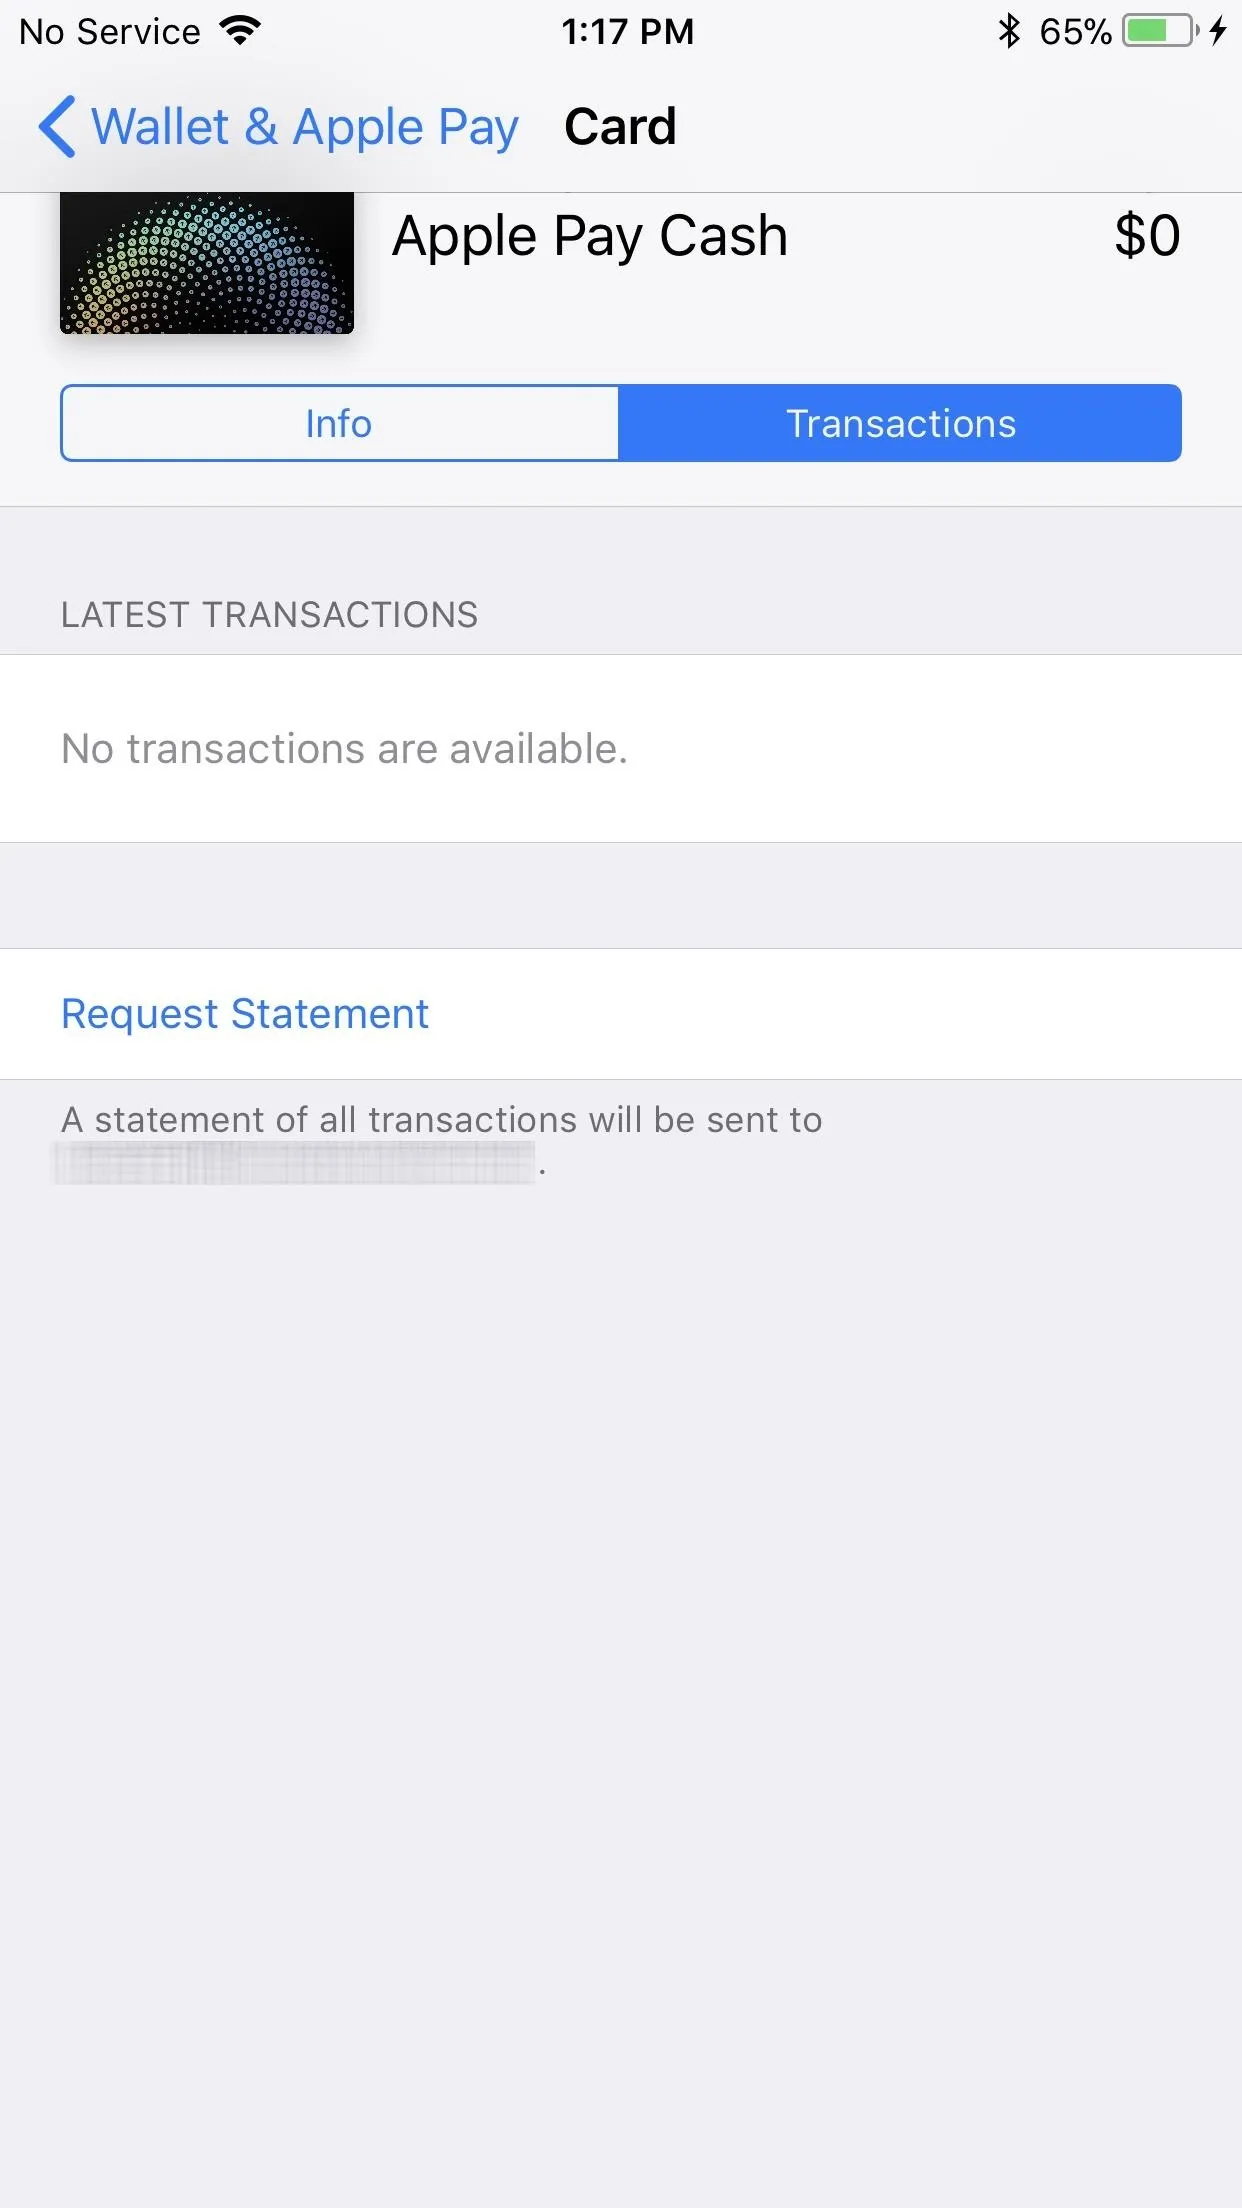
You can also select the "Transactions" tab to see all money uploaded, transferred, sent, or received, and you can even get a statement sent to your email address.


Fees & Limits
As with any financial transactions, there are some fees and limits that are imposed when sending, receiving, or transferring money with Apple Pay Cash.
- There are no fees if sending money from a debit card or your Apple Pay Cash card balance. If it's a credit card, however, it's 3% of the total sent.
- When it comes time to add money to your Apple Pay Cash card balance, the minimum amount is $10, and the maximum is $3,000. You are also limited to adding $10,000 over a 7-day period.
- When it comes to sending or receiving money, $1 is the minimum and $3,000 is the max. And just like adding money from your debit/credit card, $10,000 is the limit you can send or receive with Apple Pay Cash.
- To transfer money to your bank account, you need at least $1 to transfer and a max of $3,000 in one transaction, up to $20,000 per 7-day period.
Overall, Apple Pay Cash is pretty intuitive, so there's not much you can't figure out on your own, as long as you know where its settings are.
- Follow Gadget Hacks on Pinterest, Reddit, Twitter, YouTube, and Flipboard
- Sign up for Gadget Hacks' daily newsletter or weekly Android and iOS updates
- Follow WonderHowTo on Facebook, Twitter, Pinterest, and Flipboard
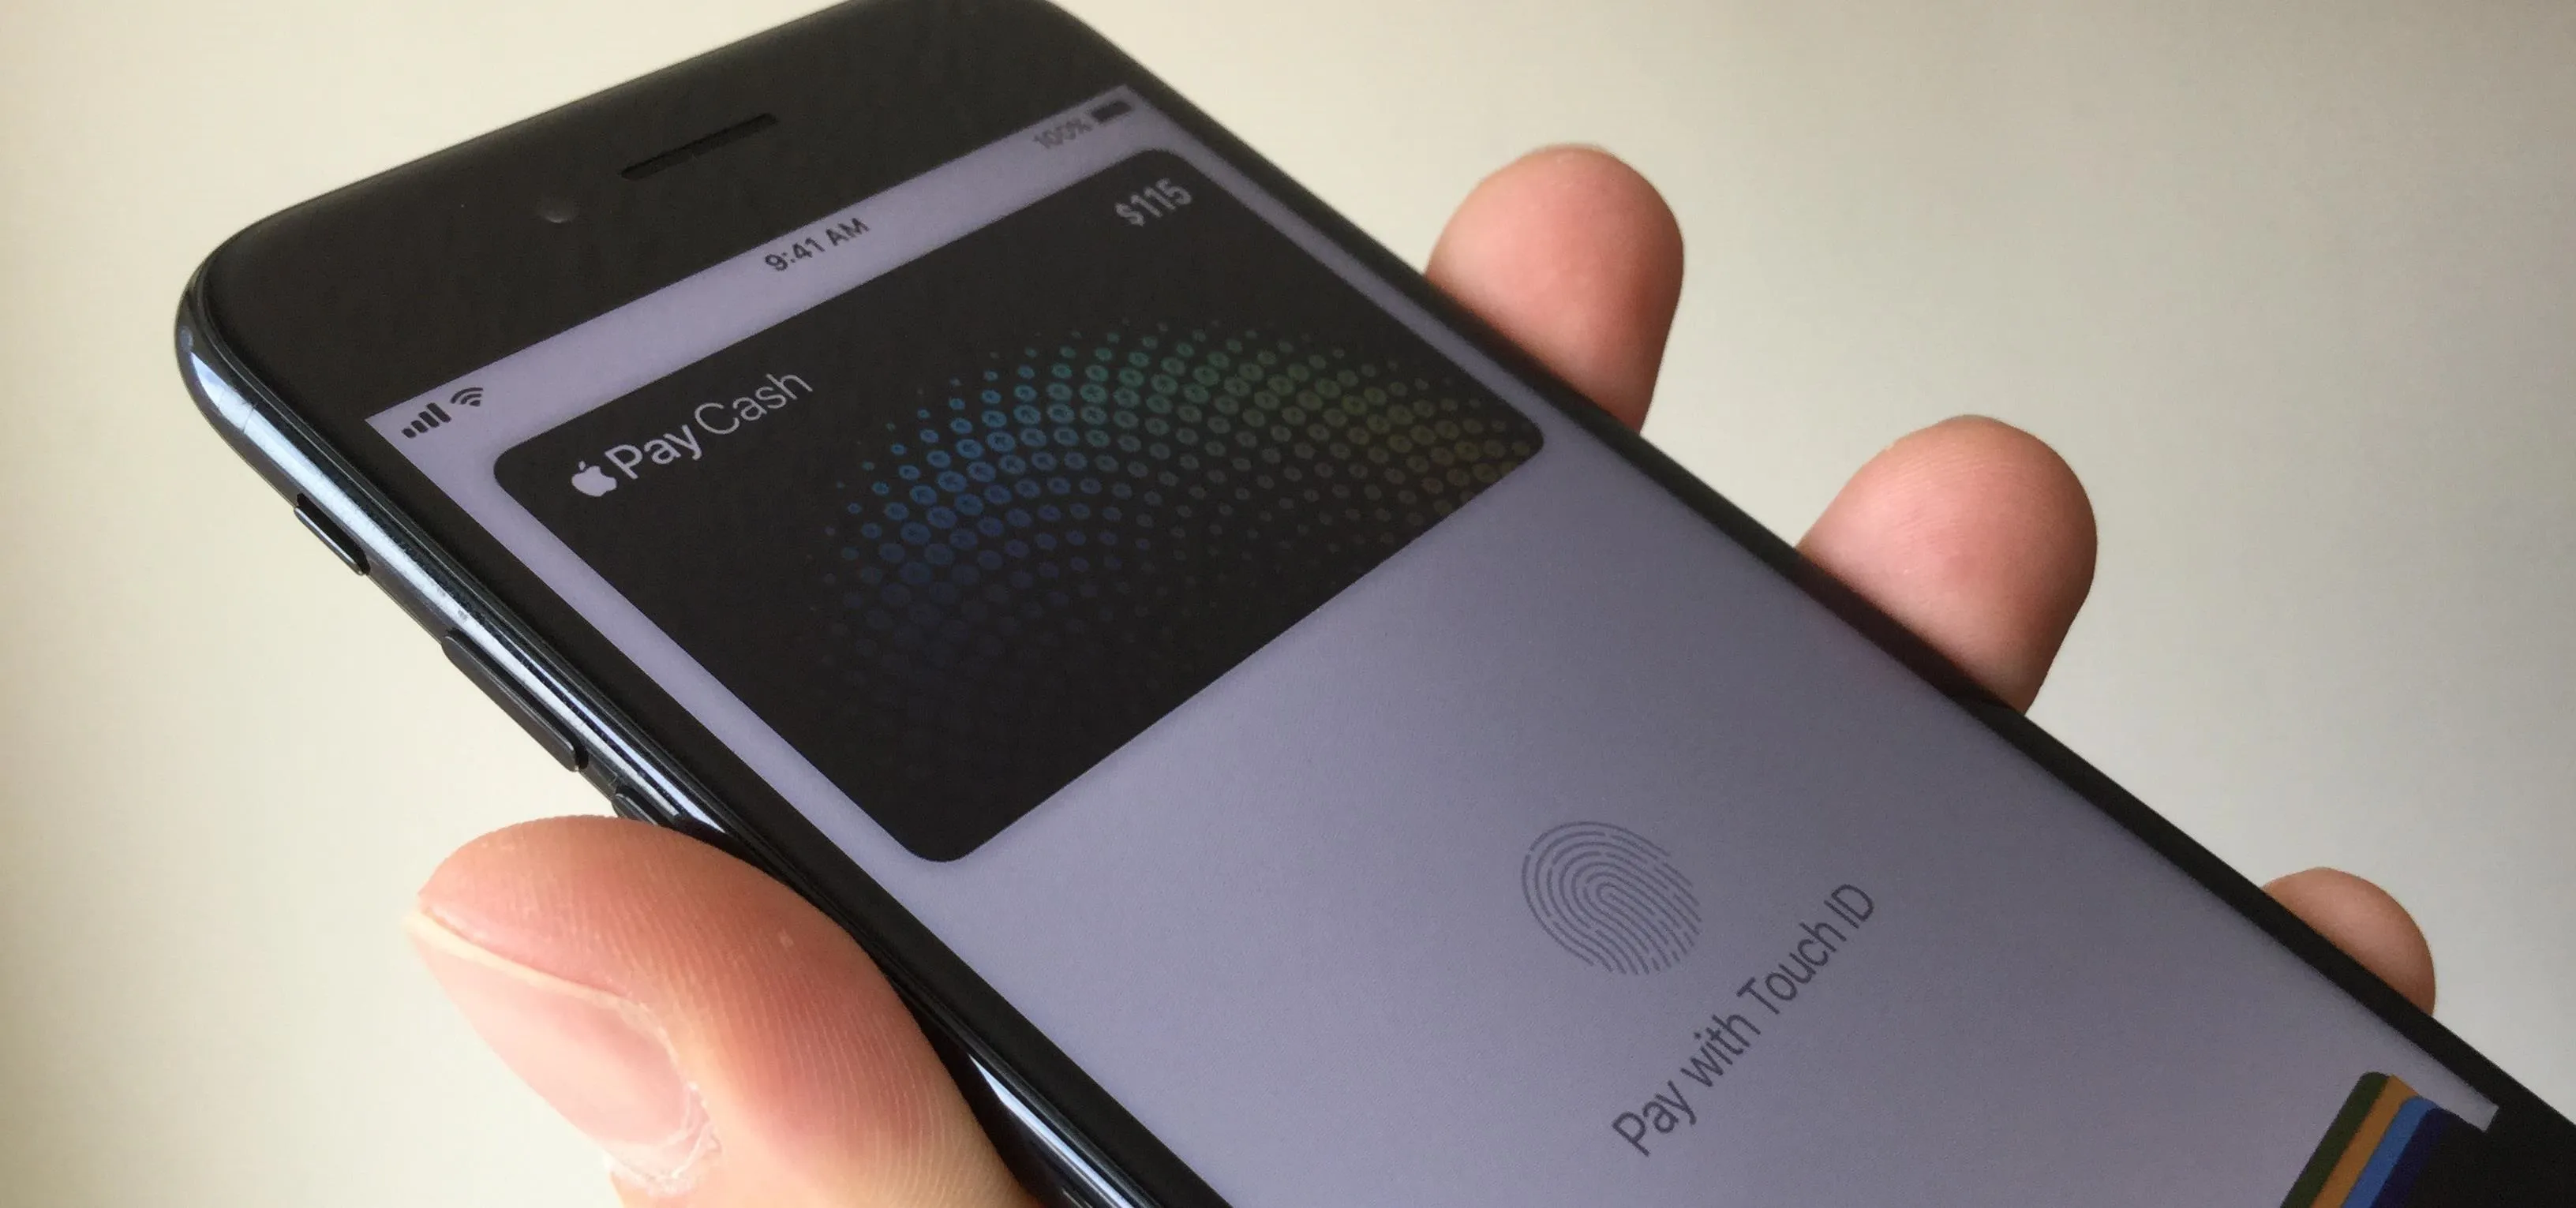
Cover photo by Jake Peterson/Gadget Hacks; Screenshots by Justin Meyers/Gadget Hacks



Comments
No Comments Exist
Be the first, drop a comment!