A picture is worth a thousand words, and depending on what you're taking a picture of, it could be worth a lot more. Our phone's camera can easily capture high quality photos, scan barcodes, and make us Instagram famous. You can compare prices of items and download applications just by scanning a QR code. Of course, we can always do this stuff a little bit better on our iPhones.
Let's turn our iPhone cameras into super smart search engines with CamFind, an "search by photo" app from developer Image Searcher, Inc. that combines great tools like QR and barcode reading with camera and voice search. While similar apps like Google Goggles get more press, I found that CamFind yielded better results and worked with images of more types of objects.
Step 1: Install CamFind on Your iPhone
Download and install CamFind for free in the iOS App Store.

Once installed, check out the short photo guide to see what things you can do. Basically, you just take a picture of the object you want to get information for. It can be a pair of headphones, historic landmark, restaurant, or even a movie poster.
CamFind will then give you the most pertinent data for the image you've just taken, including prices, tourist info, food menus, and even film reviews.
Step 2: Test It Out & Snap Some Photos
Give it a try—you can take a picture of practically anything. Make sure the item is in focus and the area isn't too bright or too dark, then snap away. I decided to test it out with my car keys, and low and behold, it actually gave me some pretty impressive results.
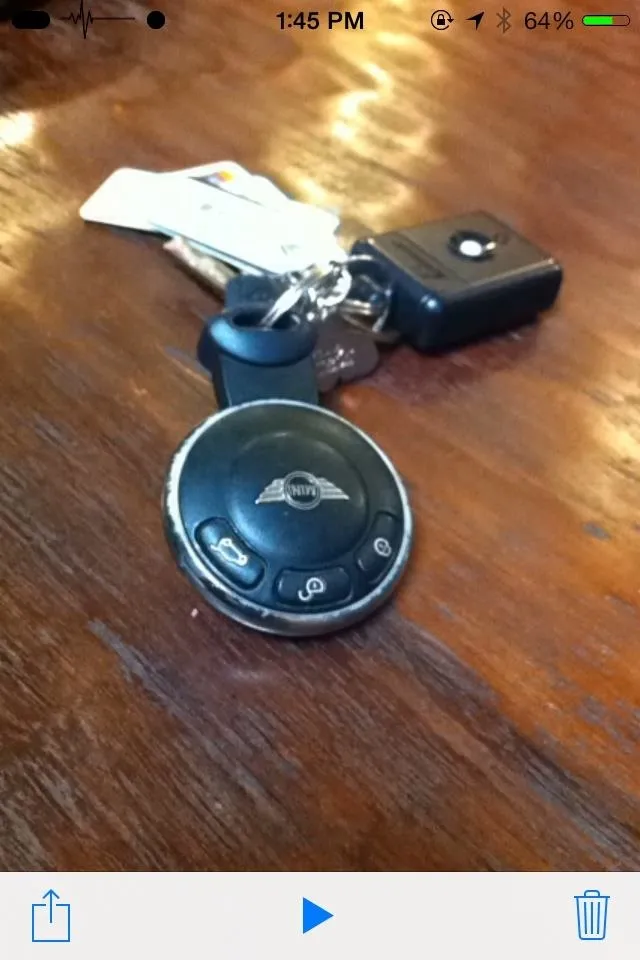


I got results for purchasing a Mini Cooper as well as places where I could buy a replacement Mini Cooper key. Both make sense since I took of picture of a Mini Cooper key. Hitting the "play" button in the center will initiate a voice read-out of the object the app captured, in my case, "Black Mini Cooper Keychain."
But you can go even bigger than that. Why not a car like this Prius, for example?




Taking pictures of landmarks, vehicles, or products will give accurate search results every time.



And there is no need to take a picture of something super obvious or easily discernible either.

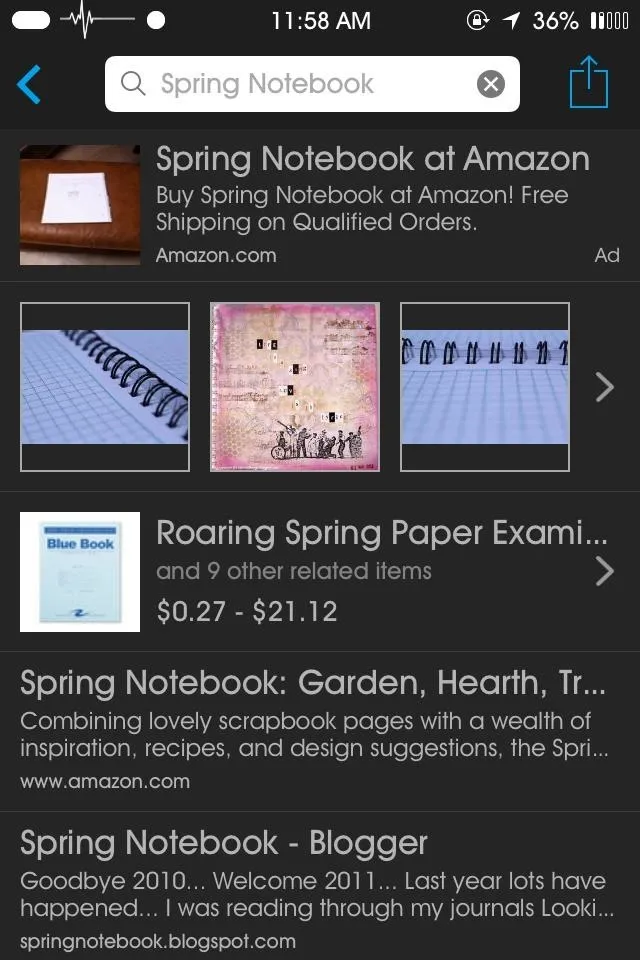


Carrots, notebooks, chalk—all fair game!
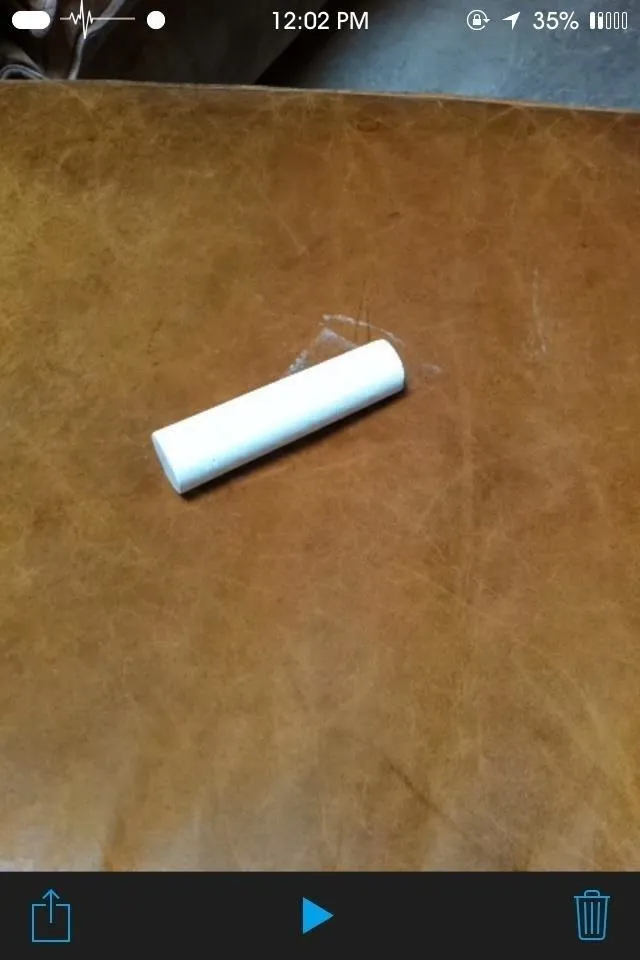
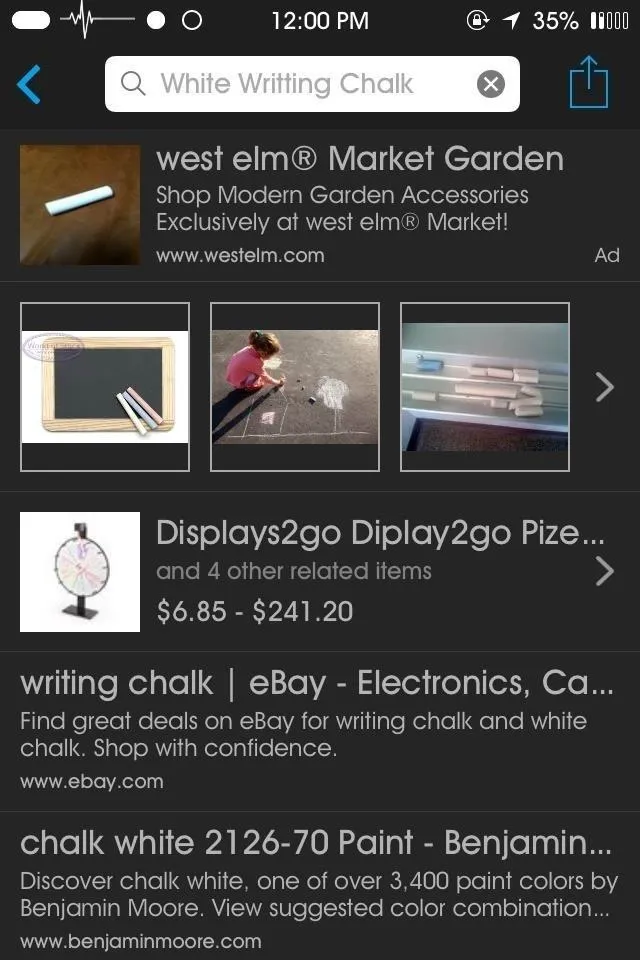


The first time I took a picture of the chalk, I received search results for "white tubes." So if you're taking a picture of something hard to identify, you may need to bring the camera closer to the object. Once I did that, I got the results for "chalk" as you can see above.
Step 3: Try Out a Voice Search Instead
Similar to standard audible search apps, you can search the web with just your voice. Tap on the microphone and say something for CamFind to search for.
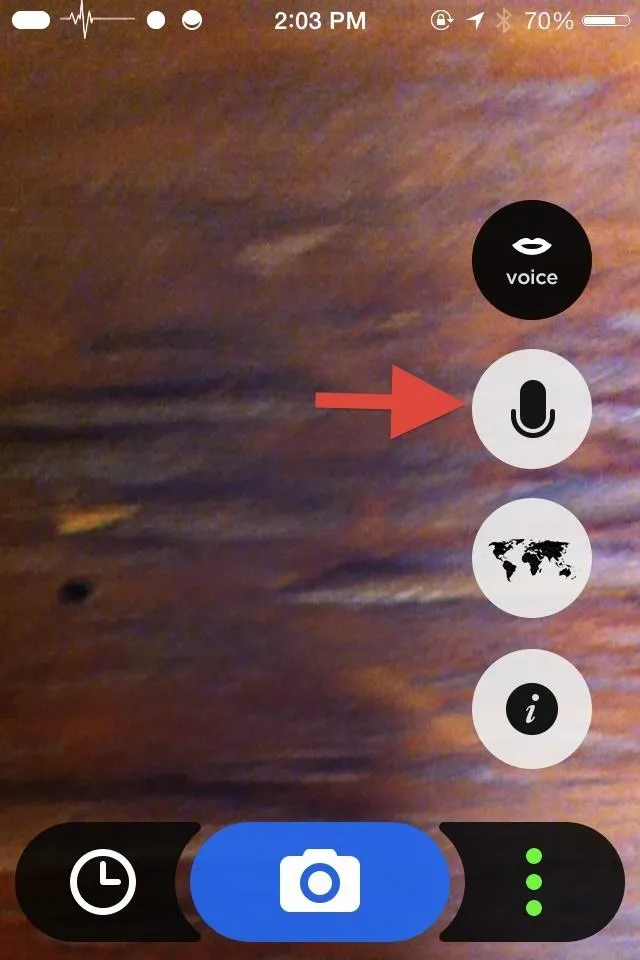
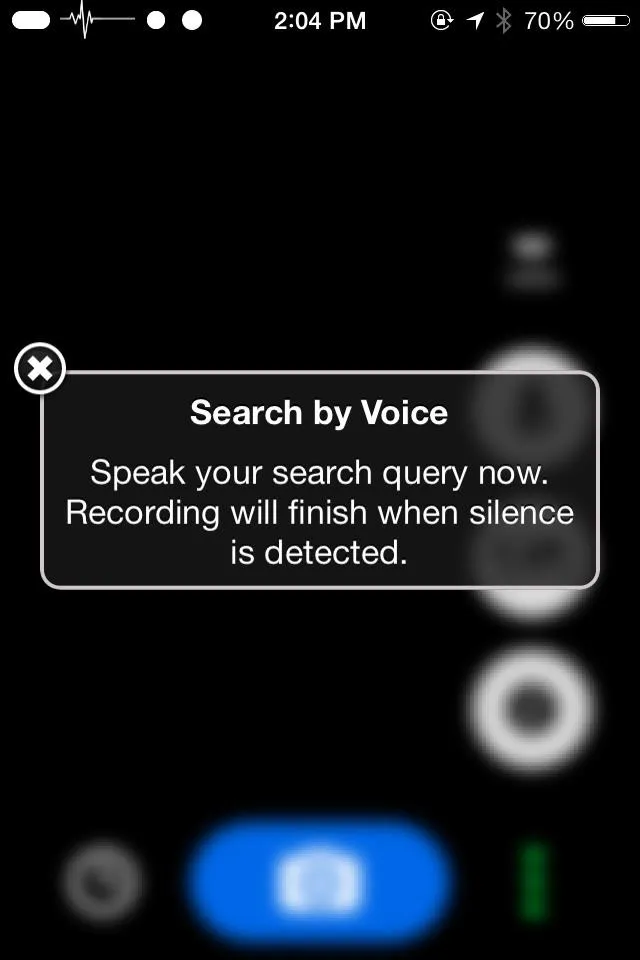



Once finished speaking, the app will begin transcribing the voice. Give it a few seconds and your search results will be given on the next screen. CamFind will speak your results, but this voice feedback can be turned off at anytime by tapping on the lips icon.
Voice Search vs. Siri
CamFind voice search will give basic Google results and links, while Siri goes directly to the source (her voice recognition is much better too). Here's a search for best restaurants in Los Angeles in CamFind and Siri:

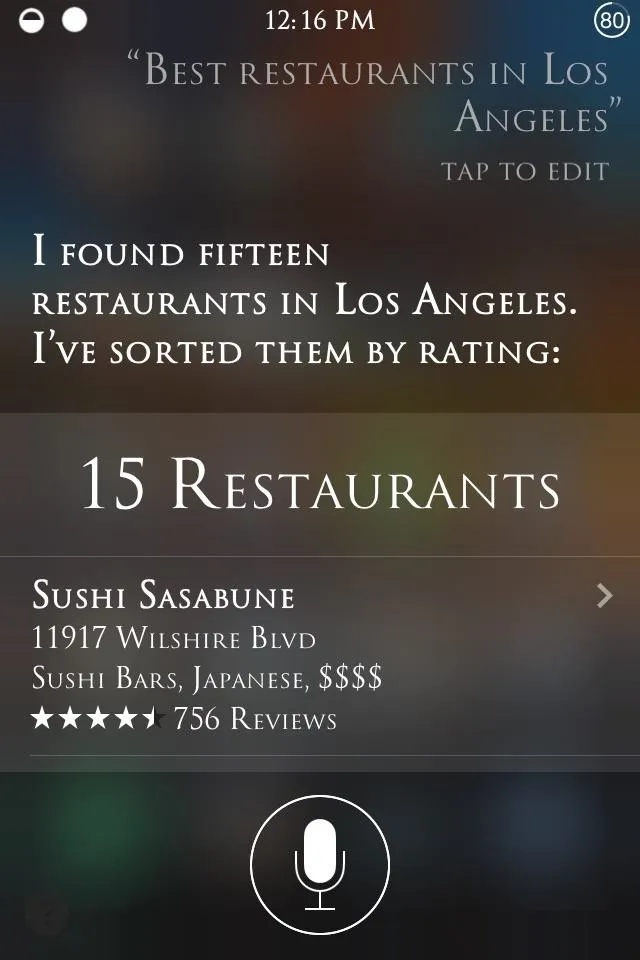


Siri is more like a personal assistant, with the ability to send out emails, texts, and connect restaurant results to your maps—all with a much cleaner interface.
CamFind's searches also include ads, which are not related to the search, as you can see in the screenshot above. CamFind's voice search is merely a way to search Google using just your voice and nothing more.
But the fact that voice search is built in is nice, especially since the app's main focus is image search. Of course, if you don't have Siri, then CamFind's voice search will be more than adequate.
Step 4: Share Your Photos
Searches and pictures taken with CamFind can also be saved and shared easily just by tapping on the share icon.

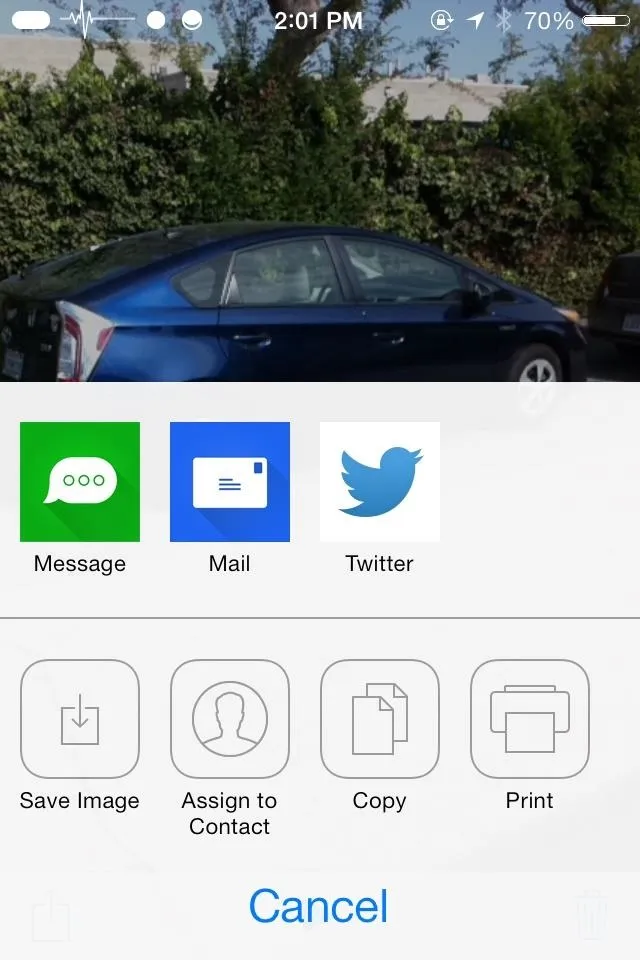


It will bring up a menu of options where you can save pictures to your device or share them via message, email, or tweet. The app allow will let you share search results with your peeps.
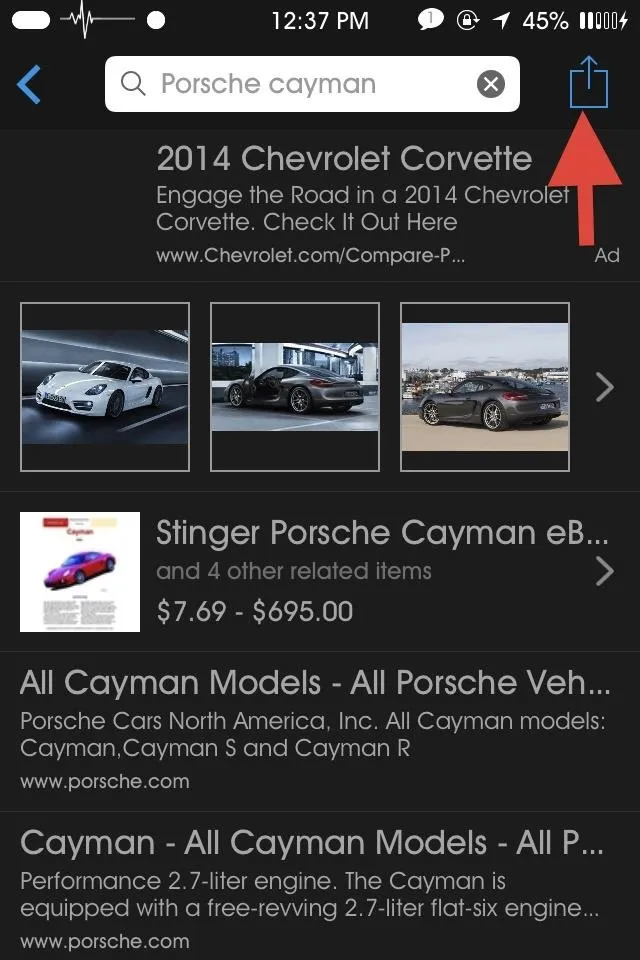
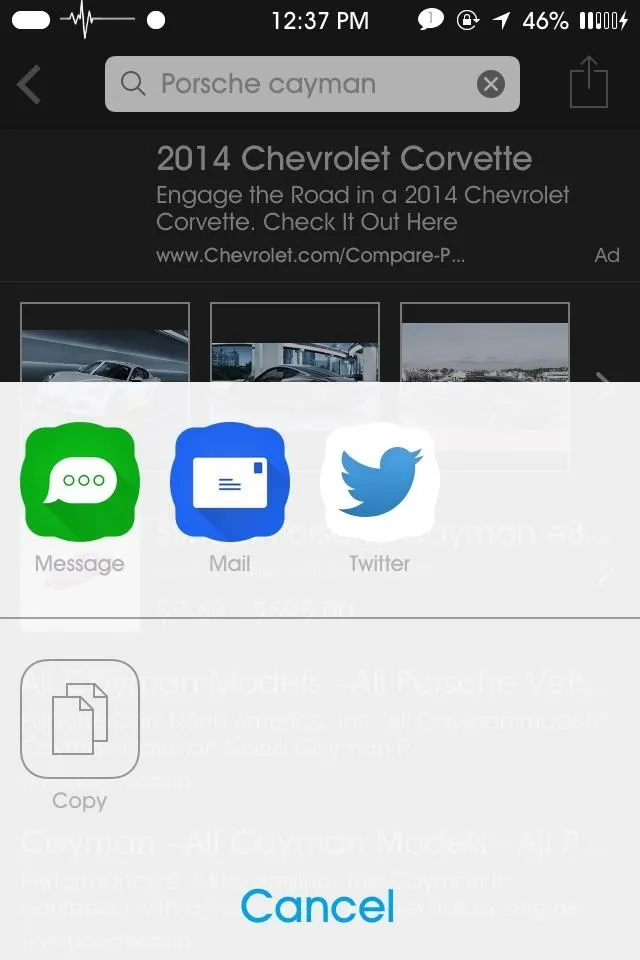


Similar to sharing a photo, just tap the share icon in the results page.
NOTE: When sharing images to folks without CamFind, a link to download CamFind will be included with the picture. Sharing links will only provide the download link for CamFind and only the name of what you searched for. To get around that, simply take a screenshot of the results page and share that.
Step 5: View Your Search History
You can view the history of the photos or searches you've made by tapping on the clock icon located to the left of the camera icon.
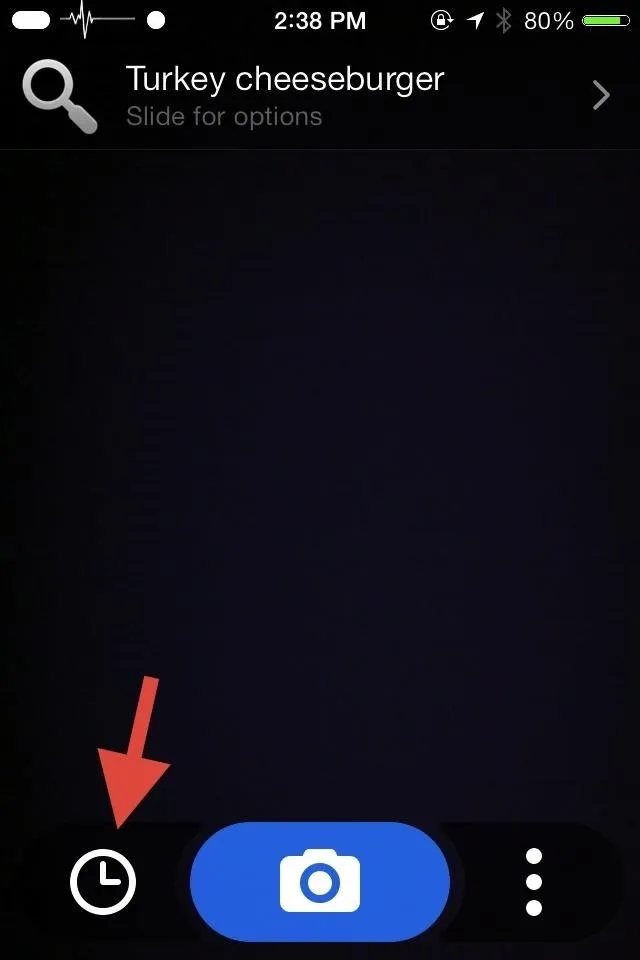
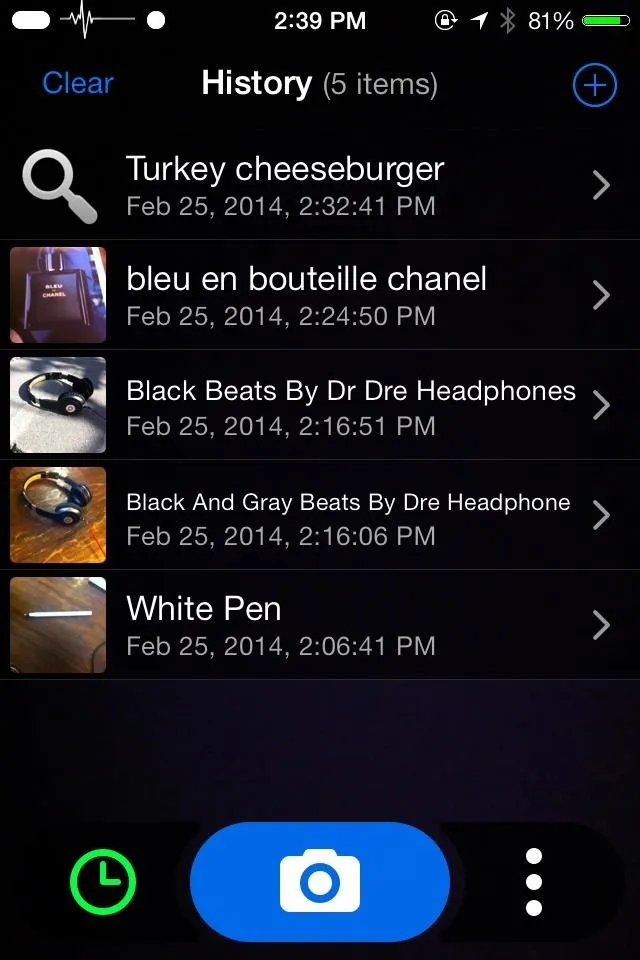


From there, slide on an item to bring up yet another menu where you can delete, edit item name, play item name, and share.
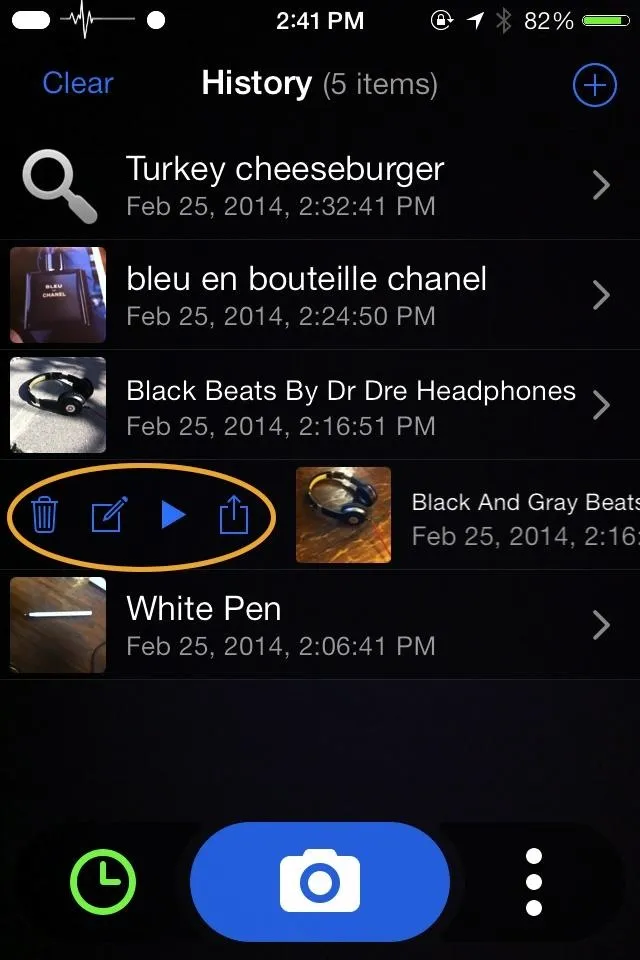



Selecting the compose icon allows us to edit the image description.
Step 6: Change the Default Language
You can also change the supported language by hitting the world icon in the pop-up menu; after the change, results will be translated into your selected language.
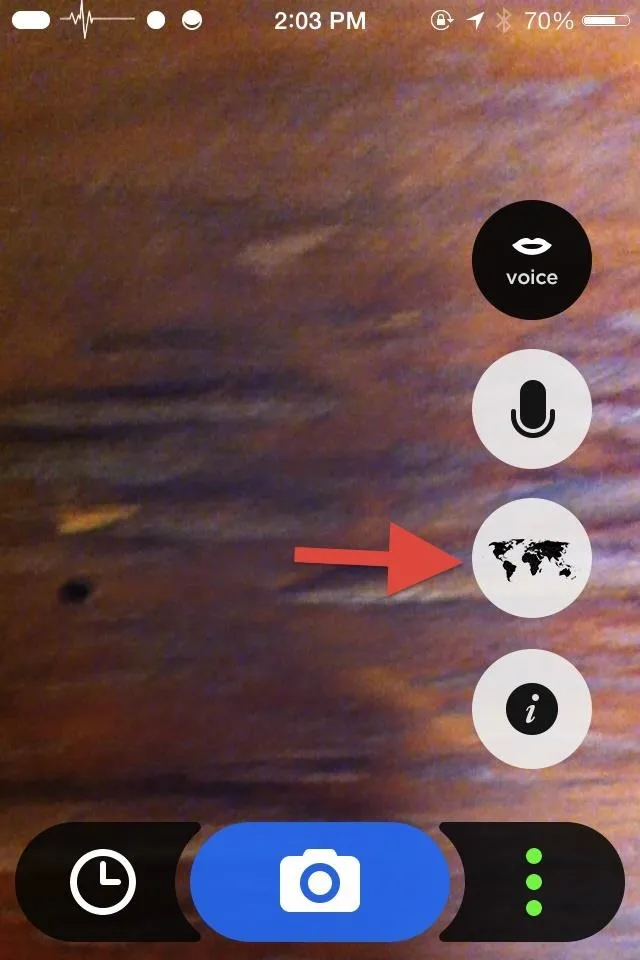
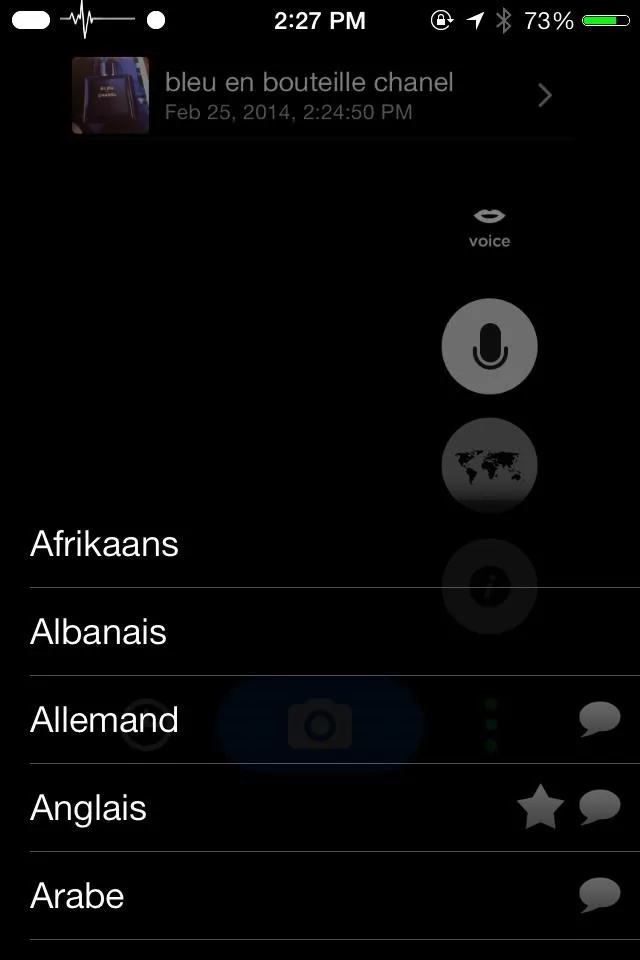


I had a bitch of a time switching back from French to English, so remember that selecting the Star icon will switch CamFind back to its default language.
Why CamFind?
CamFinder is loaded with features that you'll love exploring. From the basics like the QR reader and voice search to some of the cooler items like snapping a picture of a Spanish menu and having it translated or taking a photo of a movie poster to get movie times and trailers.
After using both Google Goggles and CamFind, CamFind comes out on top almost every time. Now, Google Goggles does allow you to search using photos already on your phone, which is super cool, and it's also a lot faster when giving results. But since CamFind uses its own image recognition technology combined with crowd-sourced image tags, it almost always brings back results no matter what I am taking a picture of, yielding impressive accuracy. CamFind's extra features are more expansive as well, which result in a higher grade from me.
Check it out for yourself and let me know what you think in the comments section.


Comments
No Comments Exist
Be the first, drop a comment!