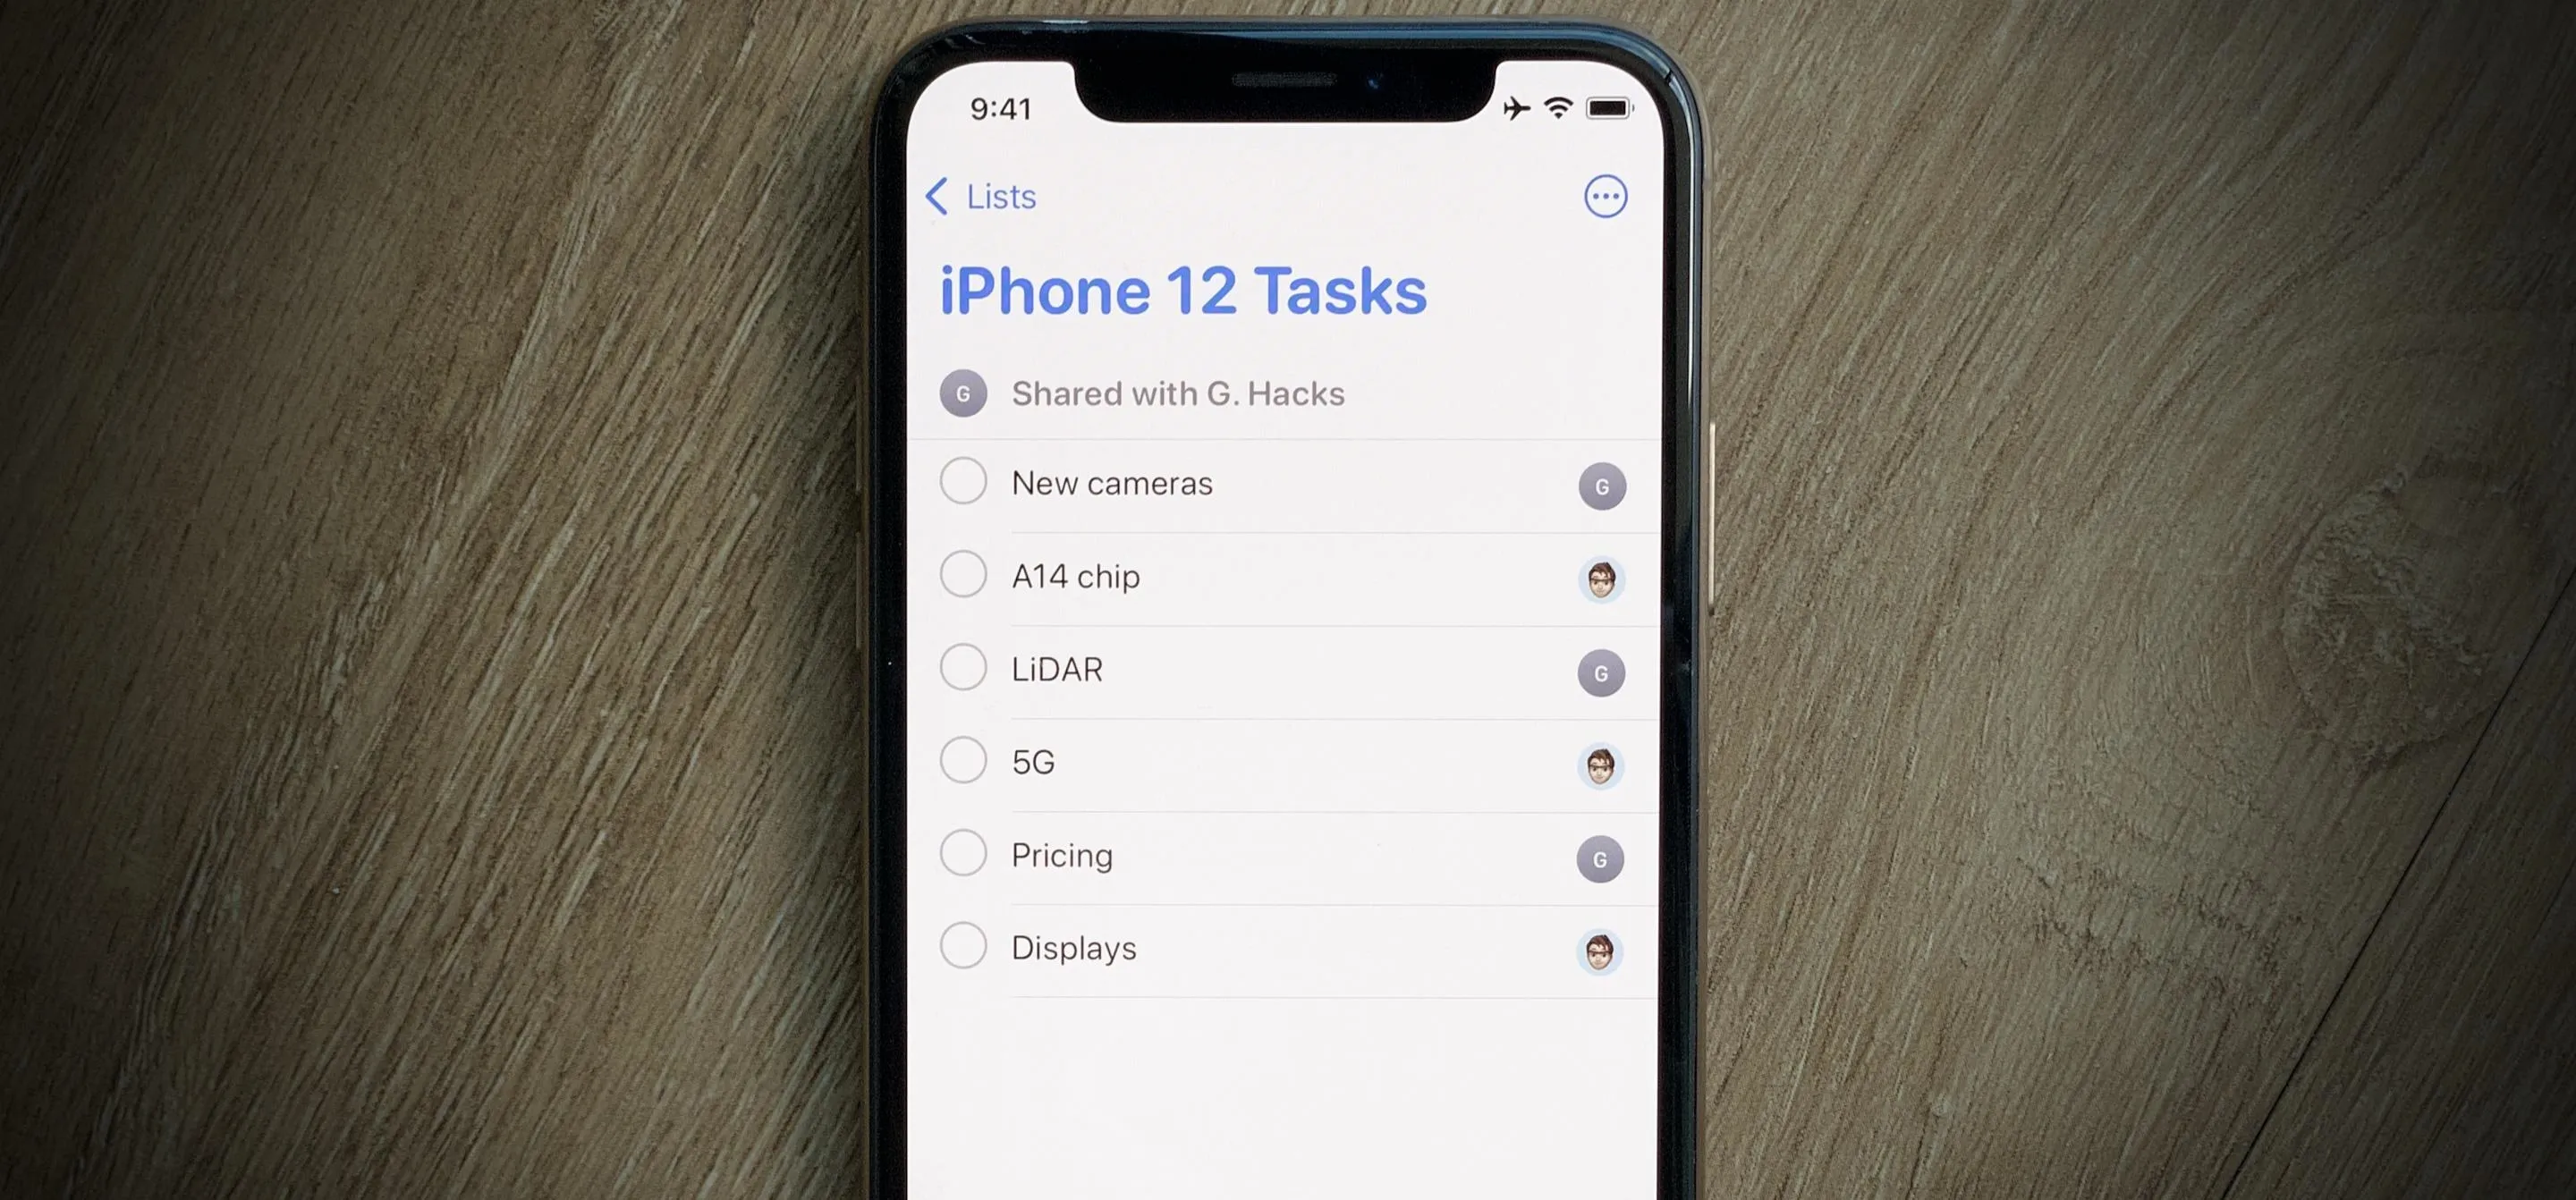
If you have a group of iPhone users to manage, whether for work assignments, planning a trip, or organizing an event, Reminders might just be your new best friend. With iOS 14, the app now lets you assign reminders to contacts, so everyone knows what they're supposed to be working on.
The new iOS 14 feature is made possible by an existing Reminders function, sharable lists. This feature allows you to share Reminders lists with other people, so everyone can contribute to adding, completing, and viewing various tasks. With the ability to actually assign tasks to group members — assignments the rest of the group can see — things just get a little more organized.
Step 1: Create a Reminders List
As stated above, assigned reminders are a feature in shared lists, which requires having a list first. If you already have a list you want to share, skip down to Step 2. Otherwise, check out this first step.
On the main Reminders screen, tap "Add List." Here, name your list, then choose a color and icon for the list. Tap "Done," and Reminders will save the list. Now, tap the list, and begin adding your tasks and reminders to it. Tap "Done" to save each reminder to your list.


Step 2: Share the Reminders List
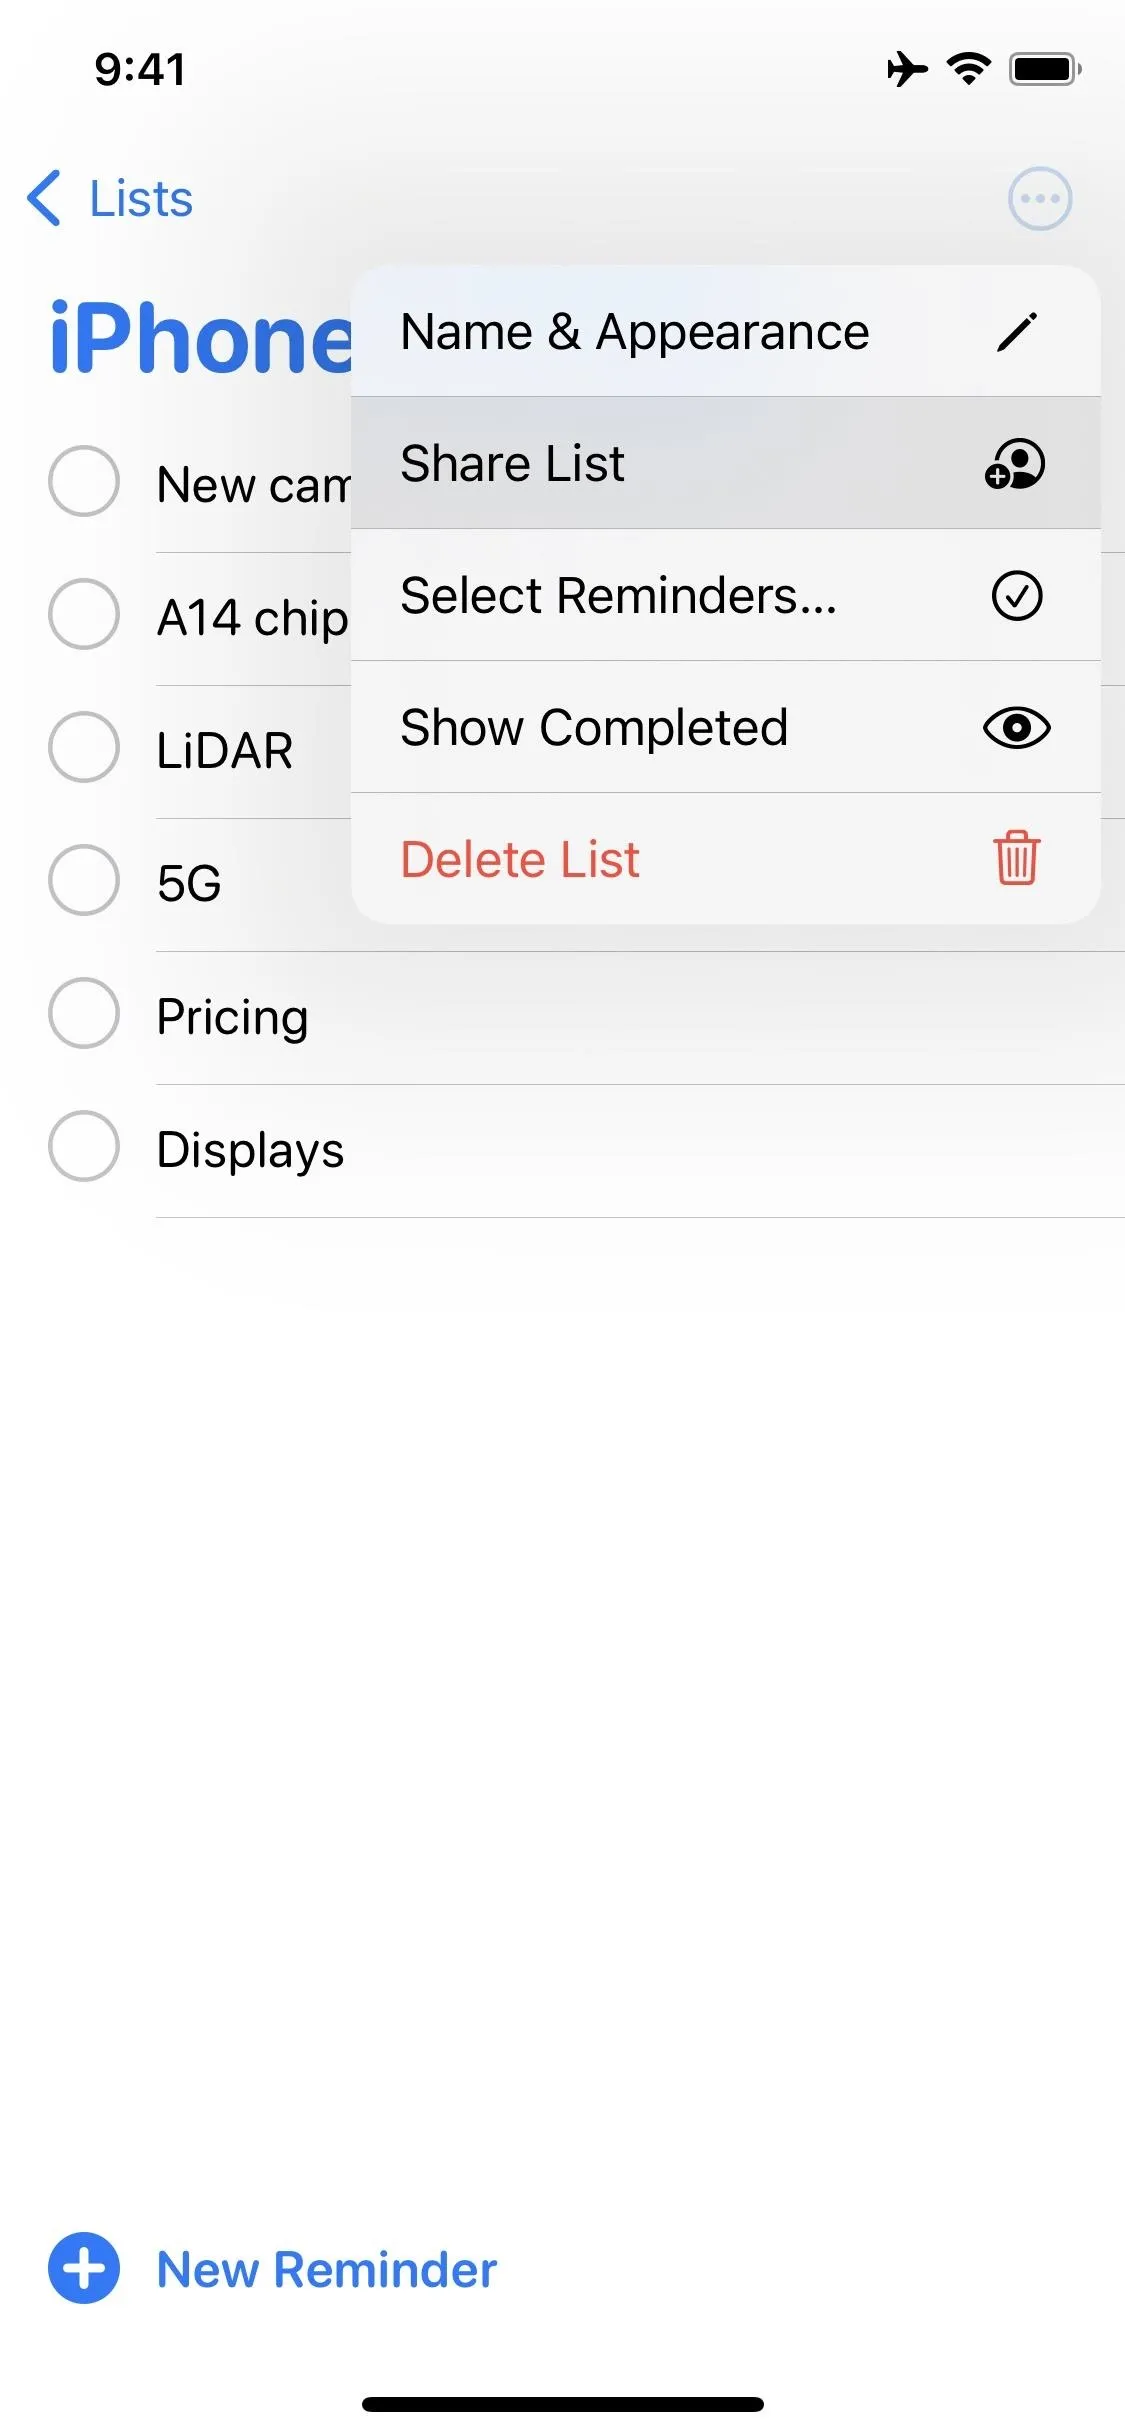
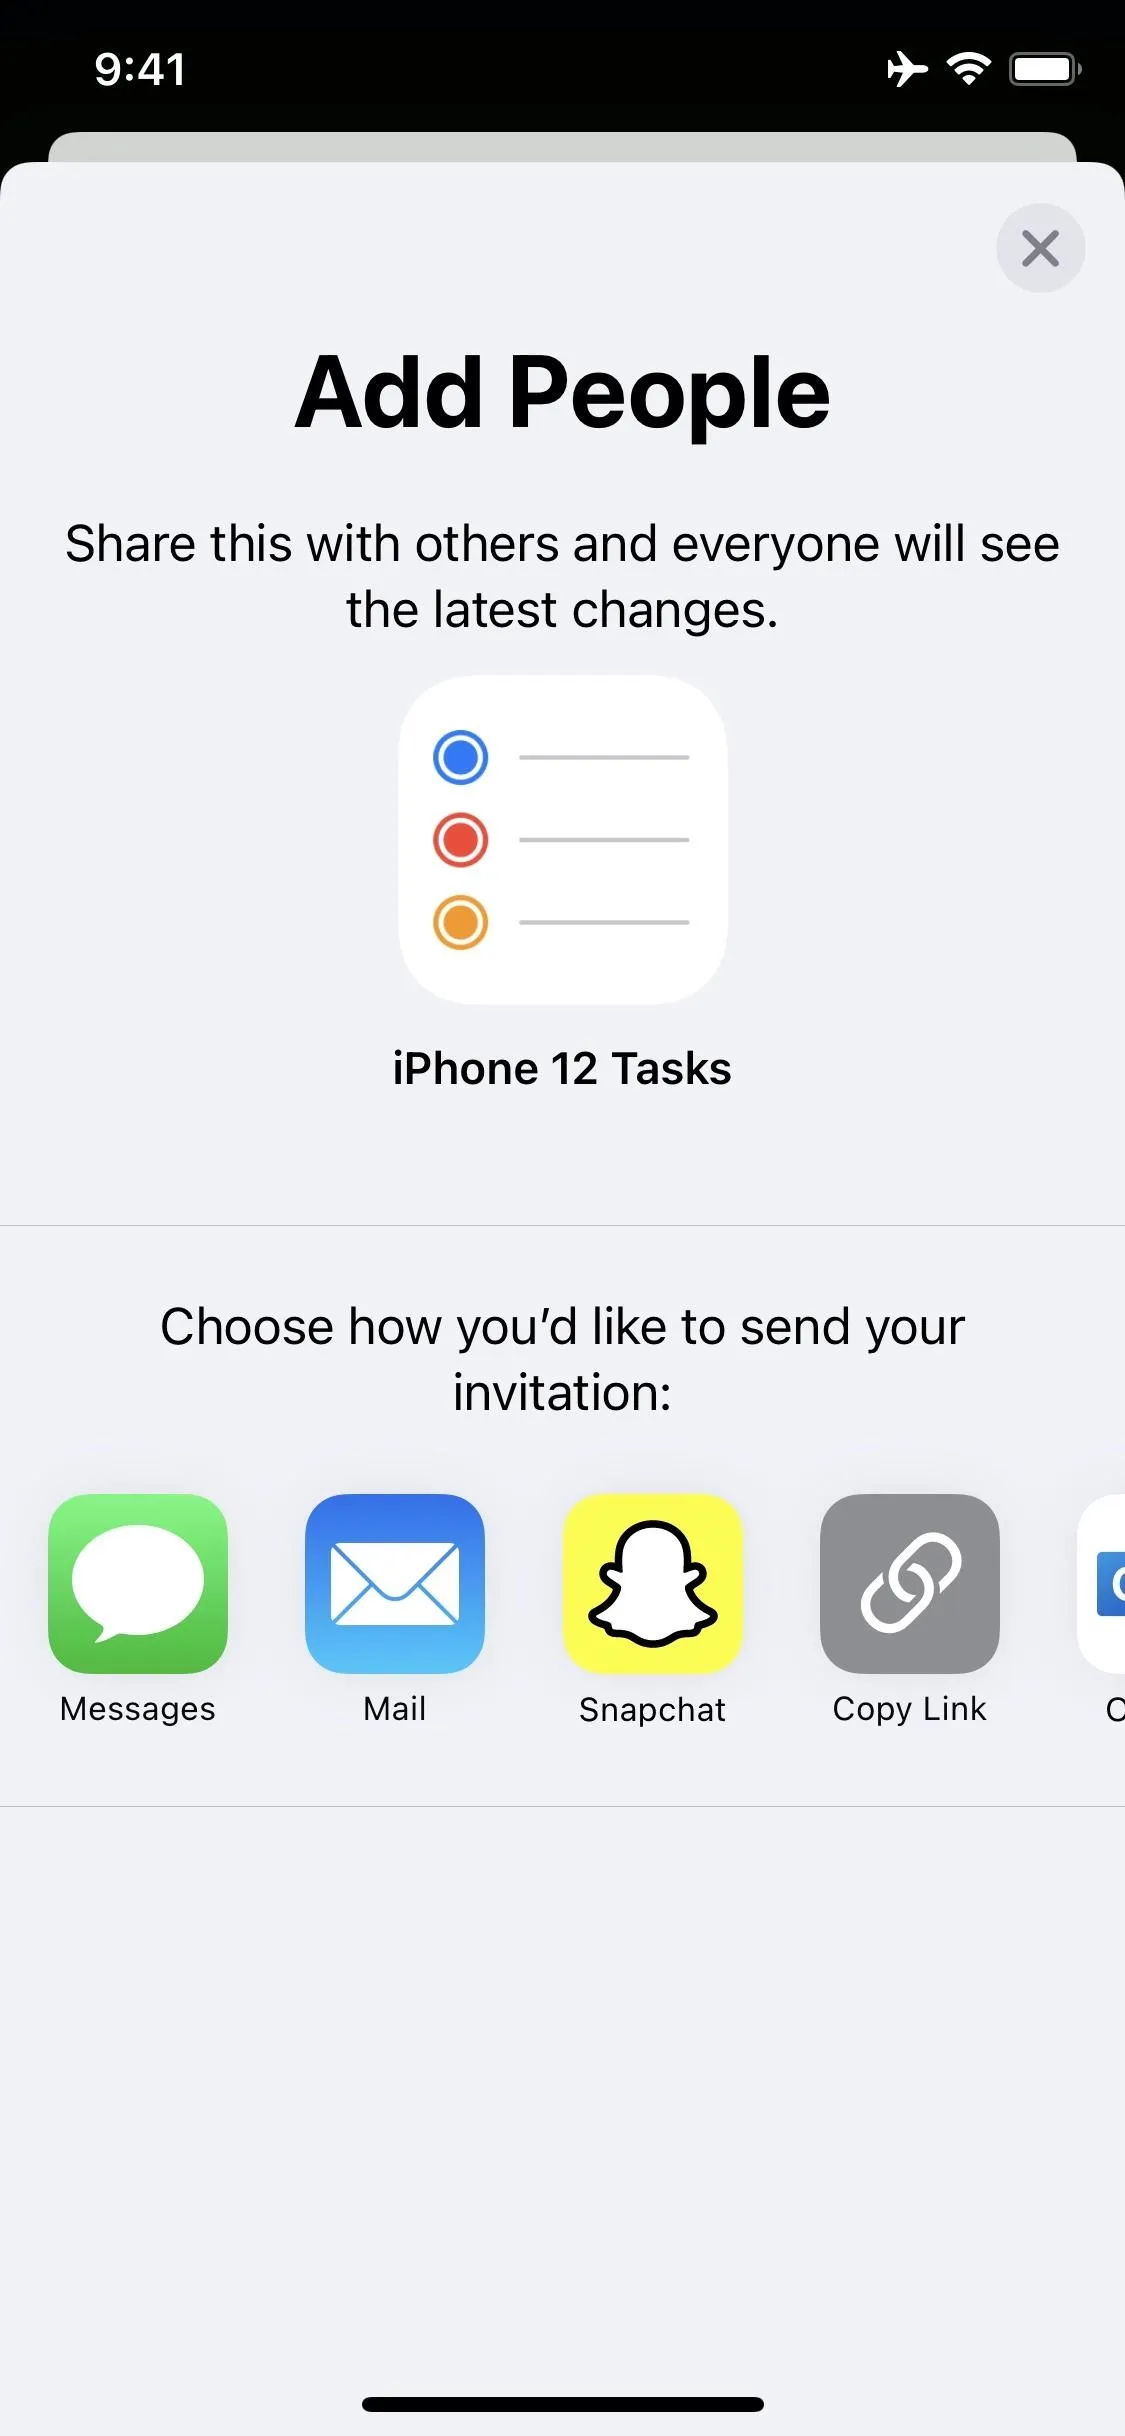
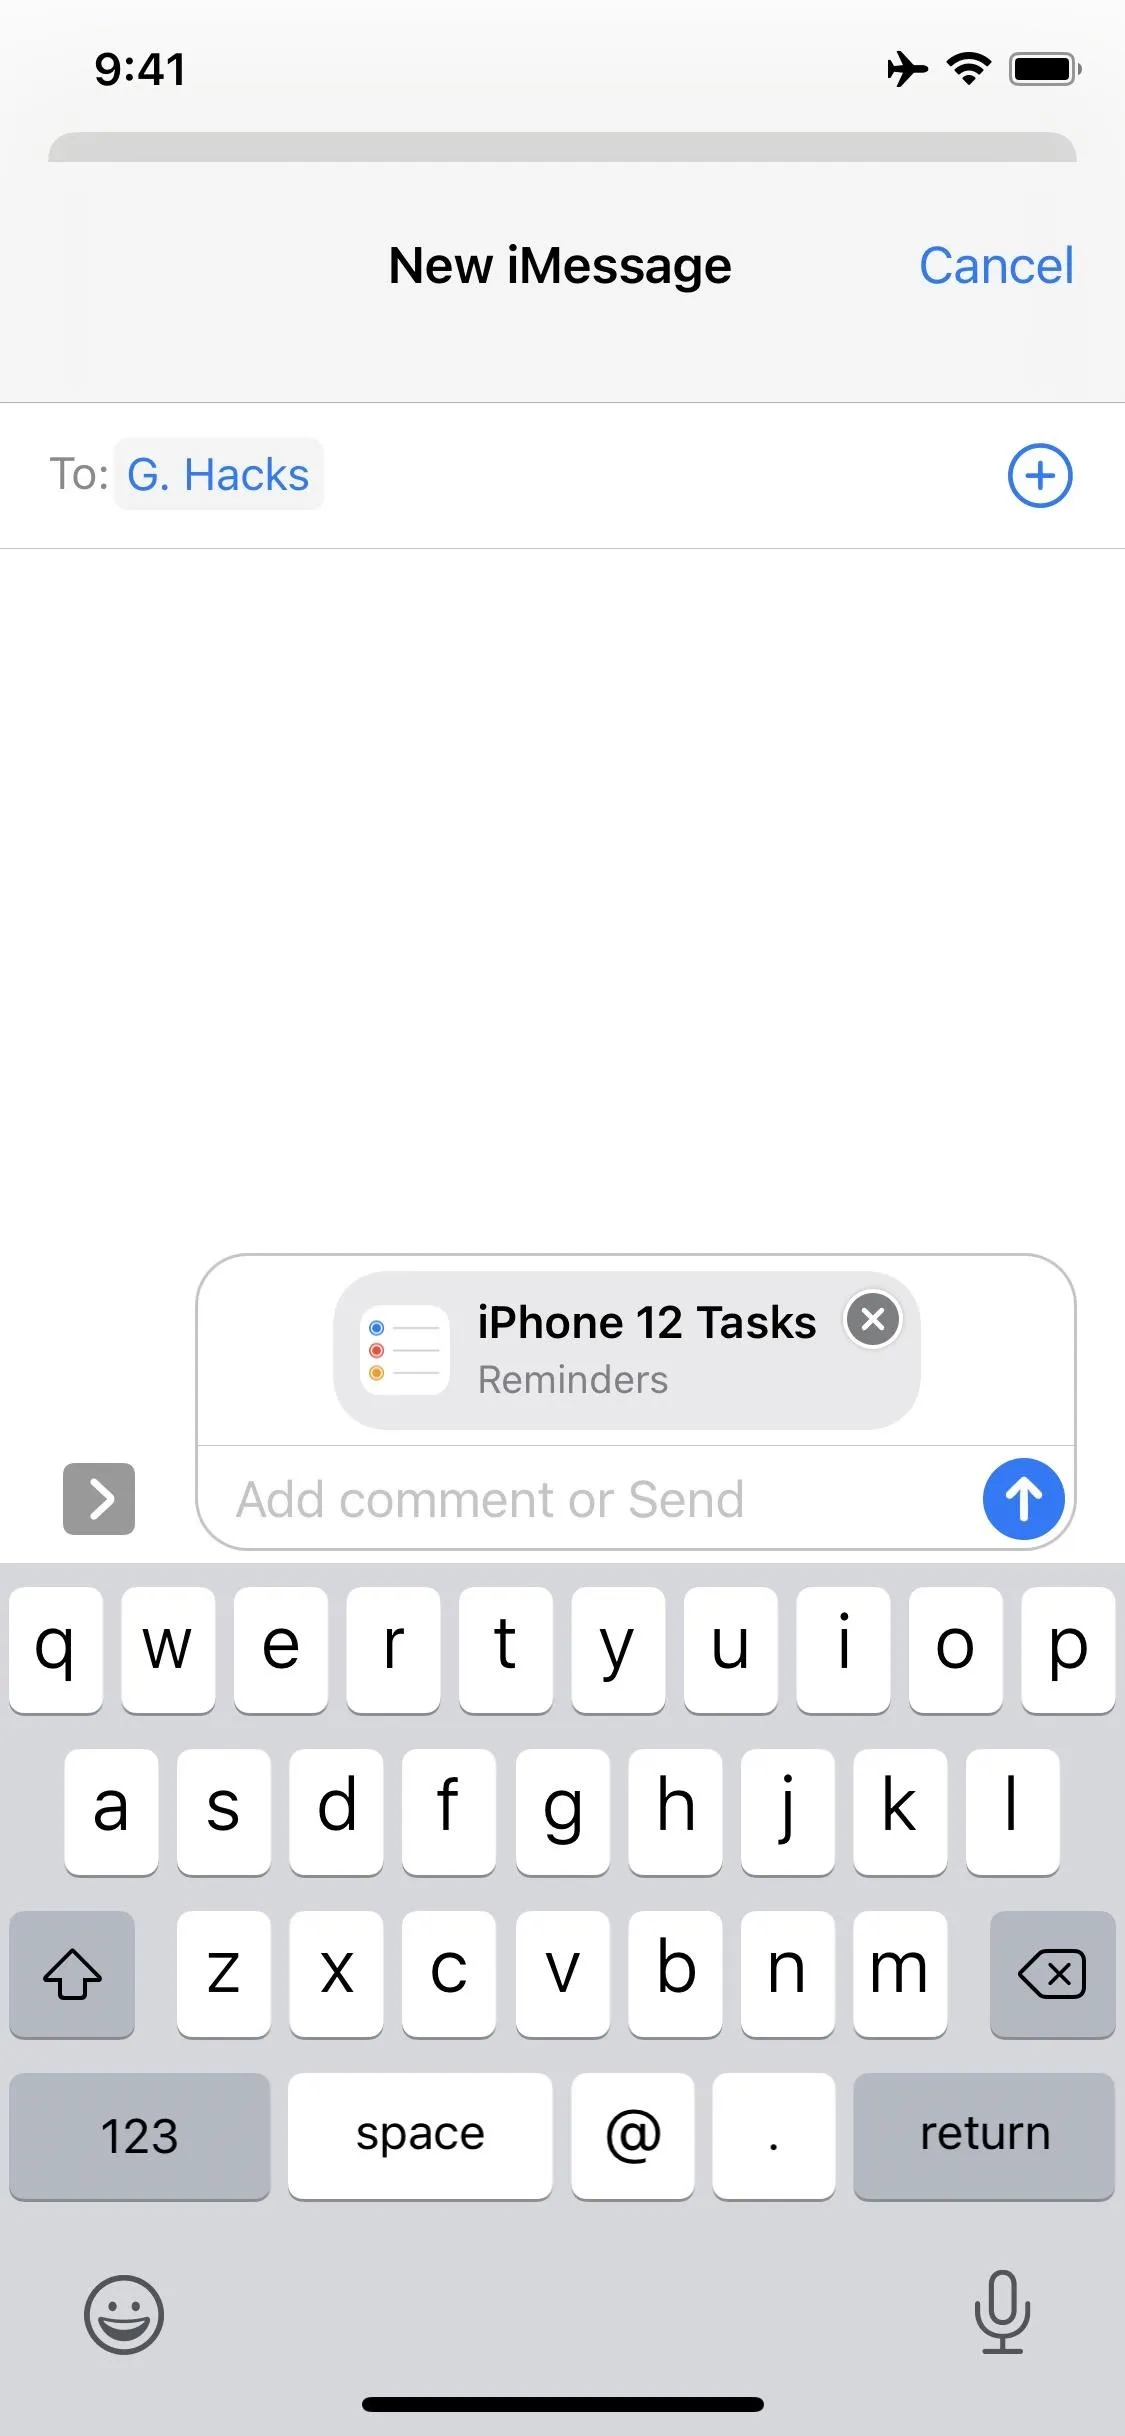
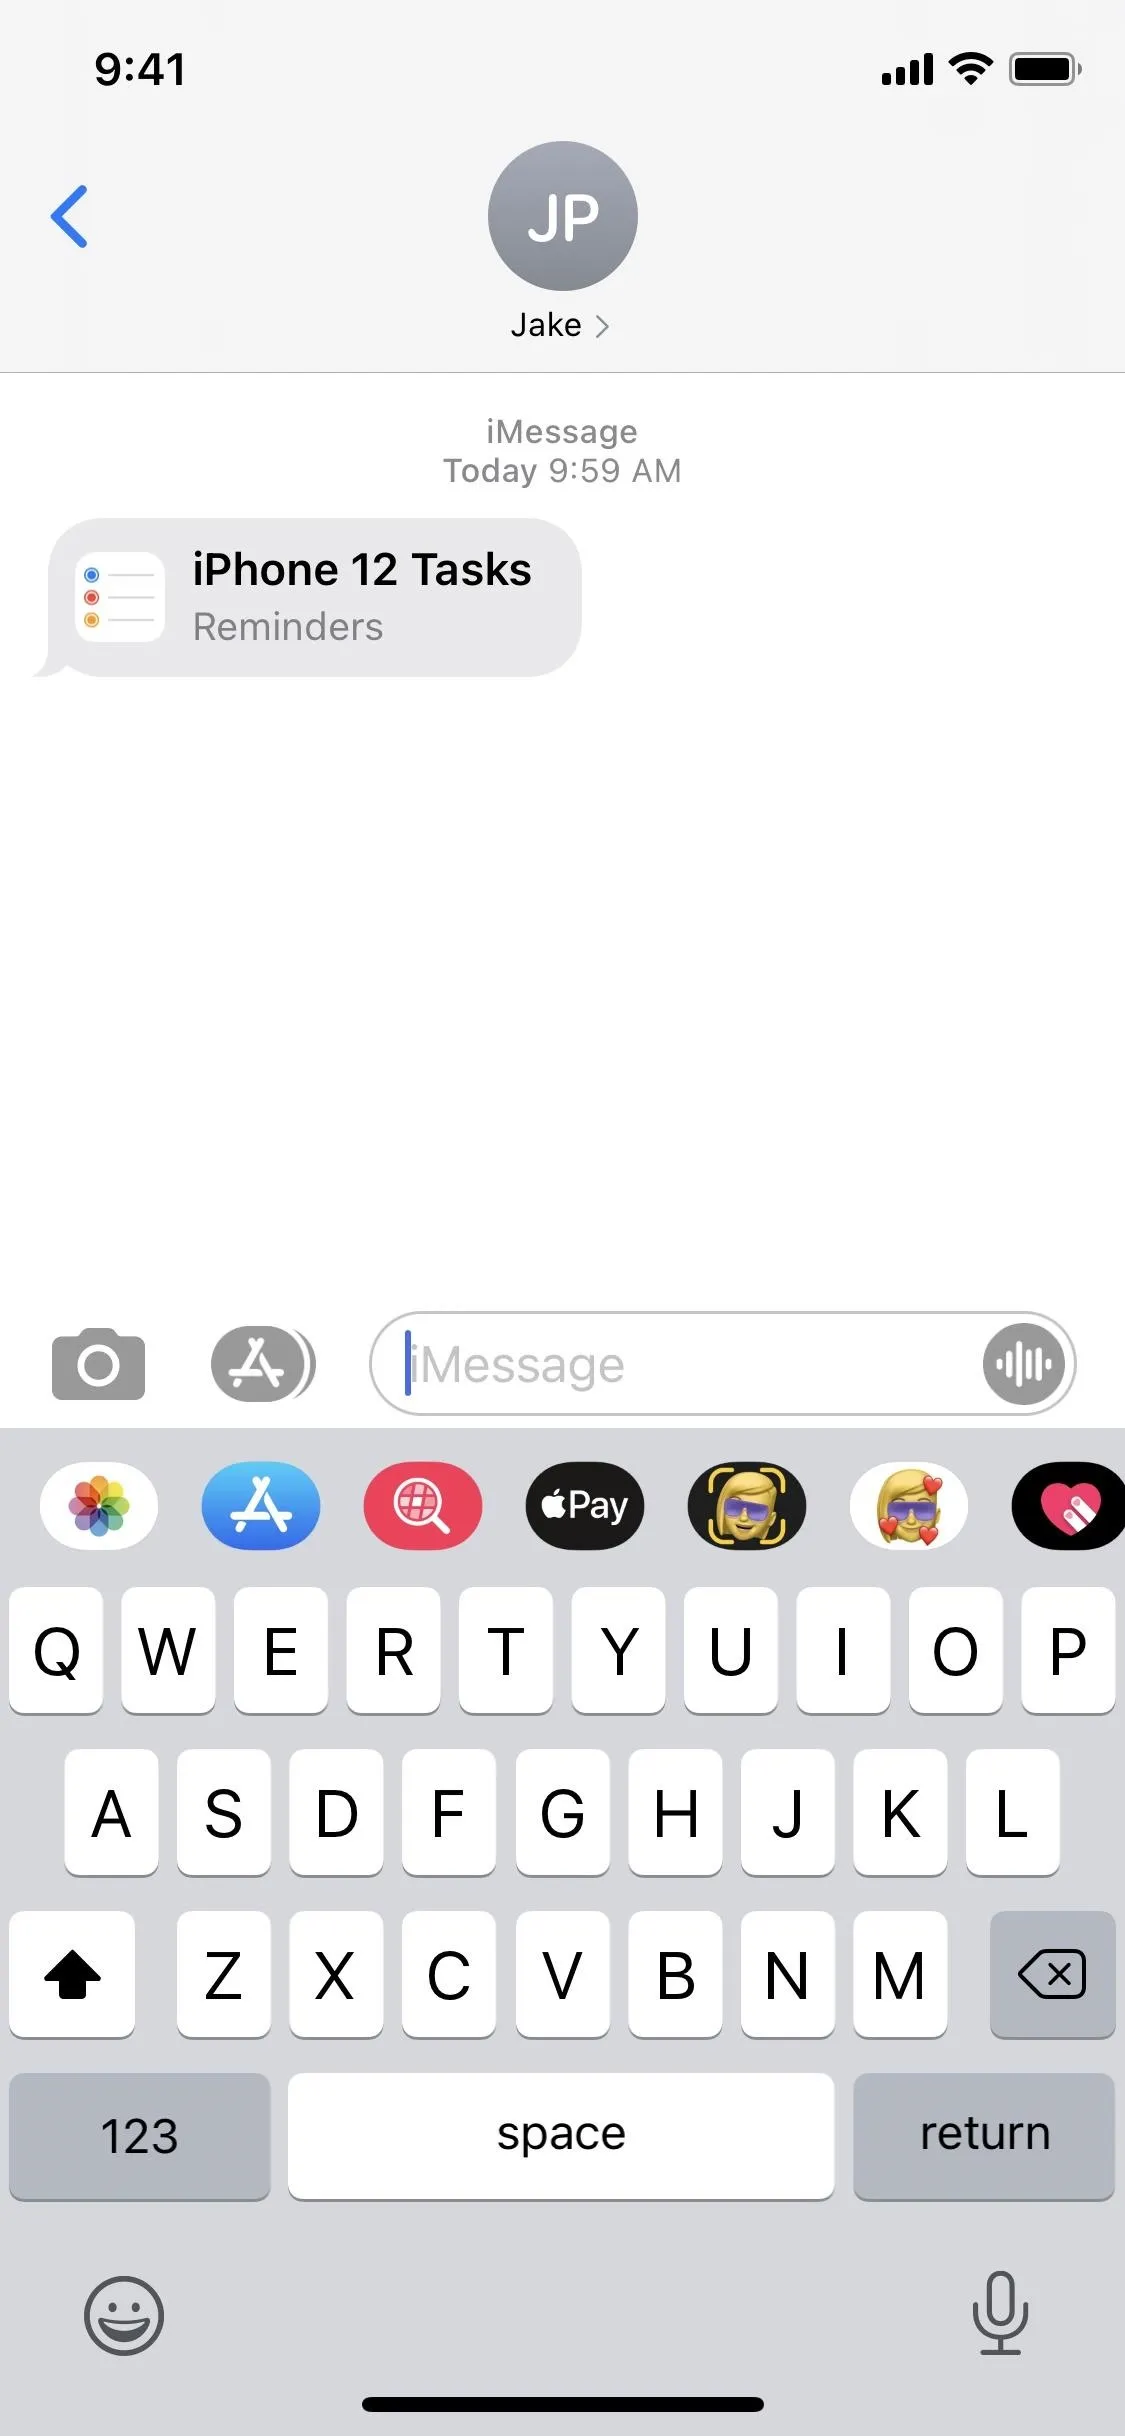
In the Reminders list, tap the (•••) button in the top right, then tap "Share List." From here, iOS will pull up a share sheet, listing all of your available sharing options. Just tap on any of the options to begin the process, then follow the app-specific sharing procedure. For example, we went with Messages, which has you select a contact before queuing up a Reminders link to send to that contact.


Step 3: Wait for Your Assignee-to-Be to Accept the Invitation
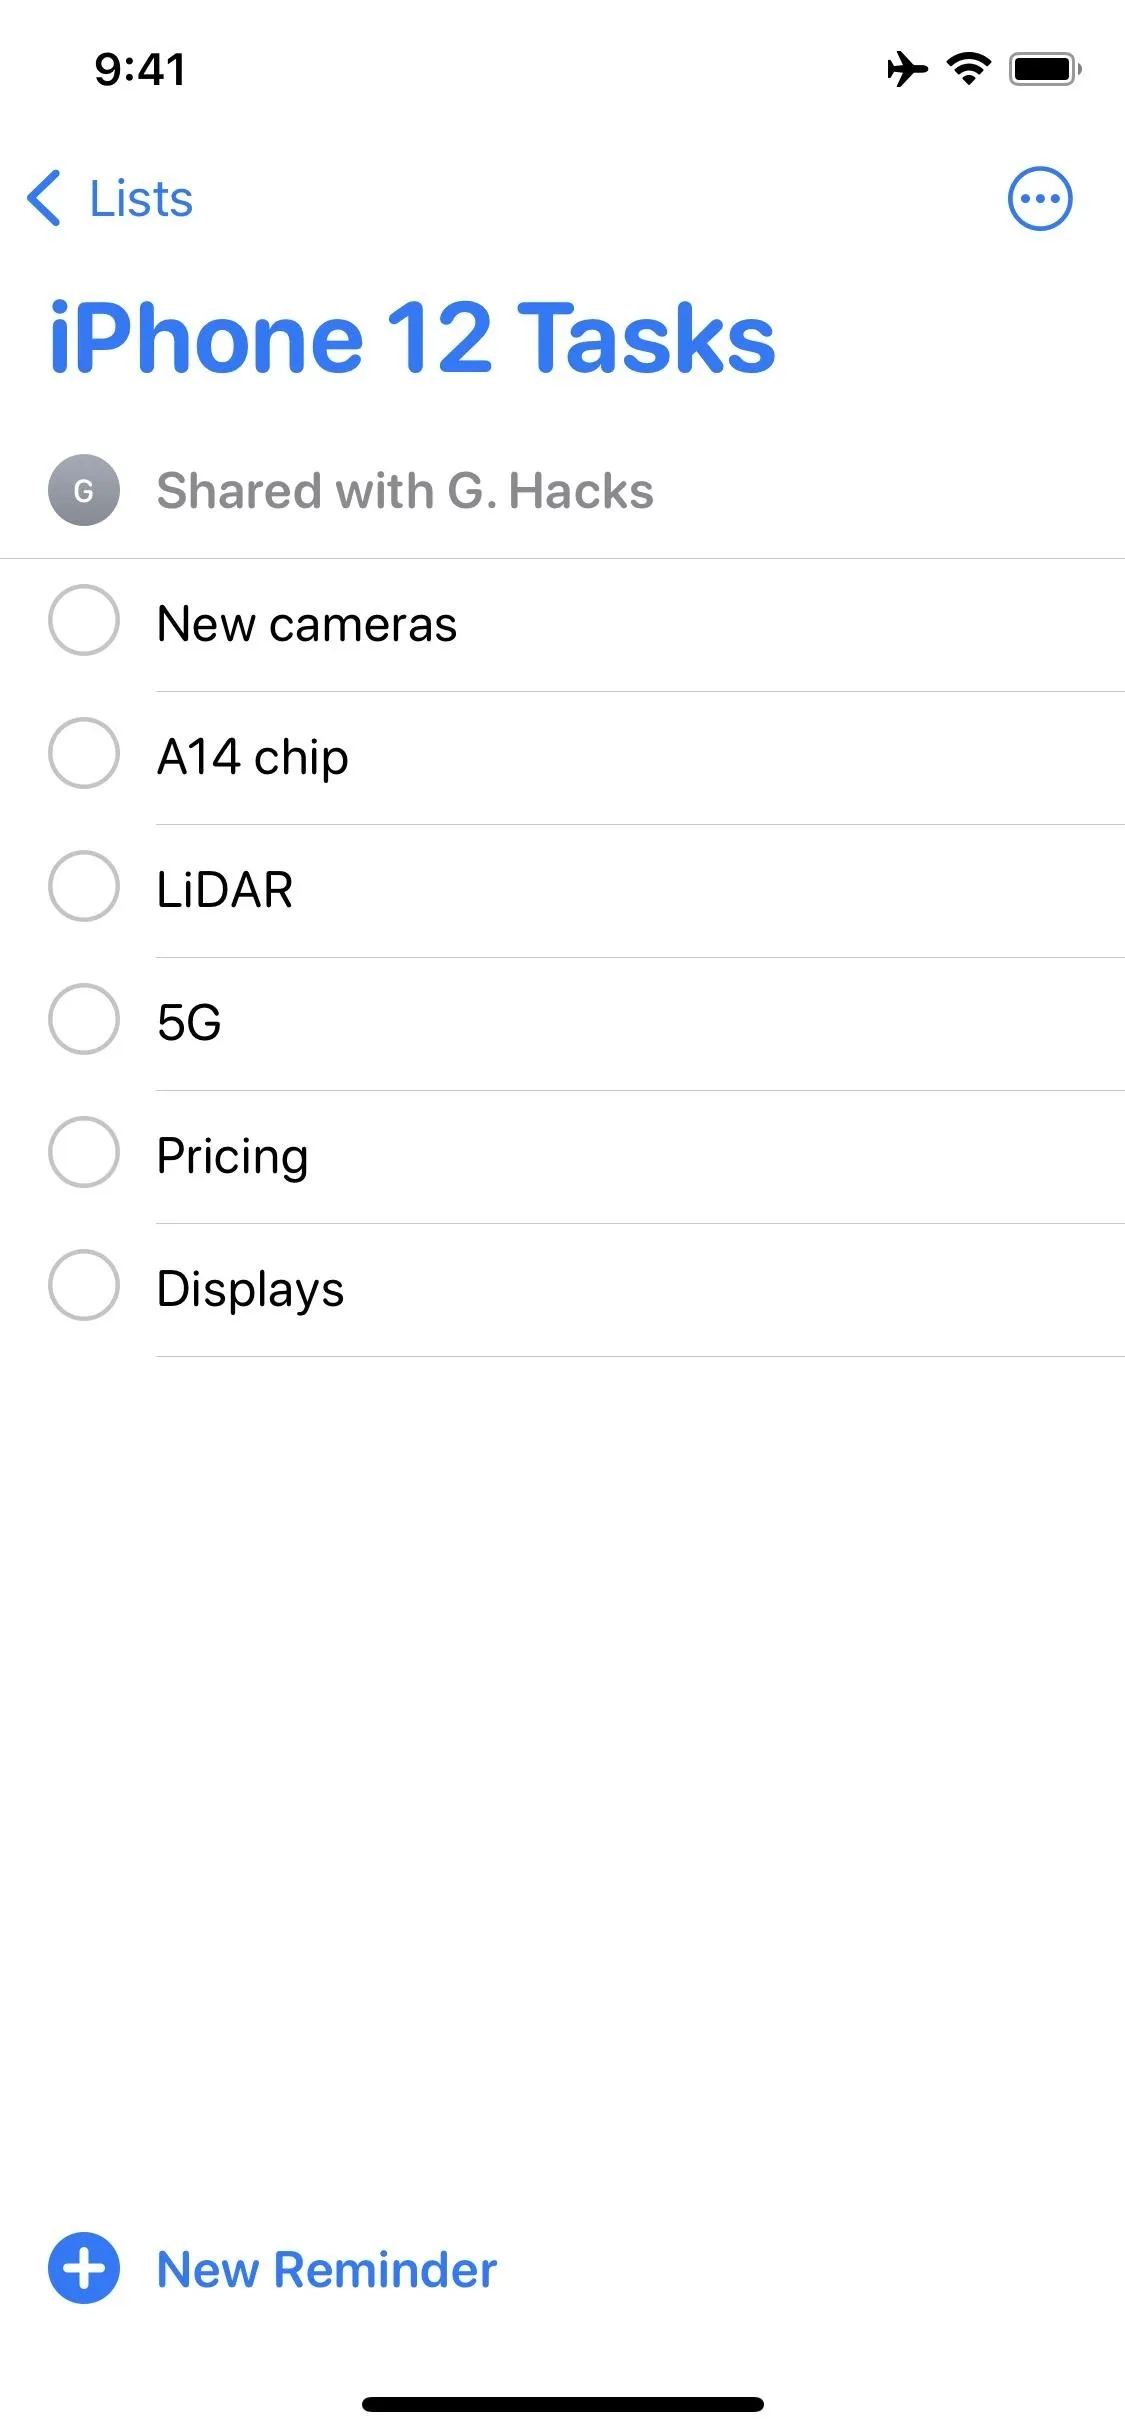
You won't be able to start assigning tasks as soon as you share your Reminders list — you'll need to wait for your contact or contacts to accept the invitation first. You'll still see a "Share with" alert at the top of the Reminders list, but you won't see the option to assign tasks until the invitation is accepted.
You won't get a notification when they do, either, so you'll either need to keep checking the method in Step 3, or communicate with your assignee directly.


Step 4: Assign Your Tasks!
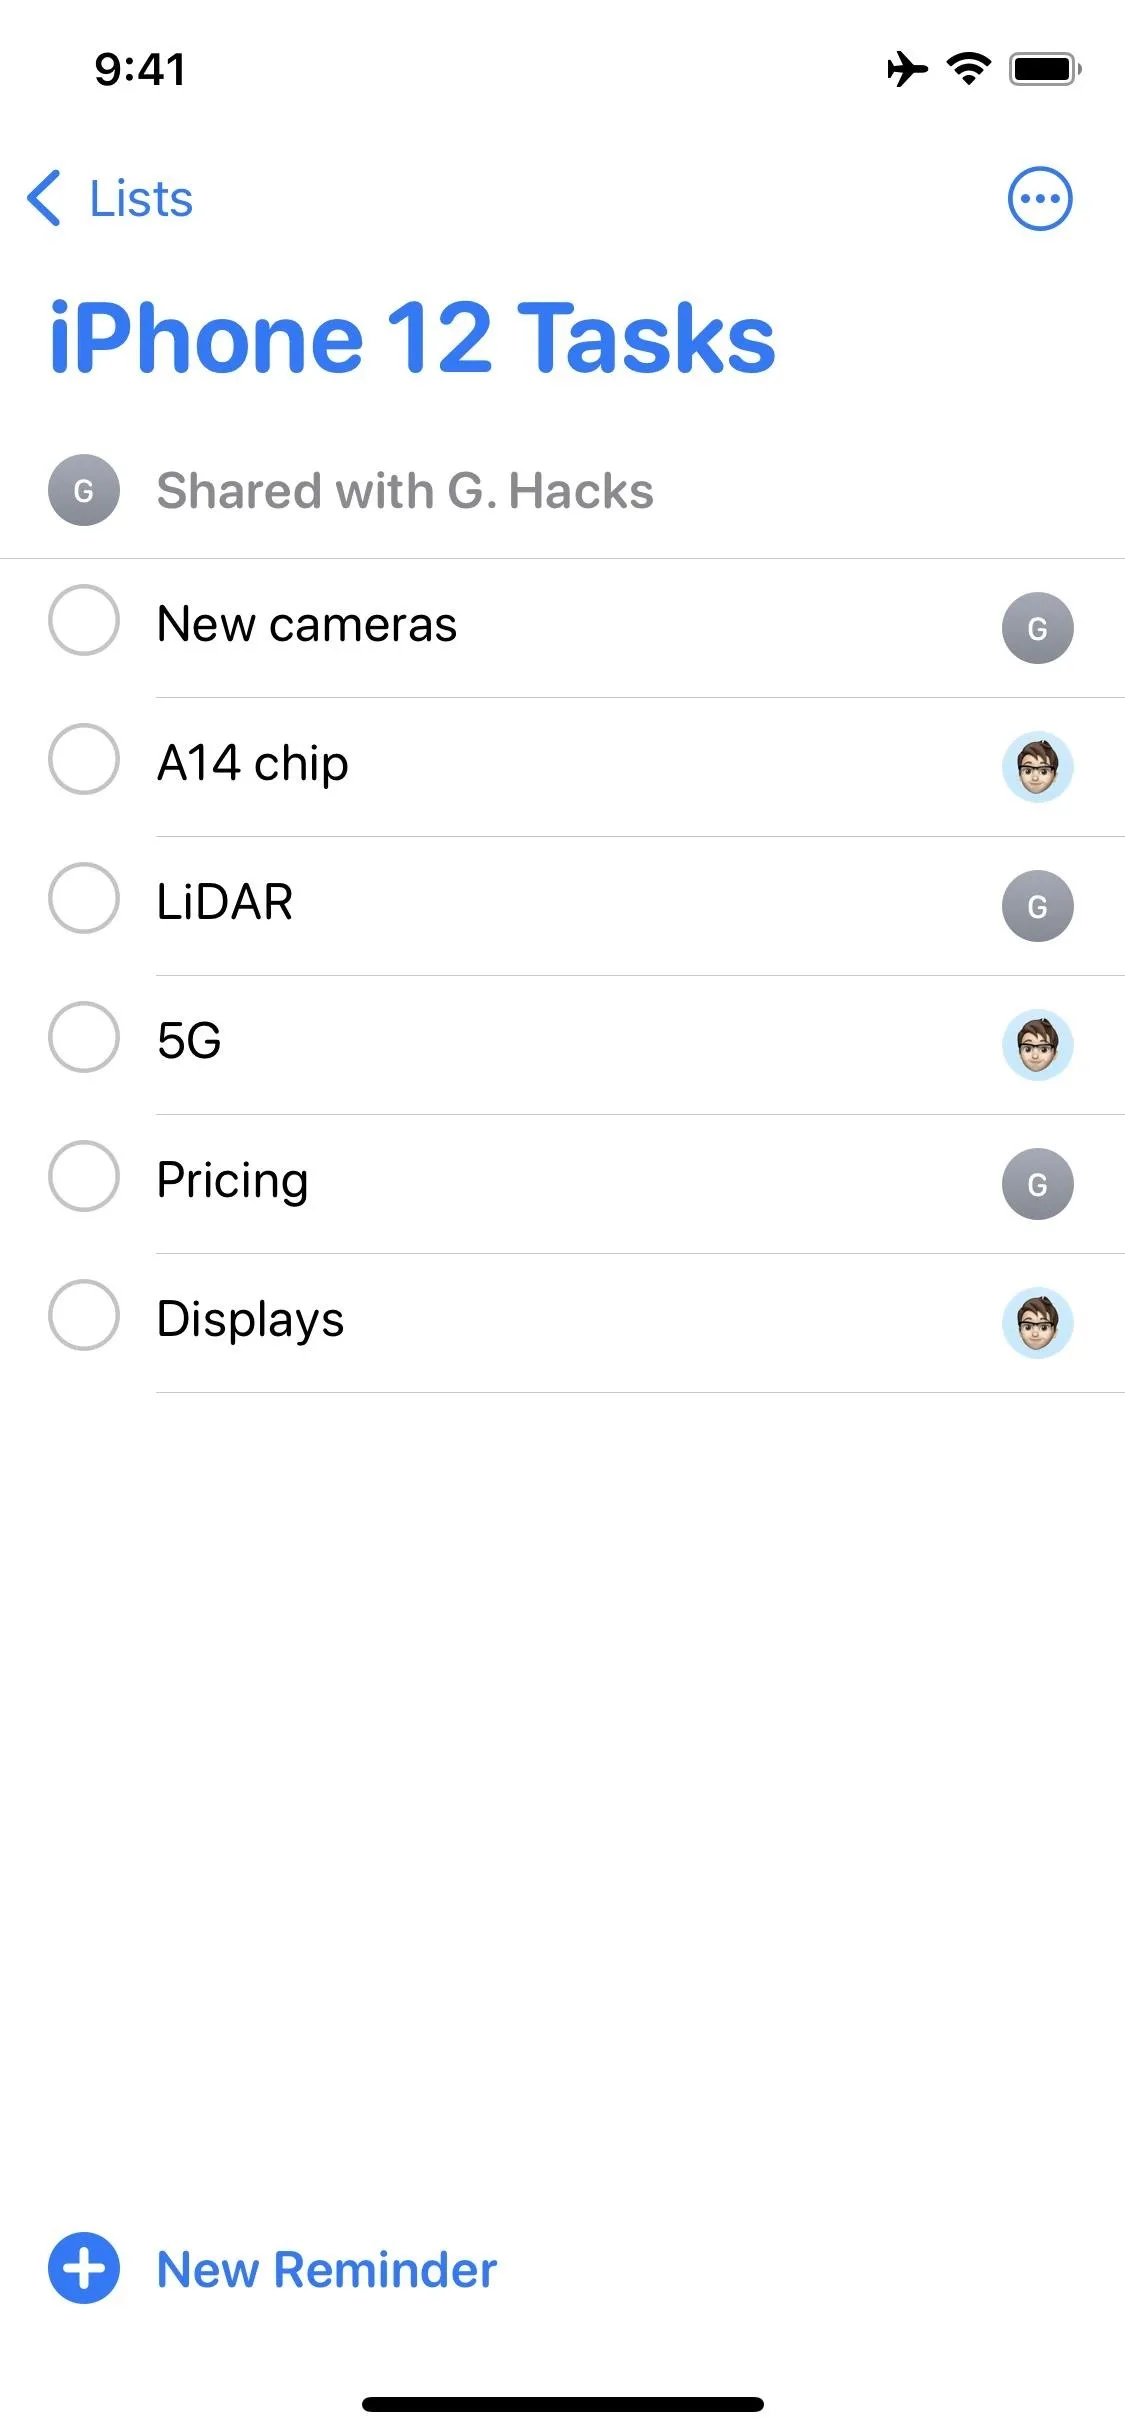
Once you have your assignee(s) in place, you can start delegating your tasks. To do so, tap on the reminder you'd like to assign, then tap the contact icon in the middle of the task bar. From here, just tap on the person you'd like to assign the task to. If you made a mistake, just tap the contacts button again, then choose the right assignee. When finished, tap "Done." Now, just rinse and repeat for any and all tasks you'd like to assign.



Looking for a faster way to assign multiple tasks to one person? We have you covered. In fact, not only can you assign reminders faster, there's a way to change the date and time, delete, move, and mark reminders as complete, all with iOS 14.
Cover image, screenshots, and GIFs by Jake Peterson/Gadget Hacks



Comments
No Comments Exist
Be the first, drop a comment!