Whether it's everybody or just a specific contact you can't hear during audio and video calls when wearing headphones, your iPhone has hidden, little-known tools to help you catch every word they say in the conversation. Even if you can normally hear everyone during calls, customizing these headphone preferences can make conversations crystal clear.
While there are various things you can try, the biggest factor in helping you to hear better in calls is the Headphone Accommodations settings first introduced with iOS 14. It may have been around for years now, but many iPhone users still don't know about this helpful tool since it's tucked away in the Accessibility settings, designed primarily for people with hearing problems. Still, they're something every iPhone user should try out.
Requirements
Aside from a pair of connected headphones, you'll need an iPhone running at least iOS 14 or an iPad running iPadOS 14 or later. However, it's important to note that Headphone Accommodations doesn't work with third-party headphones. To utilize its benefits, you'll need either Apple or Beats headphones.
- AirPods (2nd generation)
- AirPods (3rd generation)
- AirPods Pro (1st generation)
- AirPods Pro (2nd generation)
- AirPods Max
- Apple EarPods (with 3.5 mm Headphone Plug)
- Apple EarPods (with Lightning Connector)
- Powerbeats
- Powerbeats Pro
- Beats Solo Pro
- Beats Fit Pro
That's the official list from Apple, but other headphone models may support Headphone Accommodations, such as Apple's EarPods (with USB-C Connector) or newer Beats.
Manually Adjust the Audio Settings
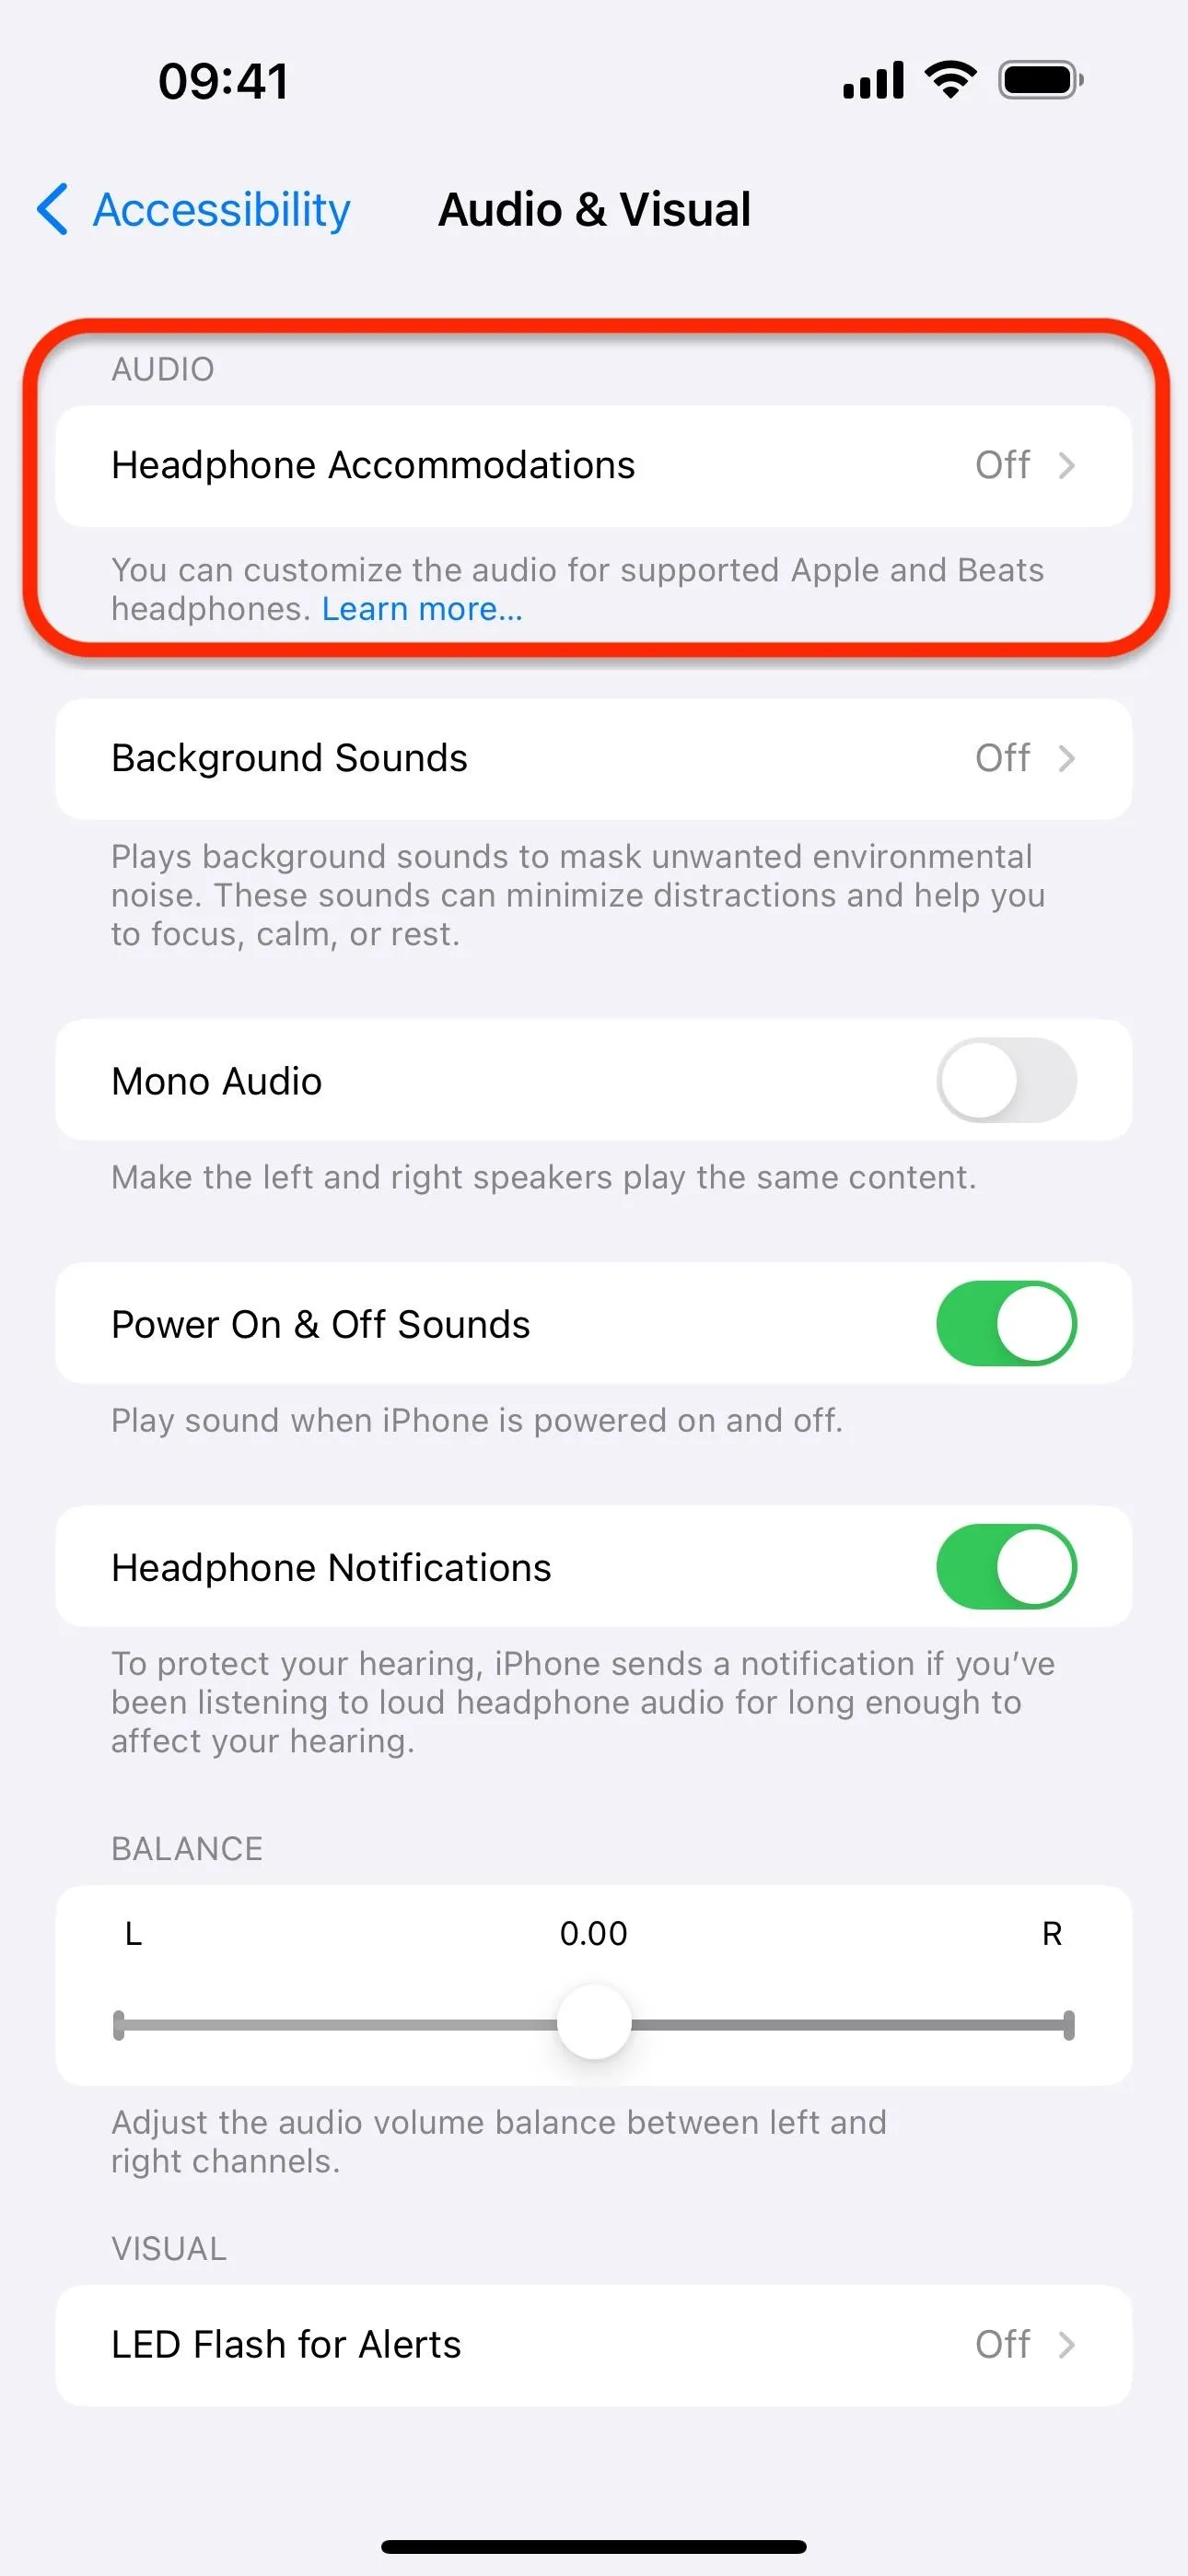
To start, go to the settings for Headphone Accommodations. There are numerous ways to get there:
- Open Settings, tap Accessibility, tap Audio & Visual, tap Headphone Accommodations.
- Open Control Center, press or tap and hold Hearing (if added), tap Headphone Accommodations, tap Headphone Audio Settings.
- Open Settings, tap [Your AirPods], tap Accessibility, tap Audio Accessibility Settings, tap Headphone Accommodations.
- Open Settings, tap Bluetooth, tap the (i) next to your headphones, tap Accessibility, tap Audio Accessibility Settings, tap Headphone Accommodations.
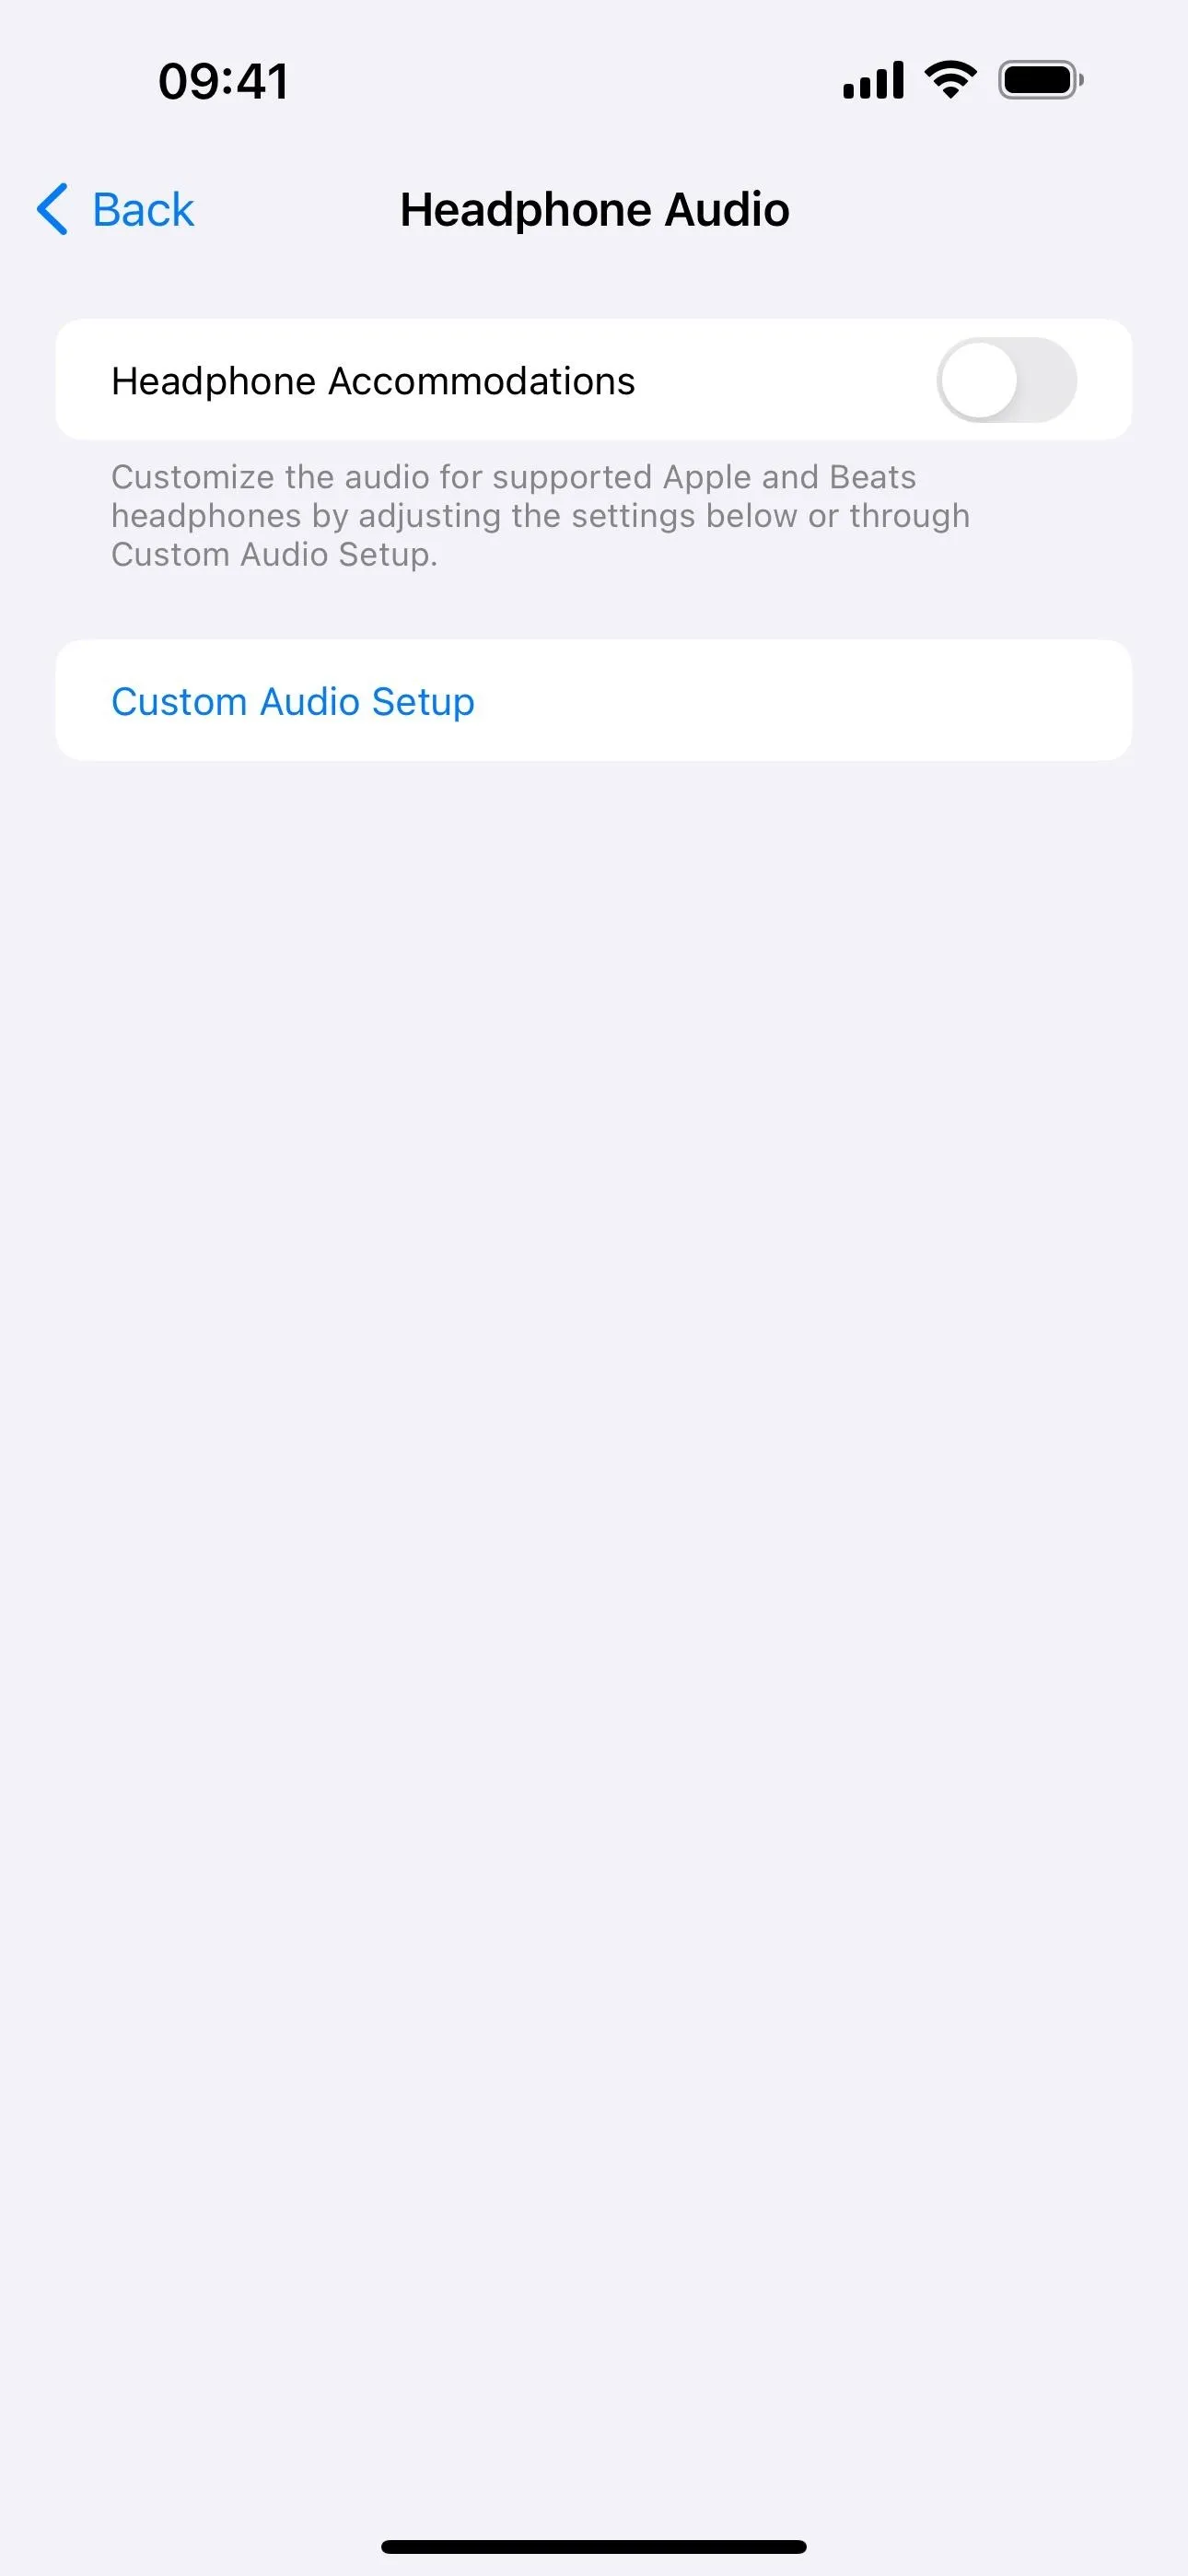
Switch on "Headphone Accommodations," and it will reveal options below for manually adjusting the audio settings. You can tune the audio to one of these three options:
- Balanced Tone provides a boost over a range of frequencies.
- Vocal Range boosts middle frequencies. This may be best if your goal is to hear people better during phone calls, FaceTime calls, and other audio/video calls.
- Brightness boosts high frequencies.
Then, you can use the slider to boost soft sounds either slightly, moderately, or strongly. The level setting may be able to help with voices, but it will vary from soft-spoken individuals to loud ones, so going with "Moderate" may keep things balanced.
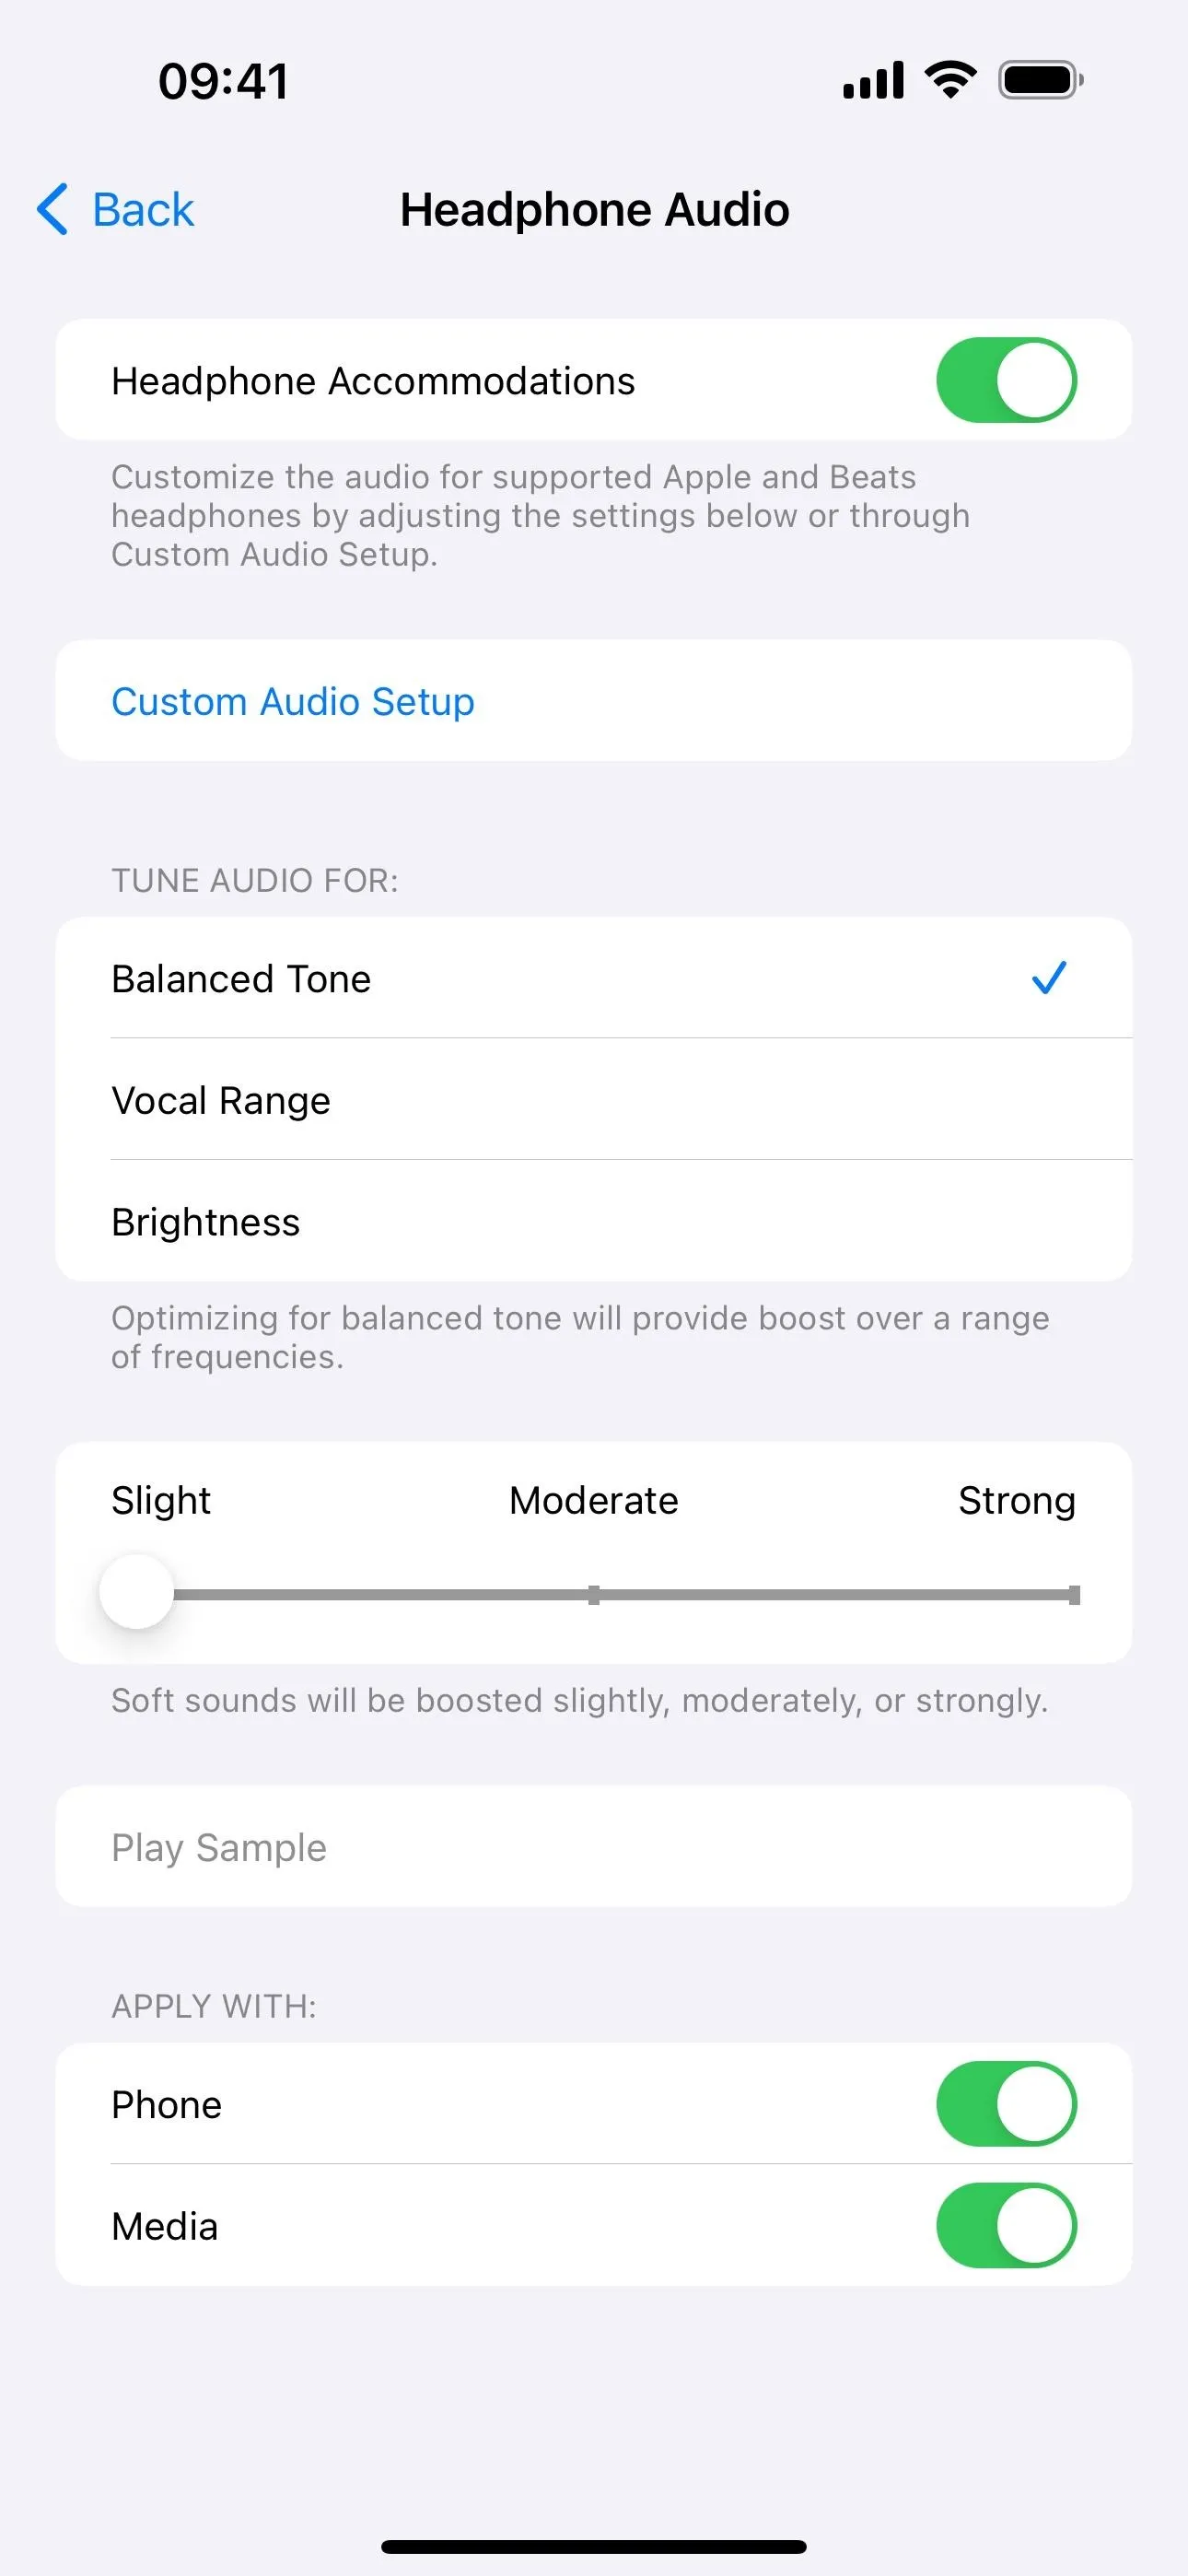


To check if you like the newly adjusted settings, tap "Play Sample" to hear the result. If it's grayed out, your headphones may not be connected. While the sample plays, you can adjust the tuning and soft sounds in real time, hearing the sample adjust accordingly. Tap "Stop" to finish.
Lastly, you can also choose if you want your audio customizations to apply to phone calls, media, or both via the toggles at the bottom. You can also adjust these anytime via the Control Center's Hearing control.
Customize Transparency Mode
If you have AirPods Pro, you'll see another option called "Transparency Mode" in the Headphones Accommodations. From this menu option, tap "Custom Transparency Mode," then adjust the amplification, balance, and tone to best suit your needs.
You can also turn on "Ambient Noise Reduction" to block ambient sounds. There's also "Conversation Boost" and "Conversation Awareness," but they're used to focus on the person standing right in front of you during face-to-face conversations, not over an audio or video call.
Some AirPods Pro models also have an Adaptive Audio feature for Adaptive Noise Control, Personalized Volume, and Conversation Awareness.
These AirPod Pros settings are also available in Control Center.
Run the Custom Audio Setup Tool
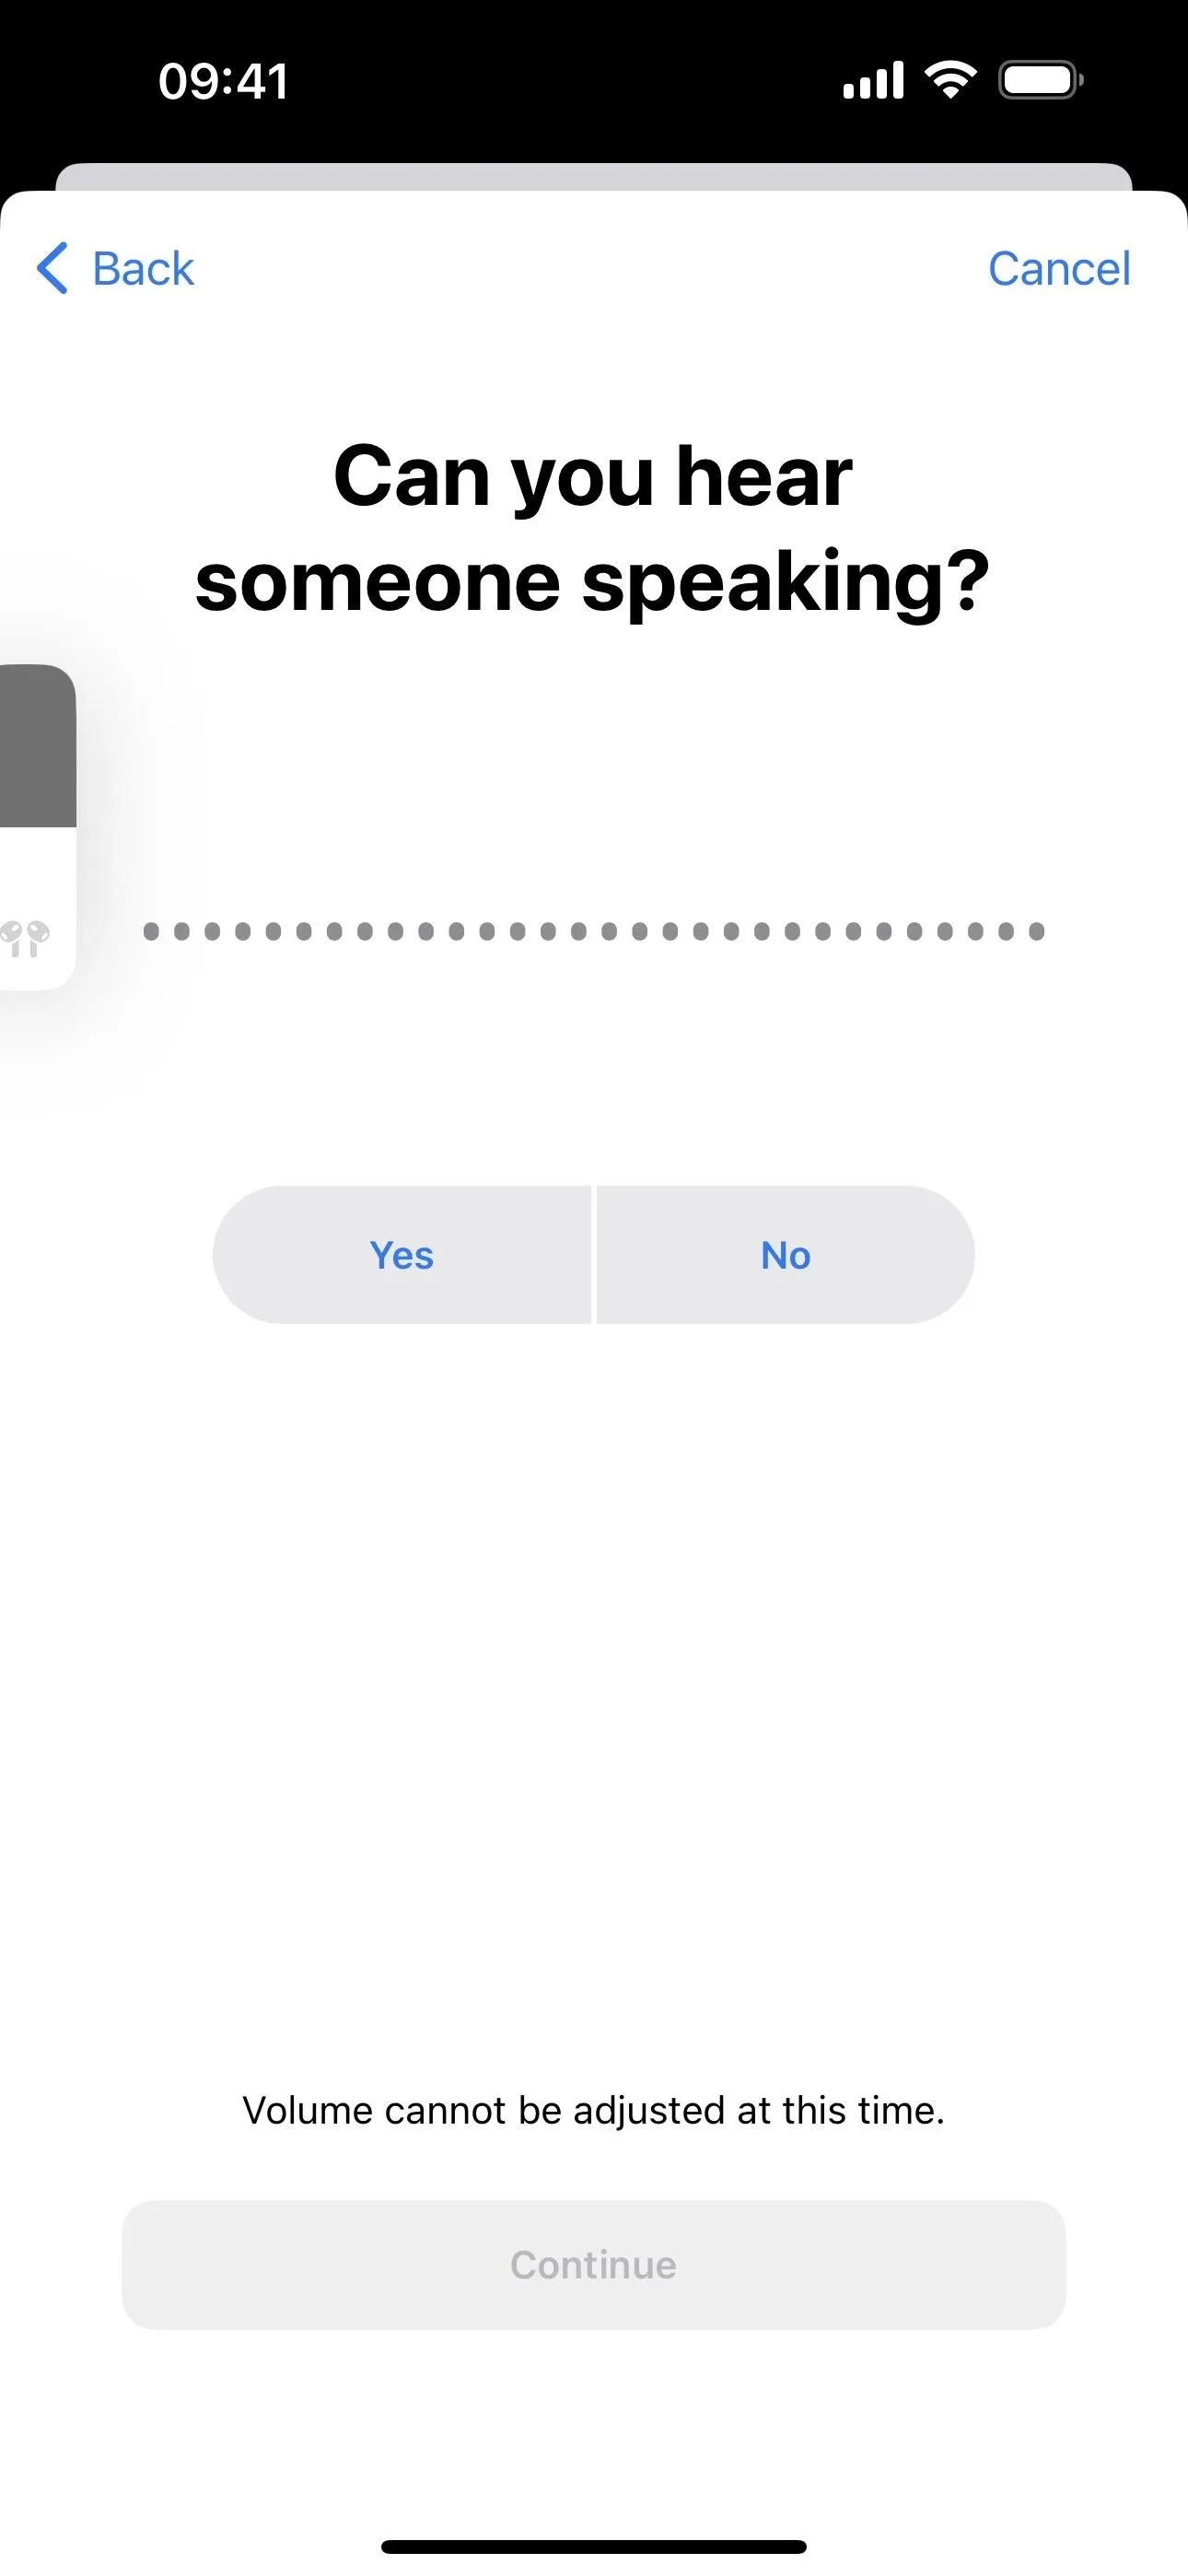
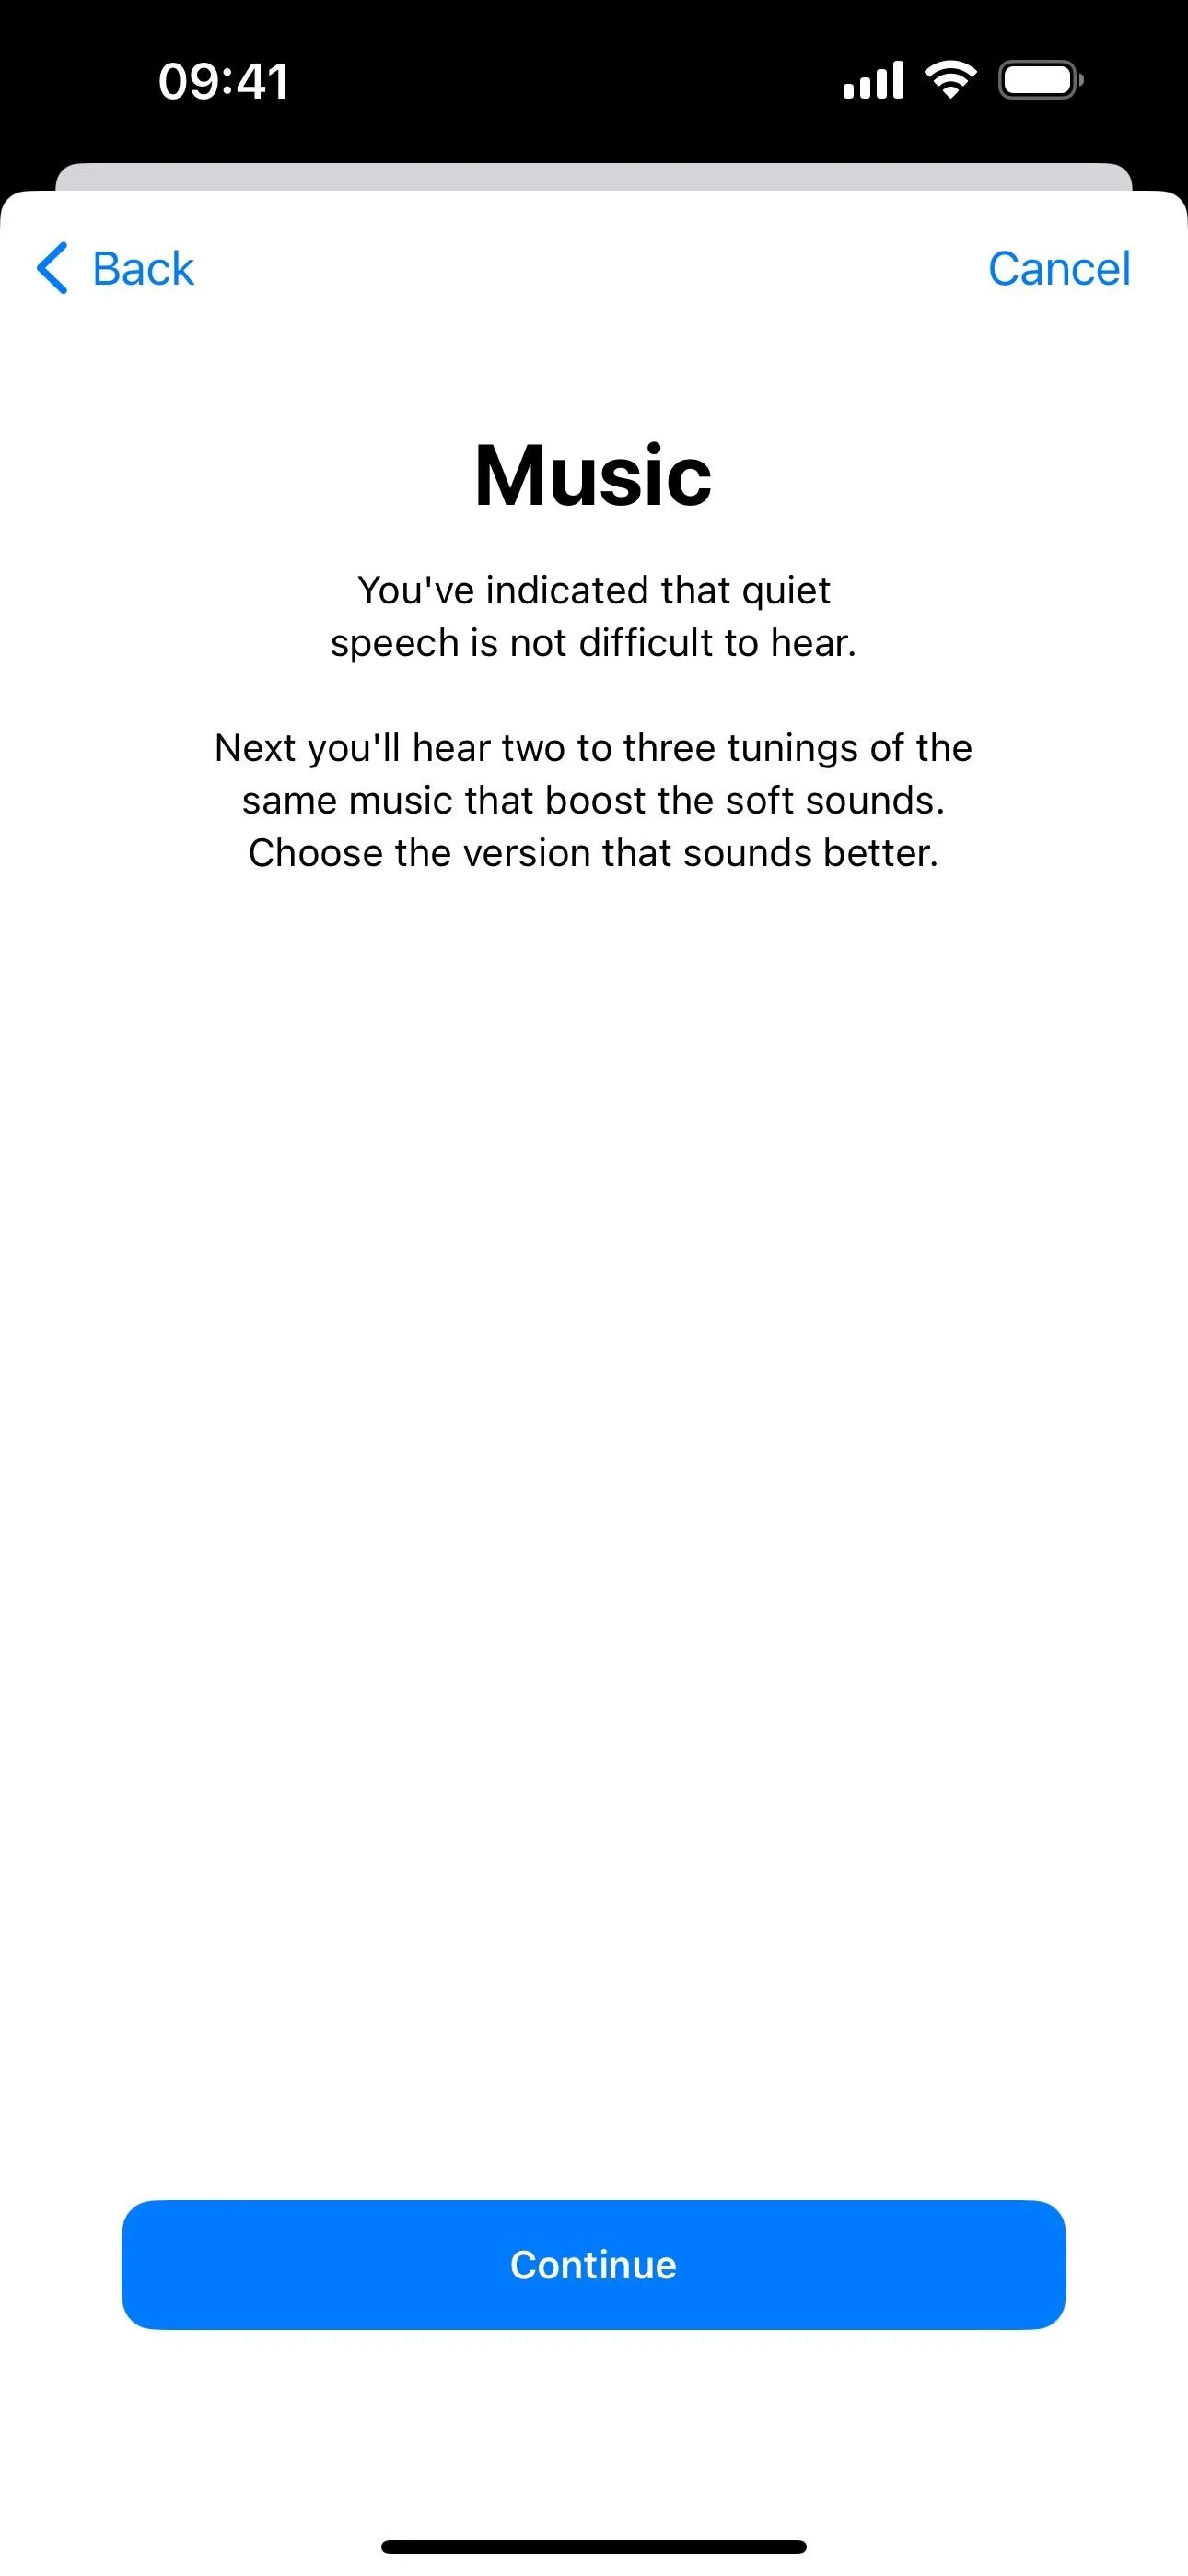
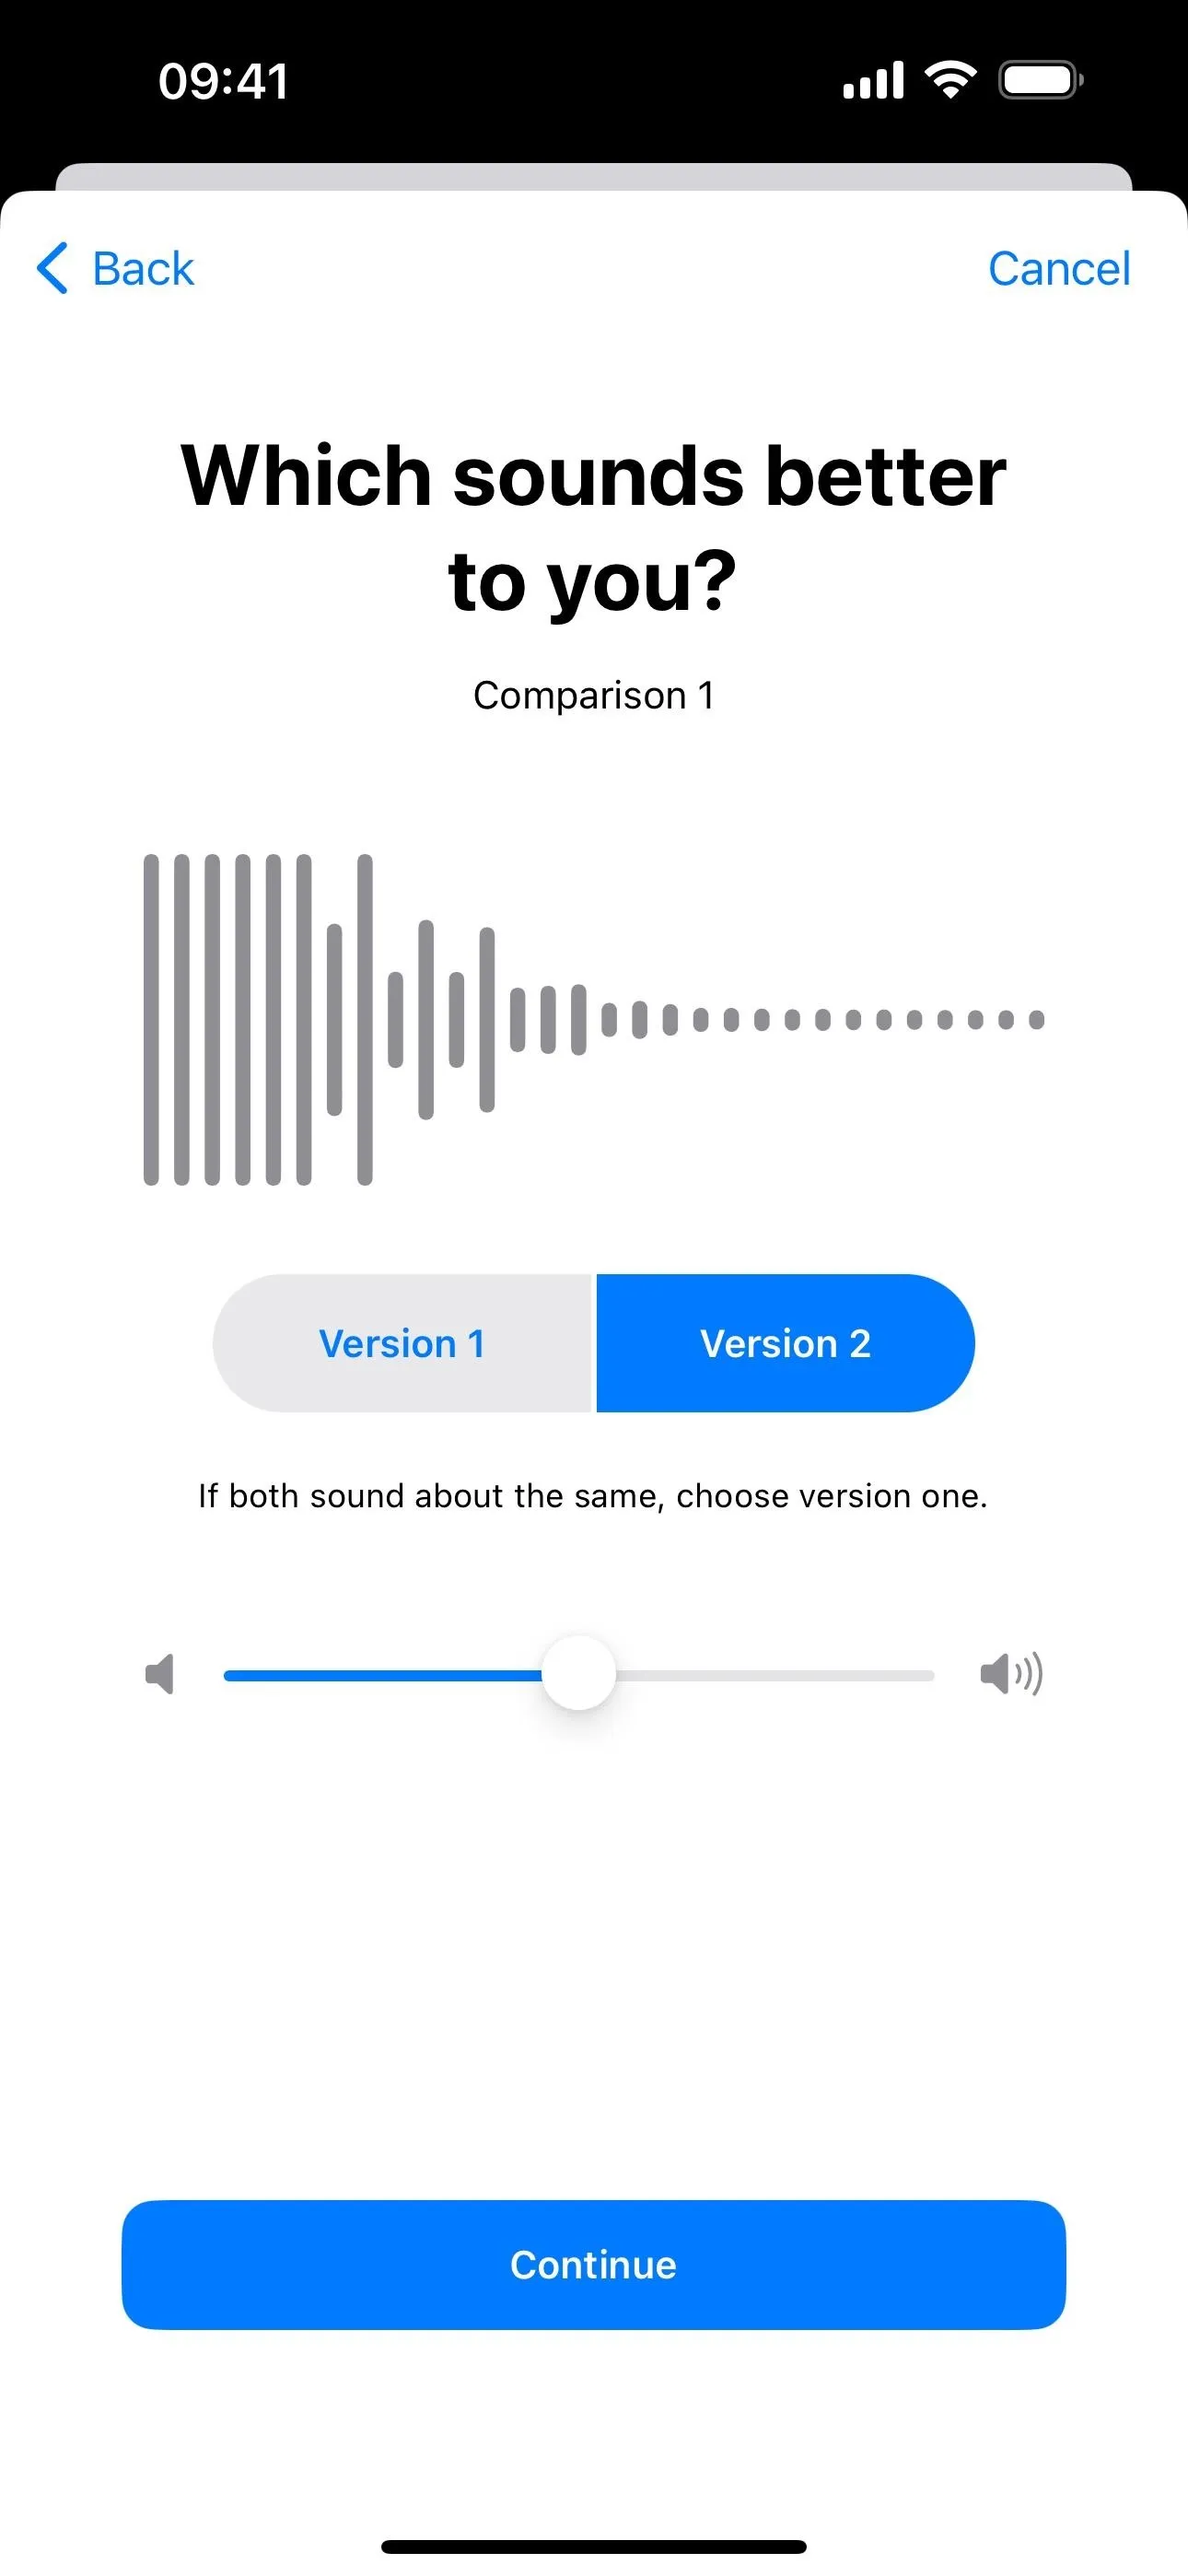
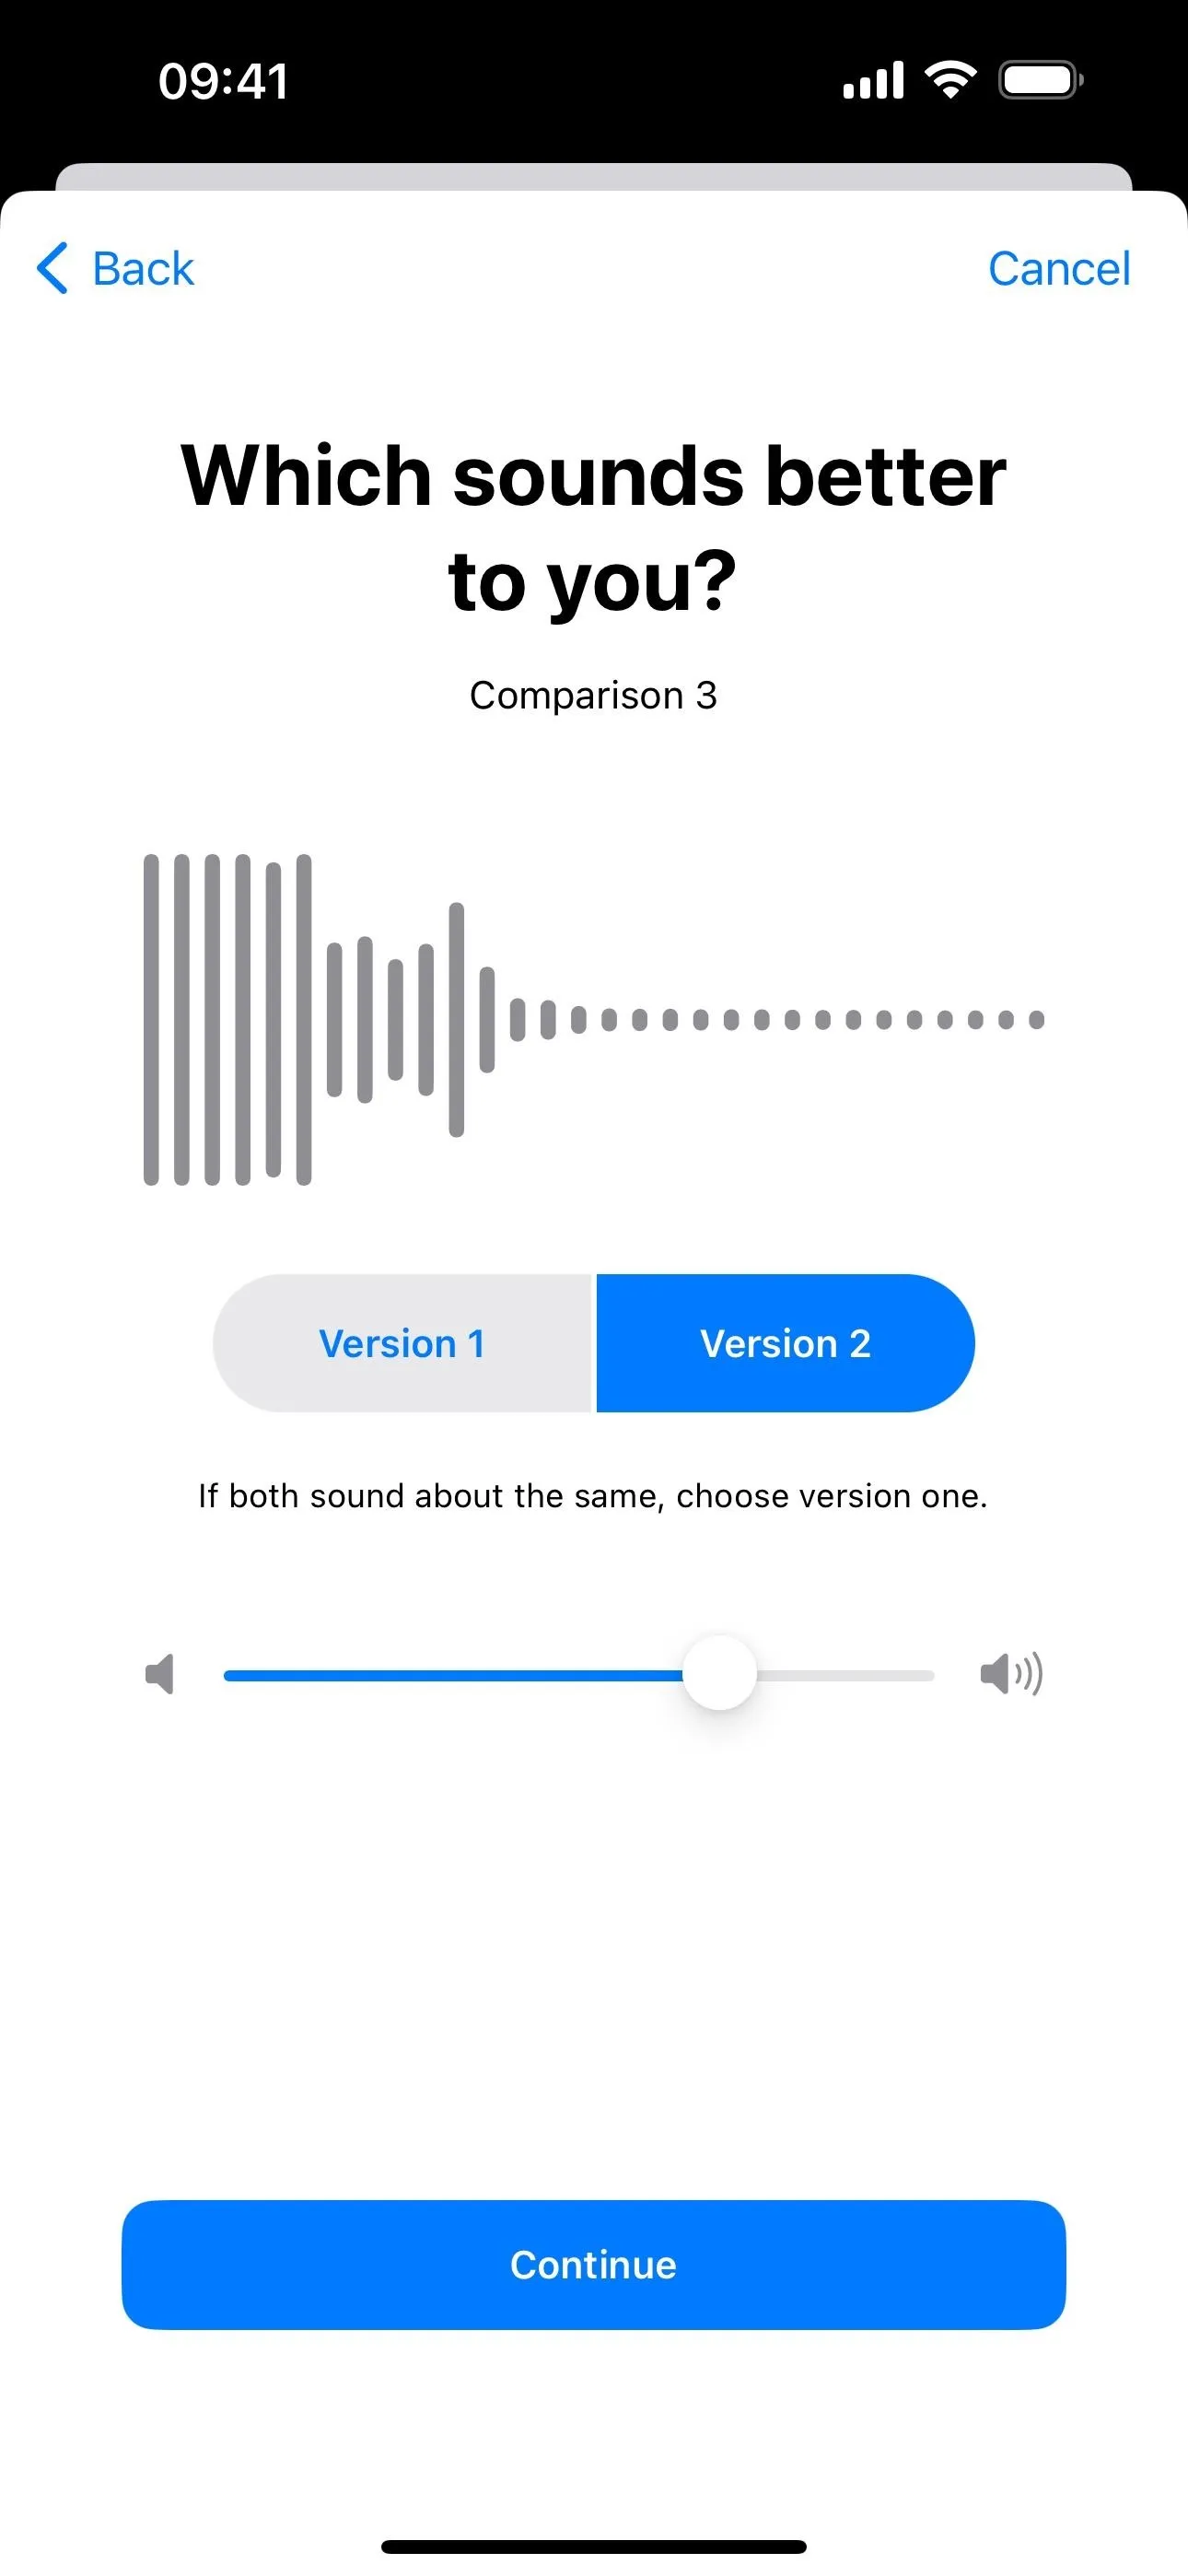
"Custom Audio Setup" in the Headphone Accommodations settings allows you to test a range of samples and pick what you hear best so it can tune your iPhone or iPad to suit your personal needs best. Just follow along with the instructions to complete the setup.
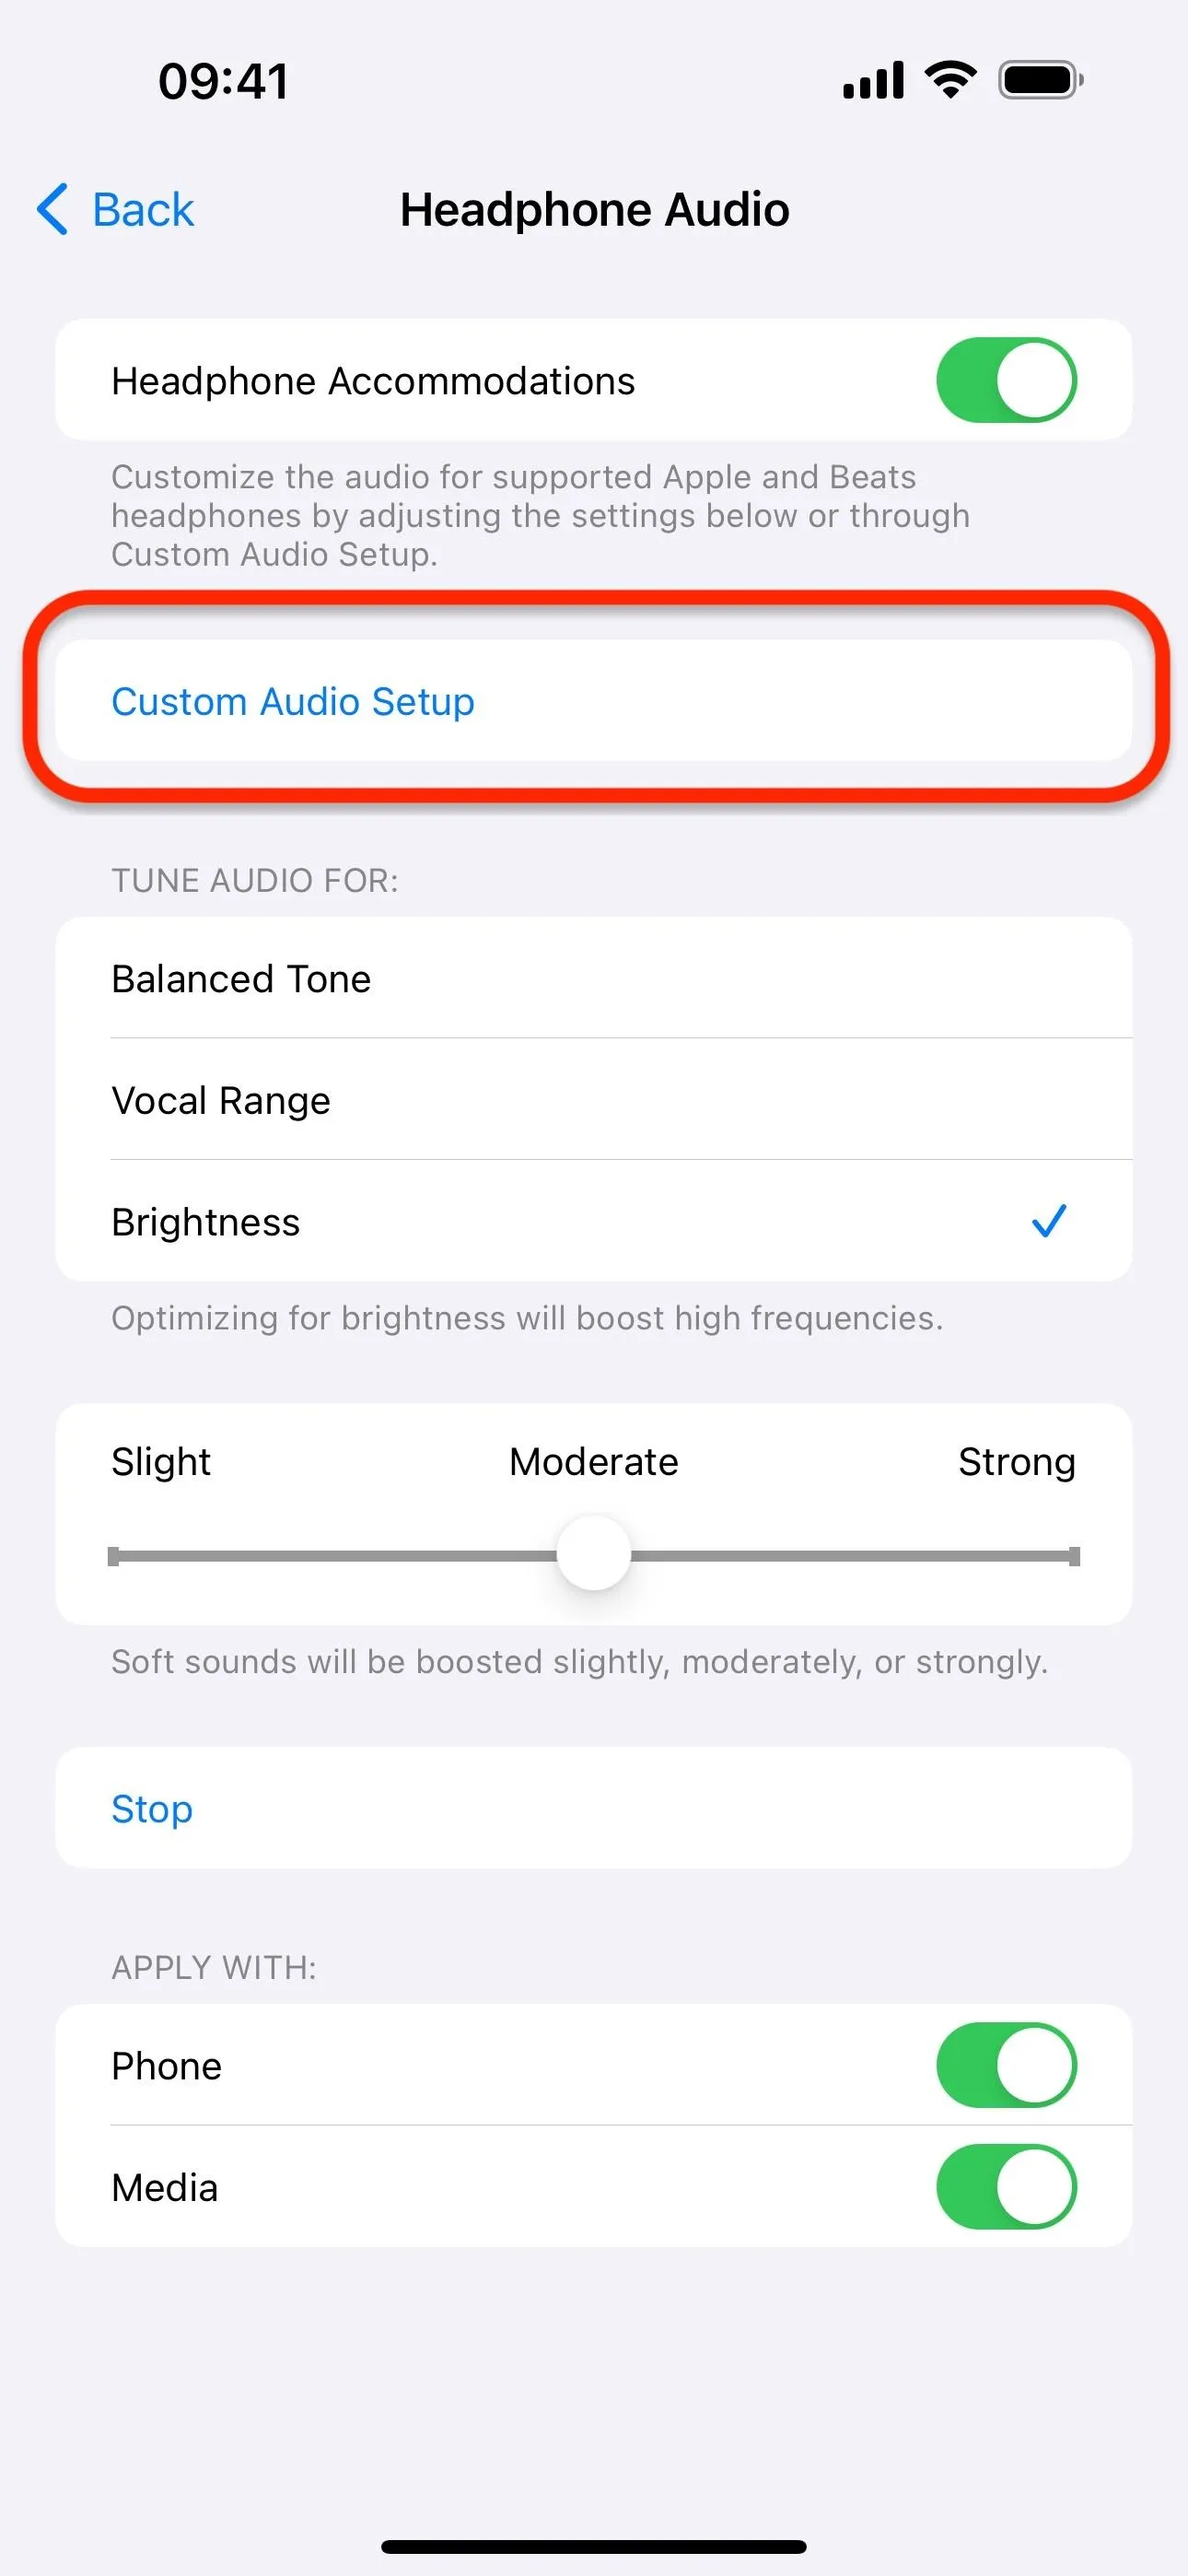
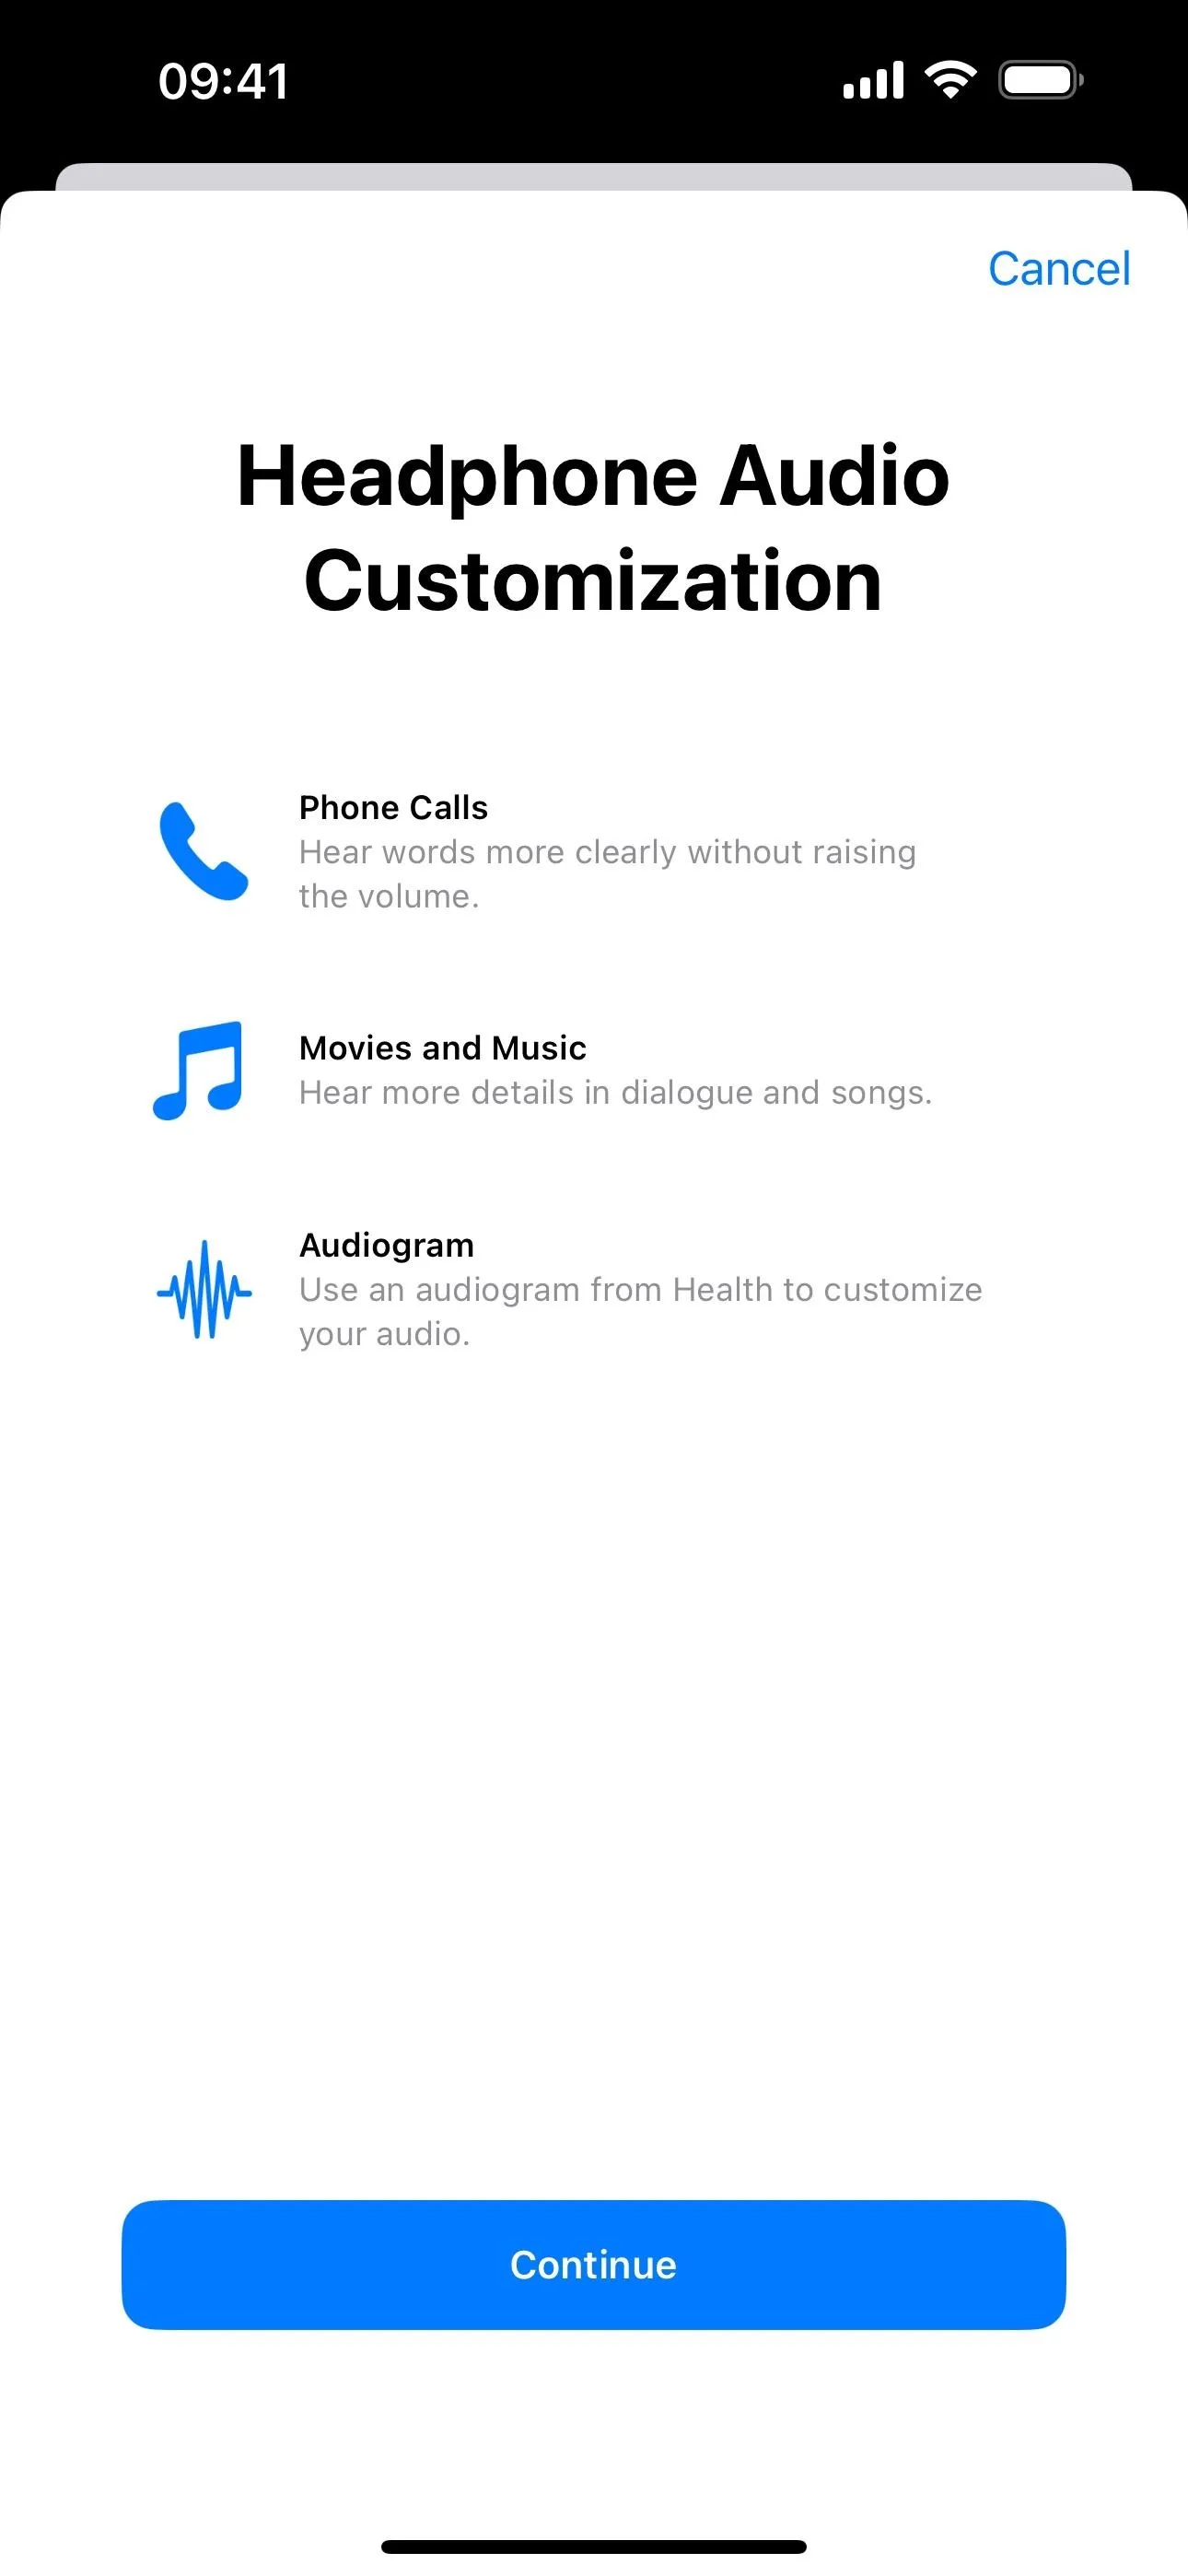


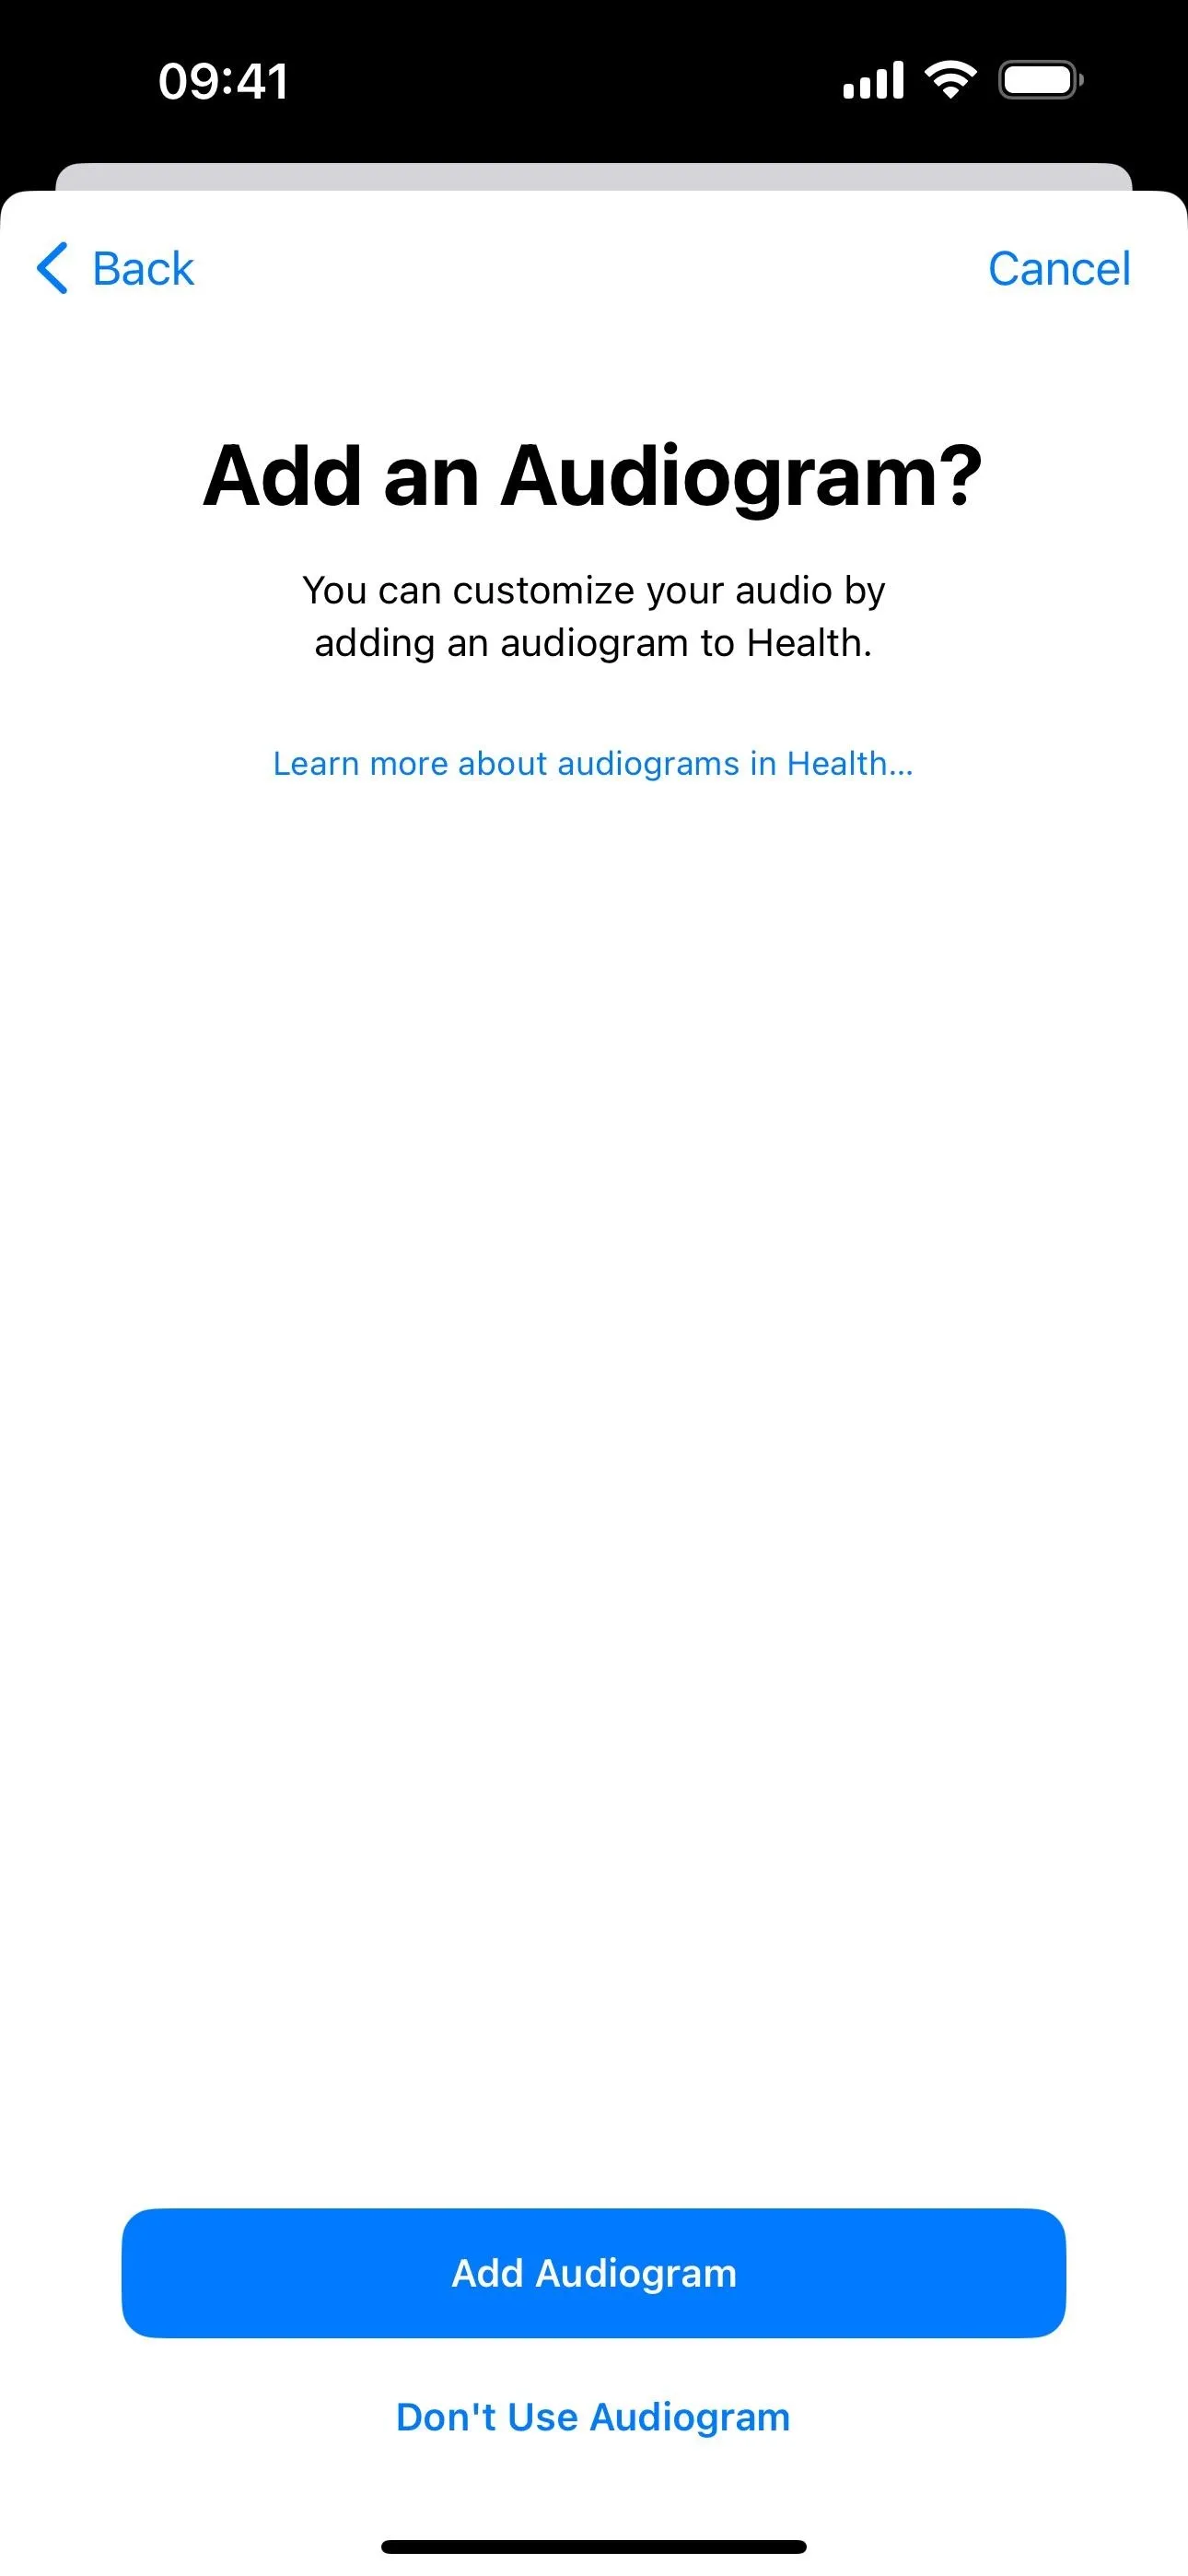
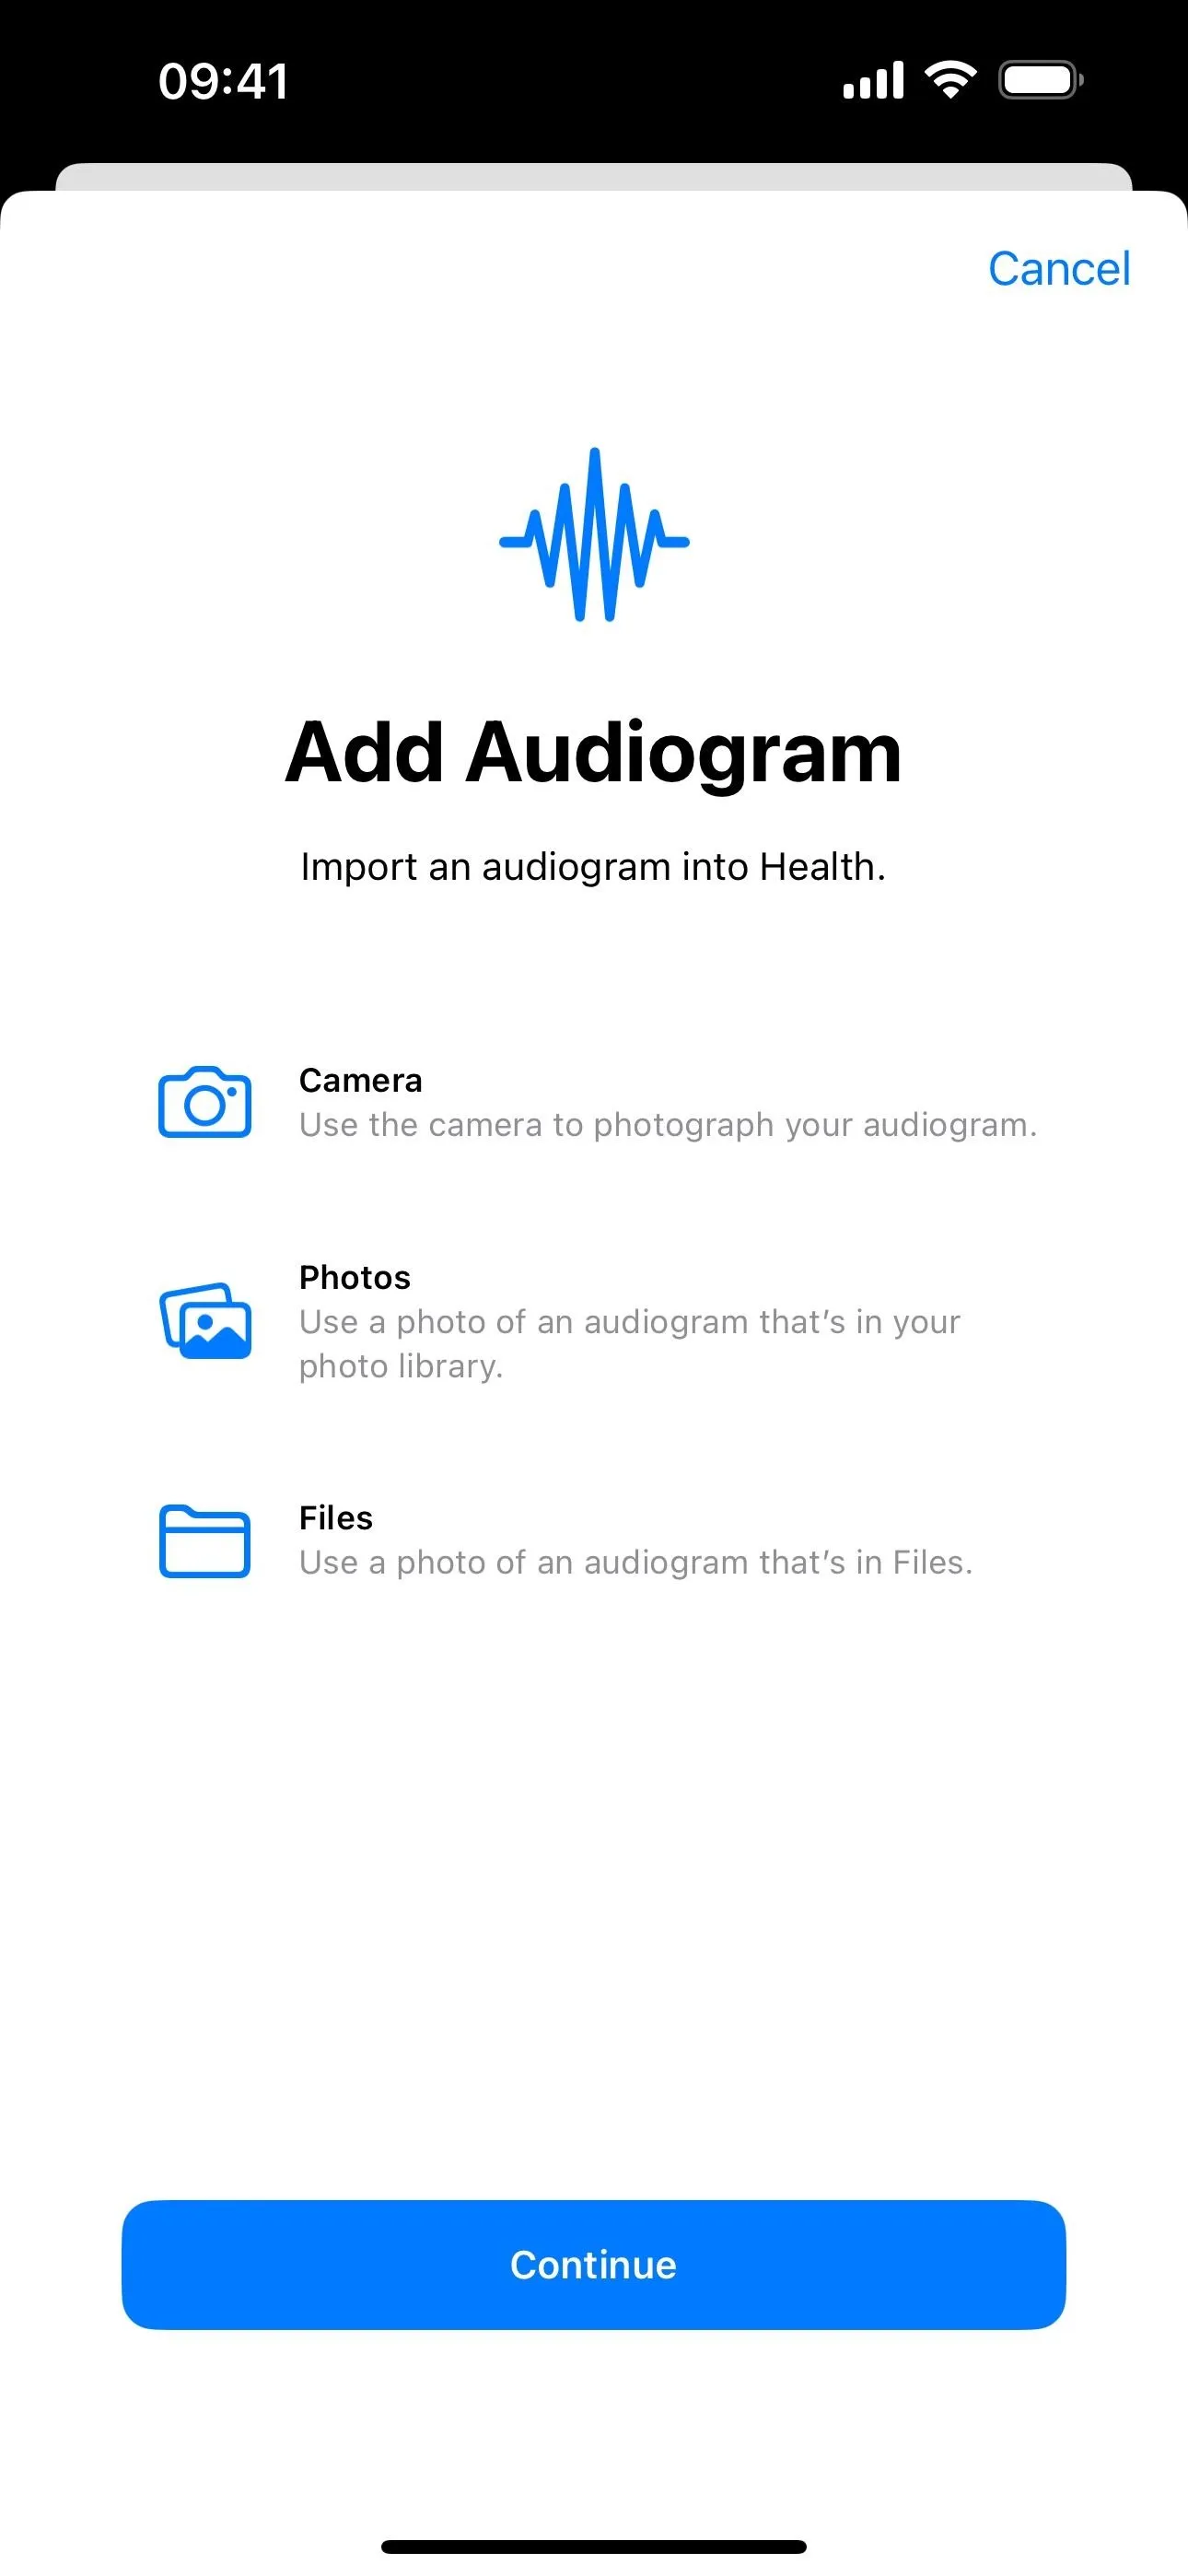
You can also use an audiogram from a hearing exam to get even better personalization. If you already have one in your Health app data, tap "Use Audiogram." Otherwise, tap "Add Audiogram," and you can add it via a new photo, saved photo, or saved file. If you don't want to do this step, hit "Don't Use Audiogram."


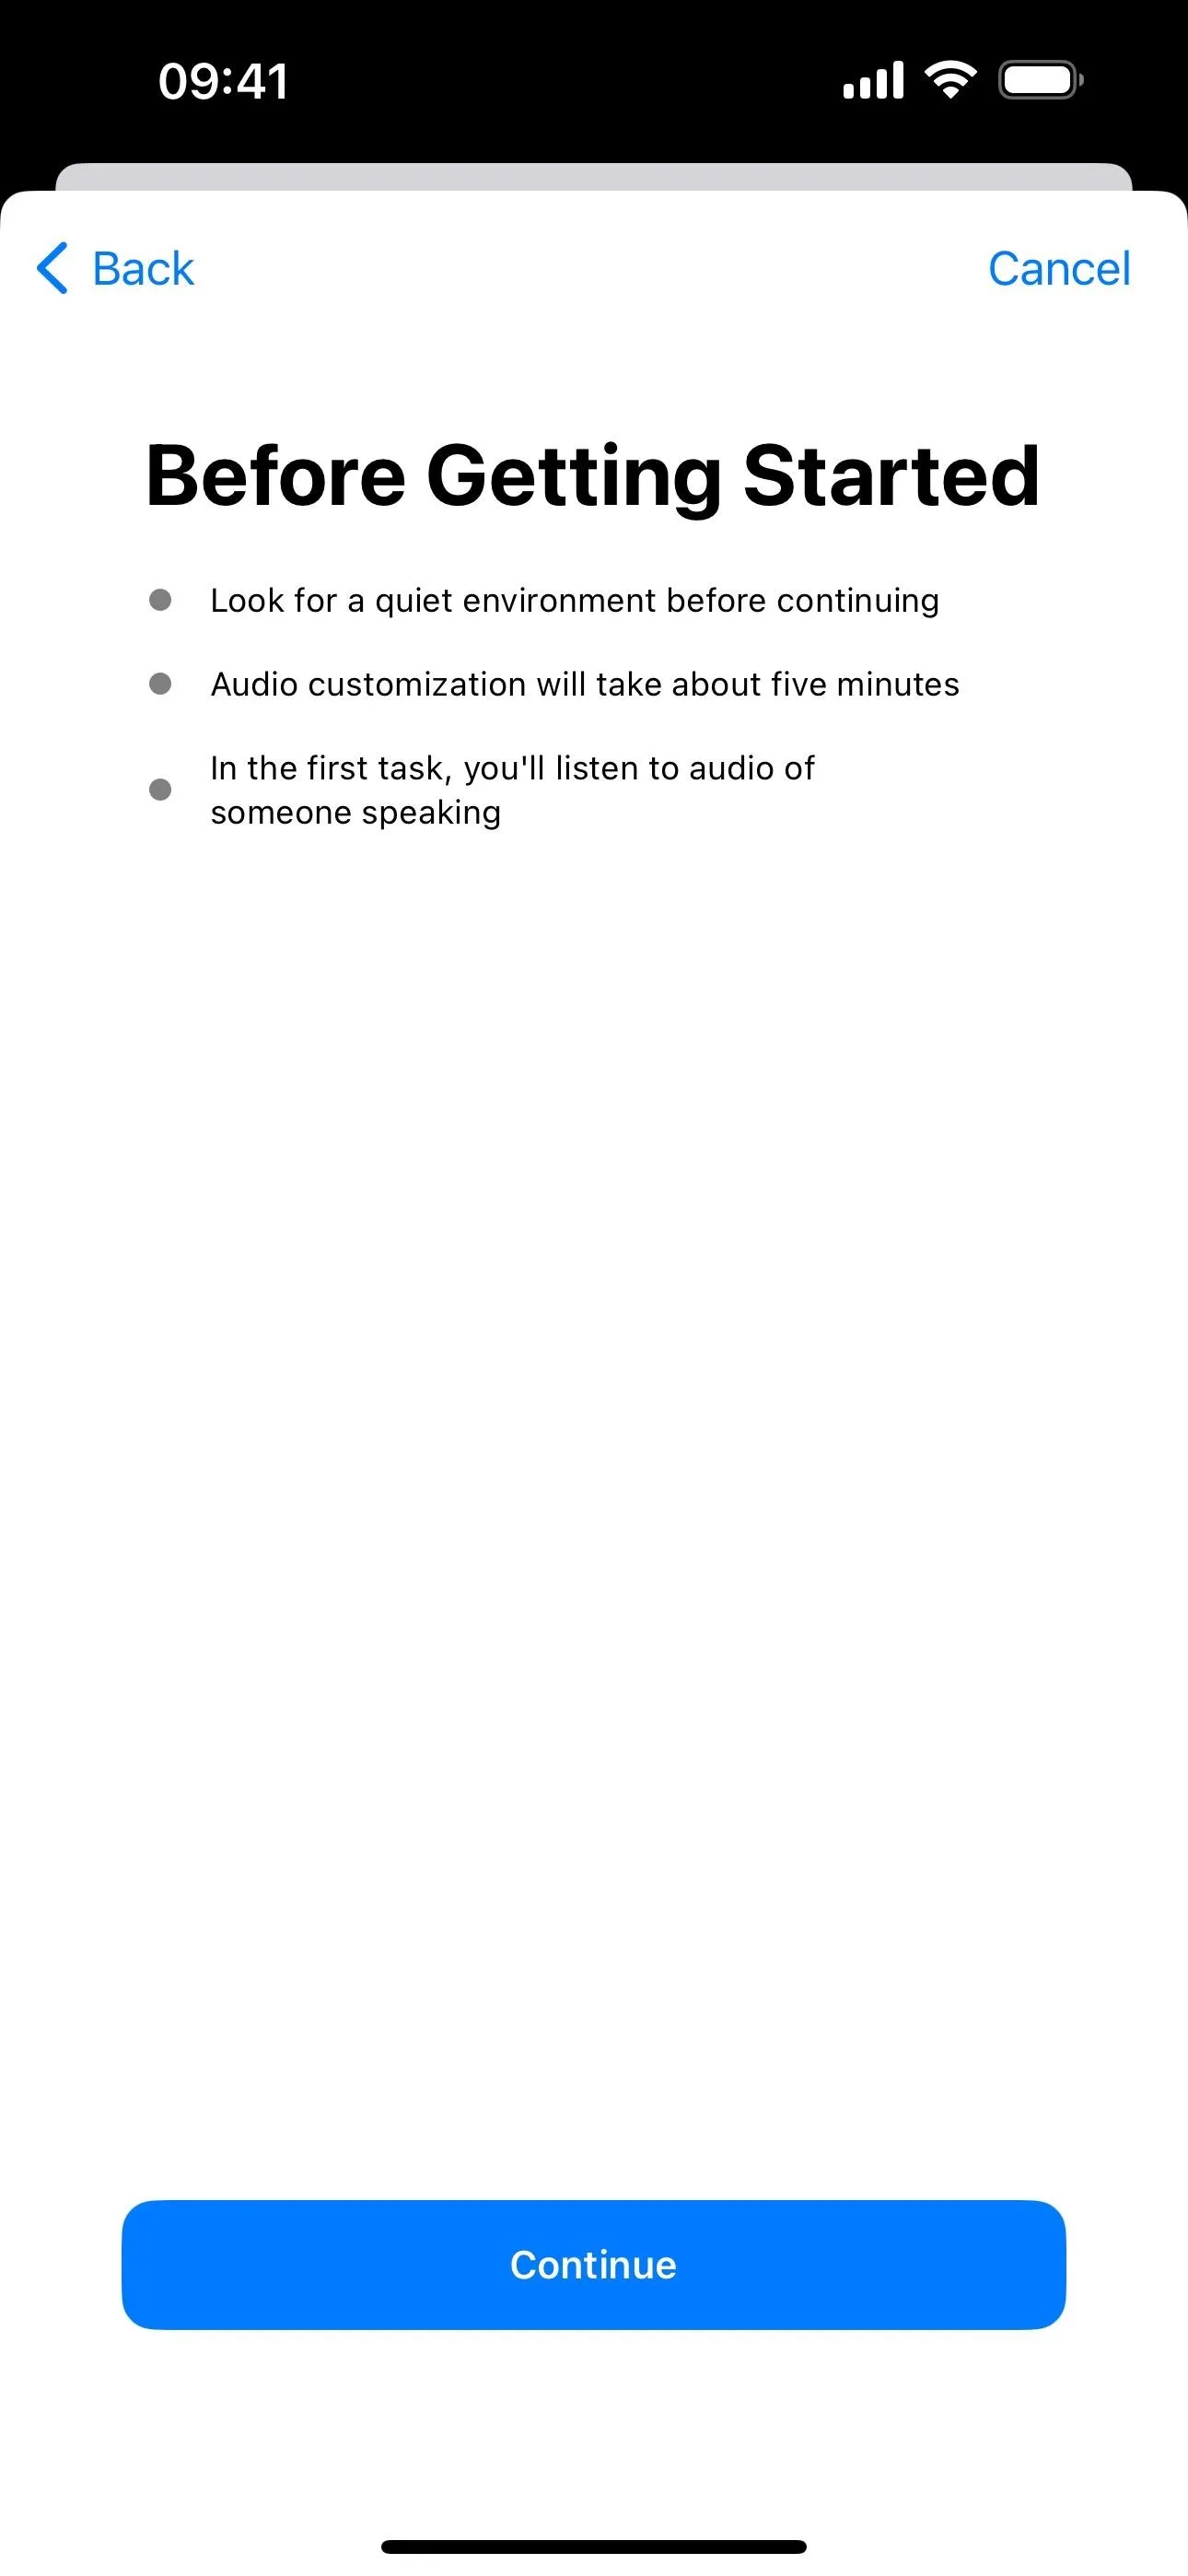
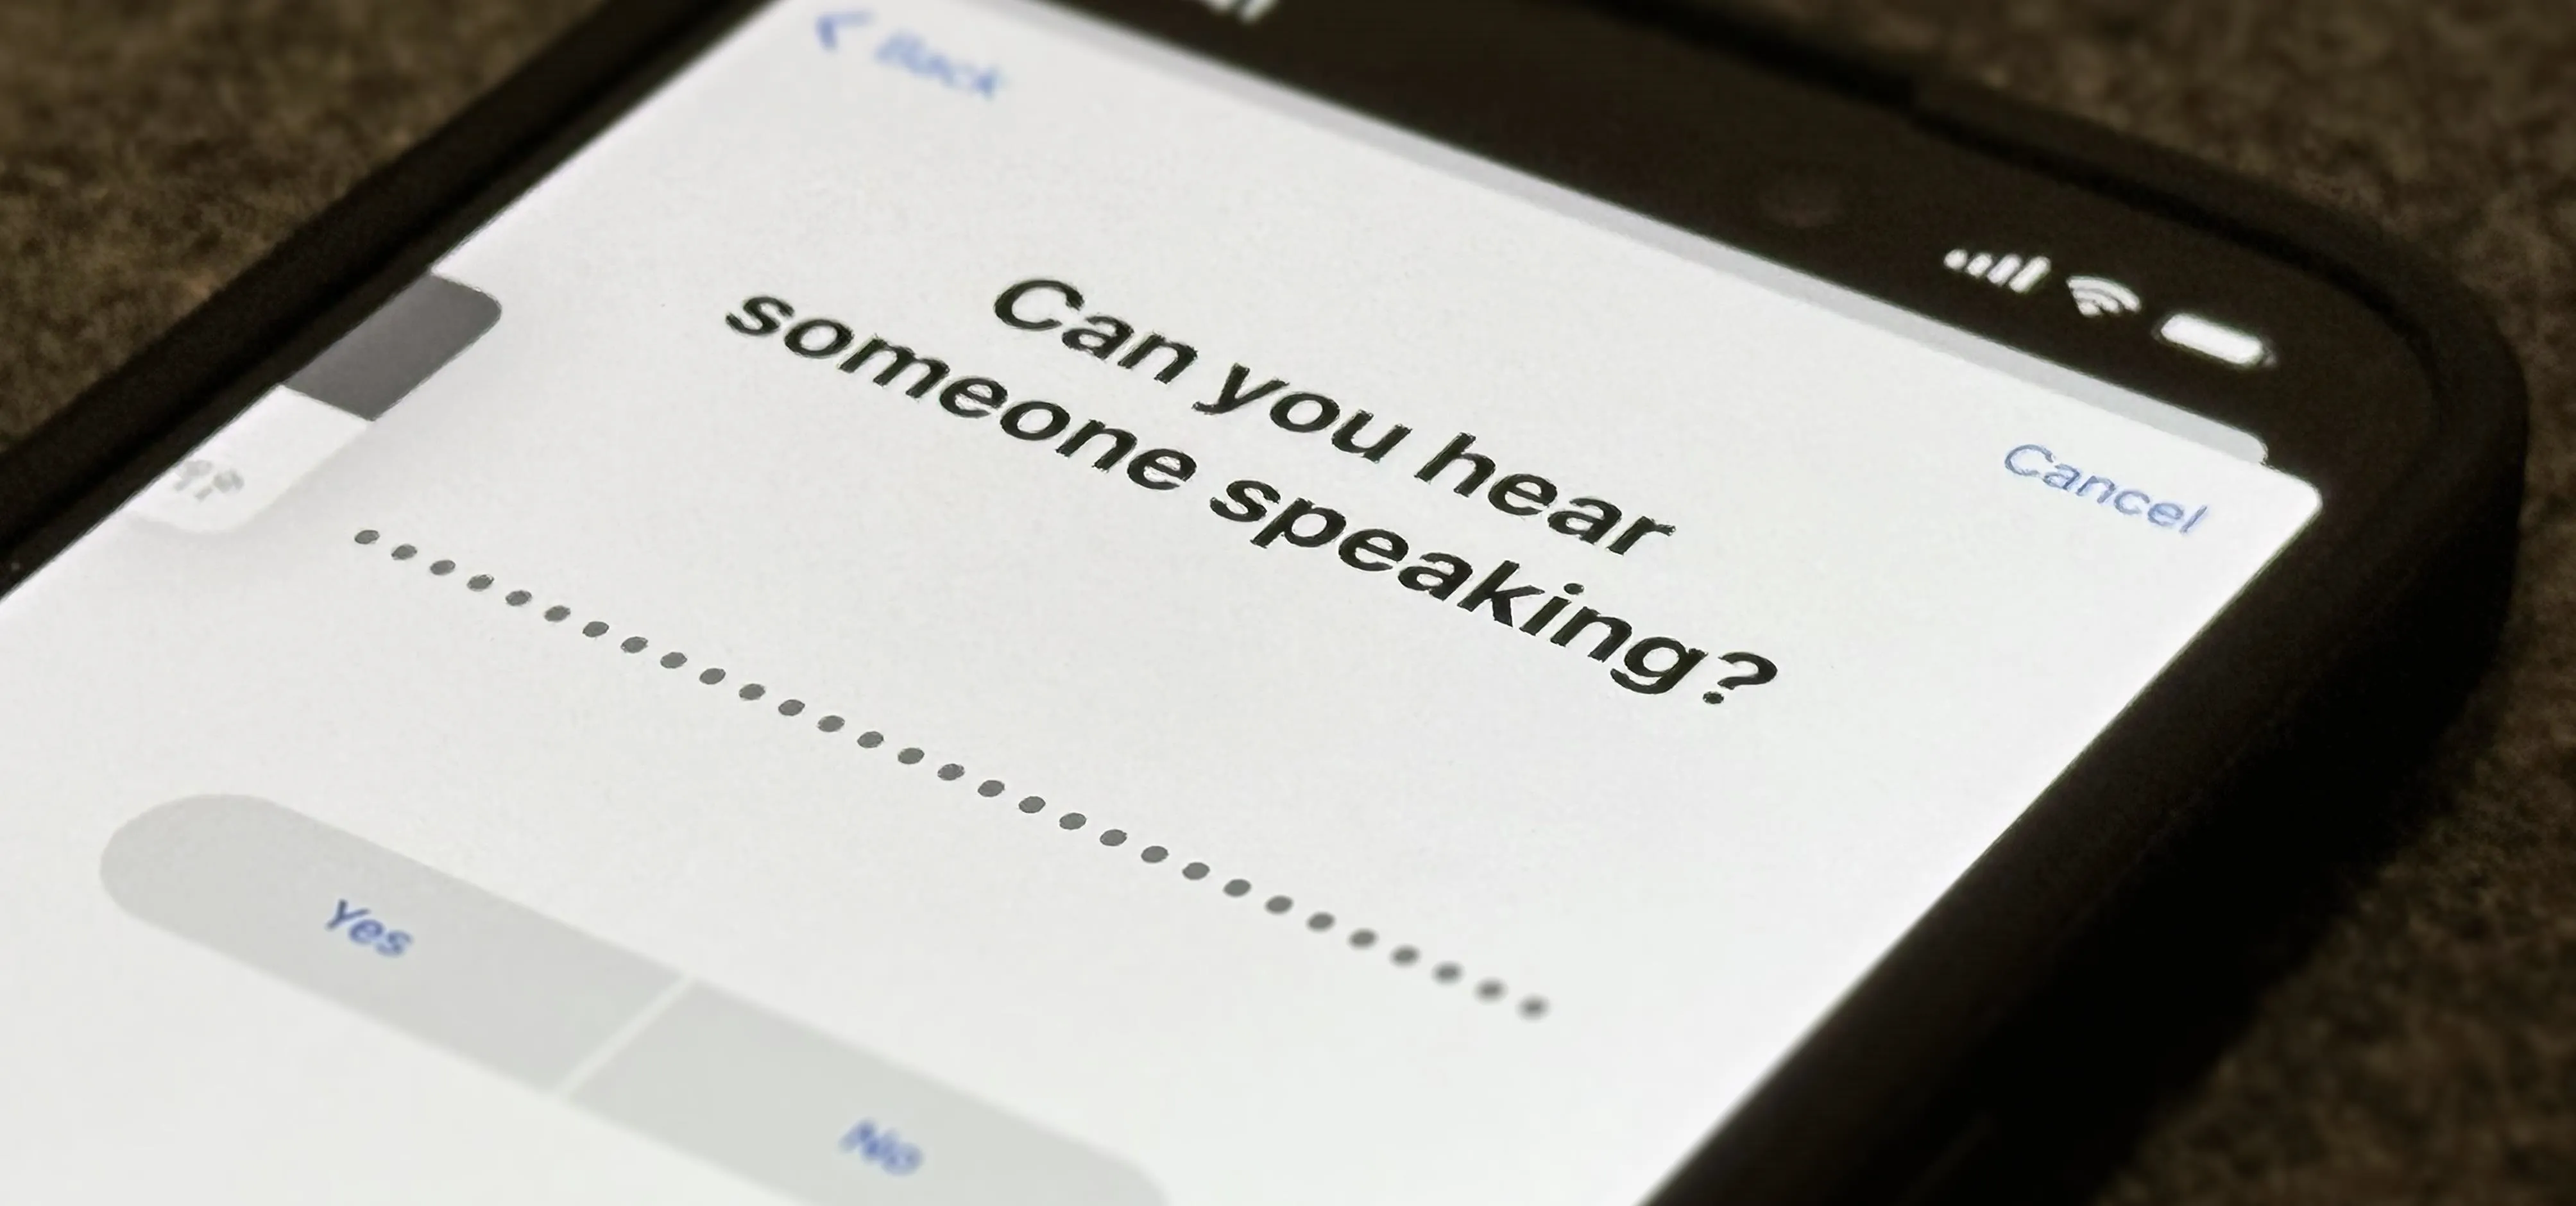
Next, it will tell you to go to a quiet place. Then, it will play someone speaking, and you must select yes or no if you can or can't. Then, it moves on to music adjustments.


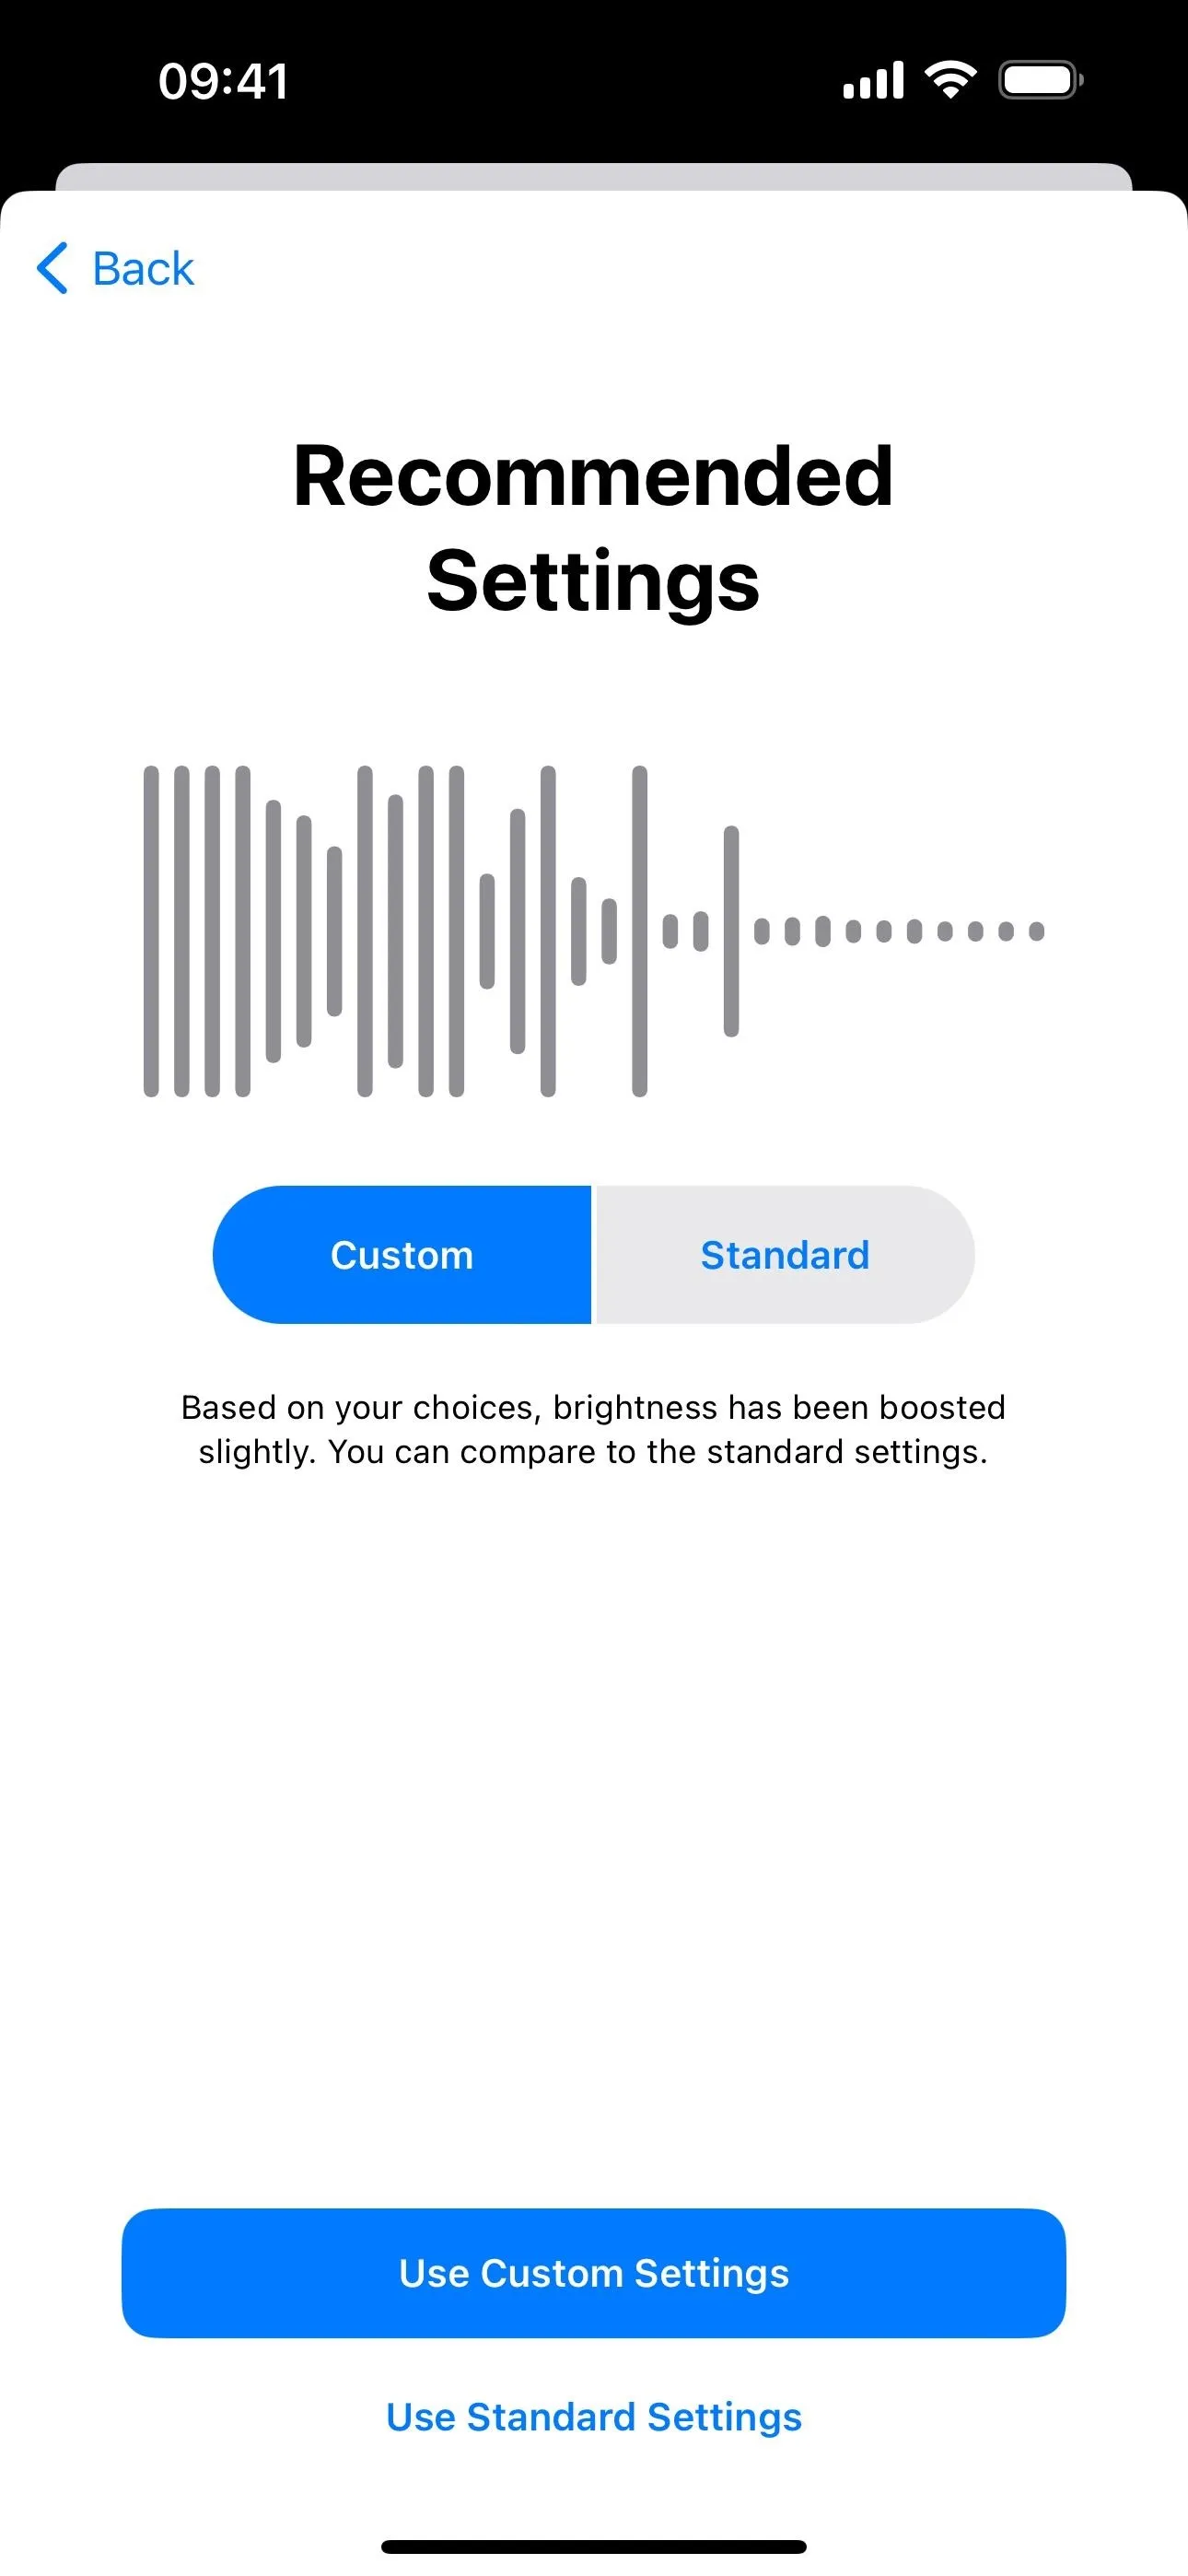
You'll run through three different comparisons. At the end, tap "Use Custom Settings" to finish.


Other Things You Should Know
- When using automatic device switching, your custom audio settings for AirPods will transfer between your iPhone, iPad, and paired Apple Watch, but not your Mac.
- Consider using Voice Isolation during calls to help others hear you better. If they have an iPhone or iPad, you can also ask them to do the same so you can listen to them better. Voice Isolation can be turned on and off during a call via Control Center.
Cover photo and screenshots by Jovana Naumovski/Gadget Hacks



Comments
No Comments Exist
Be the first, drop a comment!