If you've got a MacBook, I'm sure you've spent some time messing around with the Photo Booth app. Who would have thought that adding simple effects like Comic Book or Stretch could make a selfie look so hilarious.
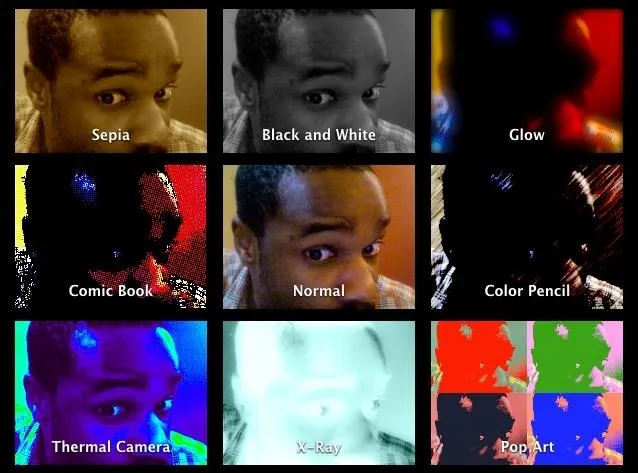
Photo Booth is available for all Mac OS X computers running 10.4 or higher with an iSight camera, and it's also available on a few of Apple's iOS devices. Actually, it's only for the iPad 2 and all newer iPads since. It is NOT available on the iPhone, don't ask me why.
Apple did give the iPhone some pretty cool filters in iOS 7, but camera effects from Photo Booth like X-ray, Stretch, and Kaleidoscope were still missing—until now.
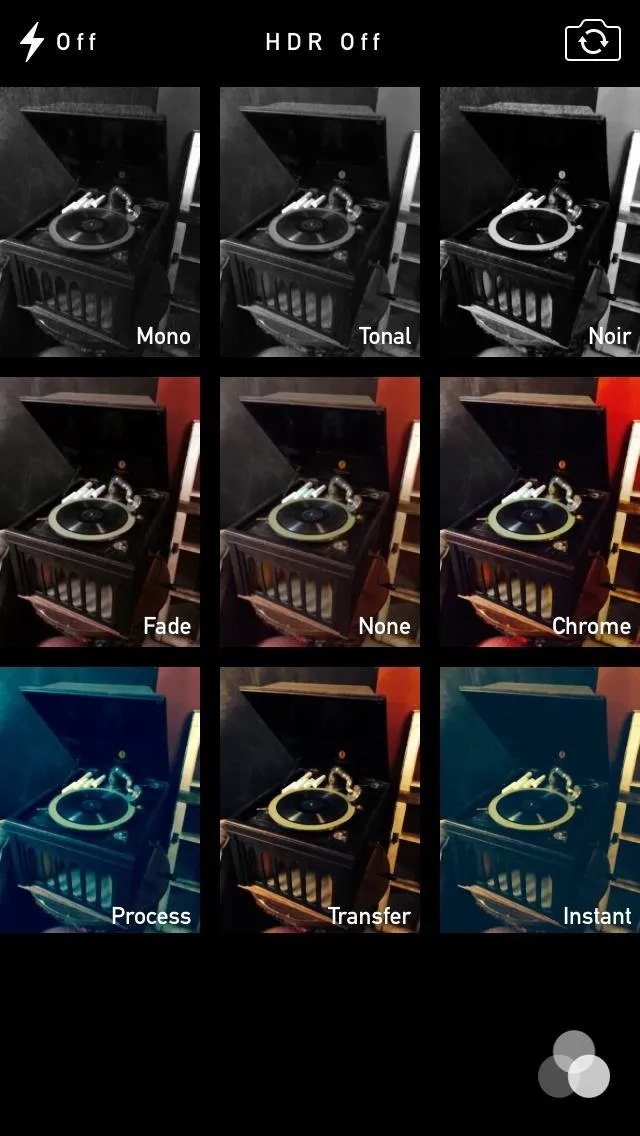
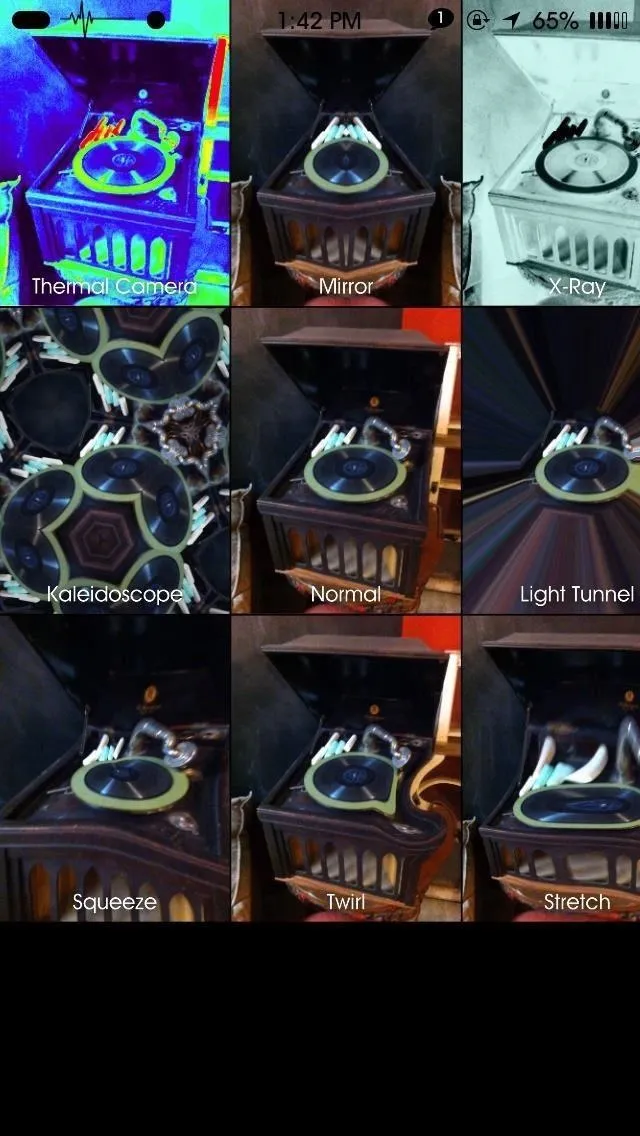


Above: iOS 7 Filters versus Photo Booth Camera Effects
Using CoolStar's Photo Booth port, us jailbreakers can now enjoy the dankness of Photo Booth on our iPhones. ABest of all... it's free! Of course, in order to download any Cydia tweak, you must be jailbroken, but you guys already knew that.
Step 1: Download Photo Booth
You can download Photo Booth by searching for it in Cydia. Hit "Install" in the top right corner and wait until prompted to "Restart Springboard."
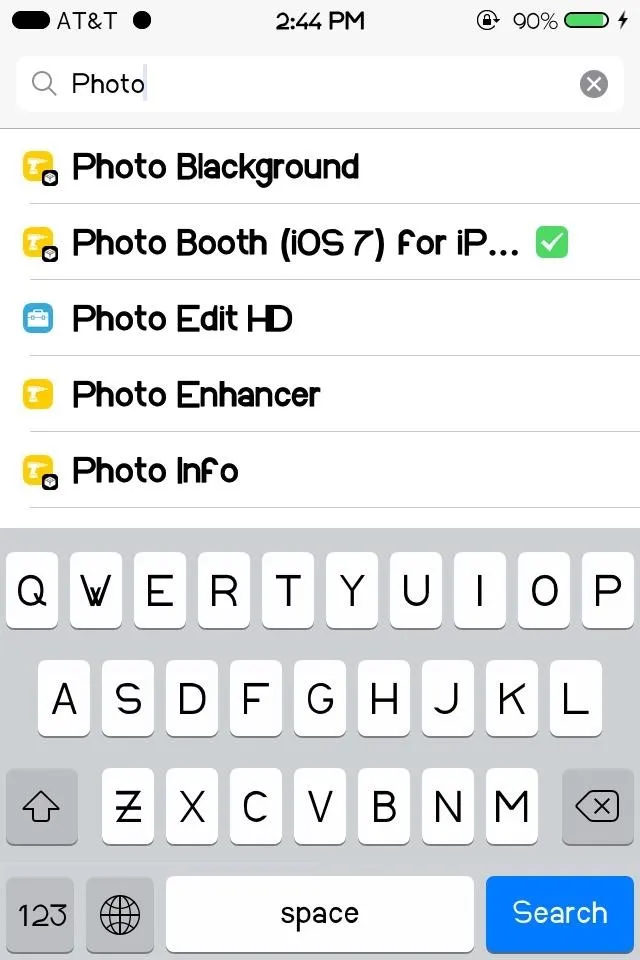
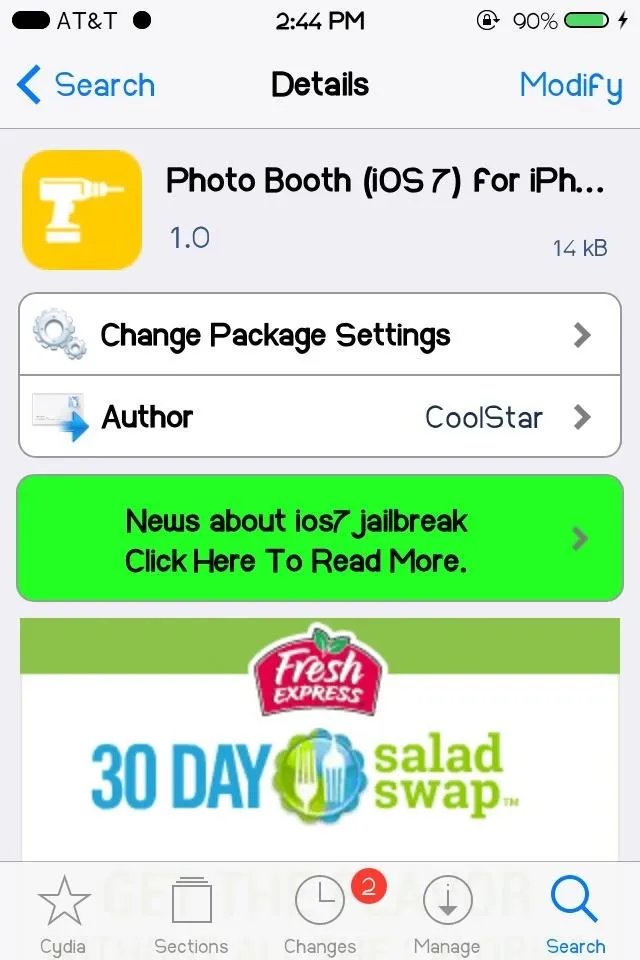


Now just restart Springboard in order to have Photo Booth added to your device. Don't worry, your funny selfies are just around the corner.
Step 2: Take Pics with Photo Booth
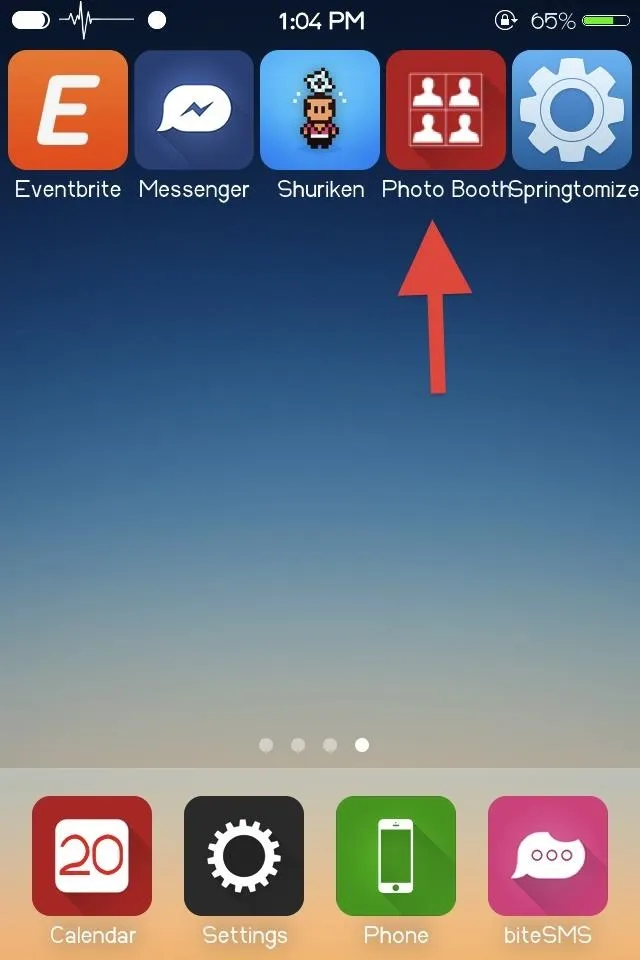
After a restart, the Photo Booth icon will appear on your home screen—open it up and you will see some of the best effects from Photo Booth.
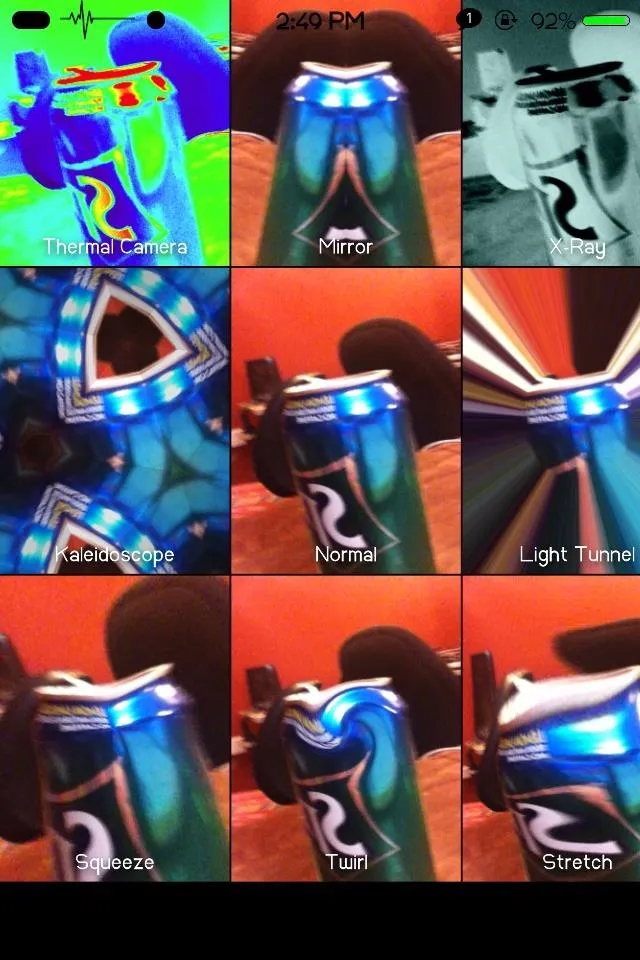


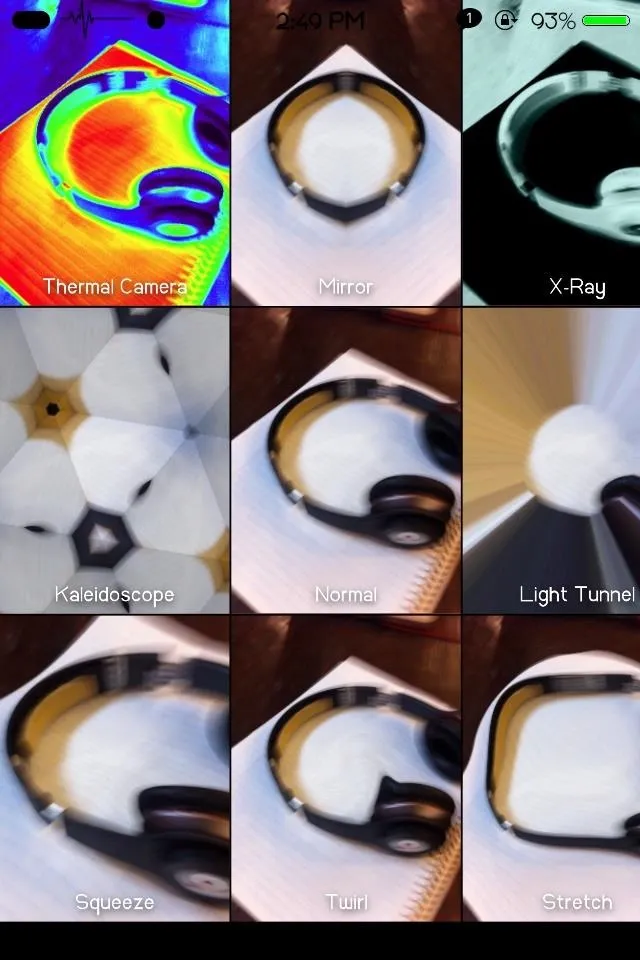
The official, Apple-sanctioned Photo Booth has 18 effects (not including background), while this Photo Booth port has just eight. Of course, eight is better than zero, though.
To start, select one of the eight effects by tapping on its image square. From there, it will take us to the camera where we can snap a photo. Just like how filters work in the stock Camera app.
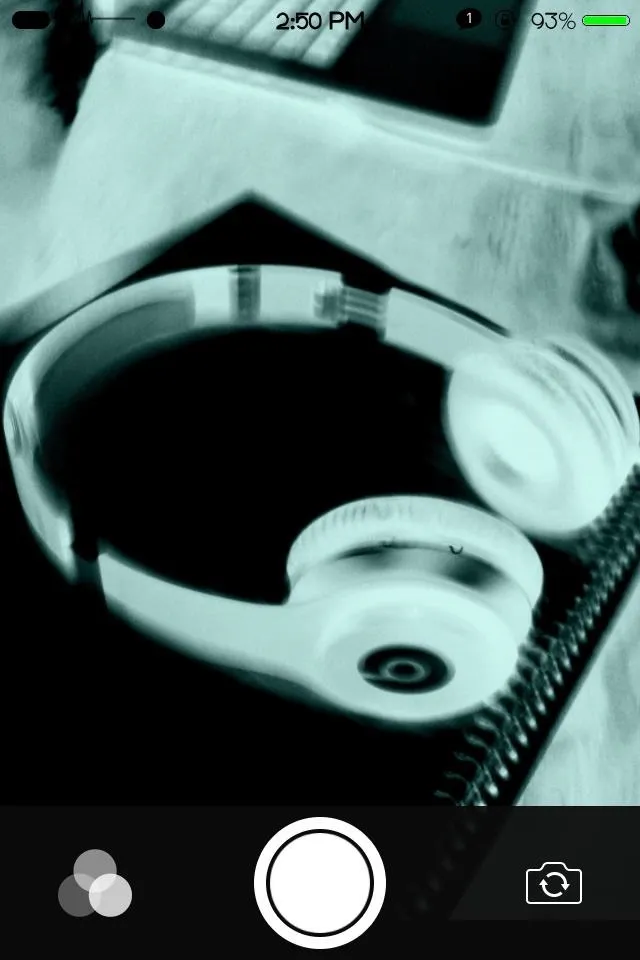


Photos can be taken using the front-facing or rear camera, although some users noticed that the front-facing camera may cause the app to crash from time to time. I hadn't experience this.
If you wish to go back to the effects, click on the effect icon (three overlapped circles) to the left of the camera button. The interface could use a little work, but the app is super new to Cydia, so I'm sure updates will come soon enough to address some of these issues.
Step 3: Share & Save Pictures
Sadly, the images taken with Photo Booth are not added to the Camera Roll on the device, nor can you use images already in your Camera Roll inside of Photo Booth. Instead, the Photo Booth photos remain inside of the Photo Booth app, ready to be shared or emailed. But screw all that—with minimal effort, these images can be saved to your phone.
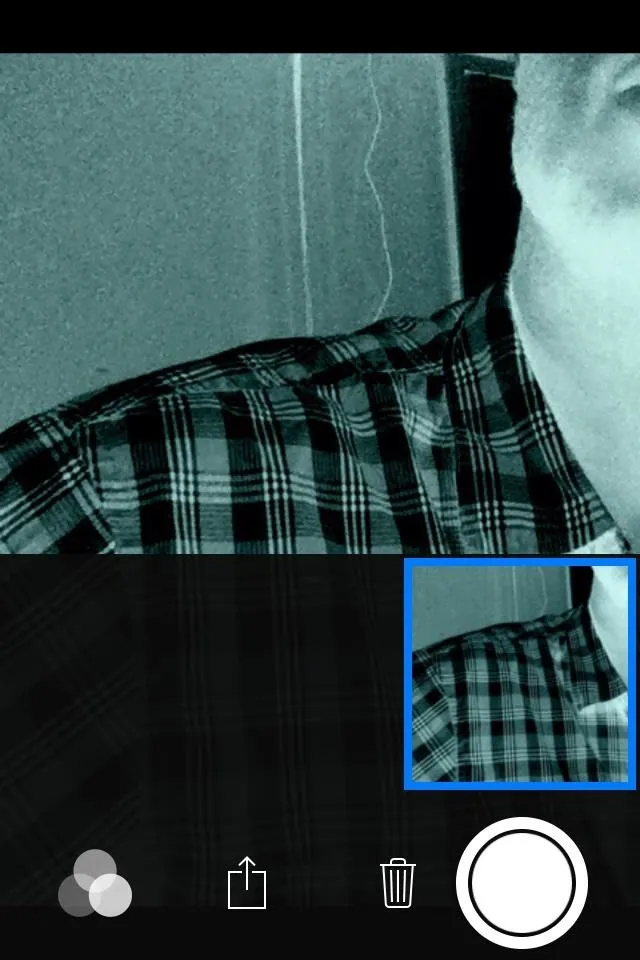
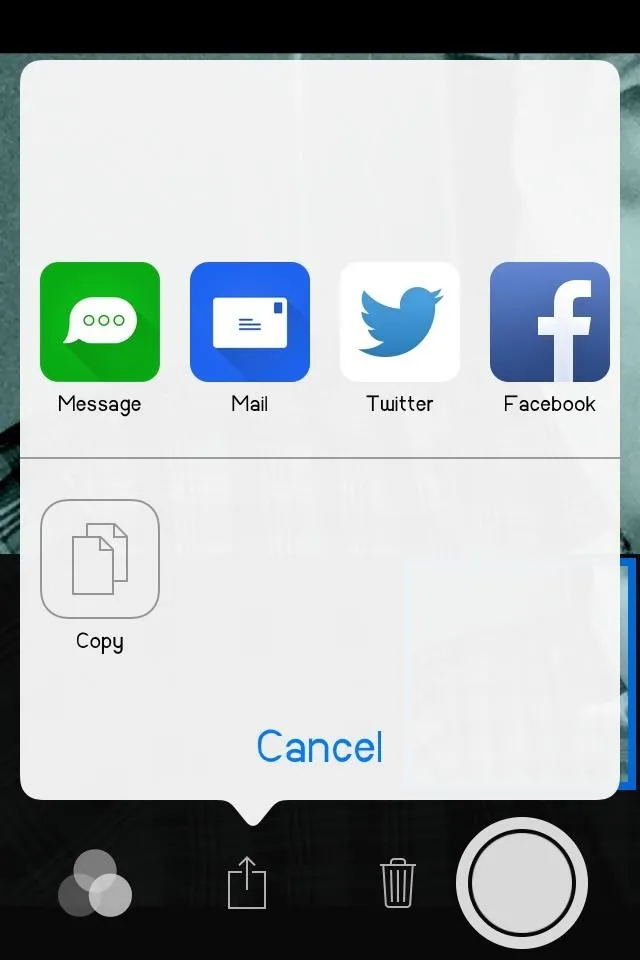


When you take a picture, the image will slide into a row underneath the current image. You can select this image to bring up sharing and deletion options. You can share the image via SMS, email, Twitter, Facebook, and Flickr. By sending an email or text to yourself, you can save the image—just open that email or text and save the included image onto your phone. Easy!


Comments
No Comments Exist
Be the first, drop a comment!