Voicemails are like chores for me. I have to listen to them, but never really feel like doing it. When I finally do, most of them get deleted right away, but every so often they'll be one I save and listen to over and over again, whether it's a cute birthday wish from grandma or a hilarious joke from my friend.
When you come across a voicemail that you want to keep forever, transferring it over to your computer makes total sense, but it's not a simple task to do if you have an iPhone. While there are apps like iExplorer and PhoneView, they cost too much to use just for a voicemail here and there.
Instead of handing down any cash, I'm going to show you how to extract all of the voicemails on your iPhone to your computer and convert them into shareable files, all thanks to a few Terminal commands.
Don't worry, the process might sound tedious, but it's straightforward and simple enough to understand as long as you follow the steps below.
Step 1: Back Up Your iPhone
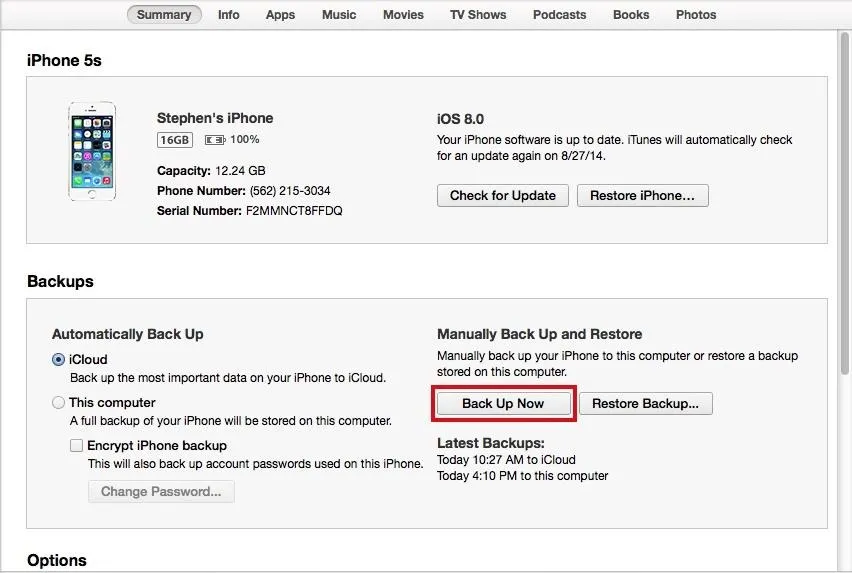
If you want the voicemails from the iPhone you're currently using, you'll need to backup your device through iTunes—not via iCloud. Do so by connecting your iPhone to your computer, opening iTunes, and clicking on Back Up Now from your iPhone's Summary page. If you want to pull voicemails from an older backup, skip directly to Step 2.
Step 2: Find the Backup Folder
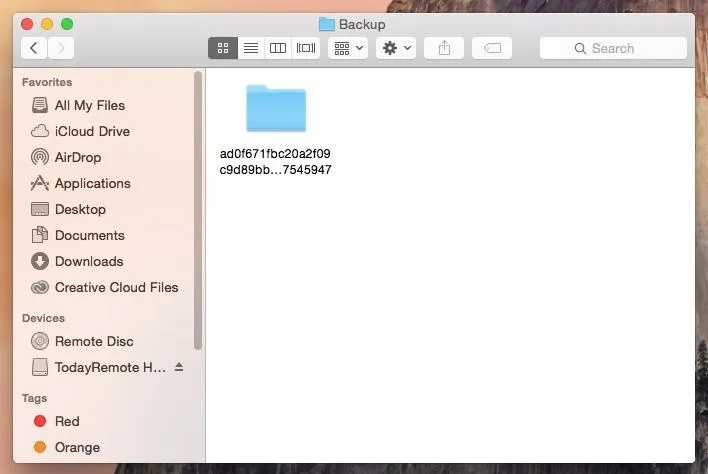
After the backup is complete, you'll need to find the folder where the iPhone backup is stored.
- Open Finder.
- Press and hold down the Option key.
- Click Go in the menu bar.
- Select Library.
- Go to Application Support -> MobileSync -> Backup.
- All of your iTunes backups will be in the Backup folder. Show all of your items in List View so that you can see the date for each backup. That way you'll find your most recent backup or older ones that you want to pull voicemails from.
Step 3: Copy & Rename the Backup Folder, Create iOSVoicemails Folder
Since you don't want to mess up your backup (for future purposes), we're going to make a copy of the folder and paste it onto your desktop. Simply right-click on the backup folder and select Copy "Backup Folder Name".
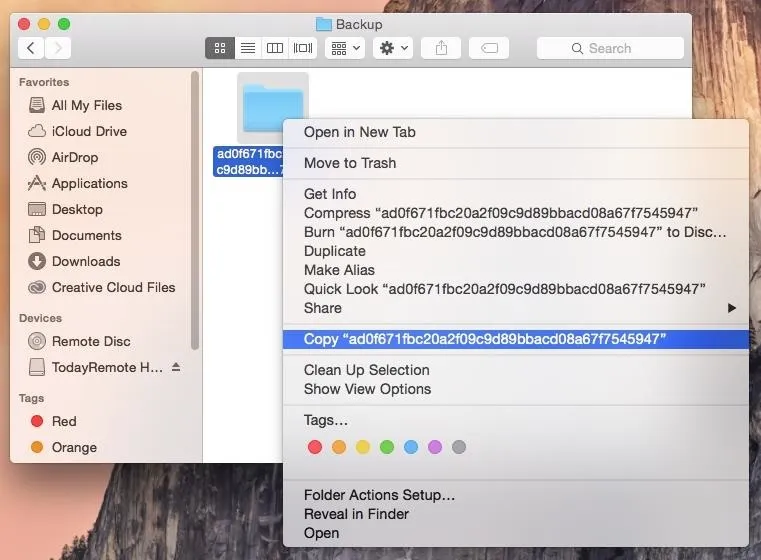
Now right-click on an empty space on your desktop and select Paste Item. Since these backups are pretty large, it might take a few seconds for the folder to copy over to your desktop.
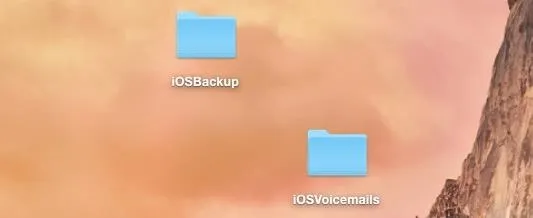
Rename the folder to something easier than those mess of letters and numbers by right-clicking on the folder, selecting Get Info and entering a name into the Name & Extension: box. Let's use iOSBackup as the name, to make things simple.
Also, create a folder called iOSVoicemails on your desktop—this is where your voicemails will be saved.
Step 4: Create Script on Your Desktop
In a previous version of this guide, we had a much more complicated way of going about the process of extracting the voicemails from your backup. Thanks to WonderHowTo user Lauren Pattison, the process is now much more simple, thanks to a nifty script she wrote and provided to us.
Open Terminal and enter the following:
cd Desktop
Hit enter. This is to to set the directory. Now you're going to create the script by entering:
vim voicemailscript.sh
Again, hit enter. Now type:
i
This will allow you to insert text. Now type the following text into Terminal, indentations and all. You can copy it here from the file on Pastebin, then paste into Terminal to make things easier.
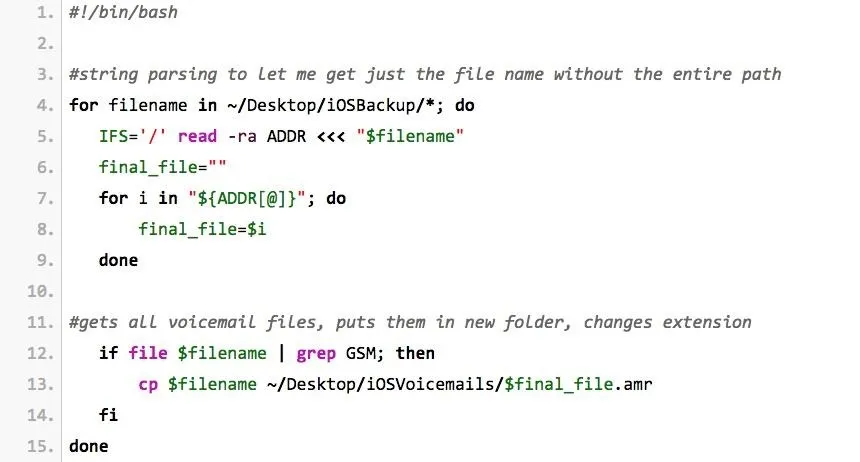
After pasting the text, hit the escape key on your keyboard and type in:
:wq
And hit enter.
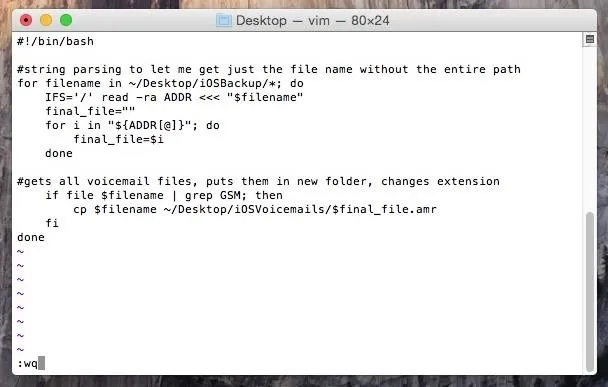
Step 5: Make Script Executable, Run It
Still in Terminal, type in:
chmod a=r+w+x voicemailscript.sh
Hit enter. This will make the script executable. Finally, type in:
./voicemailscript.sh
And hit enter one more time, which will run the script.
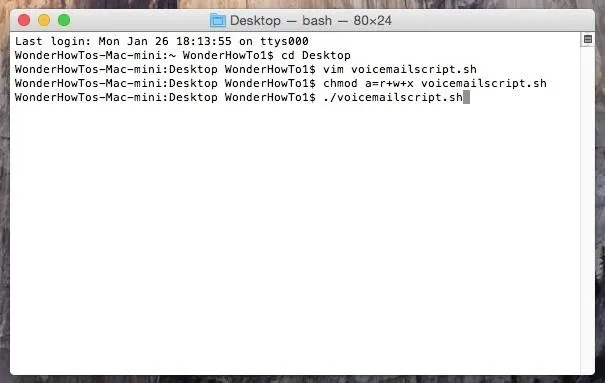
A list of all your voicemails will show up in Terminal.
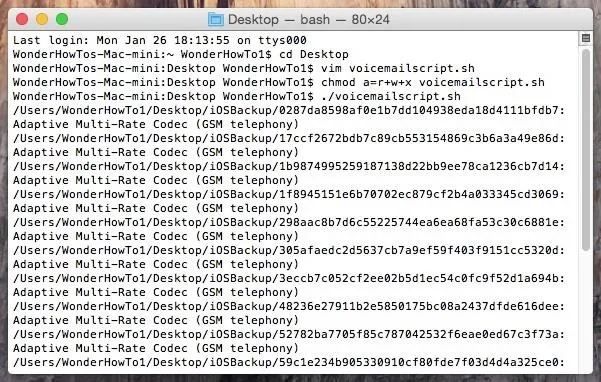
Step 6: Listen to Voicemails, Convert Them to .M4A
In the iOSVoicemails folder on your desktop, you'll find all of the voicemails from your backup.
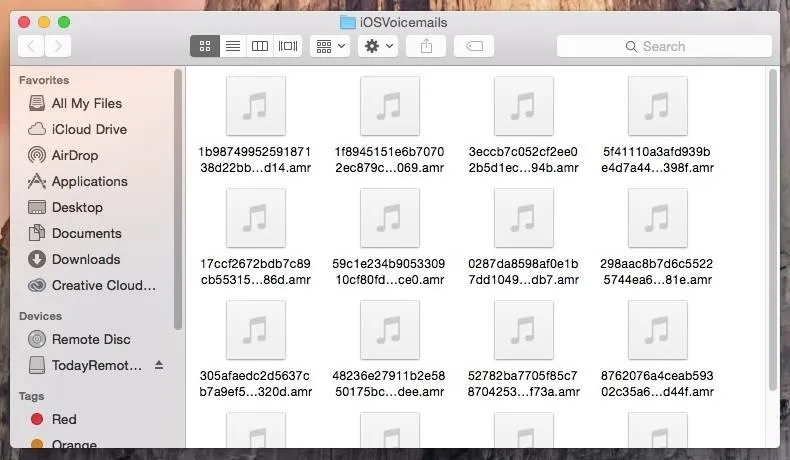
When you find the voicemails that you want to keep/share, open them in QuickTime Player, go to File, click on Export and select Audio only....
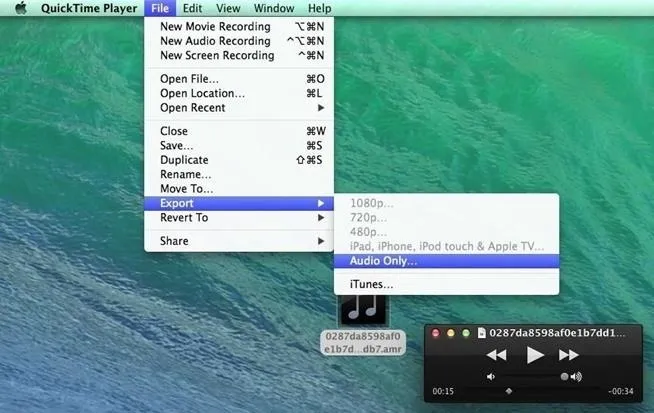
Now press Save and your voicemail will be saved in an .m4a file that you can share and upload on the internet. And that's all there is to it.


Comments
No Comments Exist
Be the first, drop a comment!