If you need to share something online but don't want your personal information attached to the file, use an anonymous file hosting site. By uploading files anonymously, you keep your IP address safe and won't need to create any kind of account that could provide further logging. You can do this in a web browser, but it's much easier to do using a shortcut on your iPhone.
Back in 2014, director Quentin Tarantino sued Gawker and AnonFiles for over $1 million for leaking the script to "The Hateful Eight," which was unreleased at the time. The screenplay had been uploaded anonymously to AnonFiles, which Gawker then shared in a news story online. Eventually, the lawsuit was dropped and no one was ever charged, thanks in part to AnonFiles' anonymous file hosting.
So it only makes sense that the shortcut we'll be using today uses AnonFiles as the anonymous file hosting service that'll host all of the files you upload and share. File-sharing services like Dropbox, iCloud, and Google Drive are great when you want people to know you are responsible for the file, but when you want to share on the down low, Anonfiles is a better option.
With AnonFiles, you don't need to create an account, bandwidth is unlimited, and downloads aren't logged, so no one can keep track of who is sharing what and with who.
Required
- iOS 14: This shortcut is optimized for iOS 14, and while it may work on iOS 13, it has not been tested.
- Shortcuts: If you've deleted the app, you can install it again from the App Store.
- Allow untrusted shortcuts: Go to Settings –> Shortcuts and turn on "Allow Untrusted Shortcuts" to allow third-party shortcuts.
Step 1: Add the File Uploader ++ Shortcut
File Uploader ++, created by RoutineHub user iGeek__OS, allows you to upload files anonymously using the AnonFiles API and share them with others. You can upload everything from PDFs and Doc files to MP3s and MOV media formats. You can upload as many files as you want, but there is a five-gigabyte limit for each upload.
- iCloud Link: File Uploader ++ (free)
You can get the File Uploader ++ shortcut using the iCloud link above. Additionally, you can find the most recent version on RoutineHub if the shortcut ever receives an update. After tapping the link, you should be redirected to Shortcuts to preview the shortcut's workflow (if not, tap "Get Shortcut"). To add the shortcut to your library, scroll through the preview and tap "Add Untrusted Shortcut."
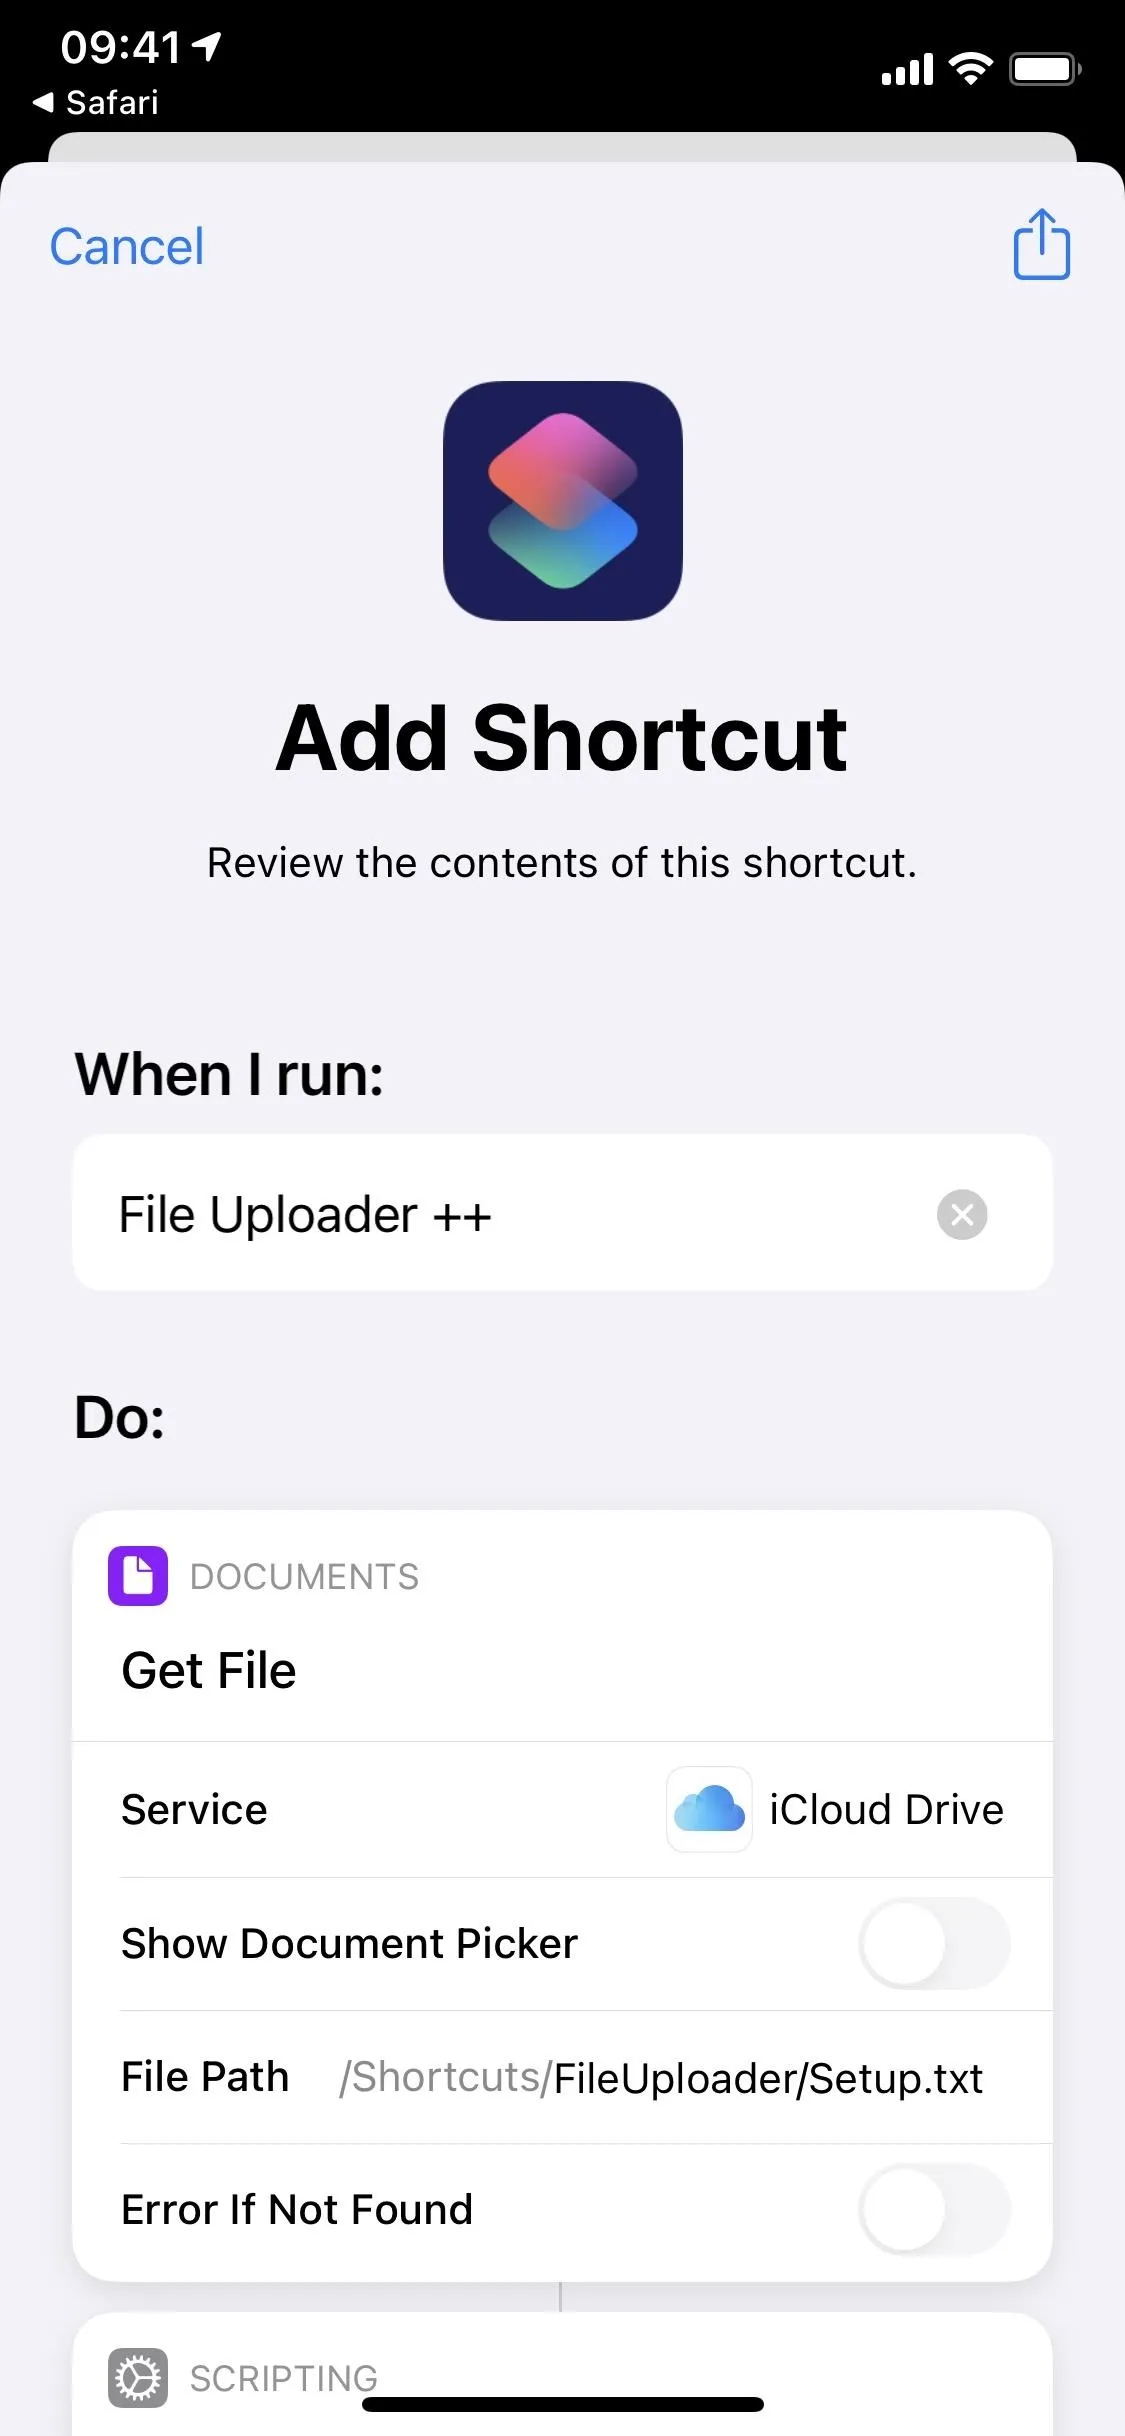
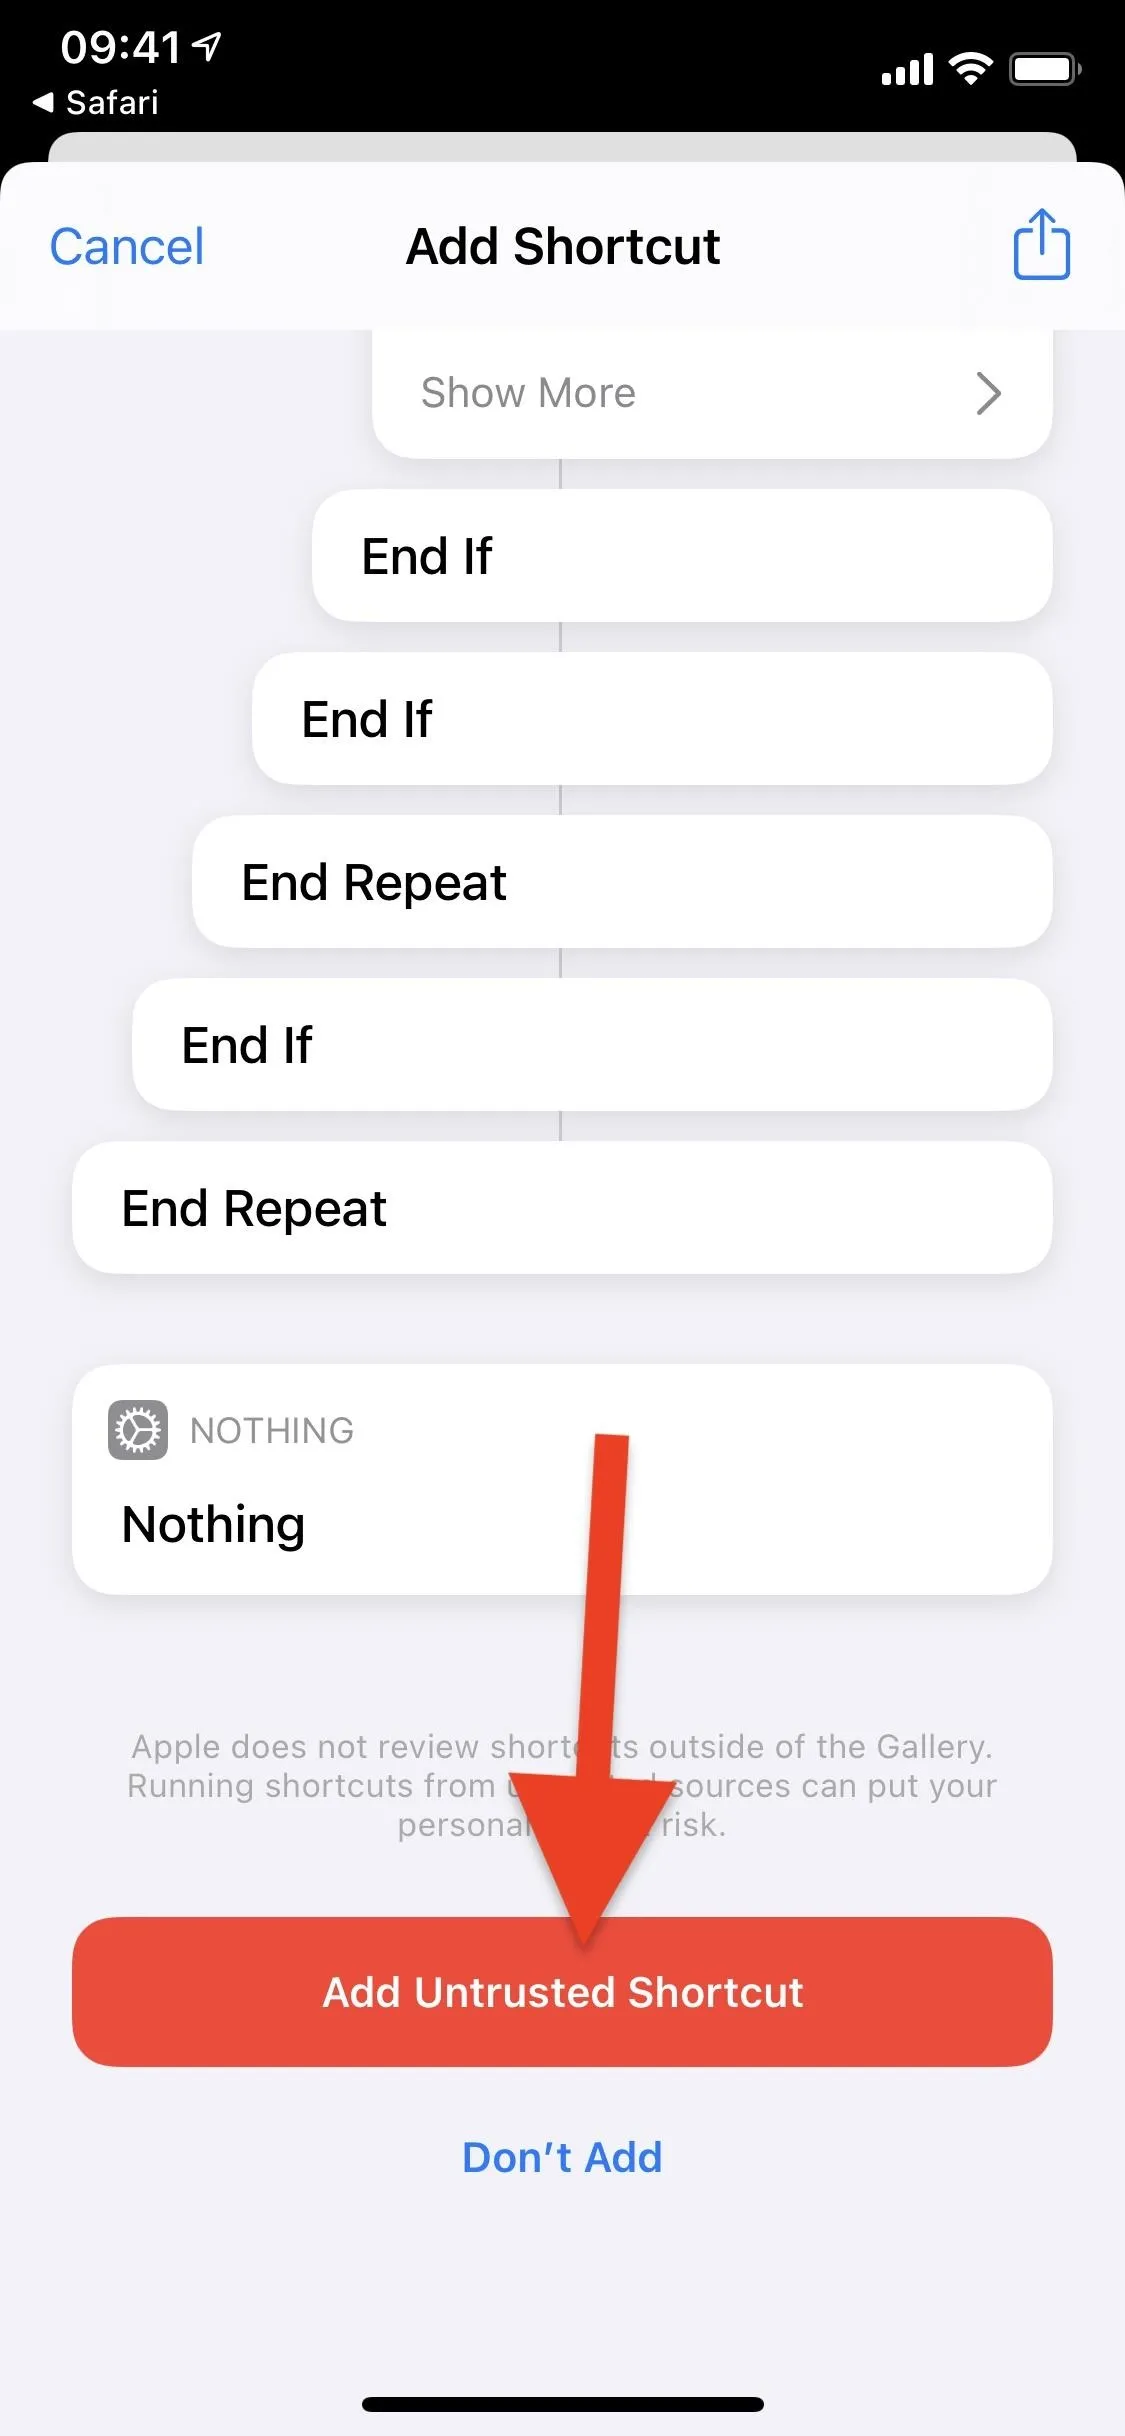


Step 2: Give File Uploader ++ Permissions
To upload a file anonymously, tap on the "File Uploader ++" card in the "My Shortcuts" tab in Shortcuts. The first time you run the shortcut, you'll be asked to give it access to iCloud Drive, which it needs to access the files you want to upload. Tap "OK," and you'll see a short description of what File Uploader ++ does. Hit "Next" and then grant the shortcut access to your notifications.
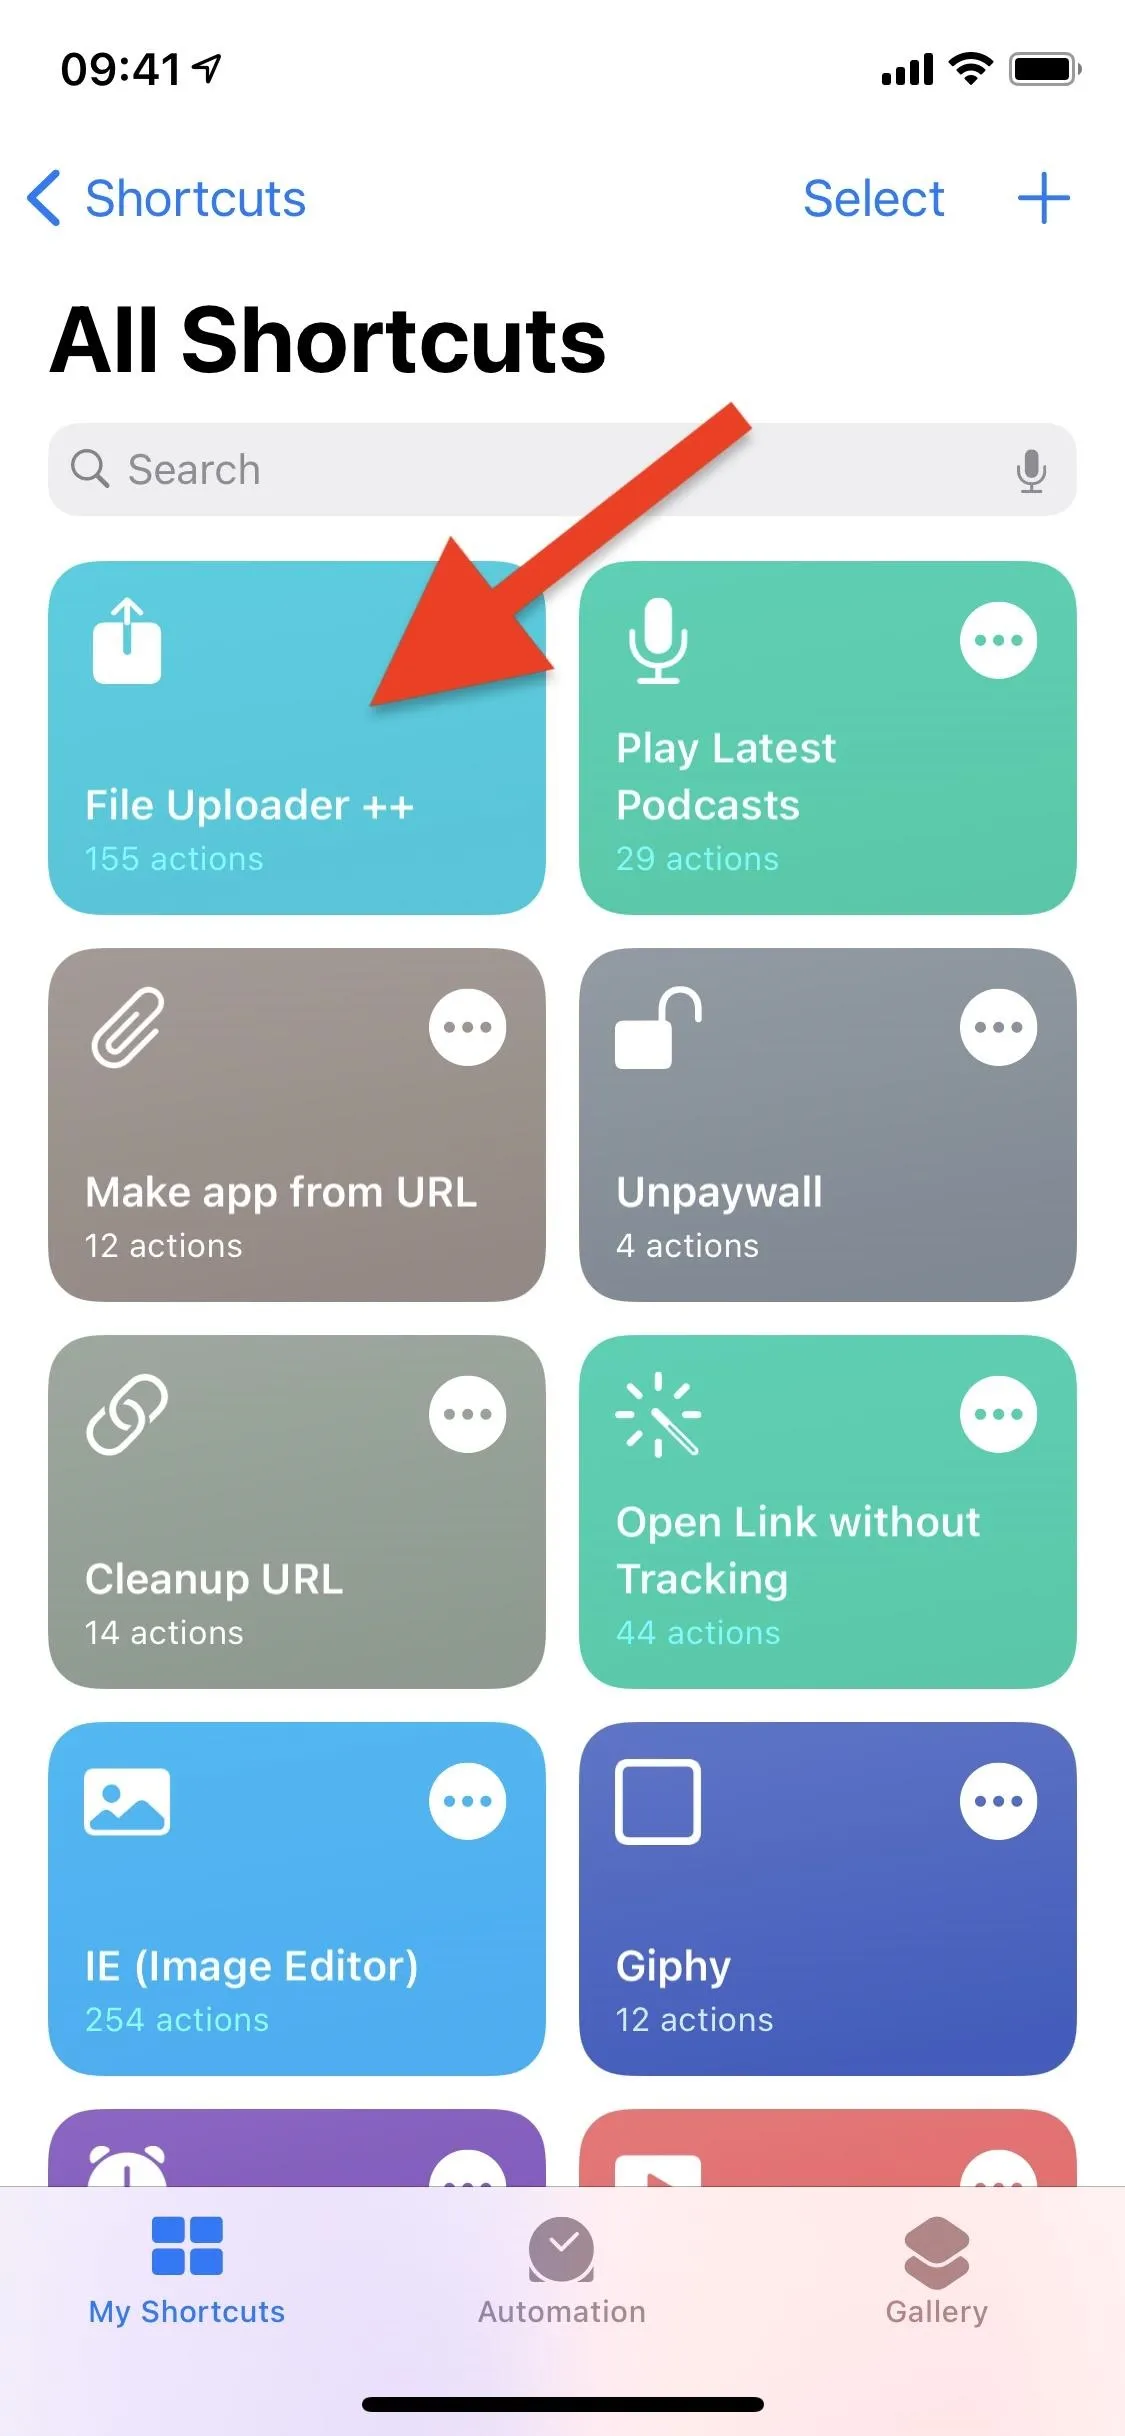
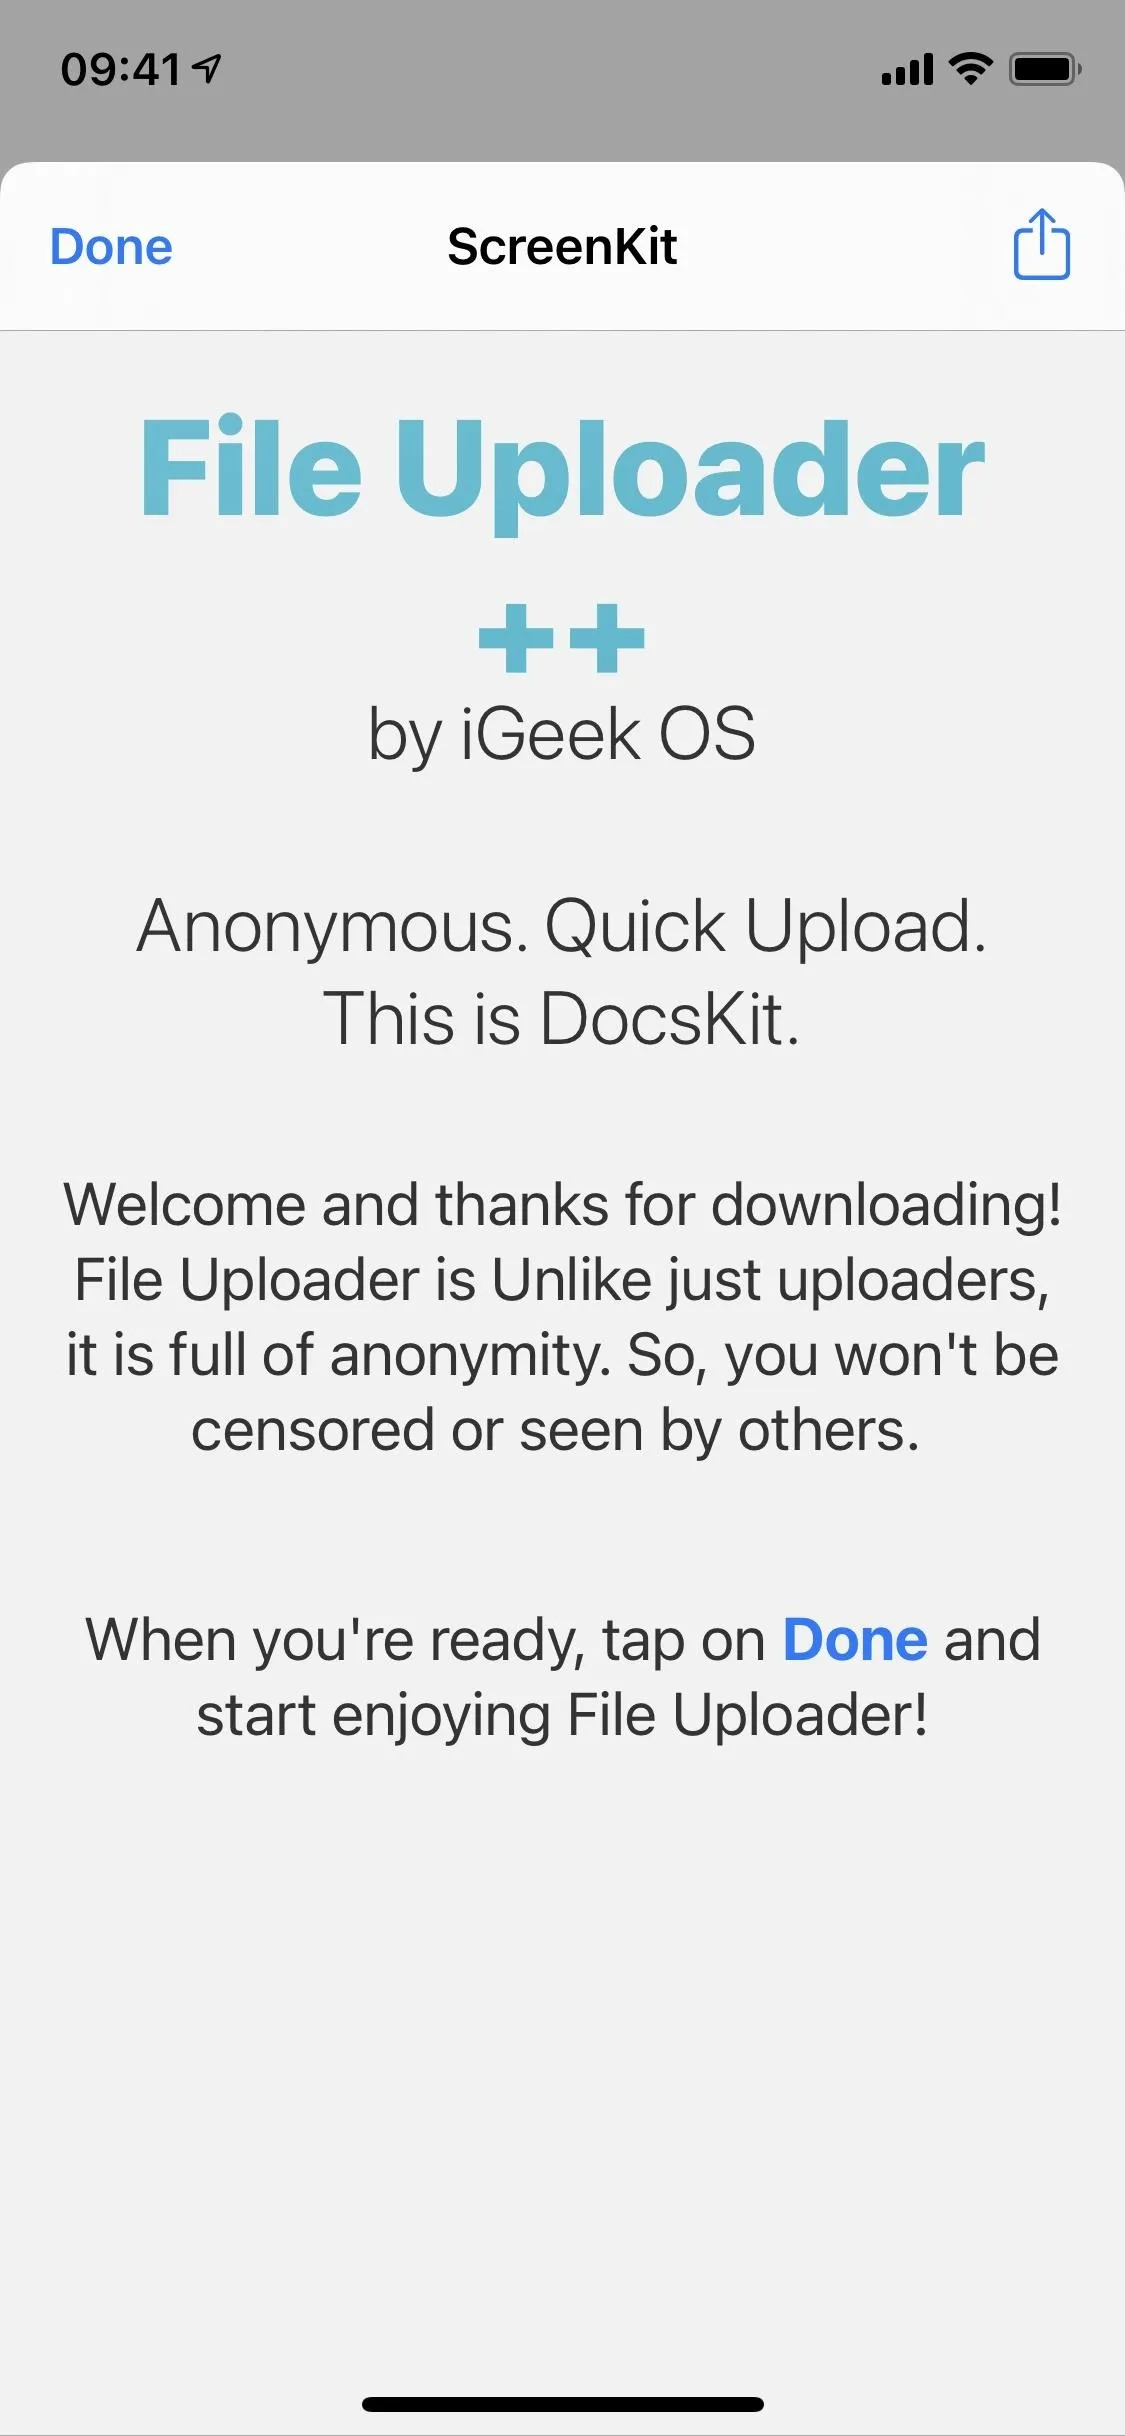


Step 3: Upload Files Anonymously
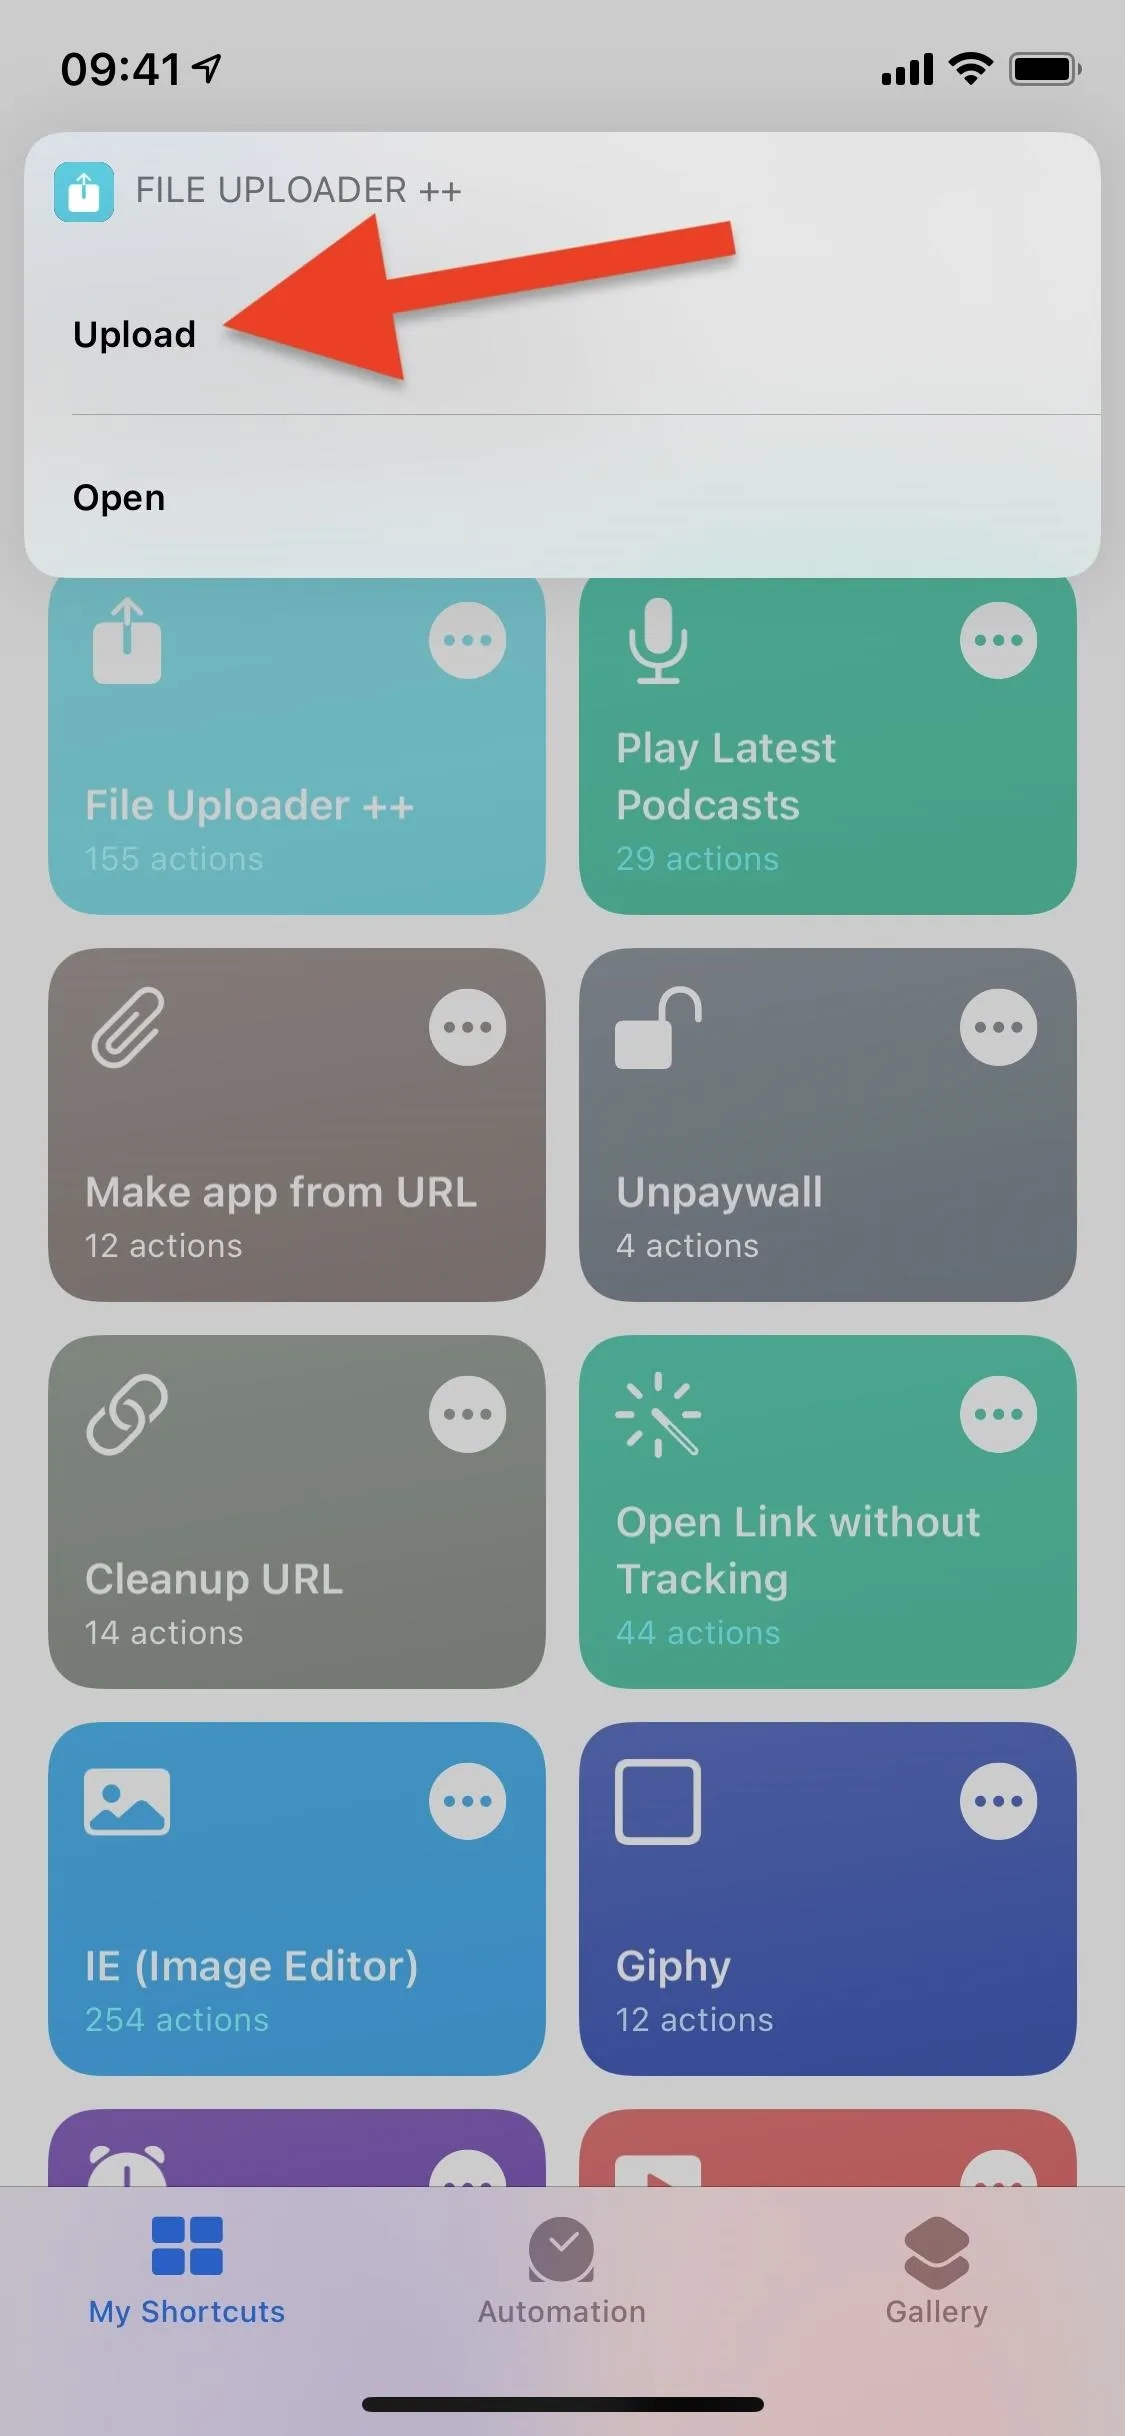
Now, you'll see the main pop-up for the shortcut — the one you'll see when tapping the "File Uploader ++" card in the future). Here, you can both upload files and view the ones you've uploaded.
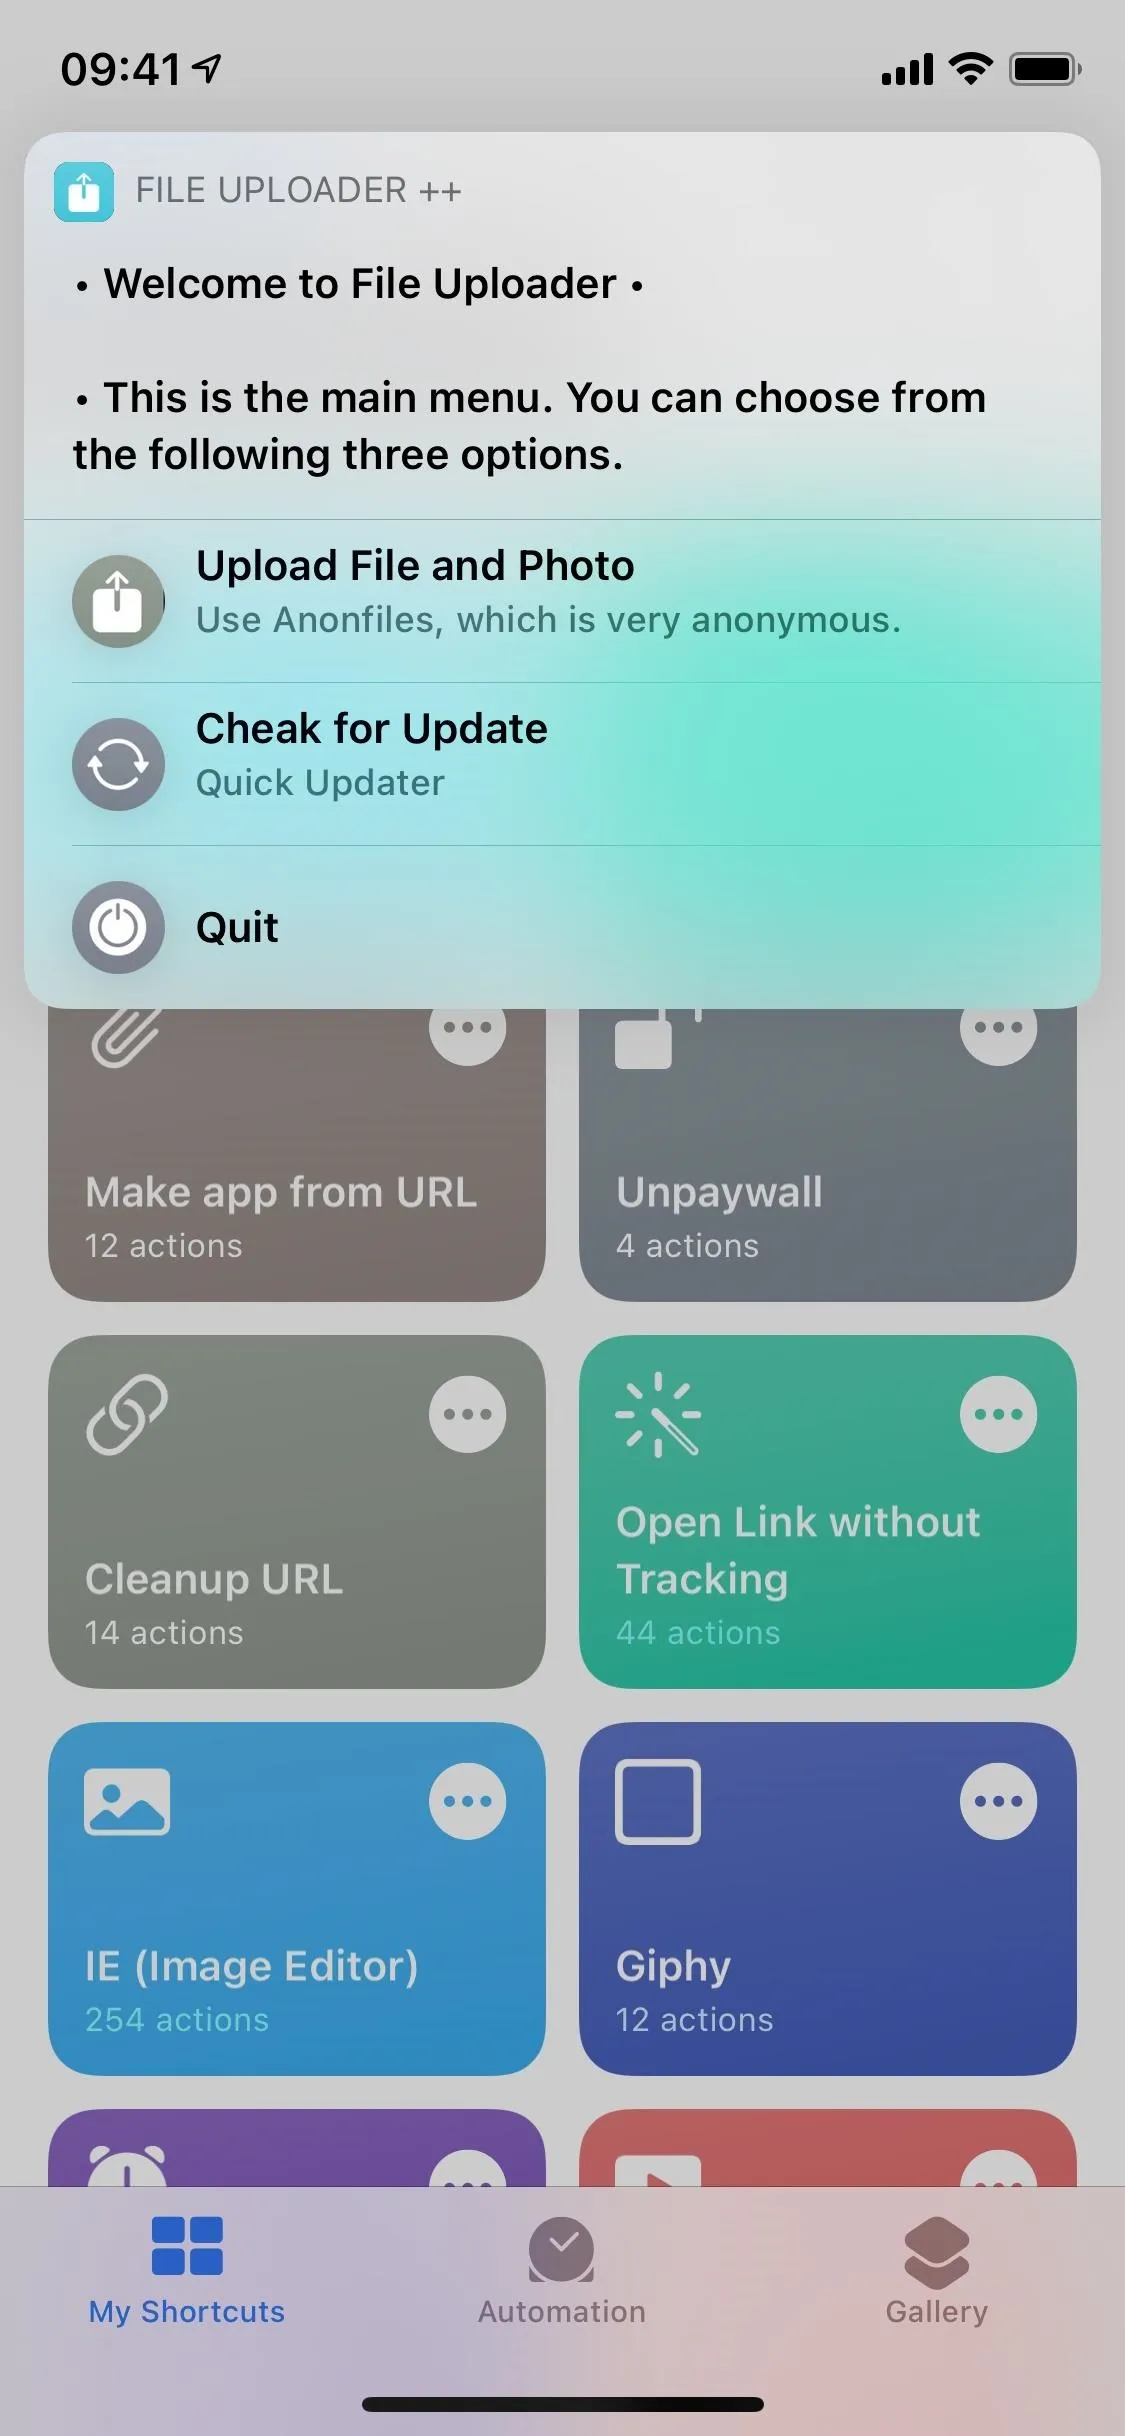
First, we'll start with uploading files. Tap "Upload" and then "Upload File and Photo" in the main menu, which also has options to check for updates or quit the shortcut.


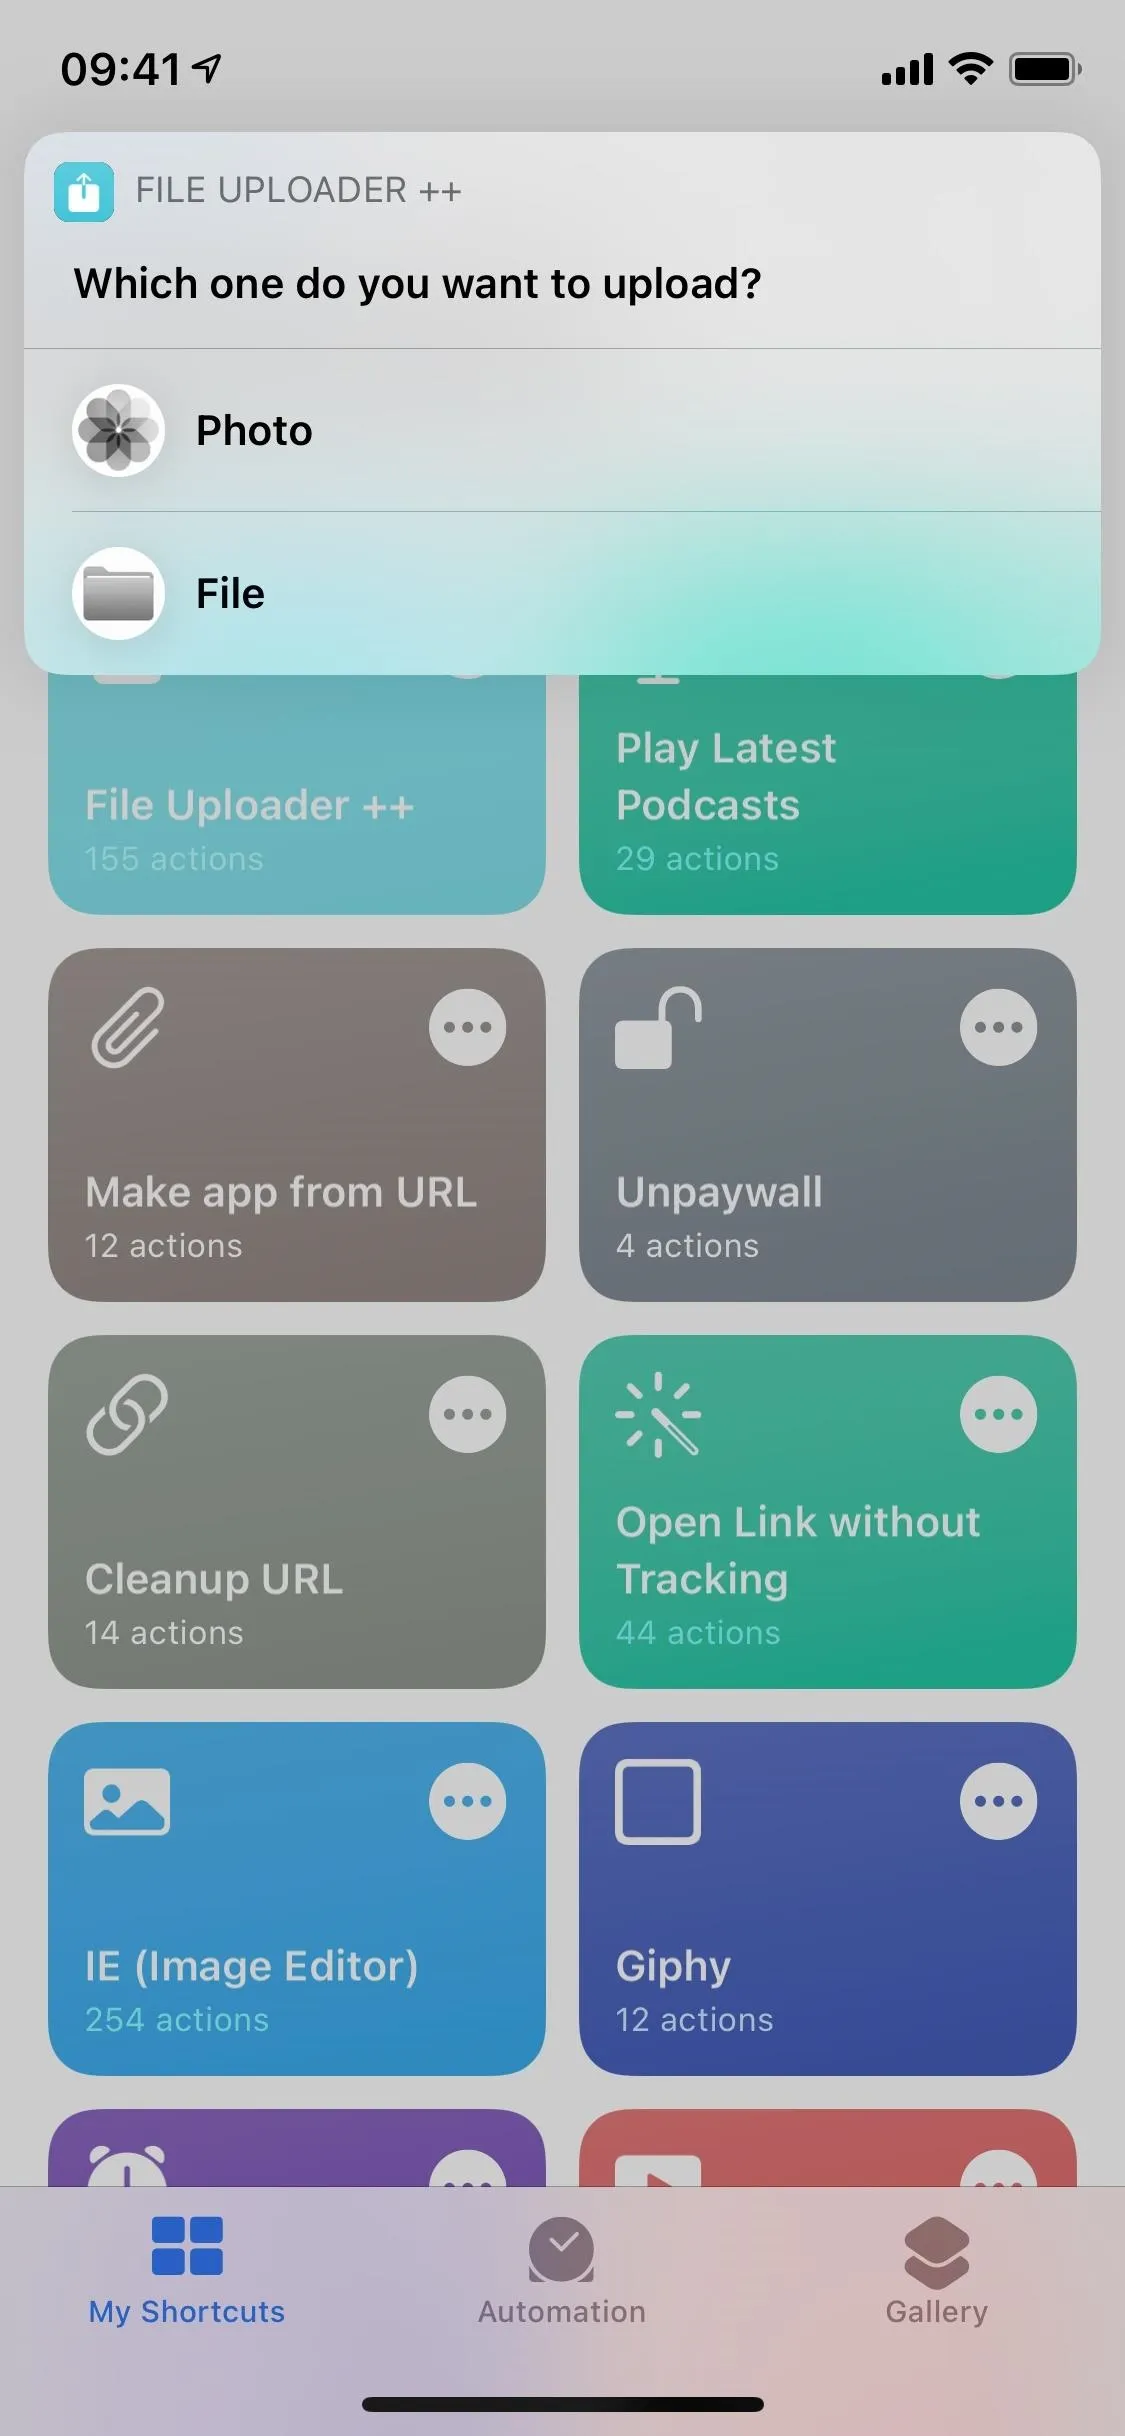
Next, you must choose where to upload a file from. You can either upload a picture or video from the Photos app (you will have to give File Uploader ++ access to Photos if so) or any file you have stored in Files. You can choose any number of documents and media types to upload from Files, such as ZIP, DOCX, HTML, mobile configuration profiles, and more.
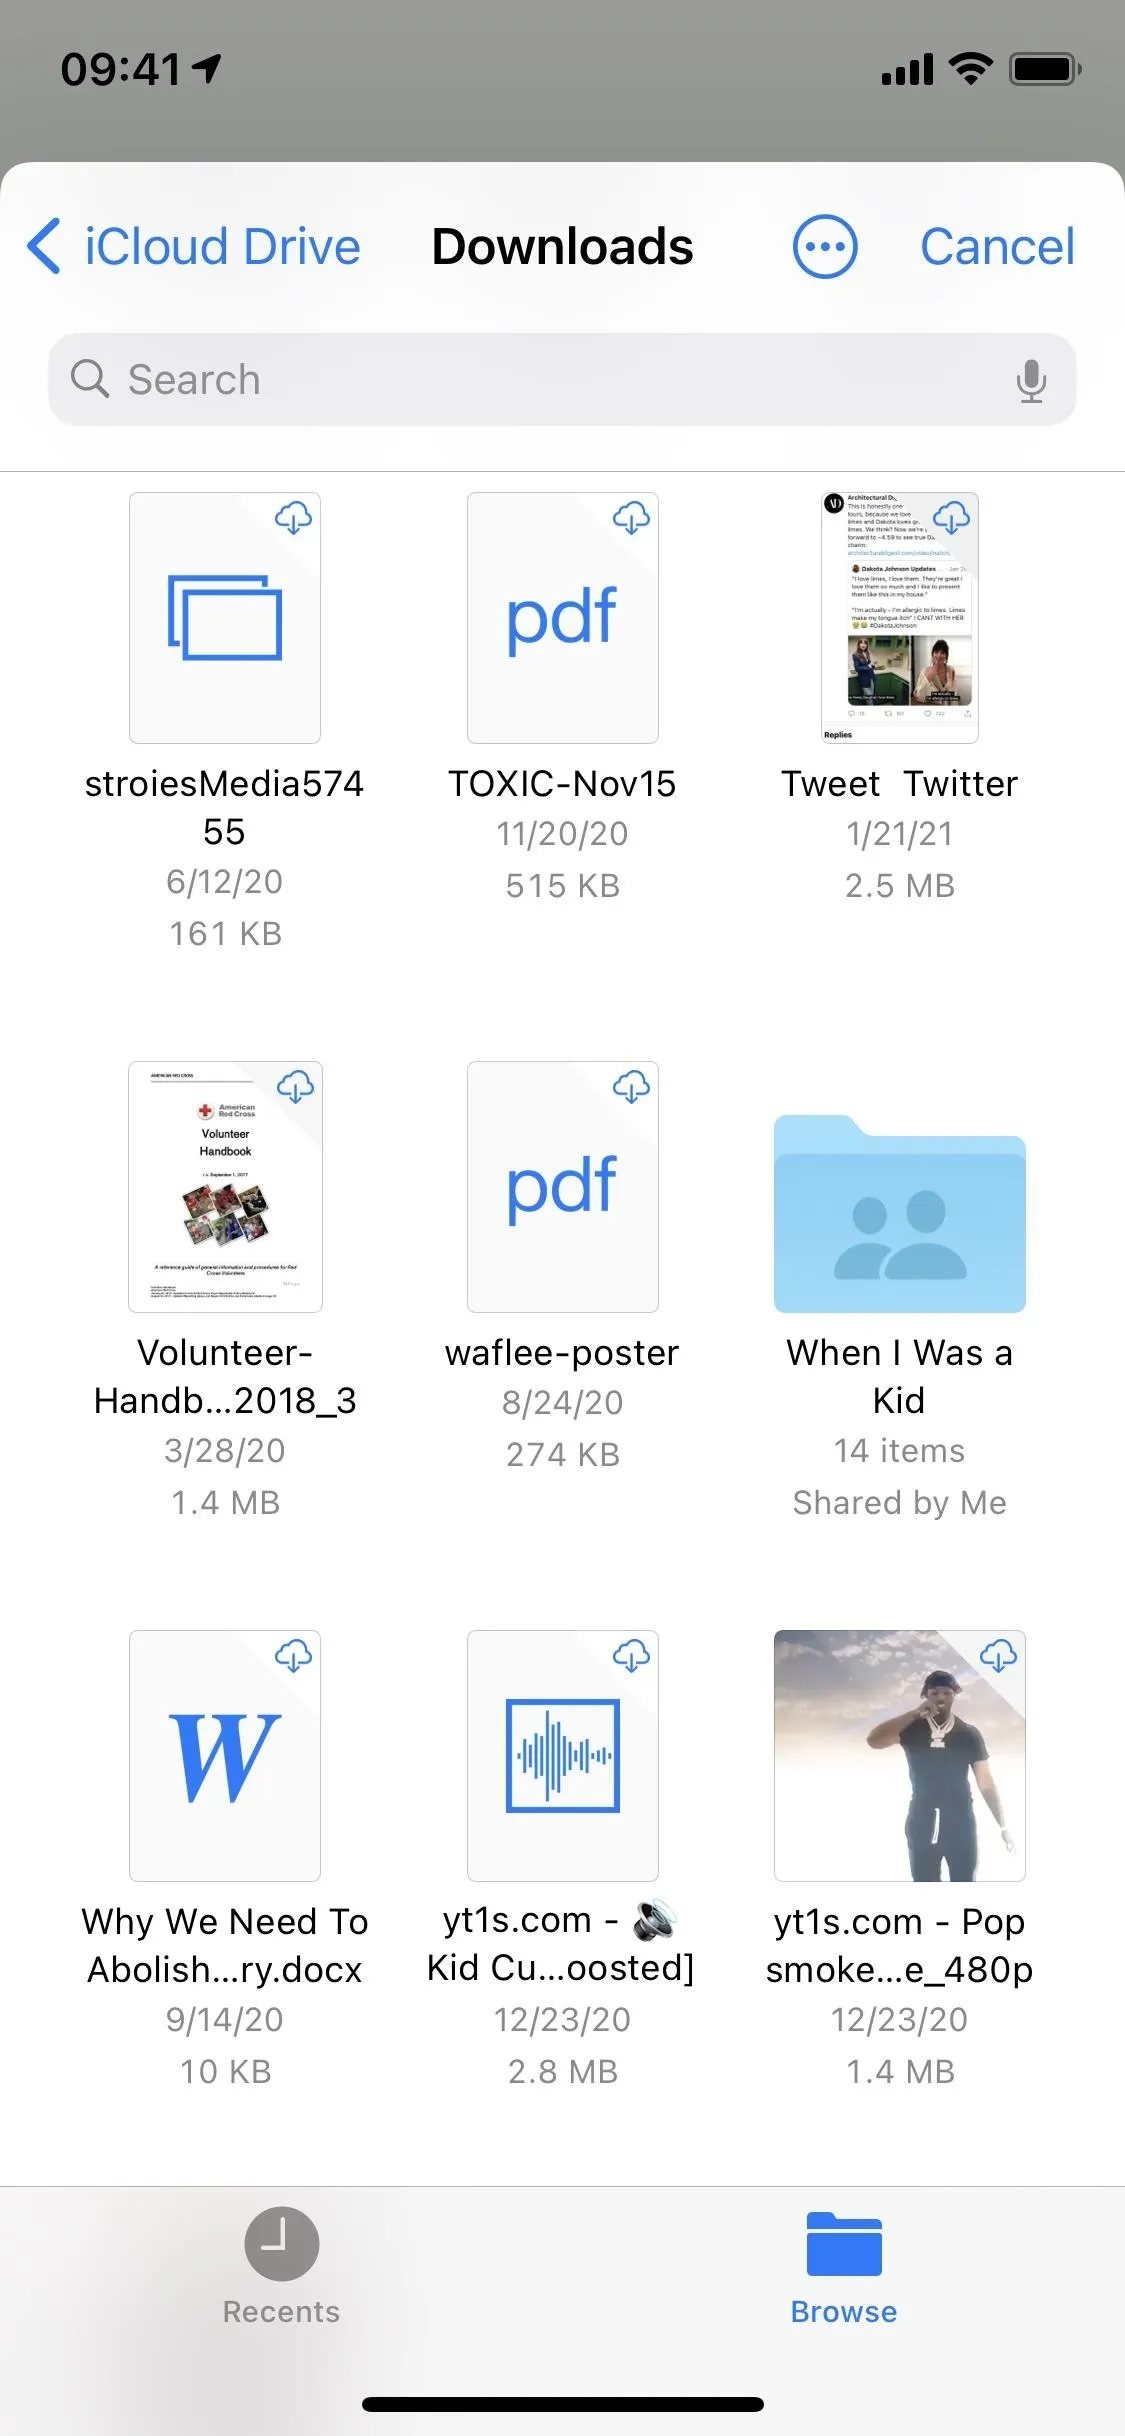


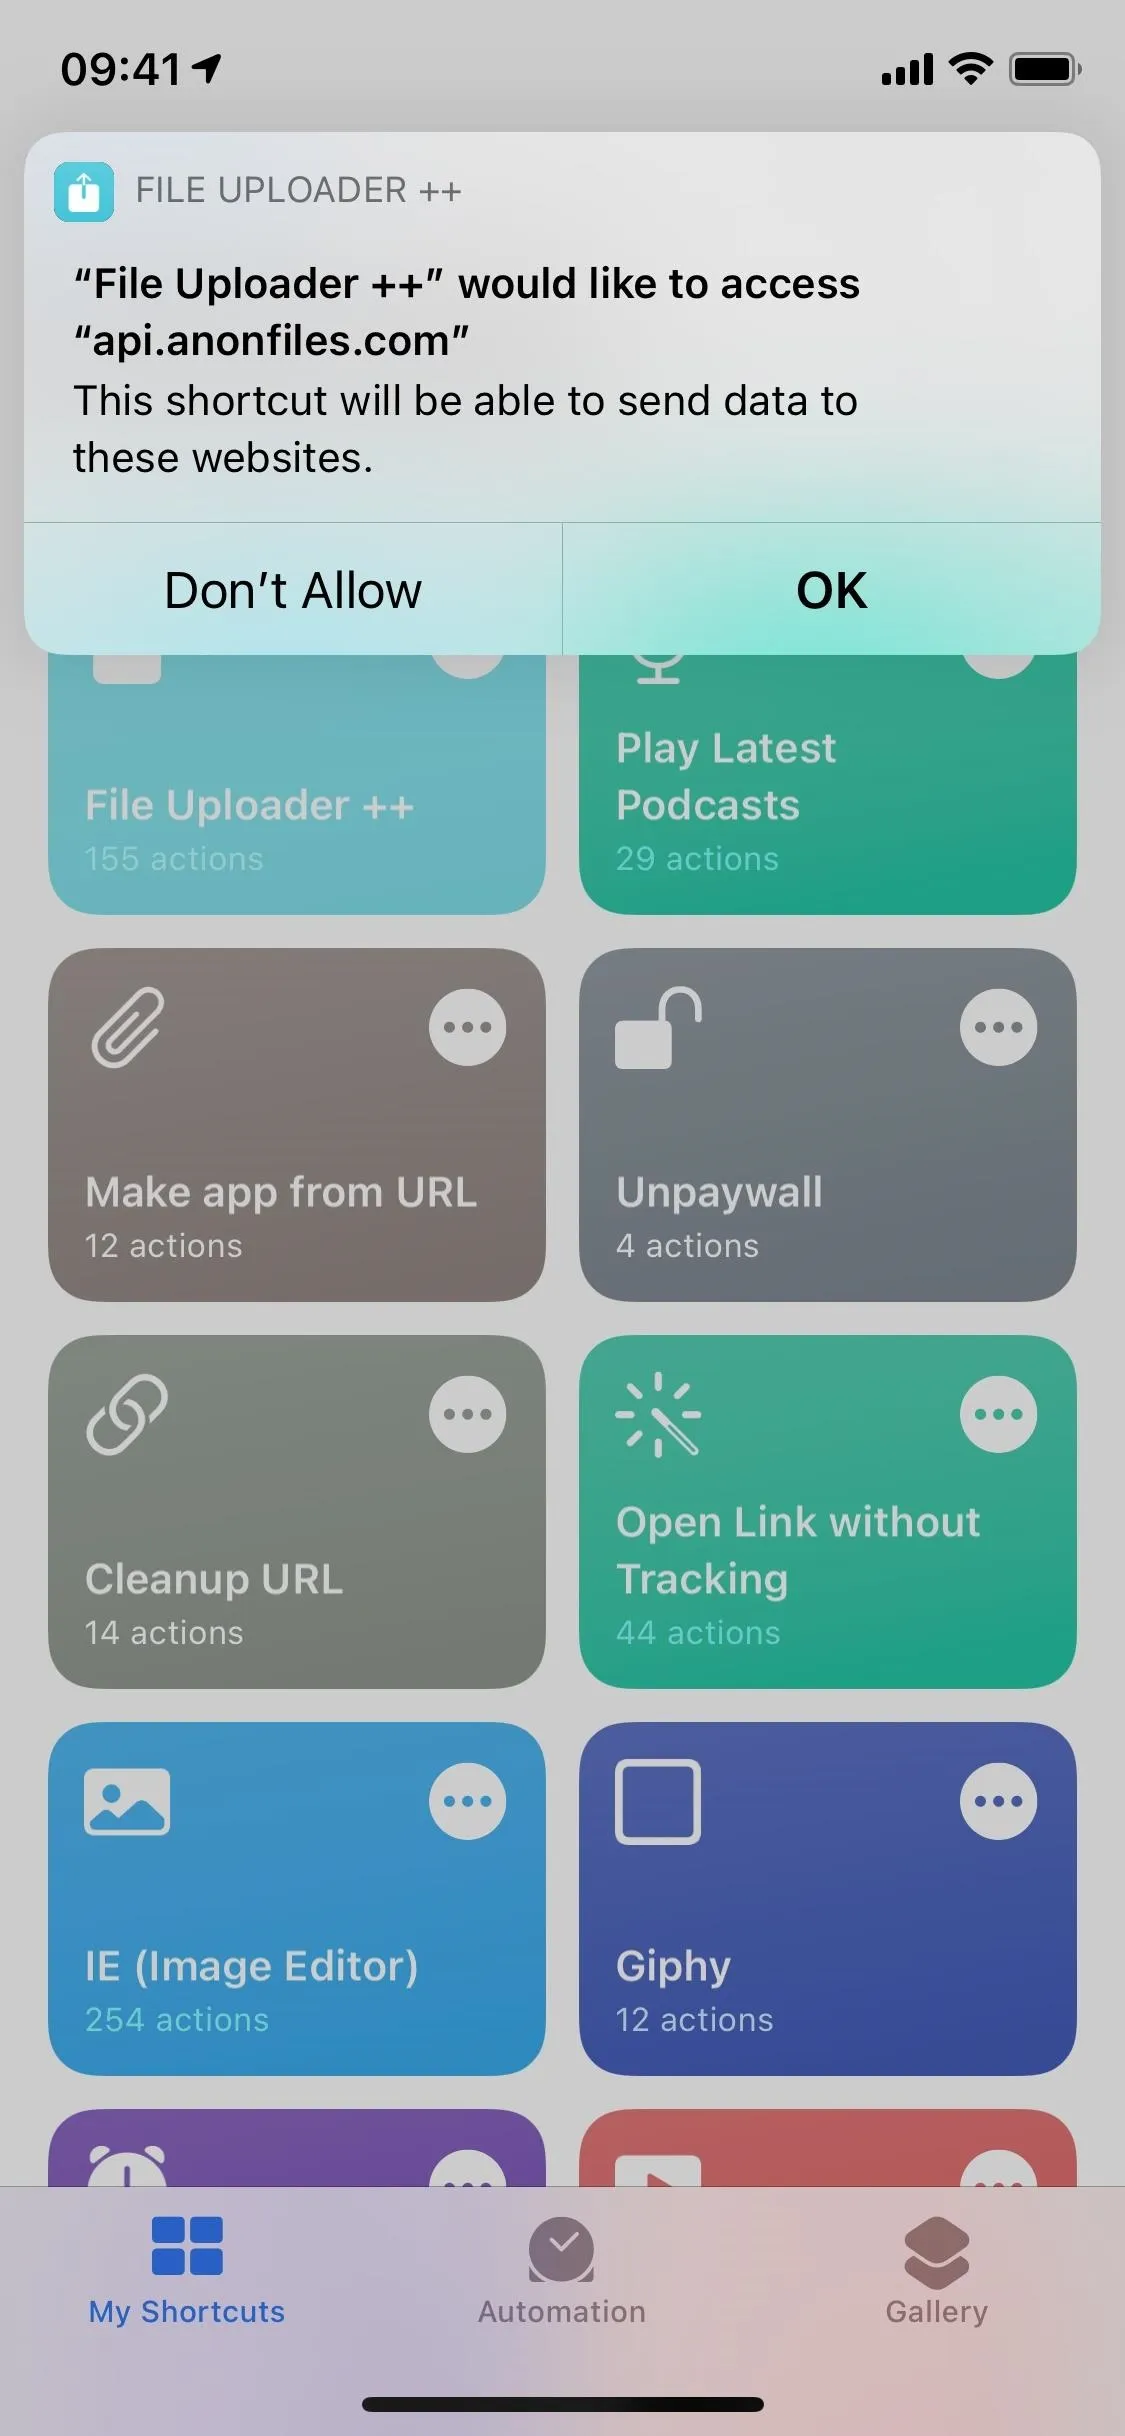
Once you choose a file, the shortcut will ask for access to the AnonFiles website, where it will upload the file anonymously. Hit "OK" to continue (it will only ask for access once).
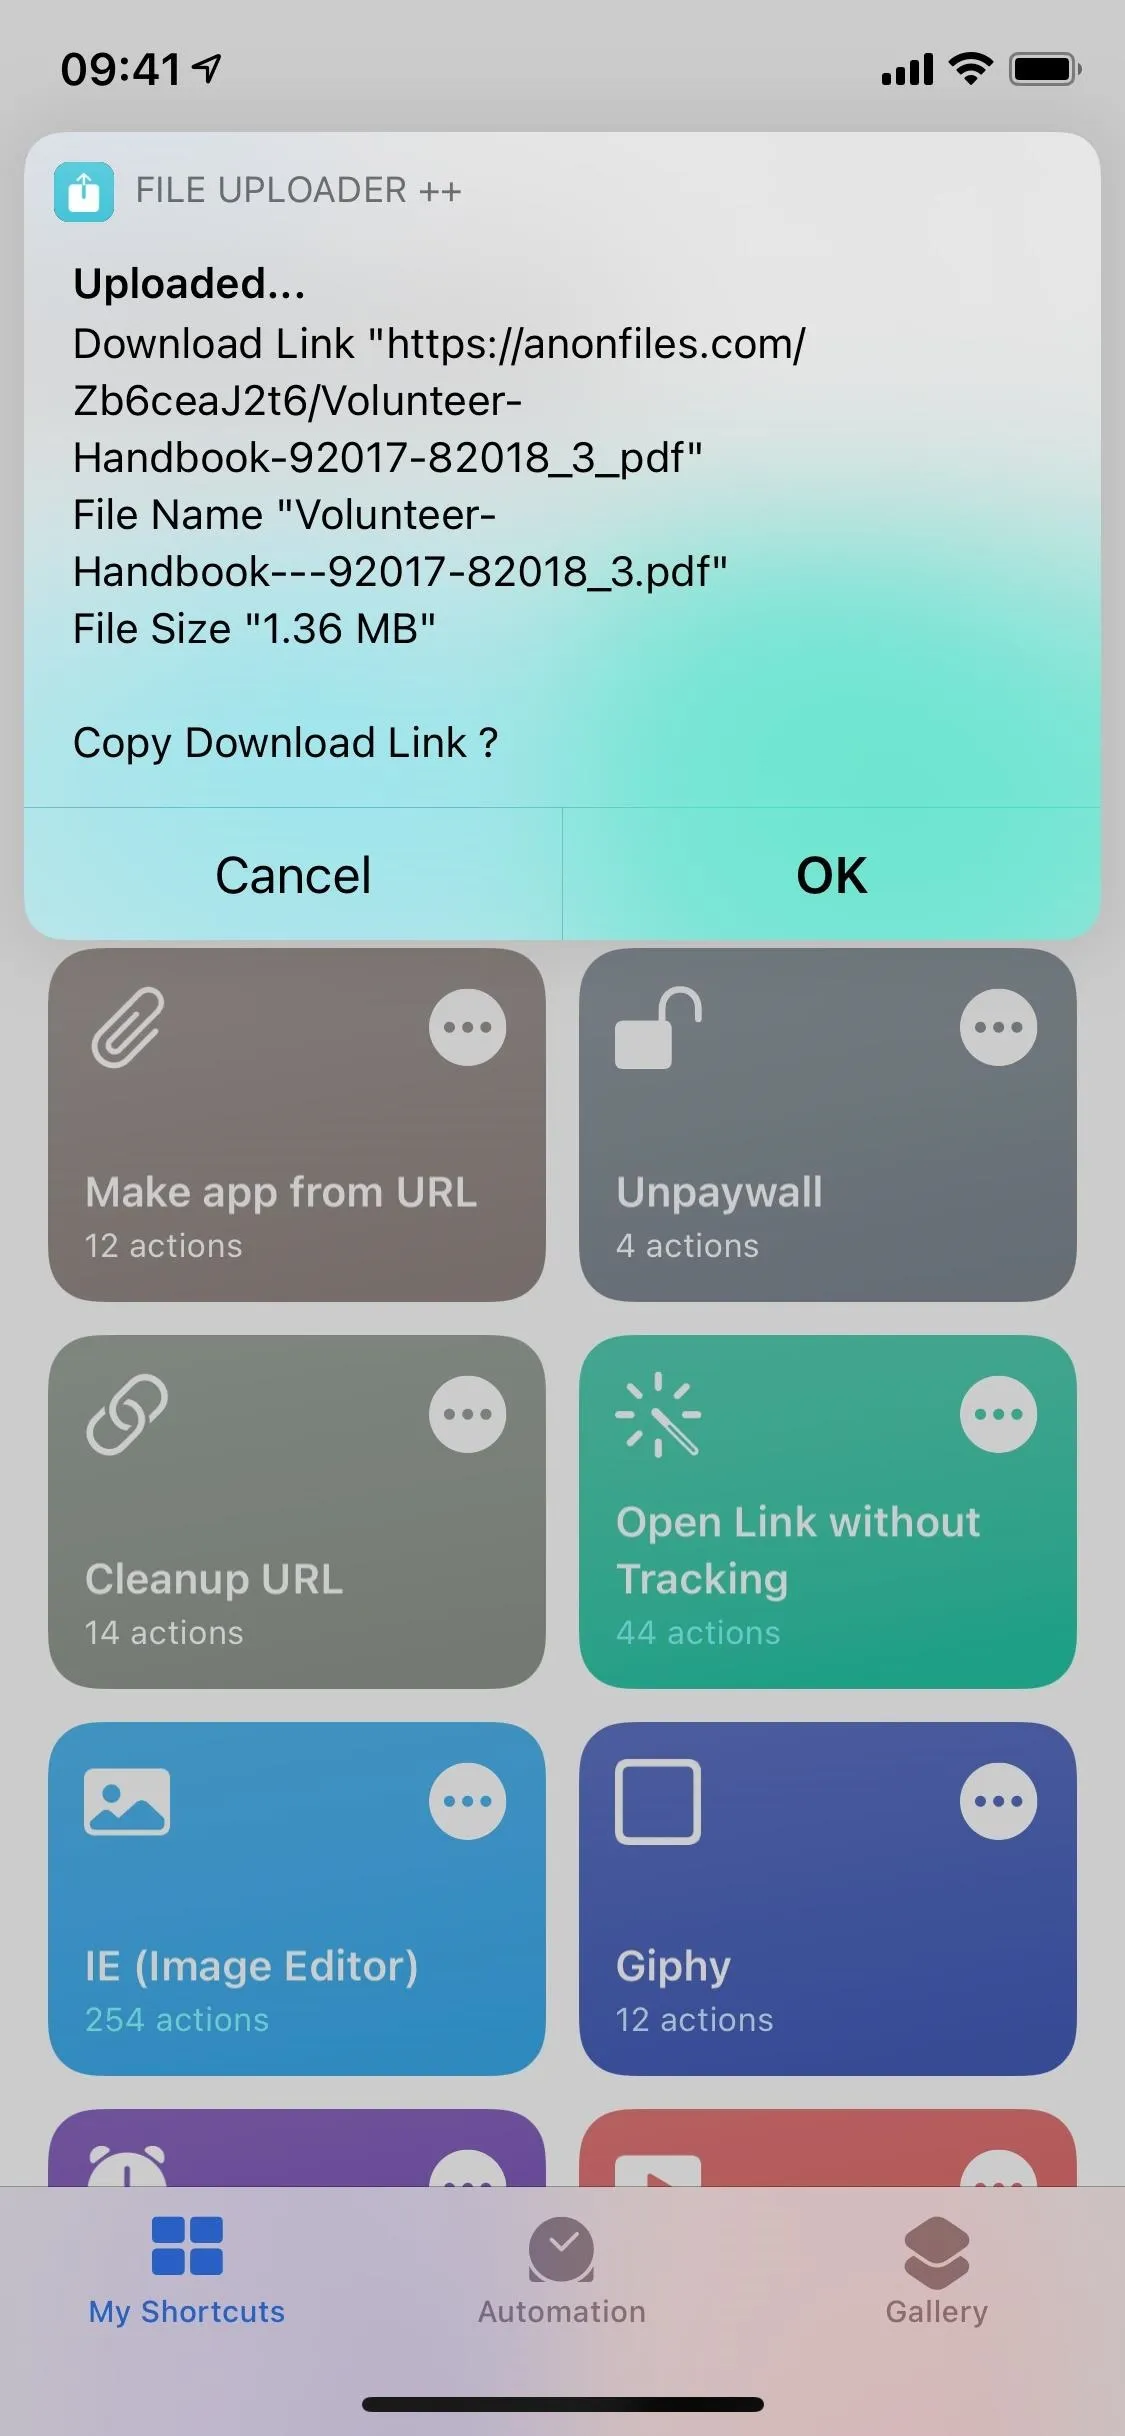
Depending on the file size, it can take anywhere from a few seconds to several minutes for the file to upload. After the file is successfully uploaded, you'll see a pop-up that says Uploaded with information such as the download link, file name, and file size. To copy the download link to your clipboard, tap "OK," then share it however you want.
The name of your file will appear in the URL, so if you're concerned with any personal information being included in the URL, change the name of your file before you upload it to File Uploader ++.


Step 4: Download Anonymous Files
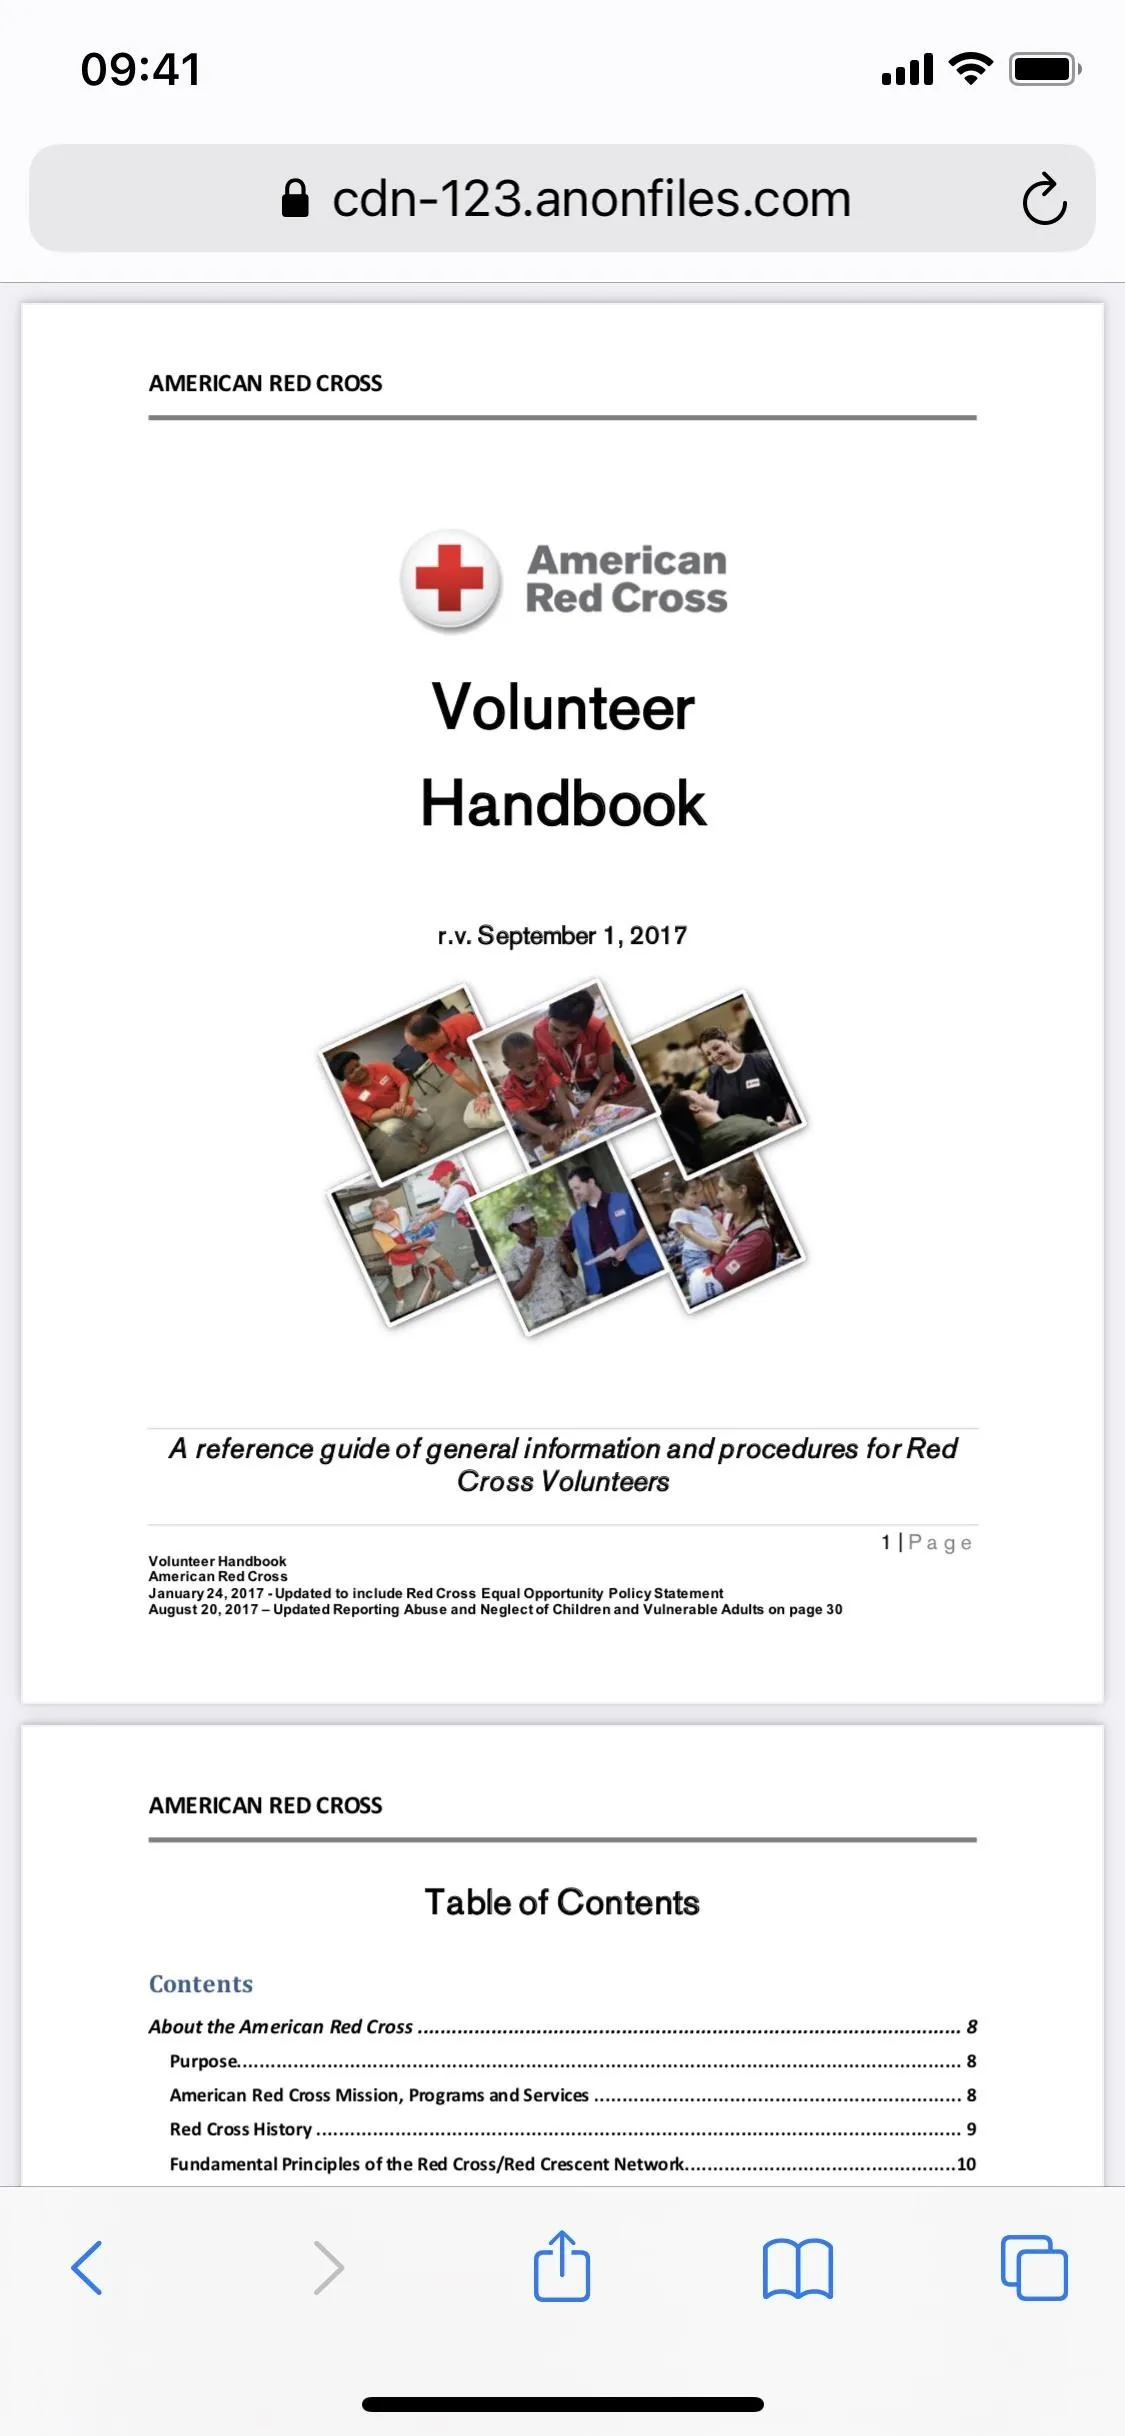
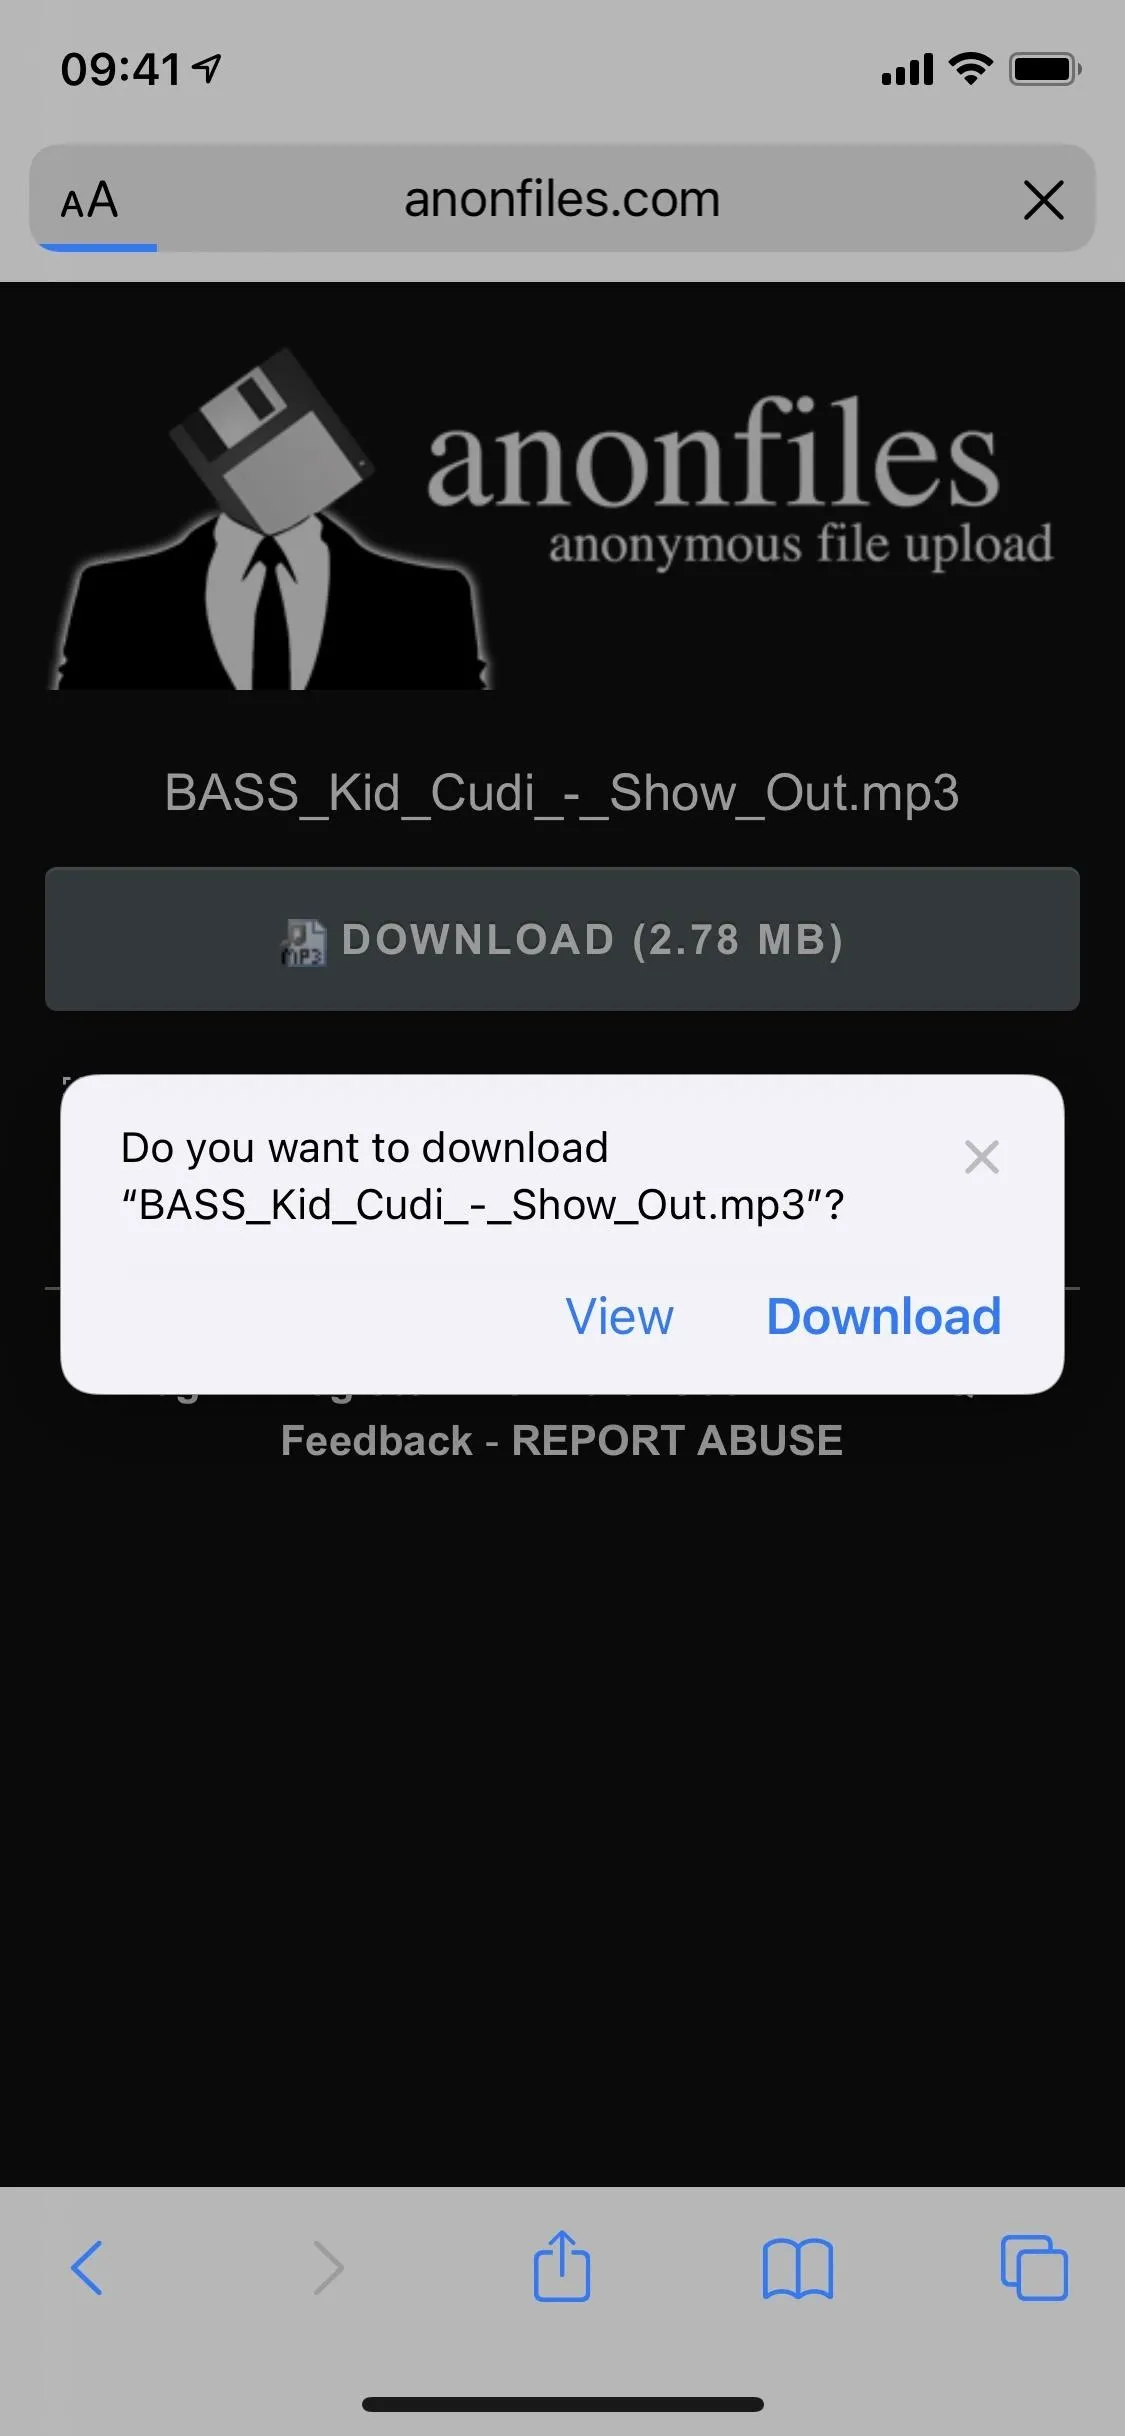
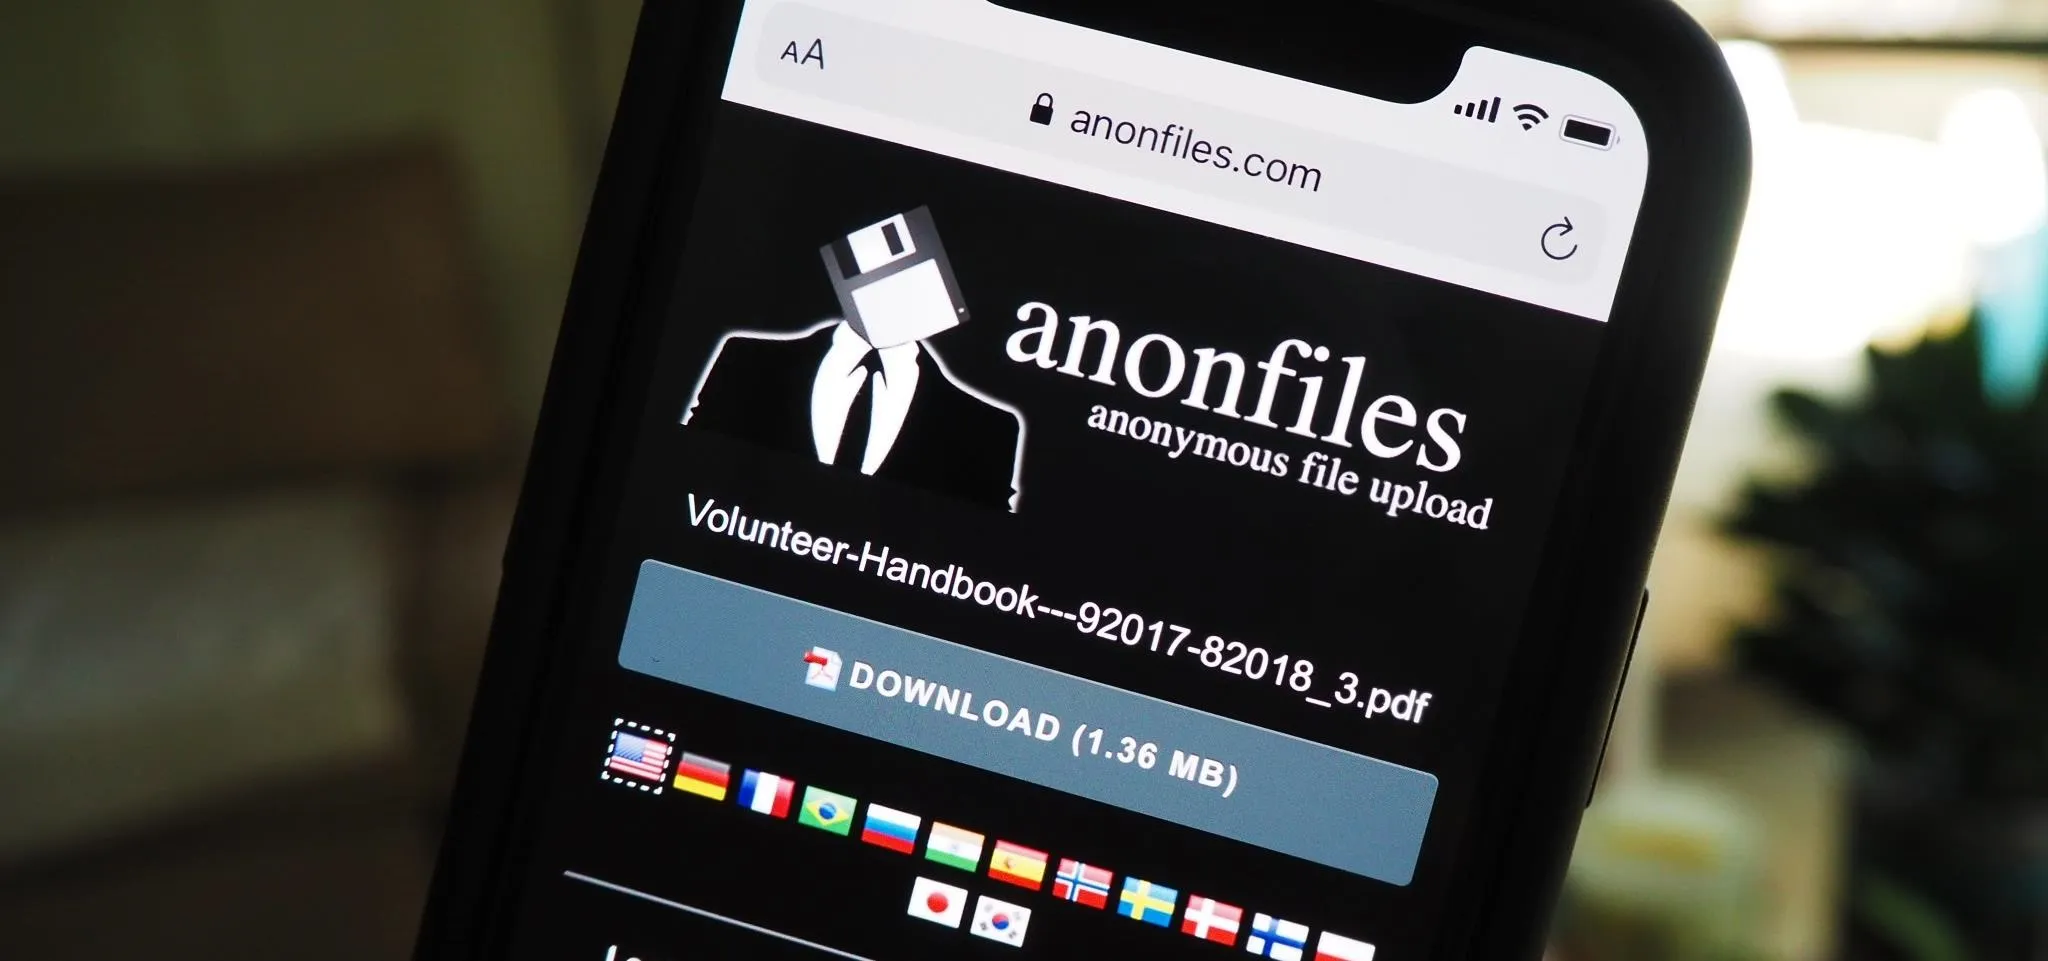
If you're on the receiving end of a download link from AnonFiles, it's easy to download the file to your iPhone. Open the URL in the web browser of your choice (I'm using Safari), and you should see the name of the file, a download button, and you may see a preview if it's an image.
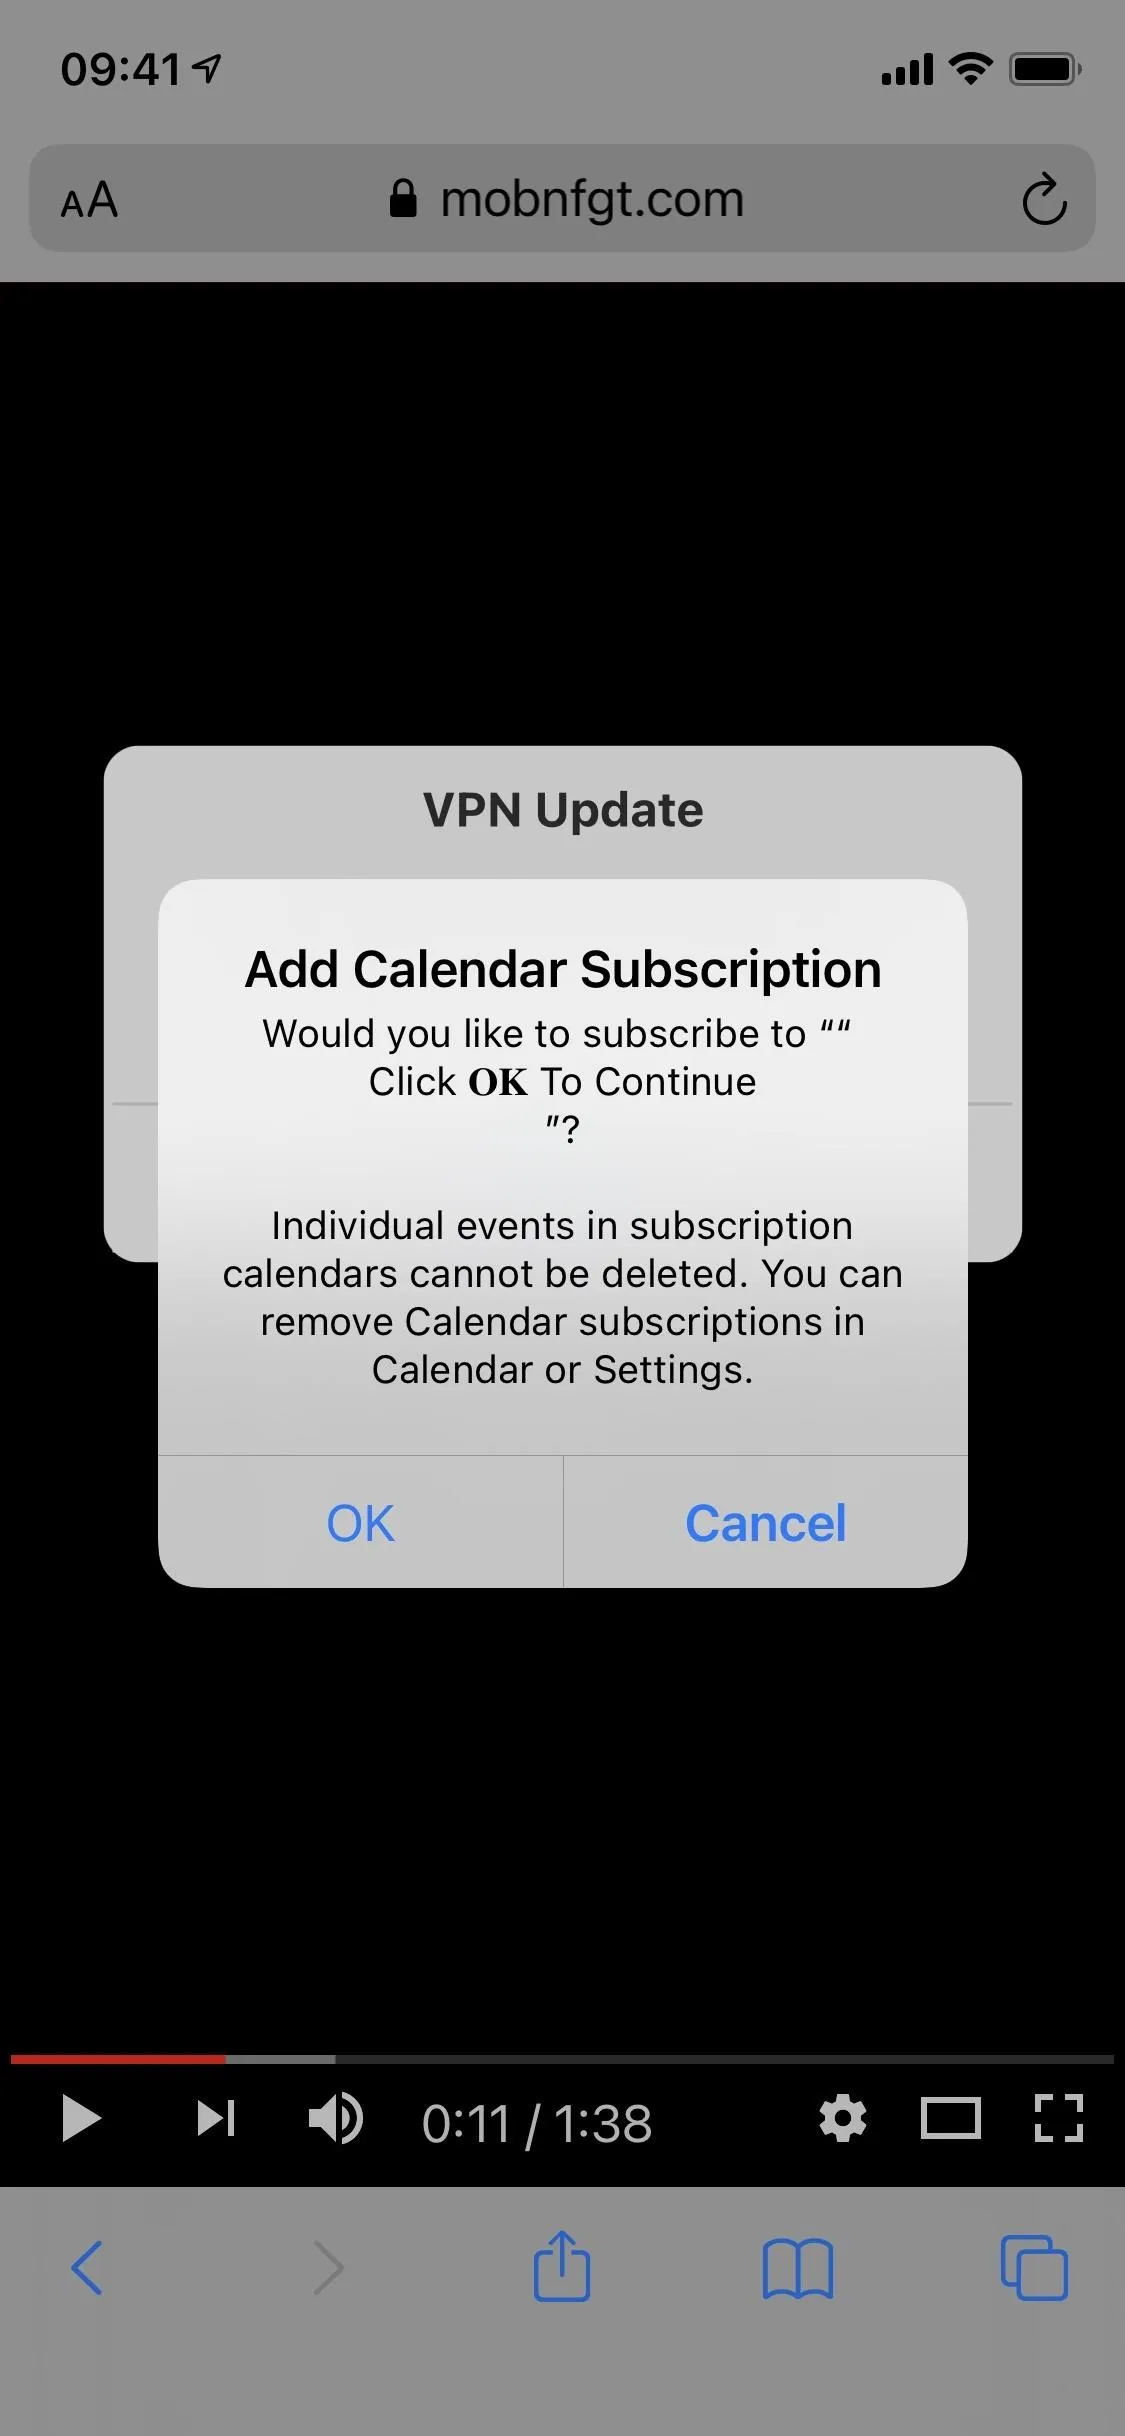
To download the file, tap the "Download" button. Be aware that you may be redirected to a spam page (right) the first time you attempt to download anything, so close it out and go back and attempt to download it again. If you have an ad blocker, that may help prevent the spam pages from appearing.
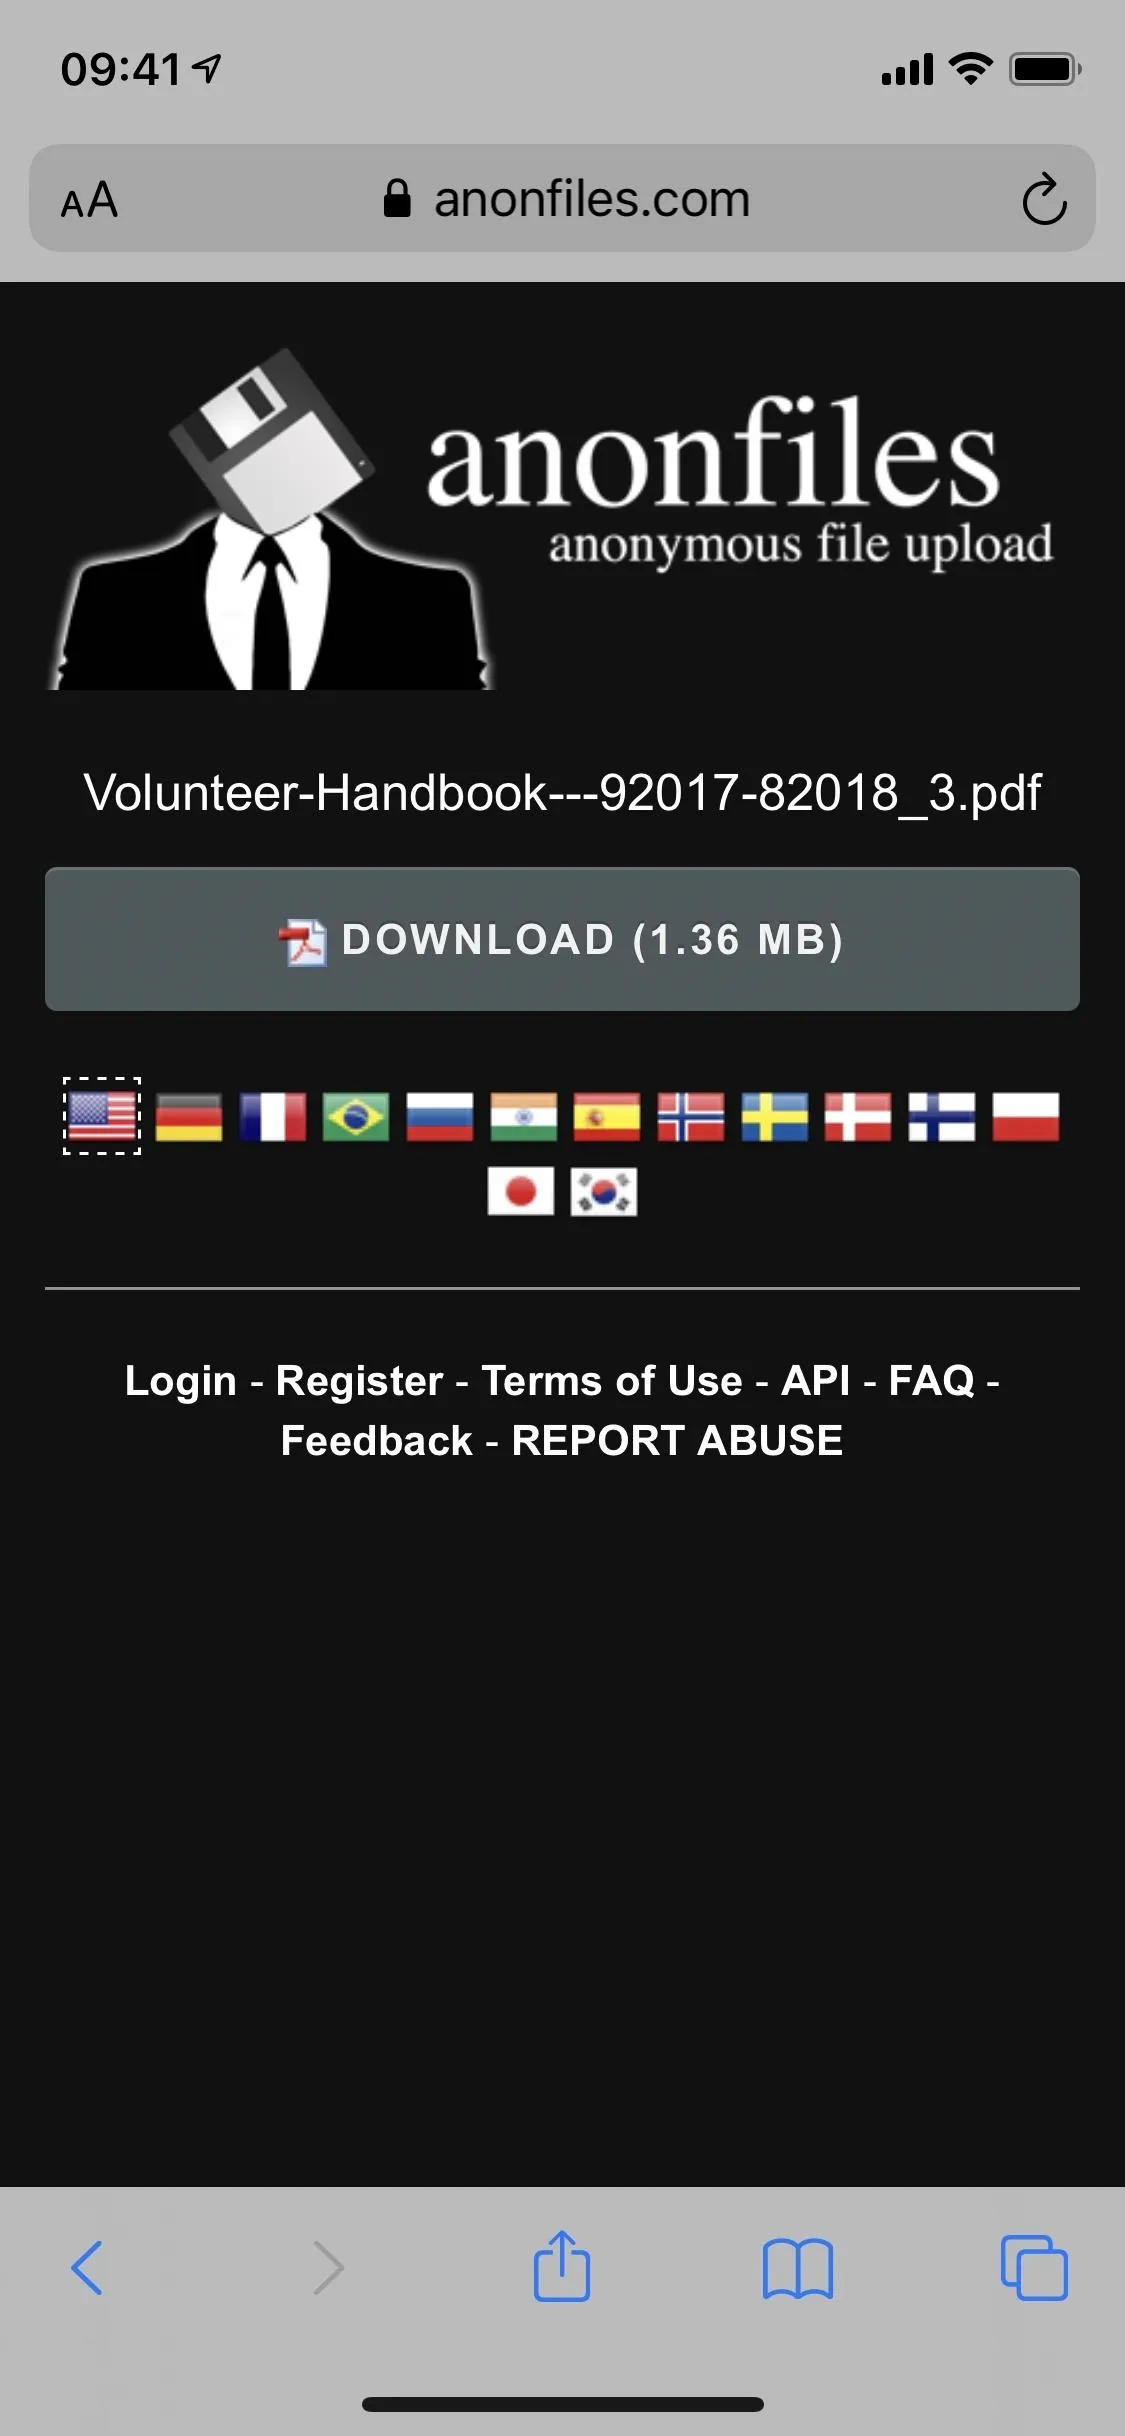


Depending on the file you're downloading, you may be able to see it within the web browser (PDF, JPG, etc.), or you may have to download it via your download manager, where it will appear in Files. Below you can see a PDF download that is viewable within Safari (left) and an MP3 that requires you to download it (right).


Step 5: View Anonymous Files You've Uploaded
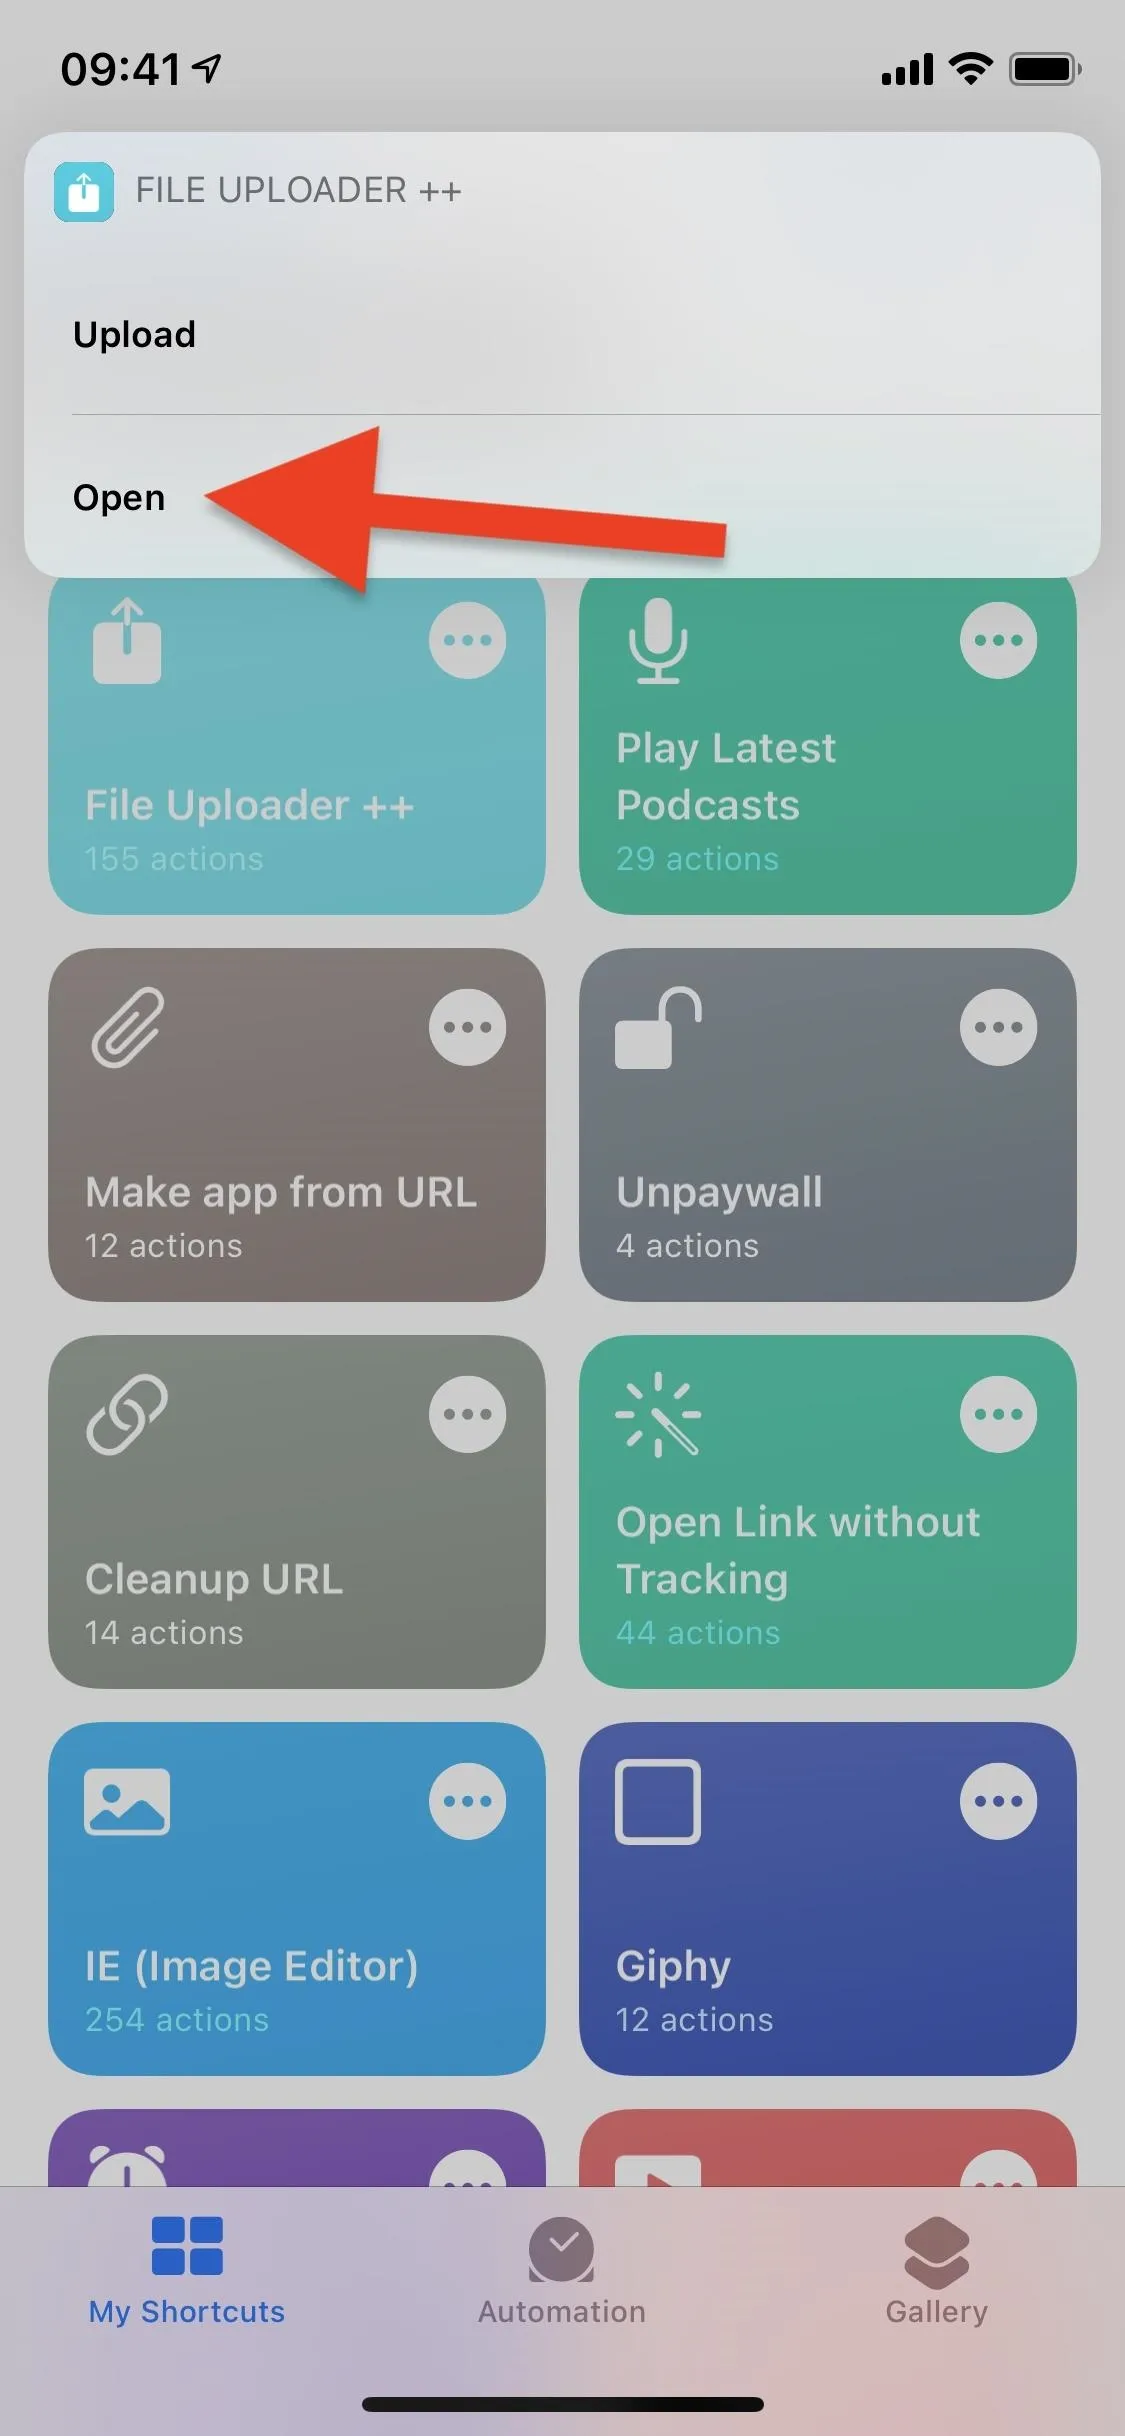
If you've deleted a file that you've previously uploaded to AnonFiles using the File Uploader ++ shortcut, you can always download it again. To do so, run the File Uploader ++ shortcut and tap "Open" in the menu that appears. A list of every file you've uploaded since installing the shortcut will appear.
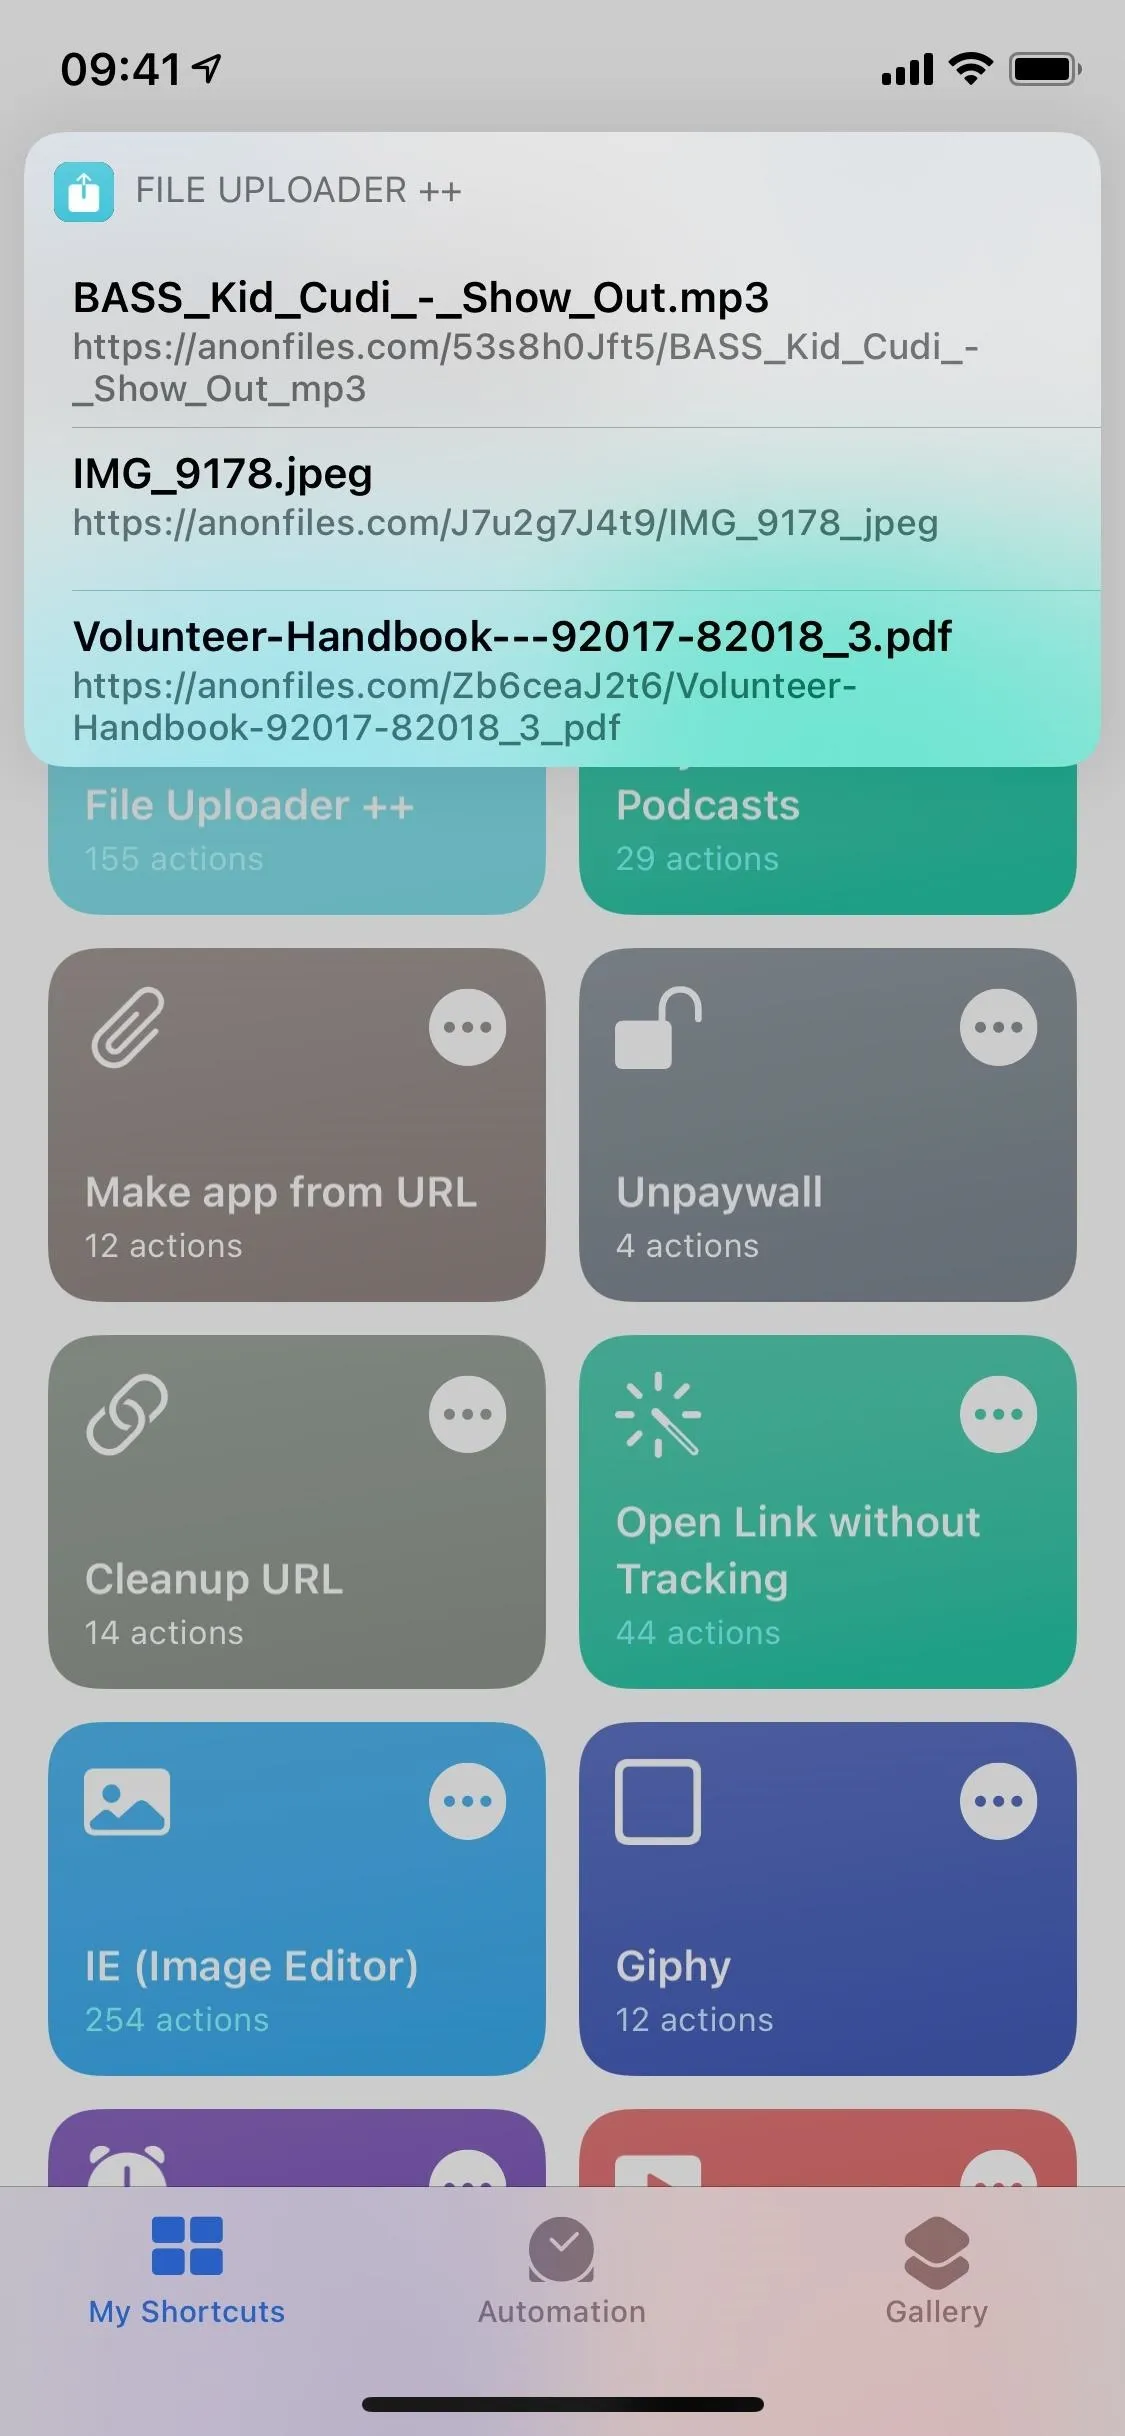


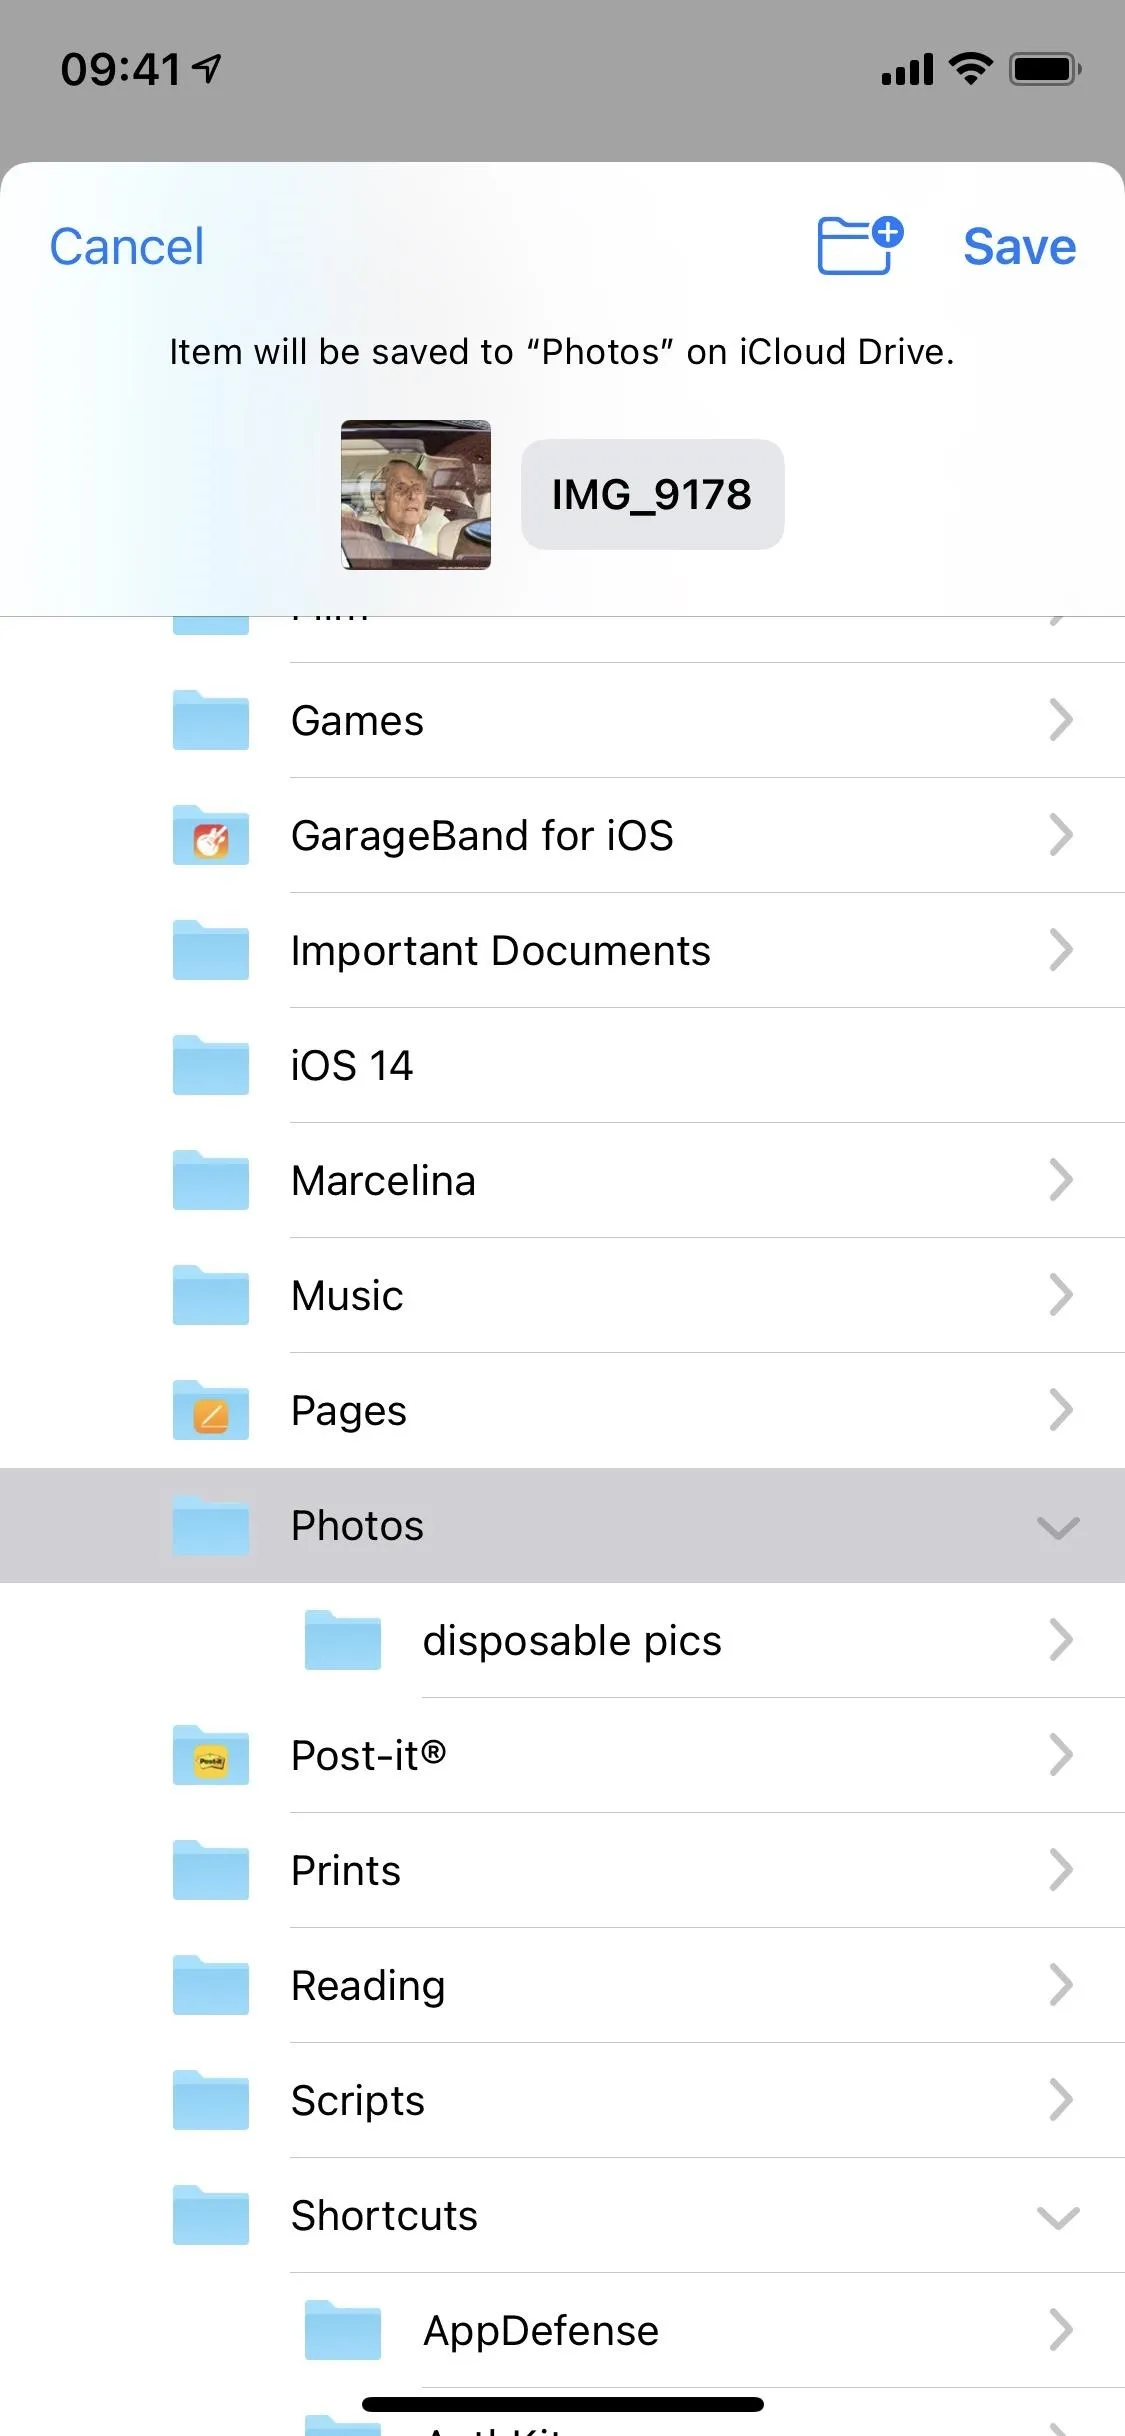
The first time you attempt to download uploaded files, you'll be asked to grant the shortcut access to the AnonFiles website. Hit "OK" when prompted. You can then save the uploaded file anywhere in the Files app.


Now, to be clear, just because something is anonymous doesn't mean it's private. Anyone with the link can download the files you upload to AnonFiles, and AnonFiles' site can be searched for files in Google. So if you're sharing a file with any credentials in it, you're better off sharing on a private hosting service where you have more control over who sees the file and how long it remains online.
Cover photo and screenshots by Nelson Aguilar/Gadget Hacks



Comments
No Comments Exist
Be the first, drop a comment!