Downgrading your iPhone from iOS 8 beta back to iOS 7.1.1 is a really simple process, and a very necessary one if you're experiencing frozen screens and apps that either unexpectedly quit or don't even work at all.
In my experience, any app that uses Safari to bring up pages, like Circa, crashes as soon as the page tries to load. This will probably be one of the first bugs fixed in the first iOS 8 beta update, but if you can't wait until then, go ahead and downgrade now.
Once iOS 8 is released to the public this fall, you will not be able to downgrade, but until then, it's as easy as this...
Step 1: Back Up Your iPhone
Make sure you have a good backup of your iPhone with iTunes. If you just updated from iOS 7.1.1 to iOS 8 beta, you probably already have a good backup ready in case you want to restore. I'd just use that one. For more info on backing up, check out my guide on freeing up space.
Step 2: Enter Recovery Mode
In order to get iOS 7.1.1 on your iPhone, you need to restore via iTunes. To do so, you need to enter recovery mode.
Turn off your iPhone as you normally would and wait for it to power down completely. Plug your USB cable into your computer—but not your iPhone yet. Hold down the Home button while you connect the USB cord to your iPhone. Keep holding it until the recovery mode image is displayed.
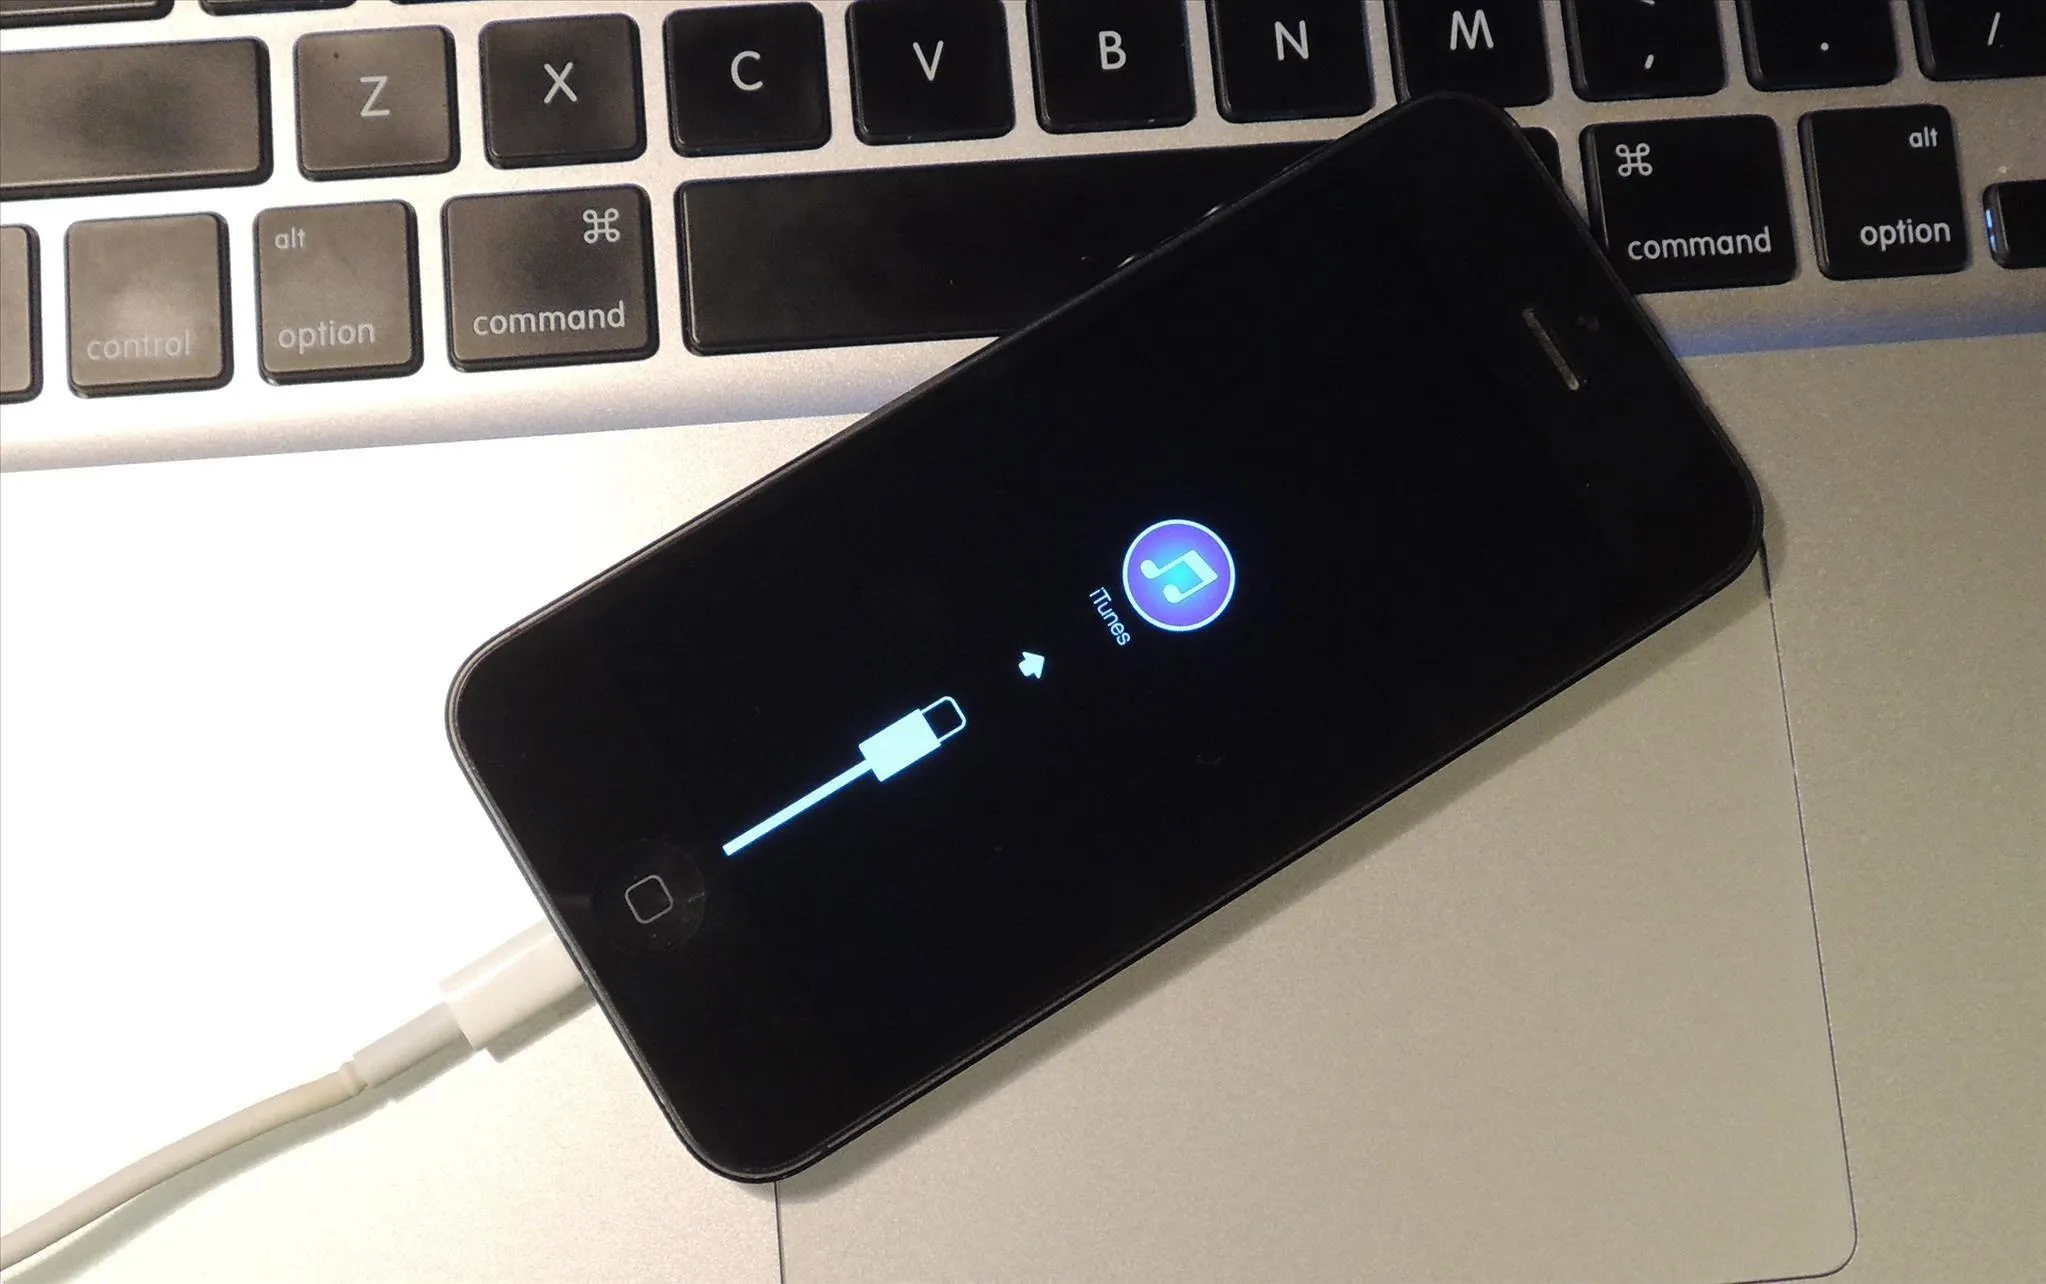
The recovery mode screen on an iPhone; connect to iTunes.
iTunes will detect your iPhone in recovery mode. Press "OK".
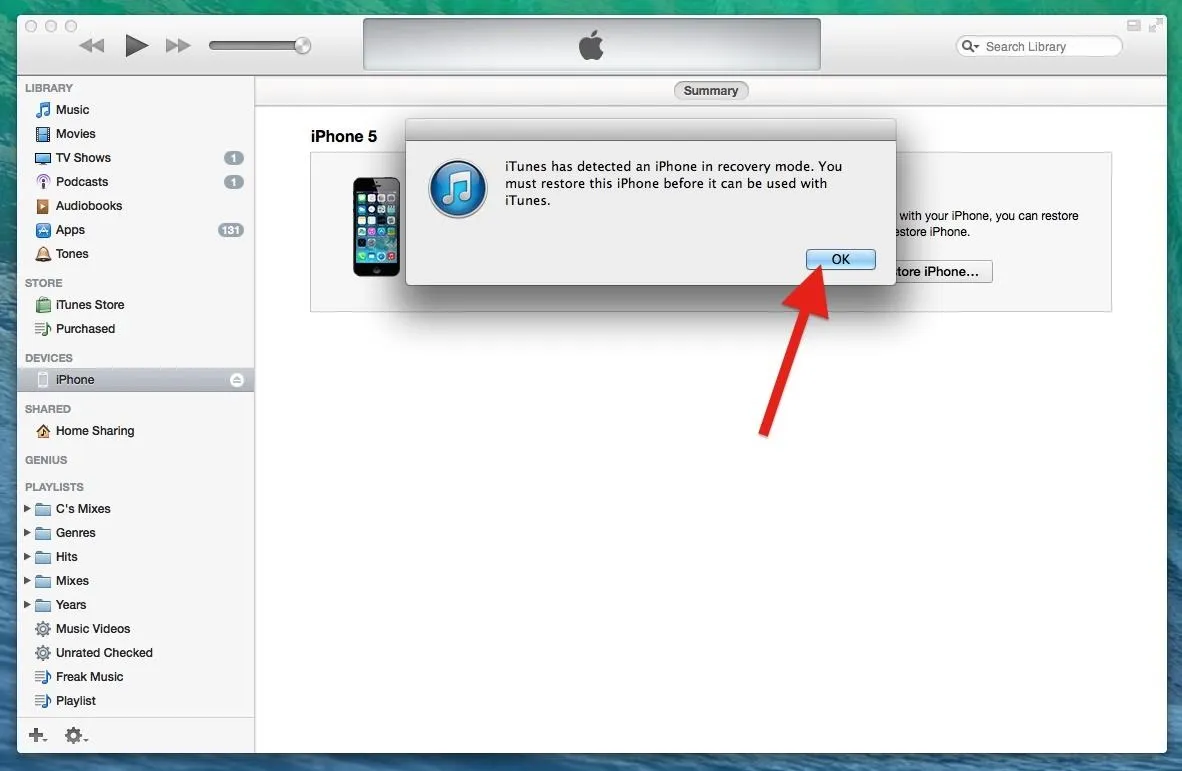
Press "OK" to continue to iPhone Recovery Mode.
Step 3: Restore Your iPhone Back to iOS 7.1.1
To go back to iOS 7.1.1 from iOS 8 beta, you do not need to download anything from the iOS Dev Center. Just click on "Restore iPhone..." in iTunes.
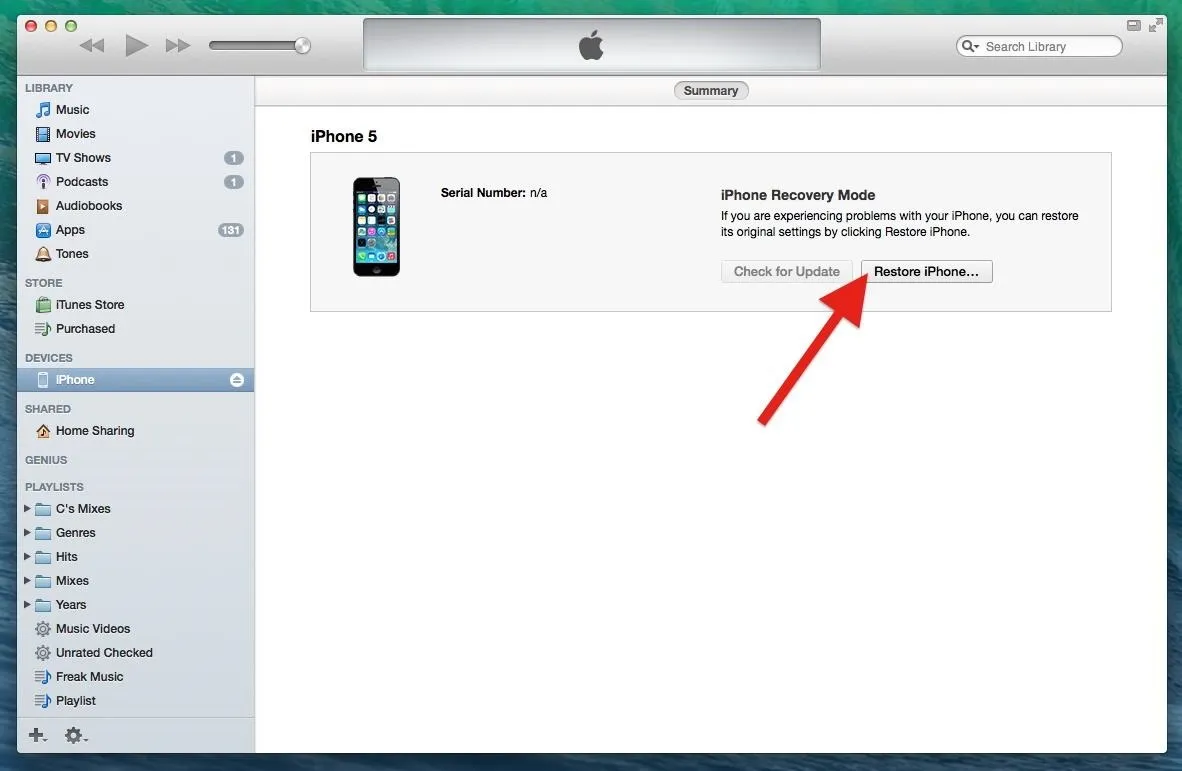
Click on "Restore iPhone..." to start the process.
Click on "Restore and Update" to verify. Hit "Next" on the iPhone Update Software screen (which clearly states iOS 7.1.1), and "Agree" to the terms.
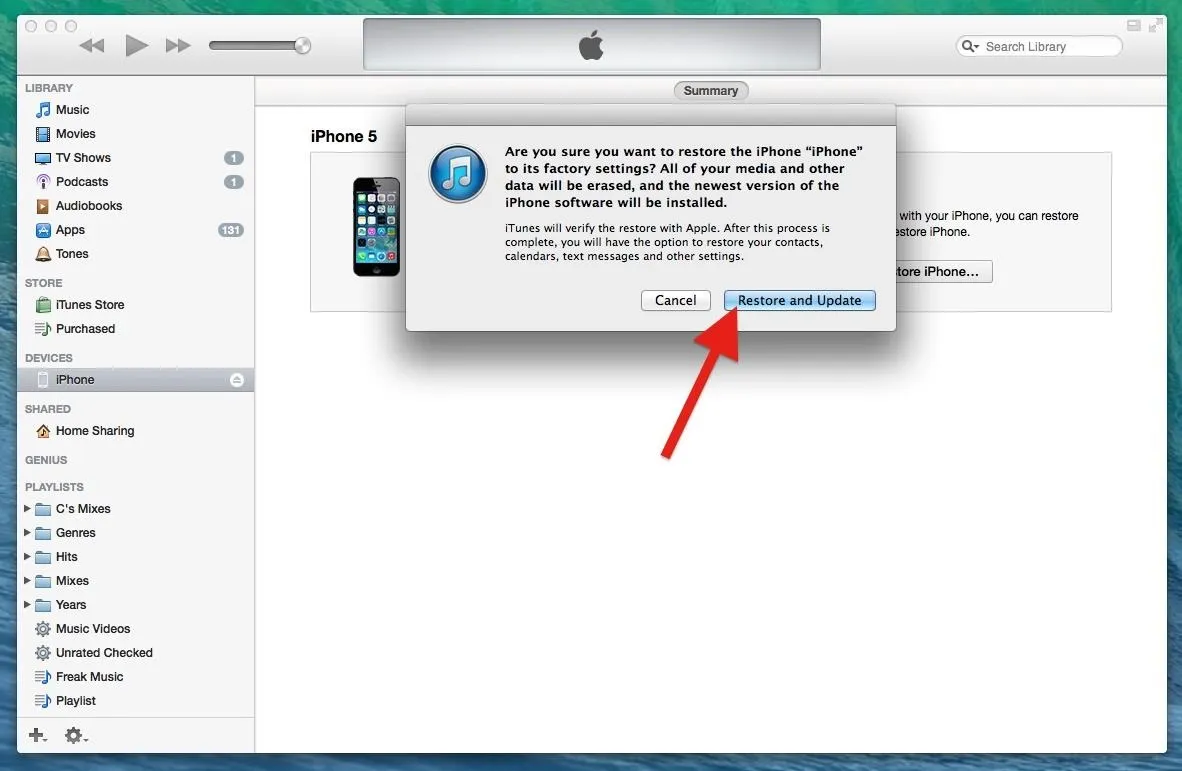
Verify with "Restore and Update"
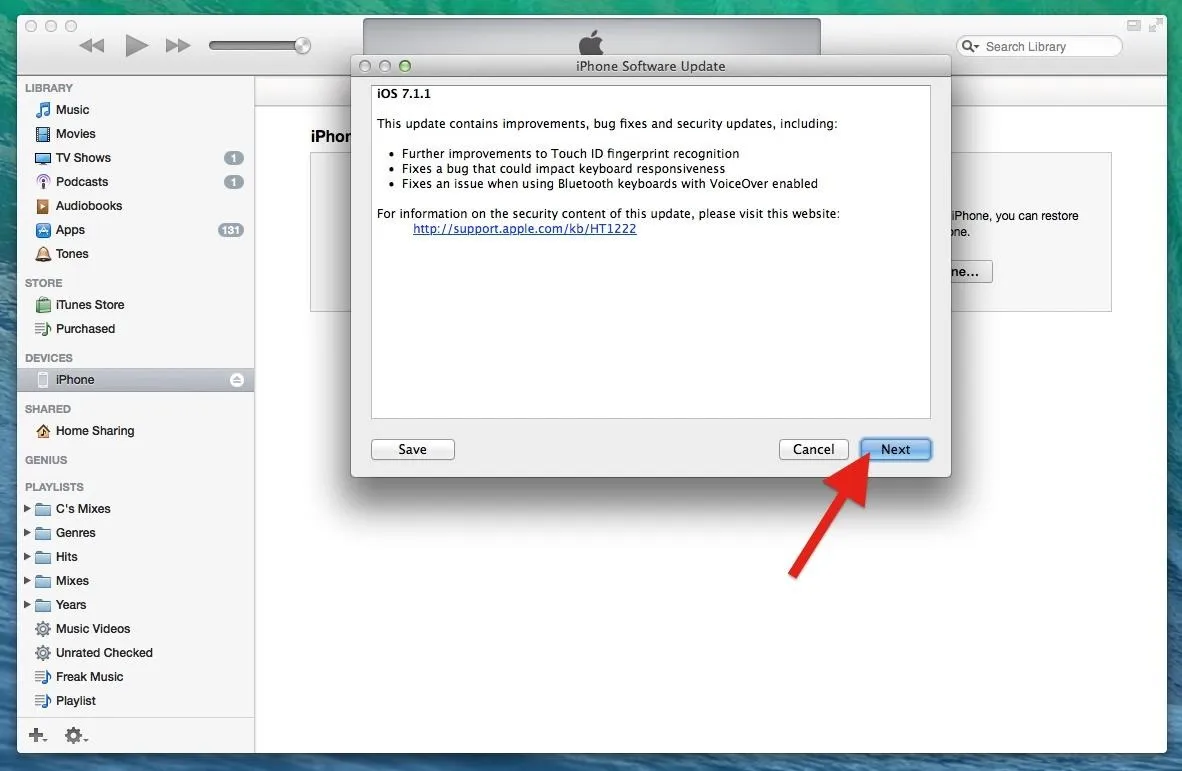
Click "Next" at iOS 7.1.1 screen
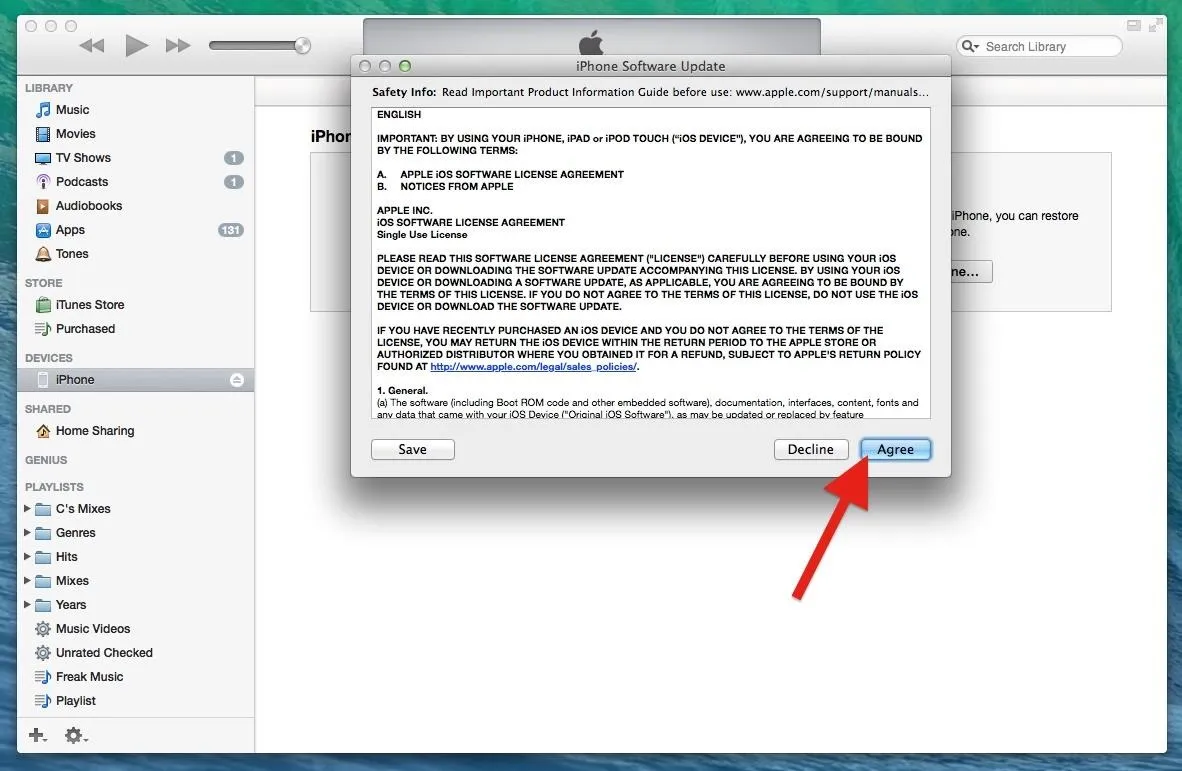
"Agree" to the terms.

Verify with "Restore and Update"

Click "Next" at iOS 7.1.1 screen

"Agree" to the terms.
It should start installing iOS 7.1.1 onto your iPhone. Just be patient. It could take a few minutes.
Step 4: Activate Your iPhone
Once it's finished, you'll need to activate your iPhone in iTunes. When the screen below appears, enter your Apple ID and Password to continue.
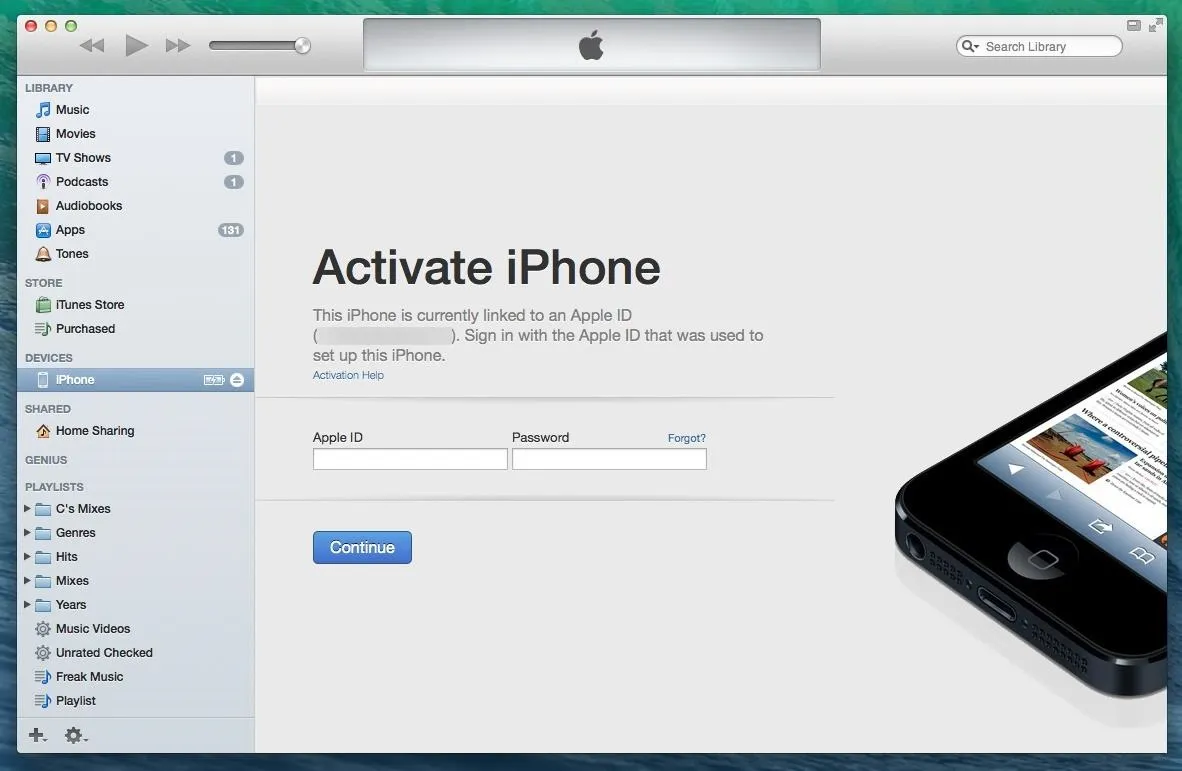
Enter your "Apple ID" and "Password" to continue.
Step 5: Restore from Backup or Start Fresh
Depending on your preferences, you can restore from your last backup, or you can set it up as a new iPhone, which does wonders for freeing up space overall.
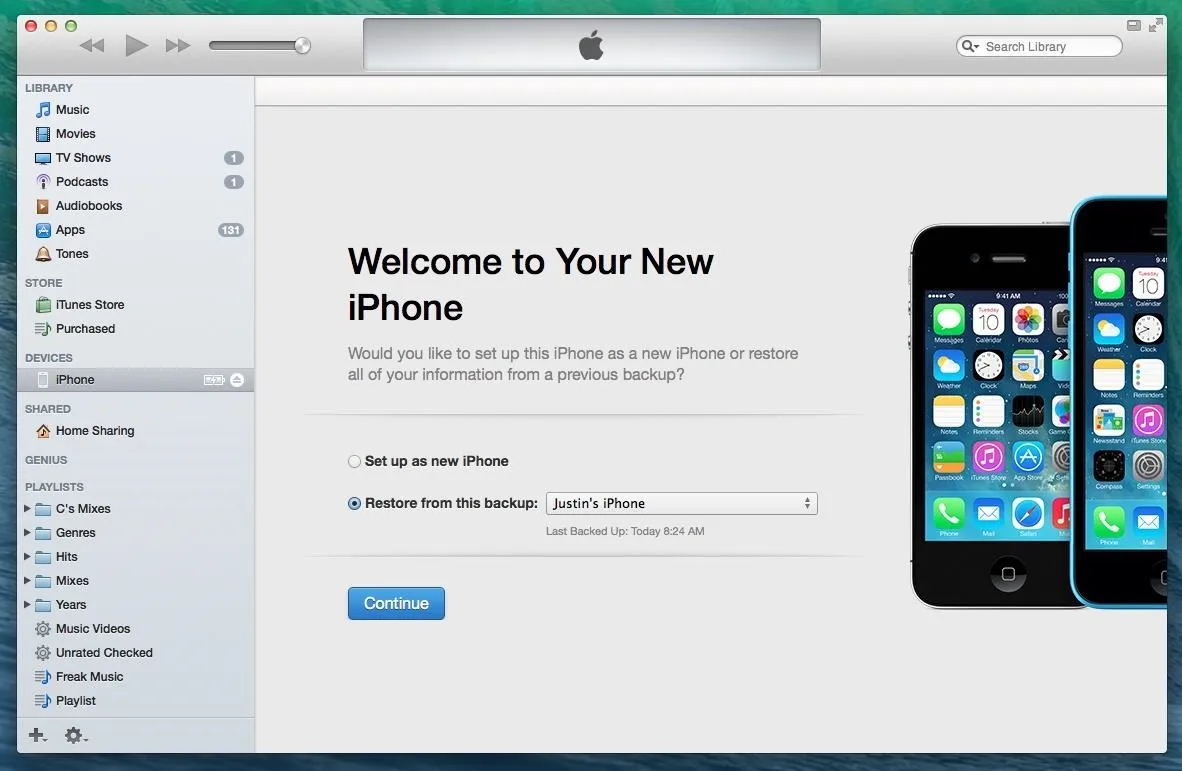
Either set up as a new iPhone or restore from backup.
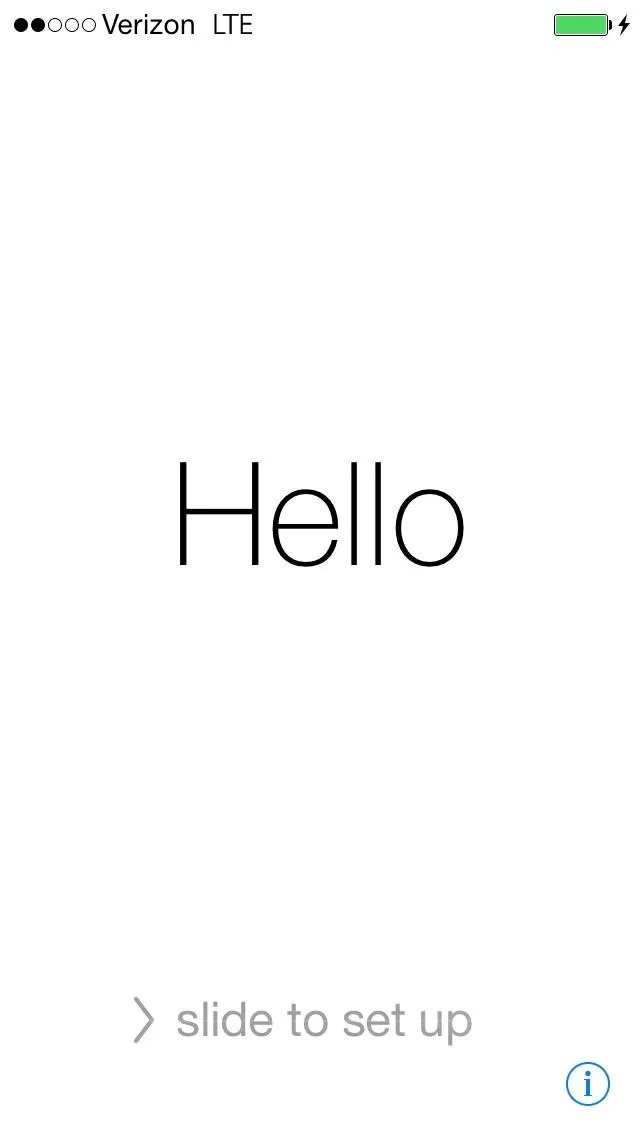
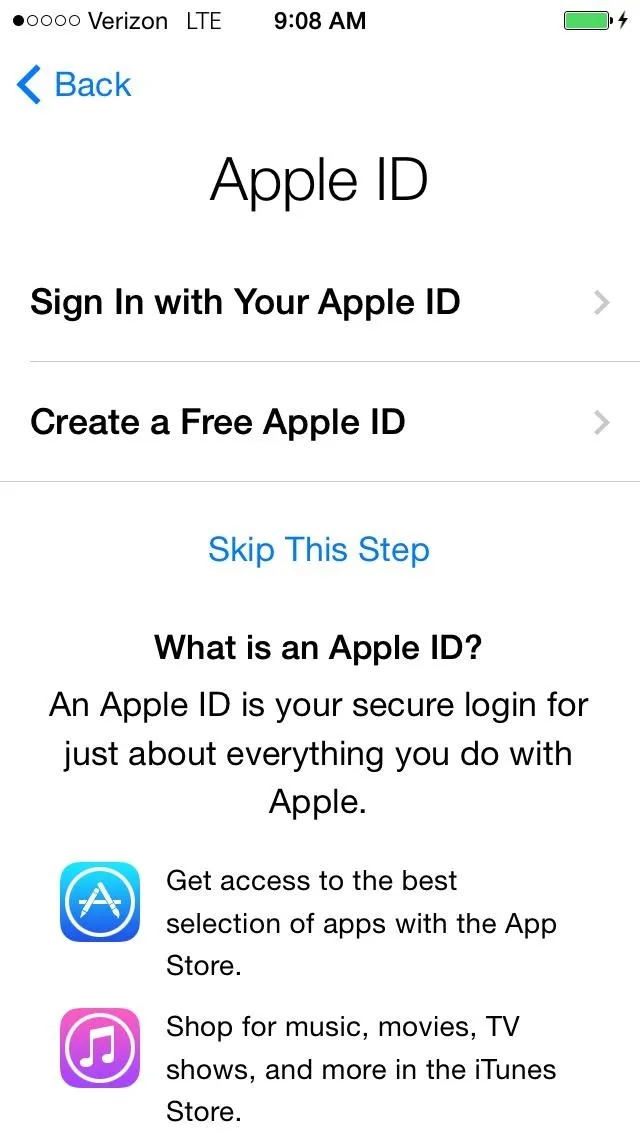
And that's it. If you chose to set it up as a new device, you'll need to walk through the self-explanatory setup instructions on your iPhone.
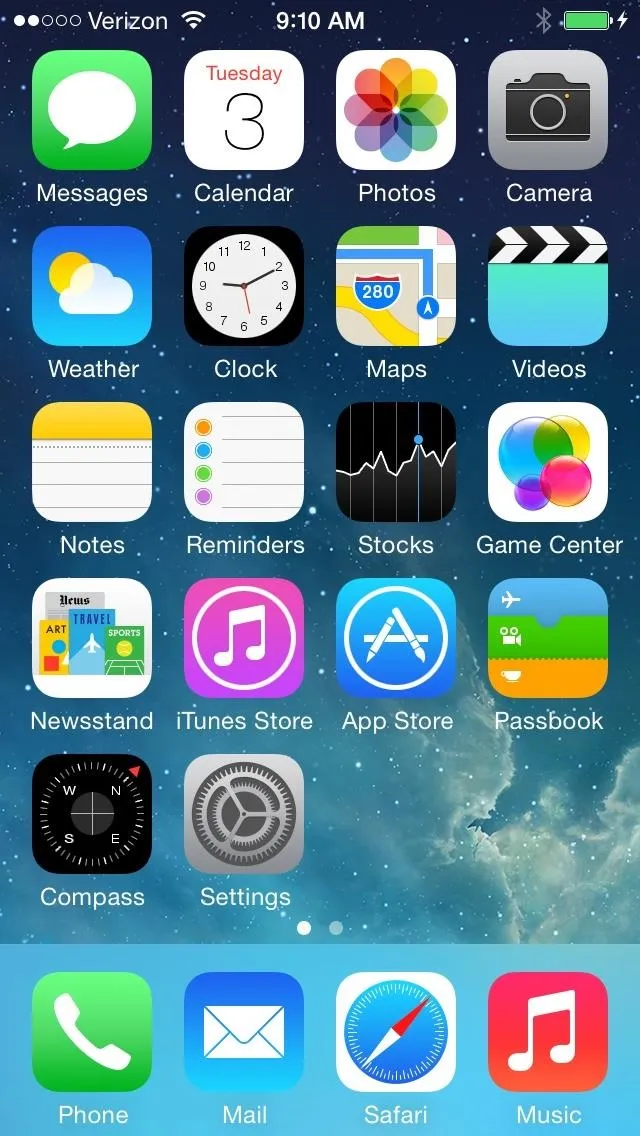


If you want to upgrade to iOS 8 beta again, but after the next beta version is released, follow my guide on installing iOS 8 beta and prompt your iPhone to install the latest build in the Settings menu, as you would any update.


Comments
No Comments Exist
Be the first, drop a comment!