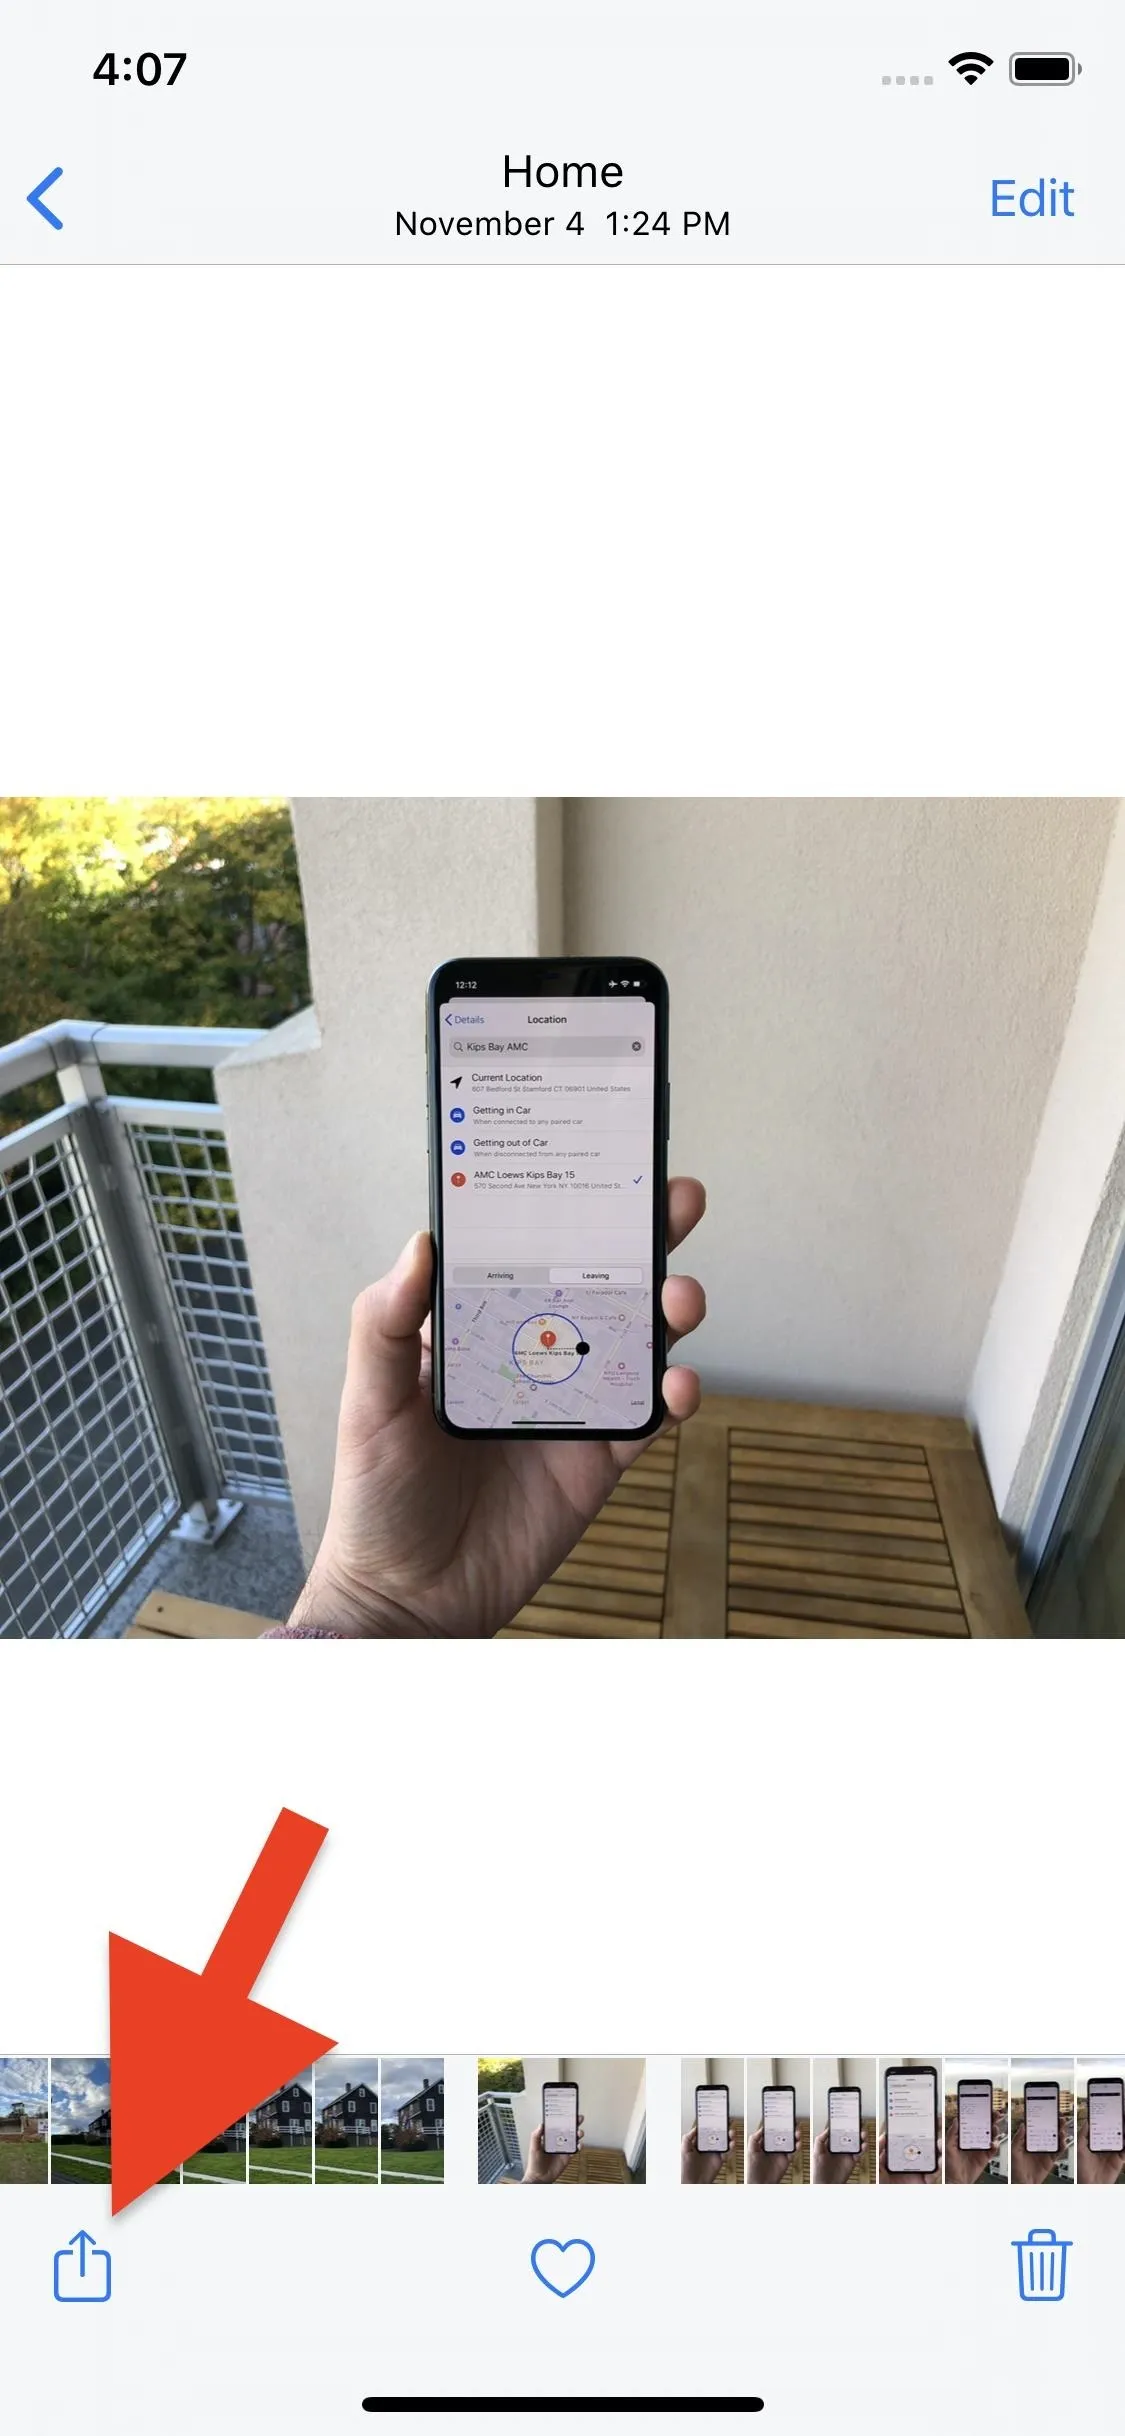
On iPhones, the share sheet is a powerful yet largely underestimated tool. For the uninitiated, the share sheet is the menu that opens whenever you tap the share button (the box with the up-arrow). This menu features sharing options to first and third-party apps, as well as extra functions like saving, copying, duplicating, and more. Best of all? It's surprisingly customizable.
While the core functionality of the share sheet hasn't changed much in recent years, the menu received a complete facelift with the release of iOS 13. As such, your share sheet will look totally different depending on if you're running the latest version of iOS, or running something like iOS 12. We'll cover both versions below so you can stay in-the-loop.
- Don't Miss: 200+ Exciting New iOS 13 Features for iPhone
Method 1: If Running iOS 13
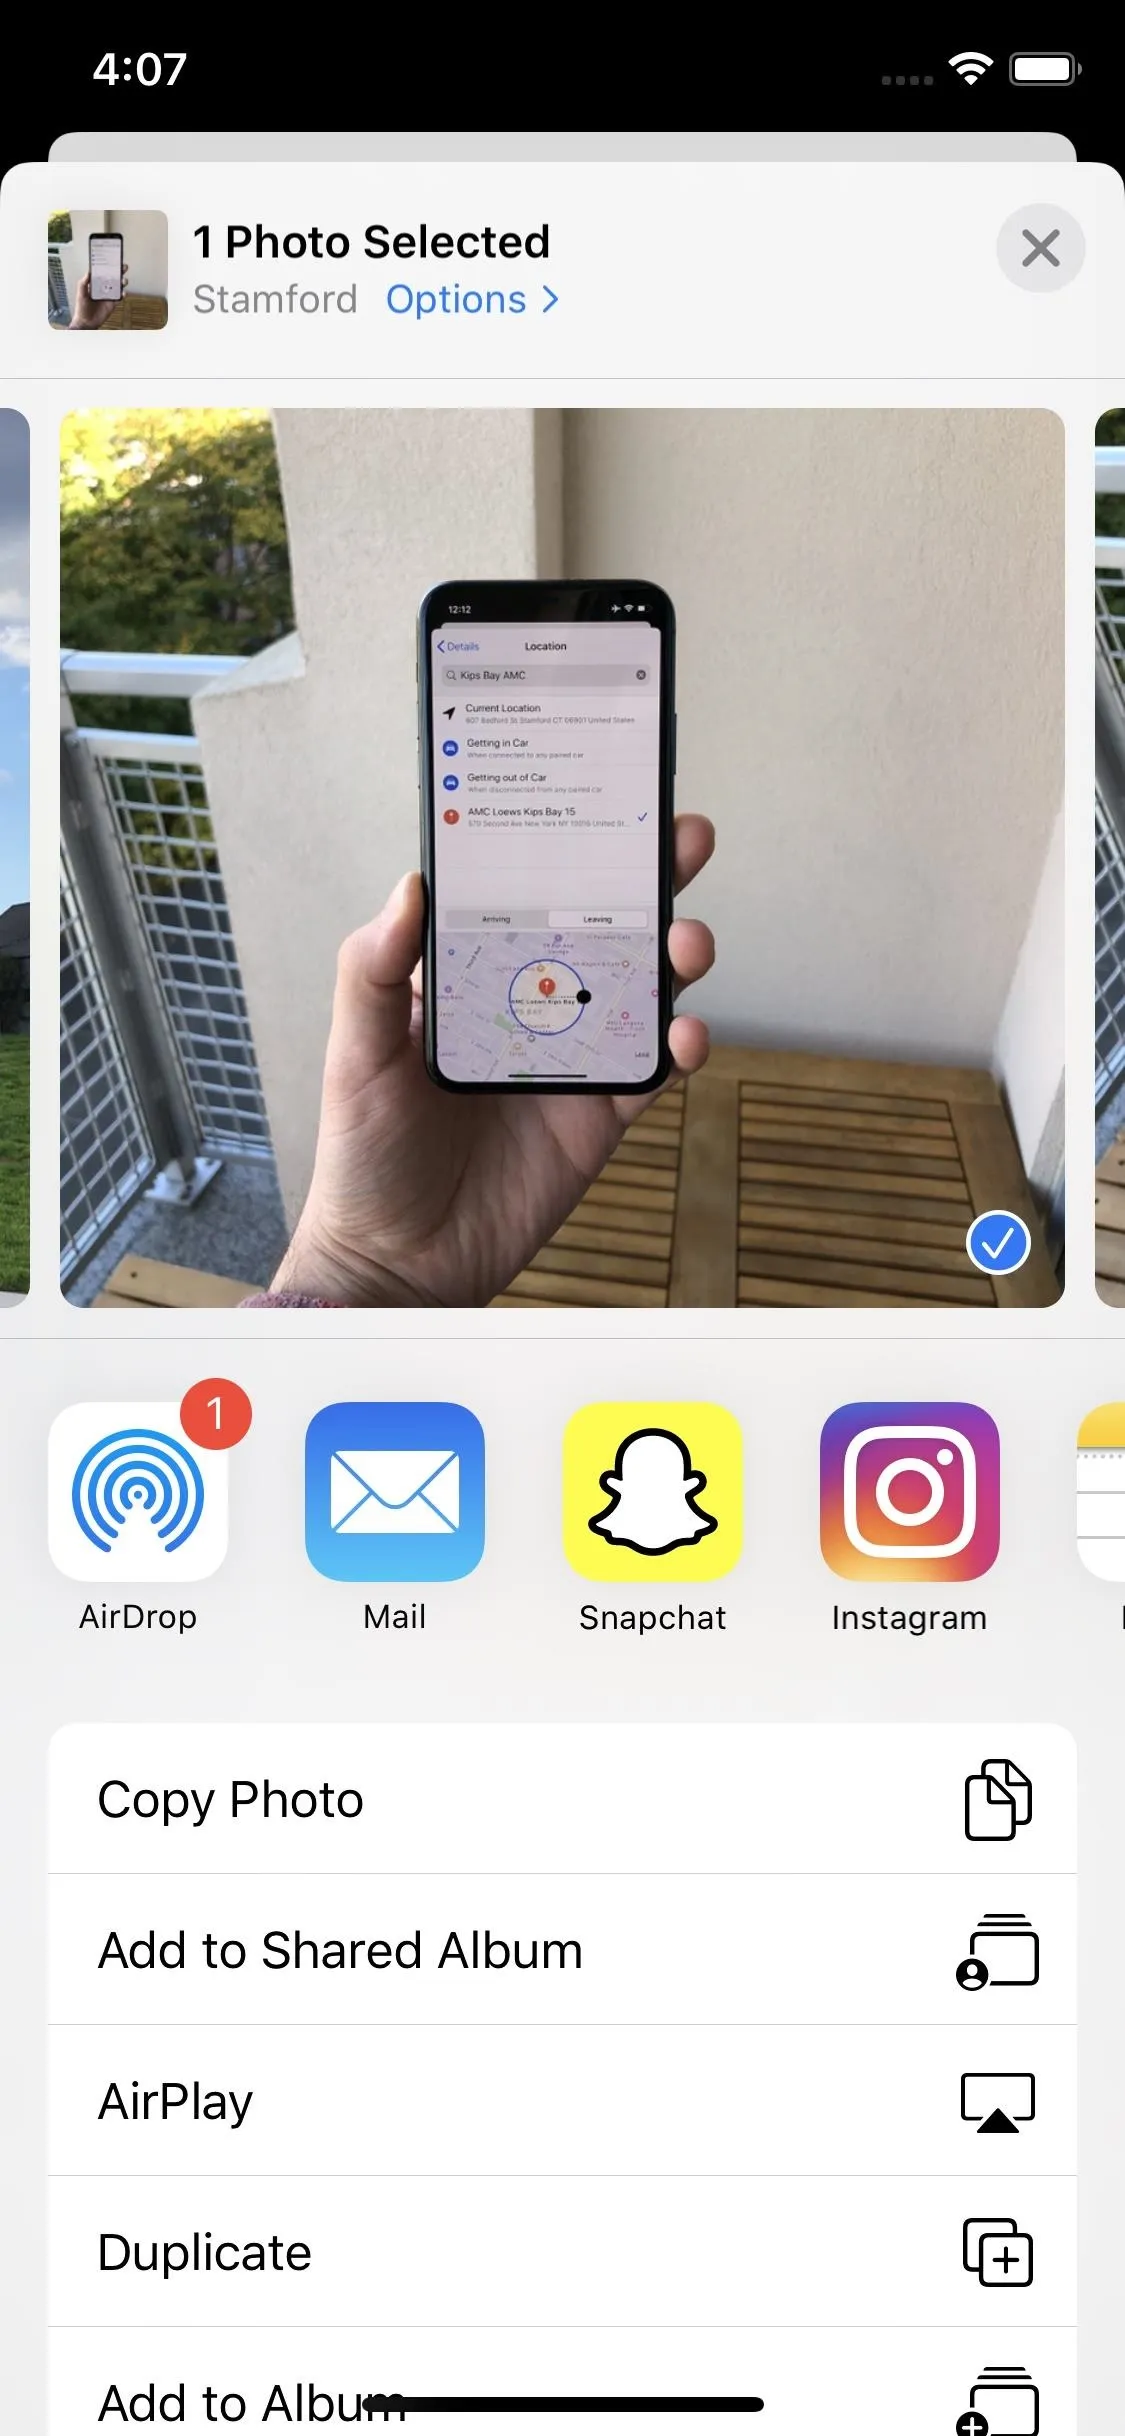
Accessing the share sheet is the same across platforms — just tap the share button. On iOS 13, you'll see a lot of things at once. The top row of icons is your Favorites and Suggestions, compromised of custom apps choices as well as suggestions from iOS. You can quickly share to any of these apps by tapping on each, then following the on-screen directions.


You can customize this row at any time by swiping all the way to the right, then by tapping "More." Here, you'll see which of these apps are "Favorites," meaning they'll always appear in the share sheet, and which of these apps are "Suggestions," apps iOS thinks you might want to share to.
To add or remove apps from "Favorites," tap "Edit" in the top-right corner of the display, then tap the (+) or (-) buttons to adjust accordingly (if removing, you'll need to then tap the "Remove" option that appears). You can drag the hamburger icon to the right of each Favorites app to rearrange the list's order. You can also tap the toggles next to apps in Suggestions to tell iOS whether or not to include them. Tap "Done," when finished, the "Done" again to return to the share sheet.


If you look beneath the apps row, you'll find Actions. You'll find options here ranging from copying and sharing a photo, to duplicating or hiding a file, to even assigning to a contact or printing. Like the app row, these actions can be easily customized.
Tap "Edit Actions," and you'll find a familiar edit screen to the one above. Here, you'll find "Favorites" at the top, which will bring the options you select to the top of the Actions list, but you'll also see actions listed under the name of your current app. These are app-specific, and will only appear in Favorites in this particular app. Below that, you'll find "Other Actions," which contains any additional actions that are available, often via third-party apps.
Again, tap the (+) and (-) buttons to add and remove actions from the Favorites list (tap "Remove" confirm removals), and use the hamburger icon to drag Favorites actions in the order you desire.


When finished, tap "Done" to return to the share sheet.
Method 2: If Running iOS 12
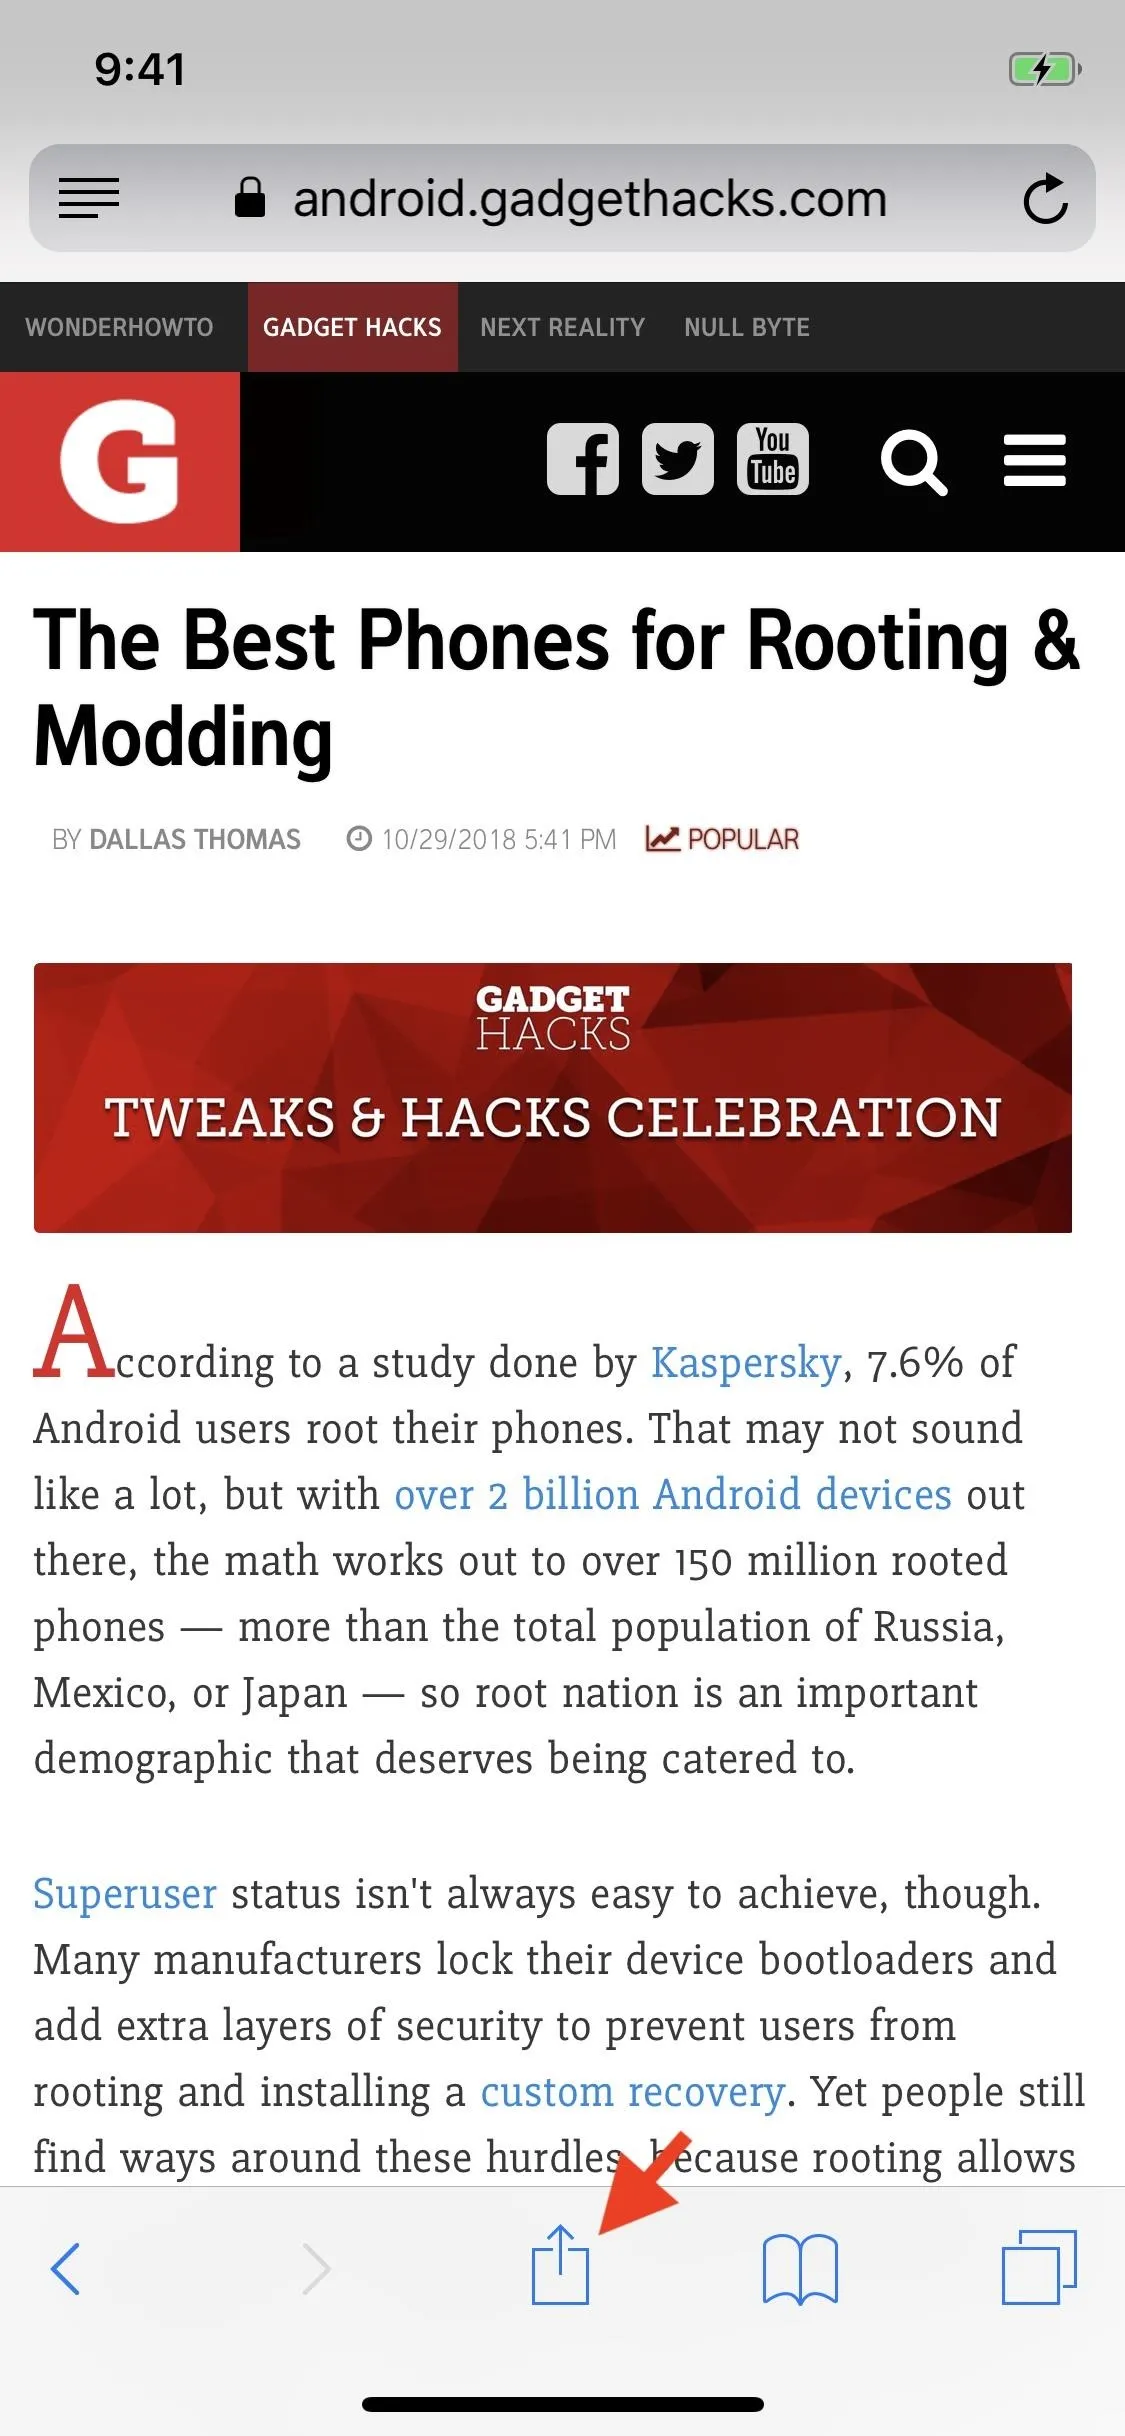
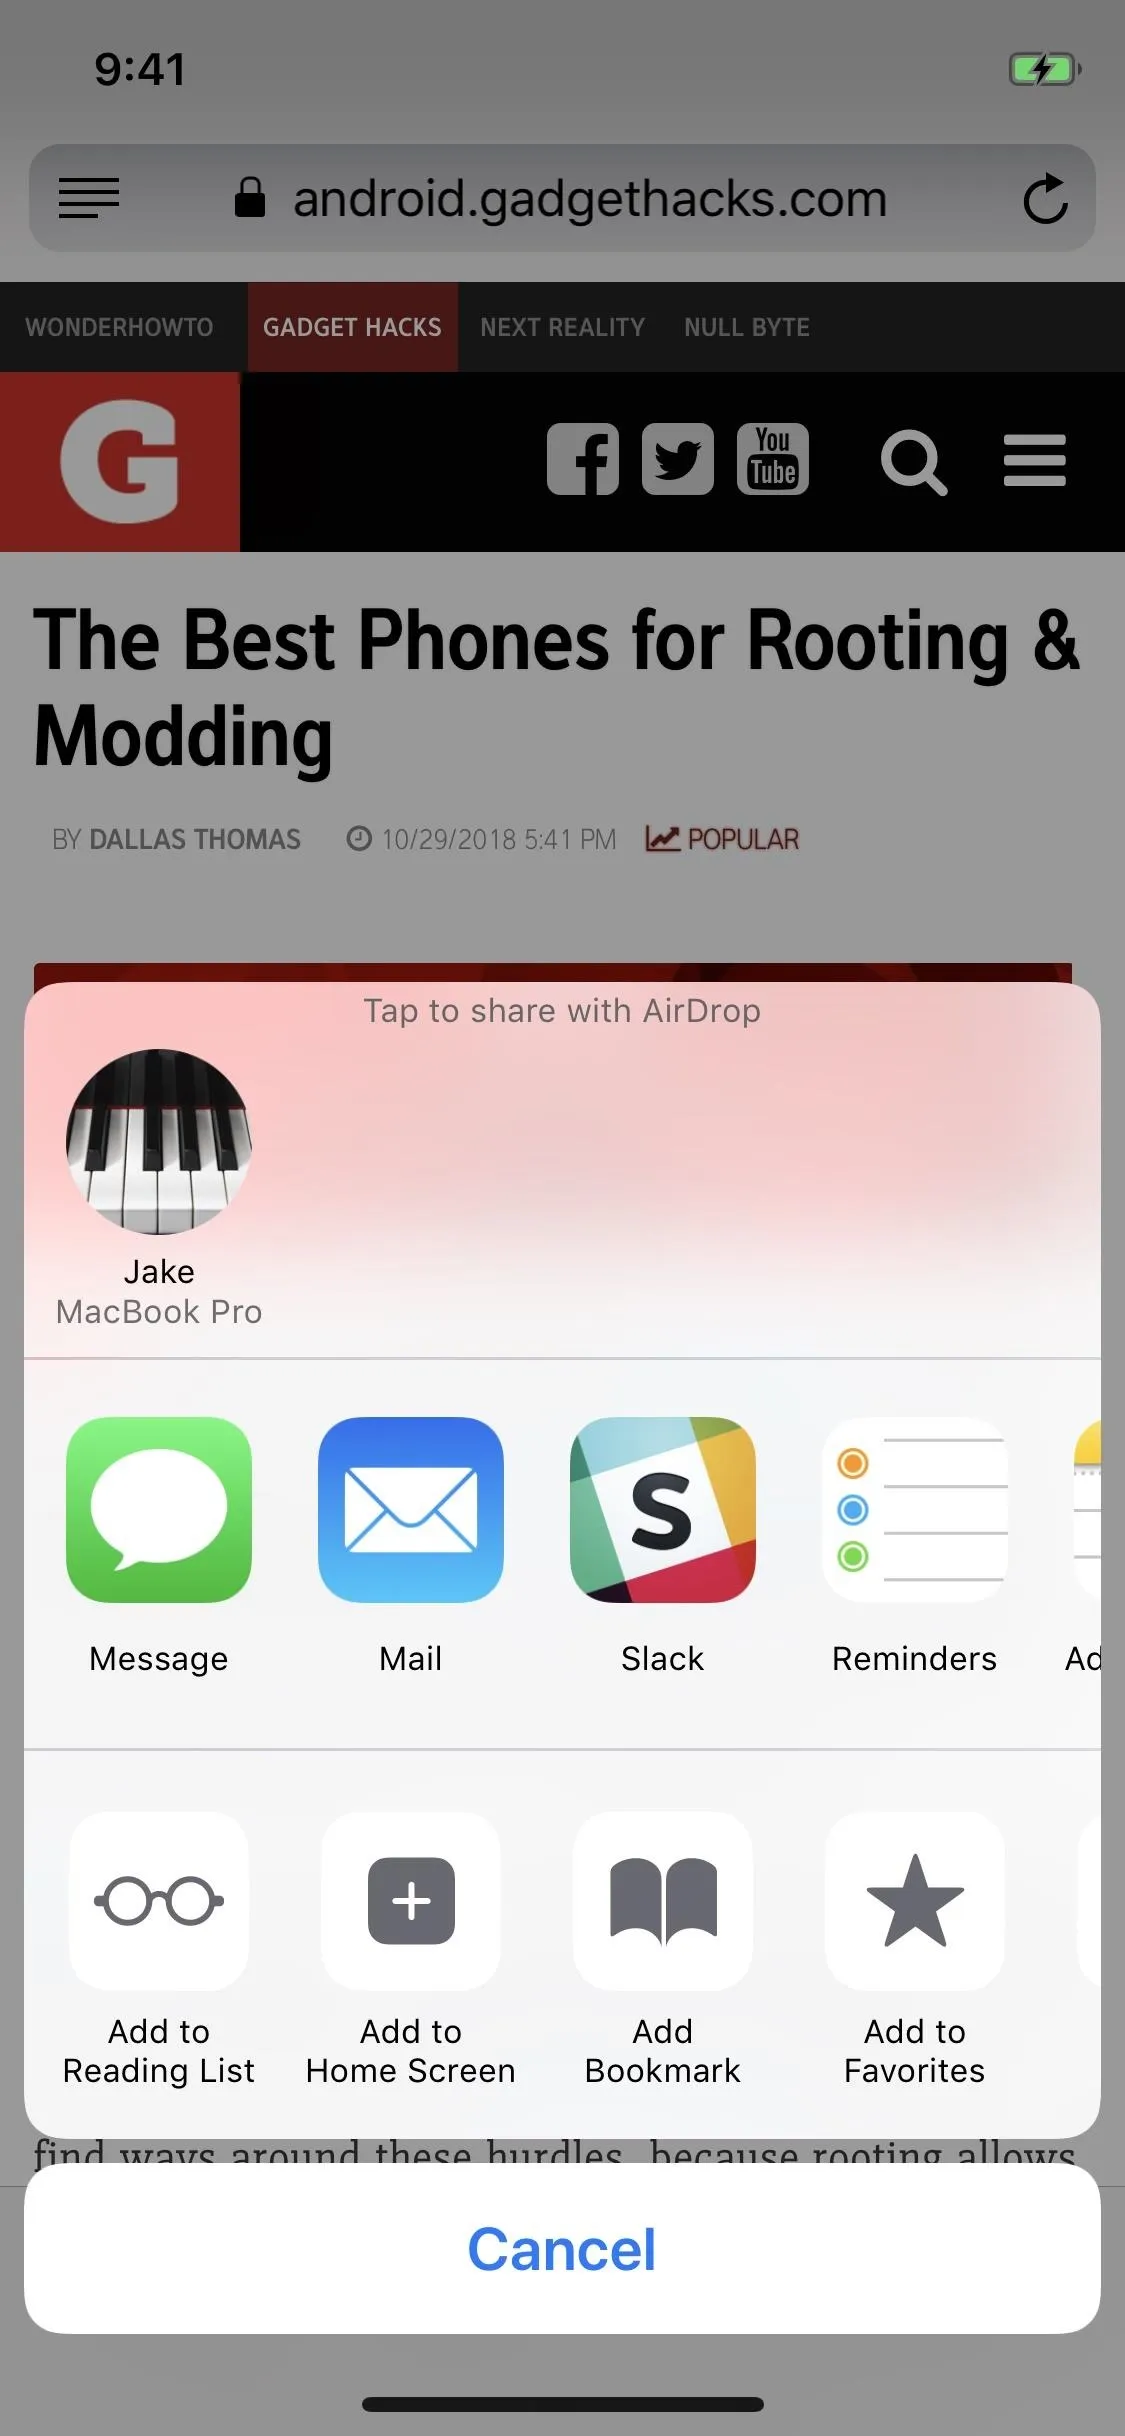
For those of you running iOS 12, your share sheet isn't nearly so complicated. You'll find it the same way, though — just tap the share icon wherever you happen to be. You'll then see the share sheet, which, other than its appearance, share many similarities to iOS 13's. The top row allows you to AirDrop with fellow iOS and Mac users, the middle row includes apps you can share your content to, while the bottom row highlights activities (iOS 13's "actions"), not all related to sharing.


You can reorder any items in the middle and bottoms rows by long-pressing an item, then dragging it to a desired location. To be honest, this feature is sorely missed in iOS 13's share sheet. Swipe all the way to the right on either row, and you'll find a "More" button. Tap it, and you'll find similar controls to iOS 13's share sheet. You can rearrange apps and functions via the hamburger icon, and you can enable or disable options via the toggles. Just tap "Done" to save your settings.


Cover image and GIFs by Jake Peterson/Gadget Hacks


Comments
No Comments Exist
Be the first, drop a comment!