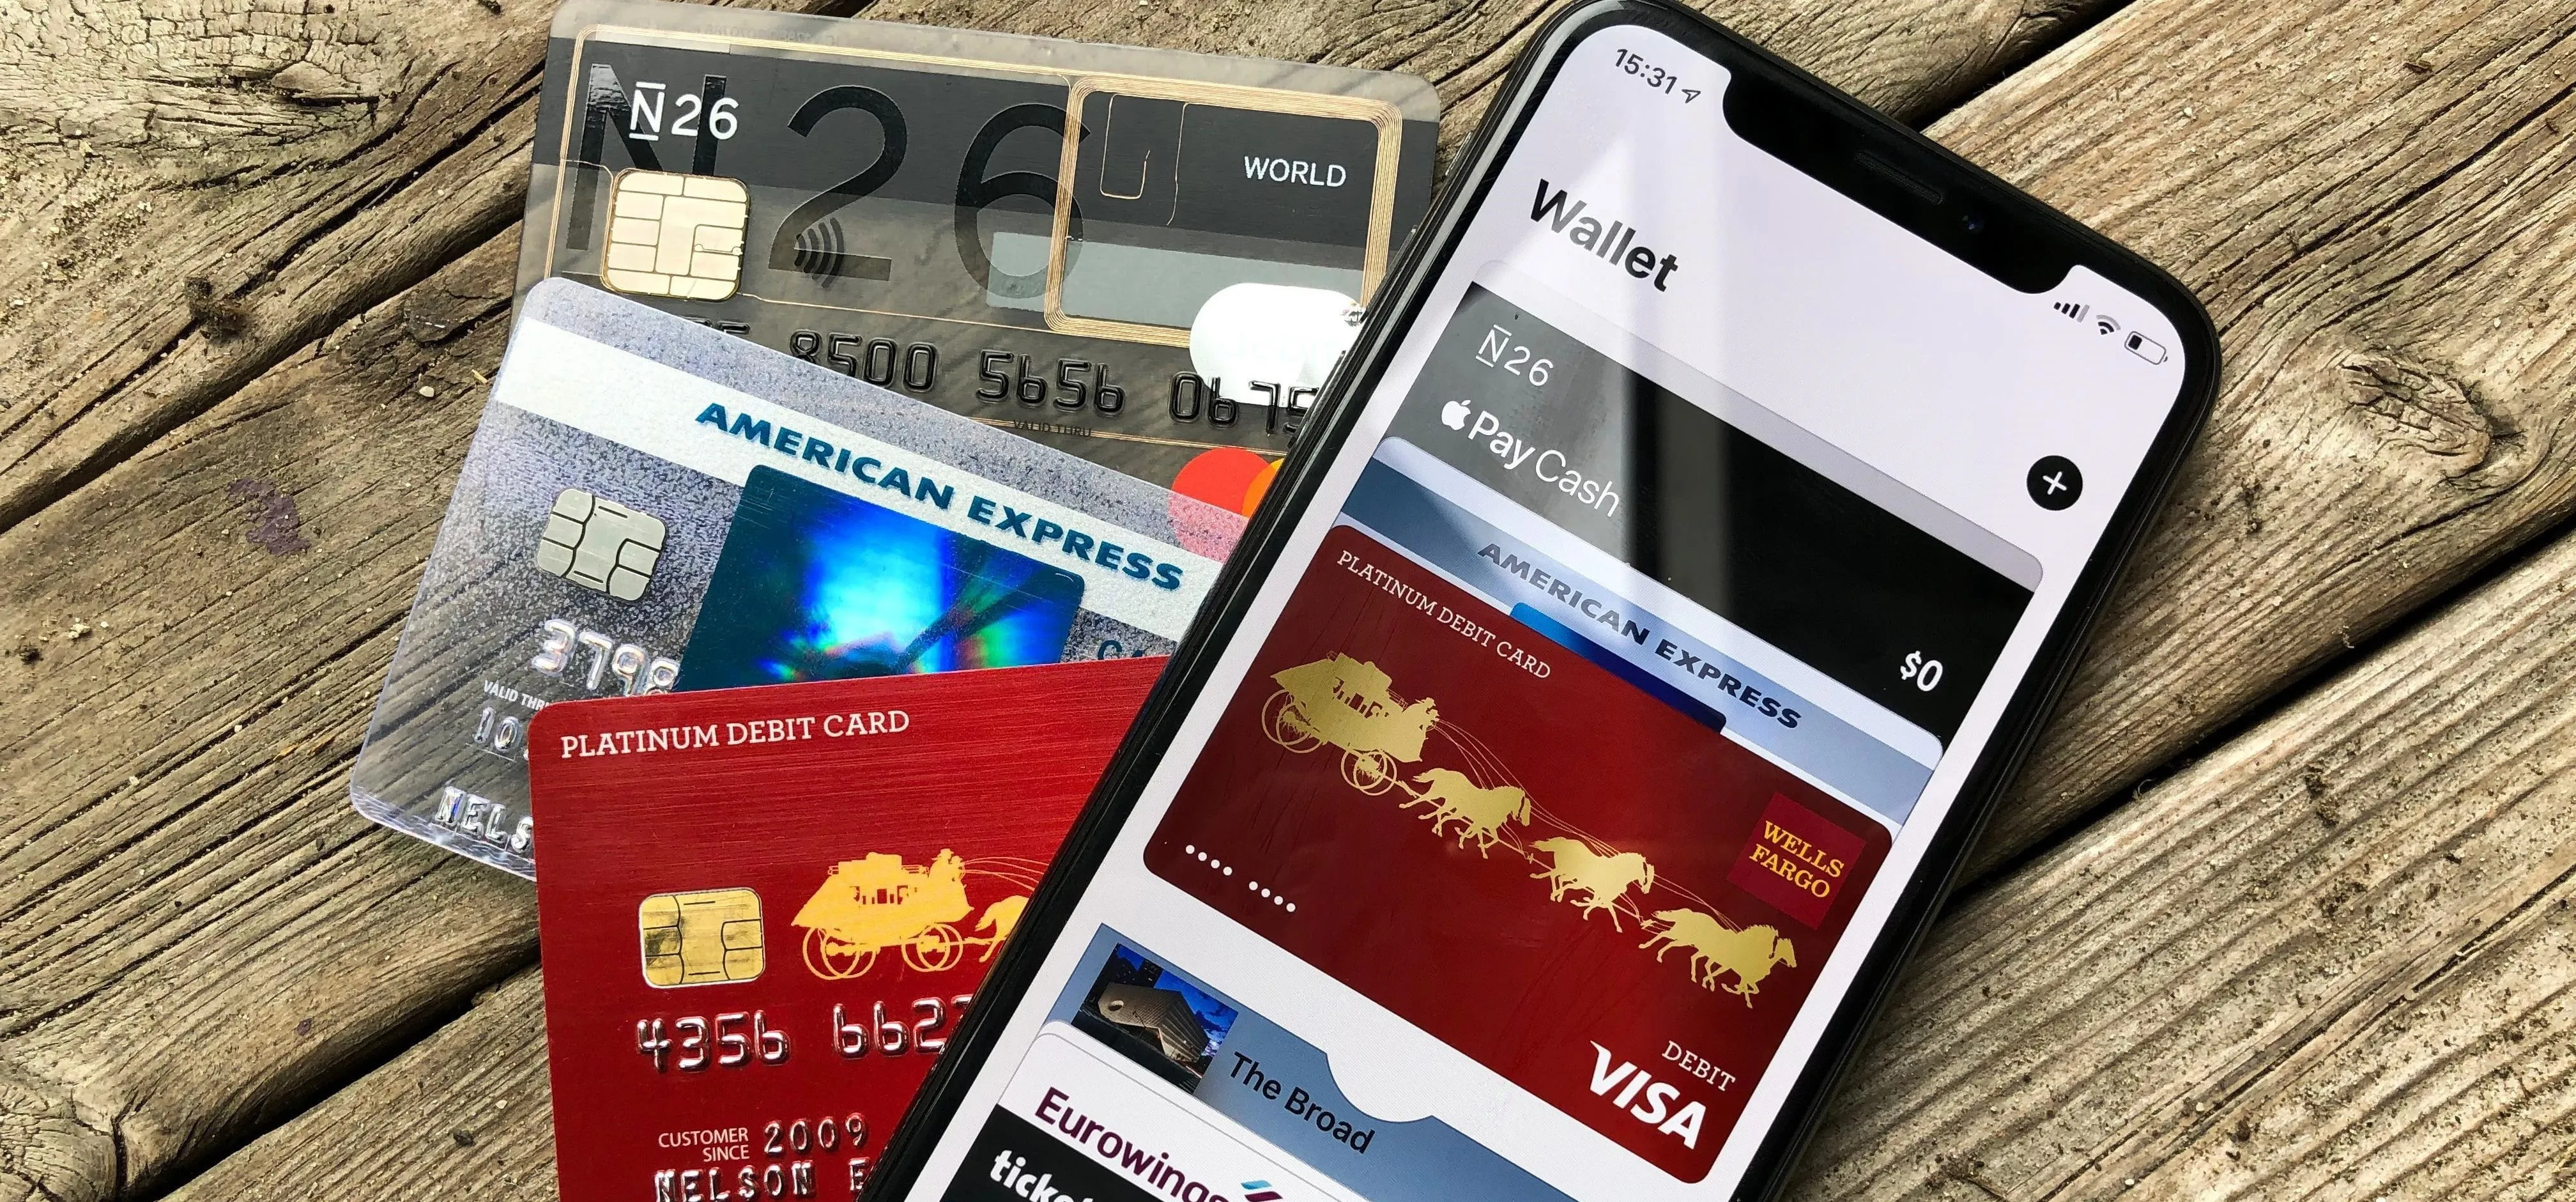
Estimates say that there are roughly 441 million Apple Pay users in the world, but with almost a billion active iPhones in the world, some of you have yet to jump on board the digital payment method. But once you're ready — or if you just need a refresher — adding your debit and credit cards to Apple Wallet is simple.
Considering there are over 3,420 participating banks and credit unions in the United States alone, chances are whatever debit or credit card you have in your physical wallet can be added to your Apple Wallet in iOS. That means your Visa, American Express, Discover, or Mastercard will all likely work.
Plus, you can add all of your cards, since Wallet can hold up to 12 different payment cards, as long as you have an iPhone 8 and iPhone 8 Plus or later. Older iPhone models can only go up to eight cards.
Adding a Bank Card to Wallet
If you want to add a debit or credit card to Wallet for Apple Pay, you can do so directly from the Wallet app or from your Settings. You can also add them when you first set up your iPhone, but that's pretty self-explanatory when it comes up. We'll be covering the process for iOS 13 and later, but it's the same in older iOS versions.
Option 1: Add Card in Wallet
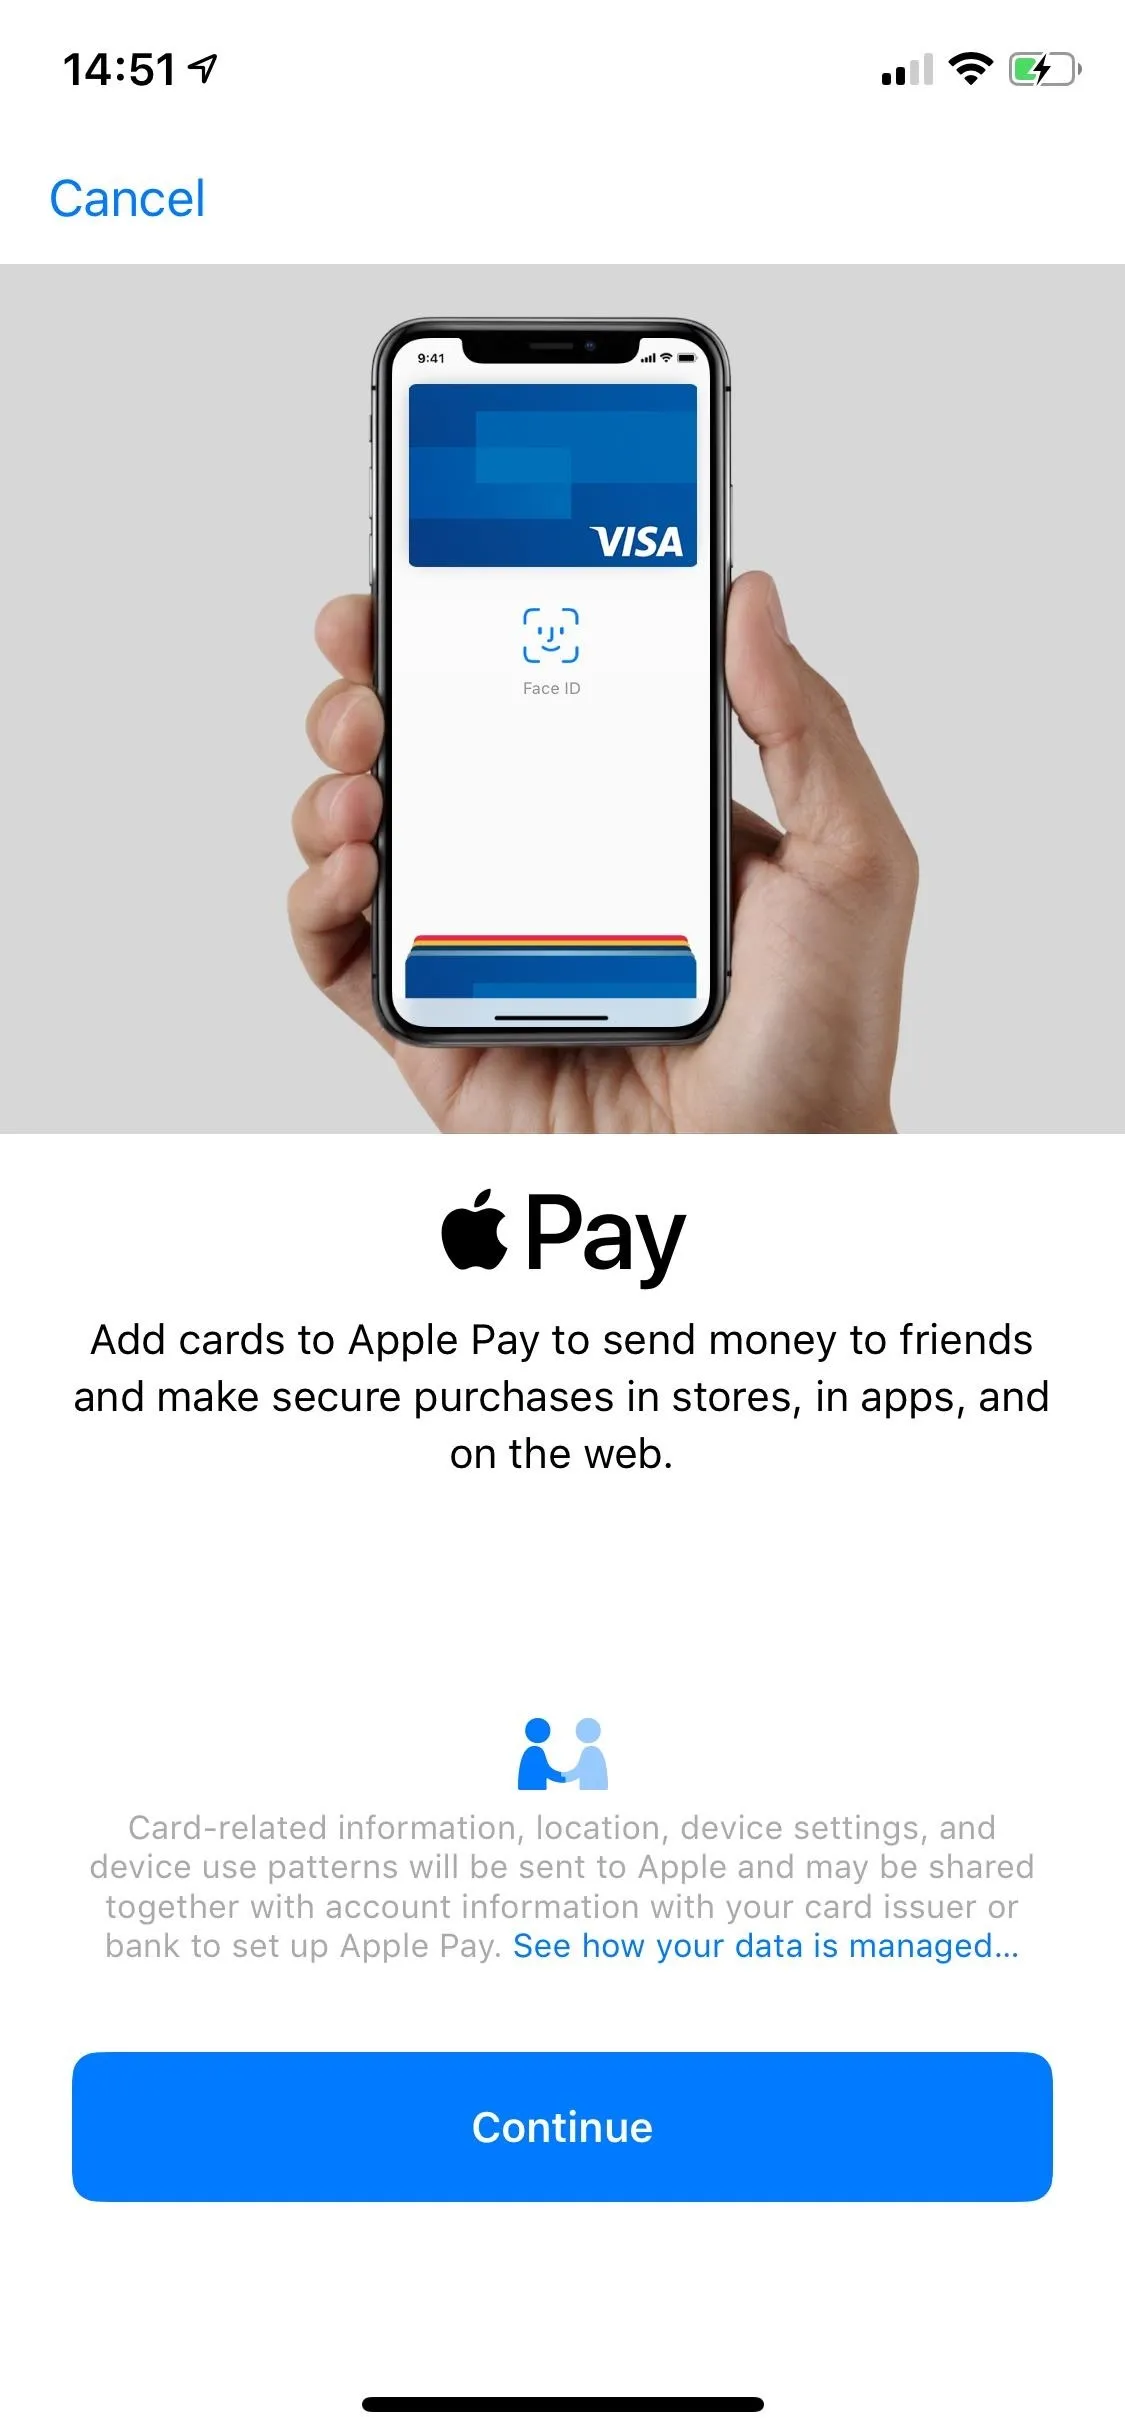
To add a bank card through Wallet, open the app and tap on the plus sign icon in the top right. A page briefly explaining Apple Pay will appear; tap on "Continue." Then, select "Credit or Debit Card." You can also apply for an Apple Card if you want to do that, but that's another topic. If you already have the card saved to your iTunes account, it may appear here as well.
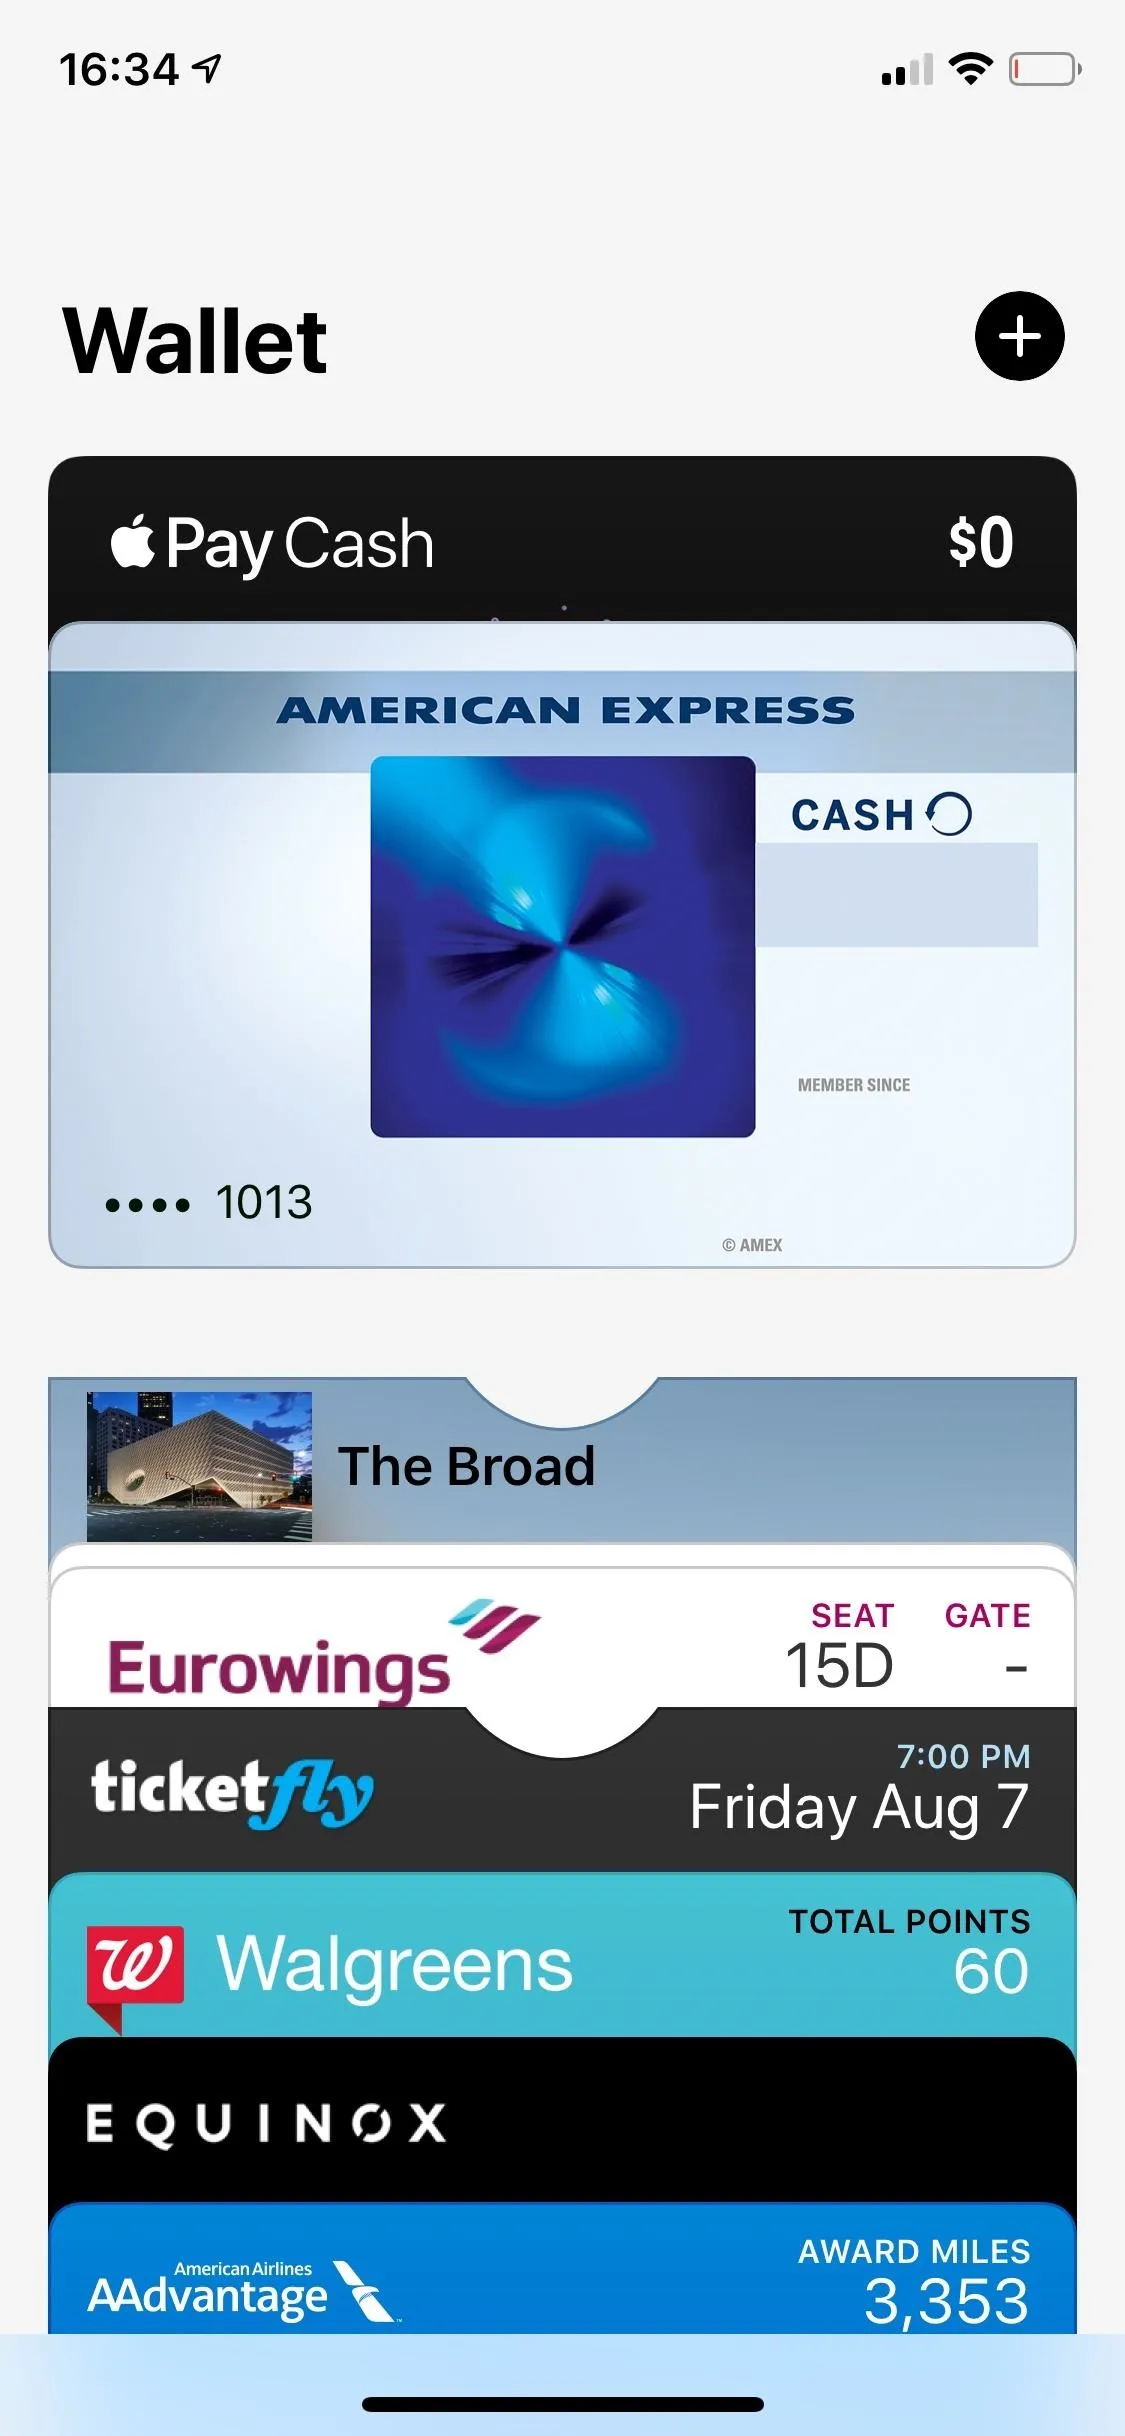
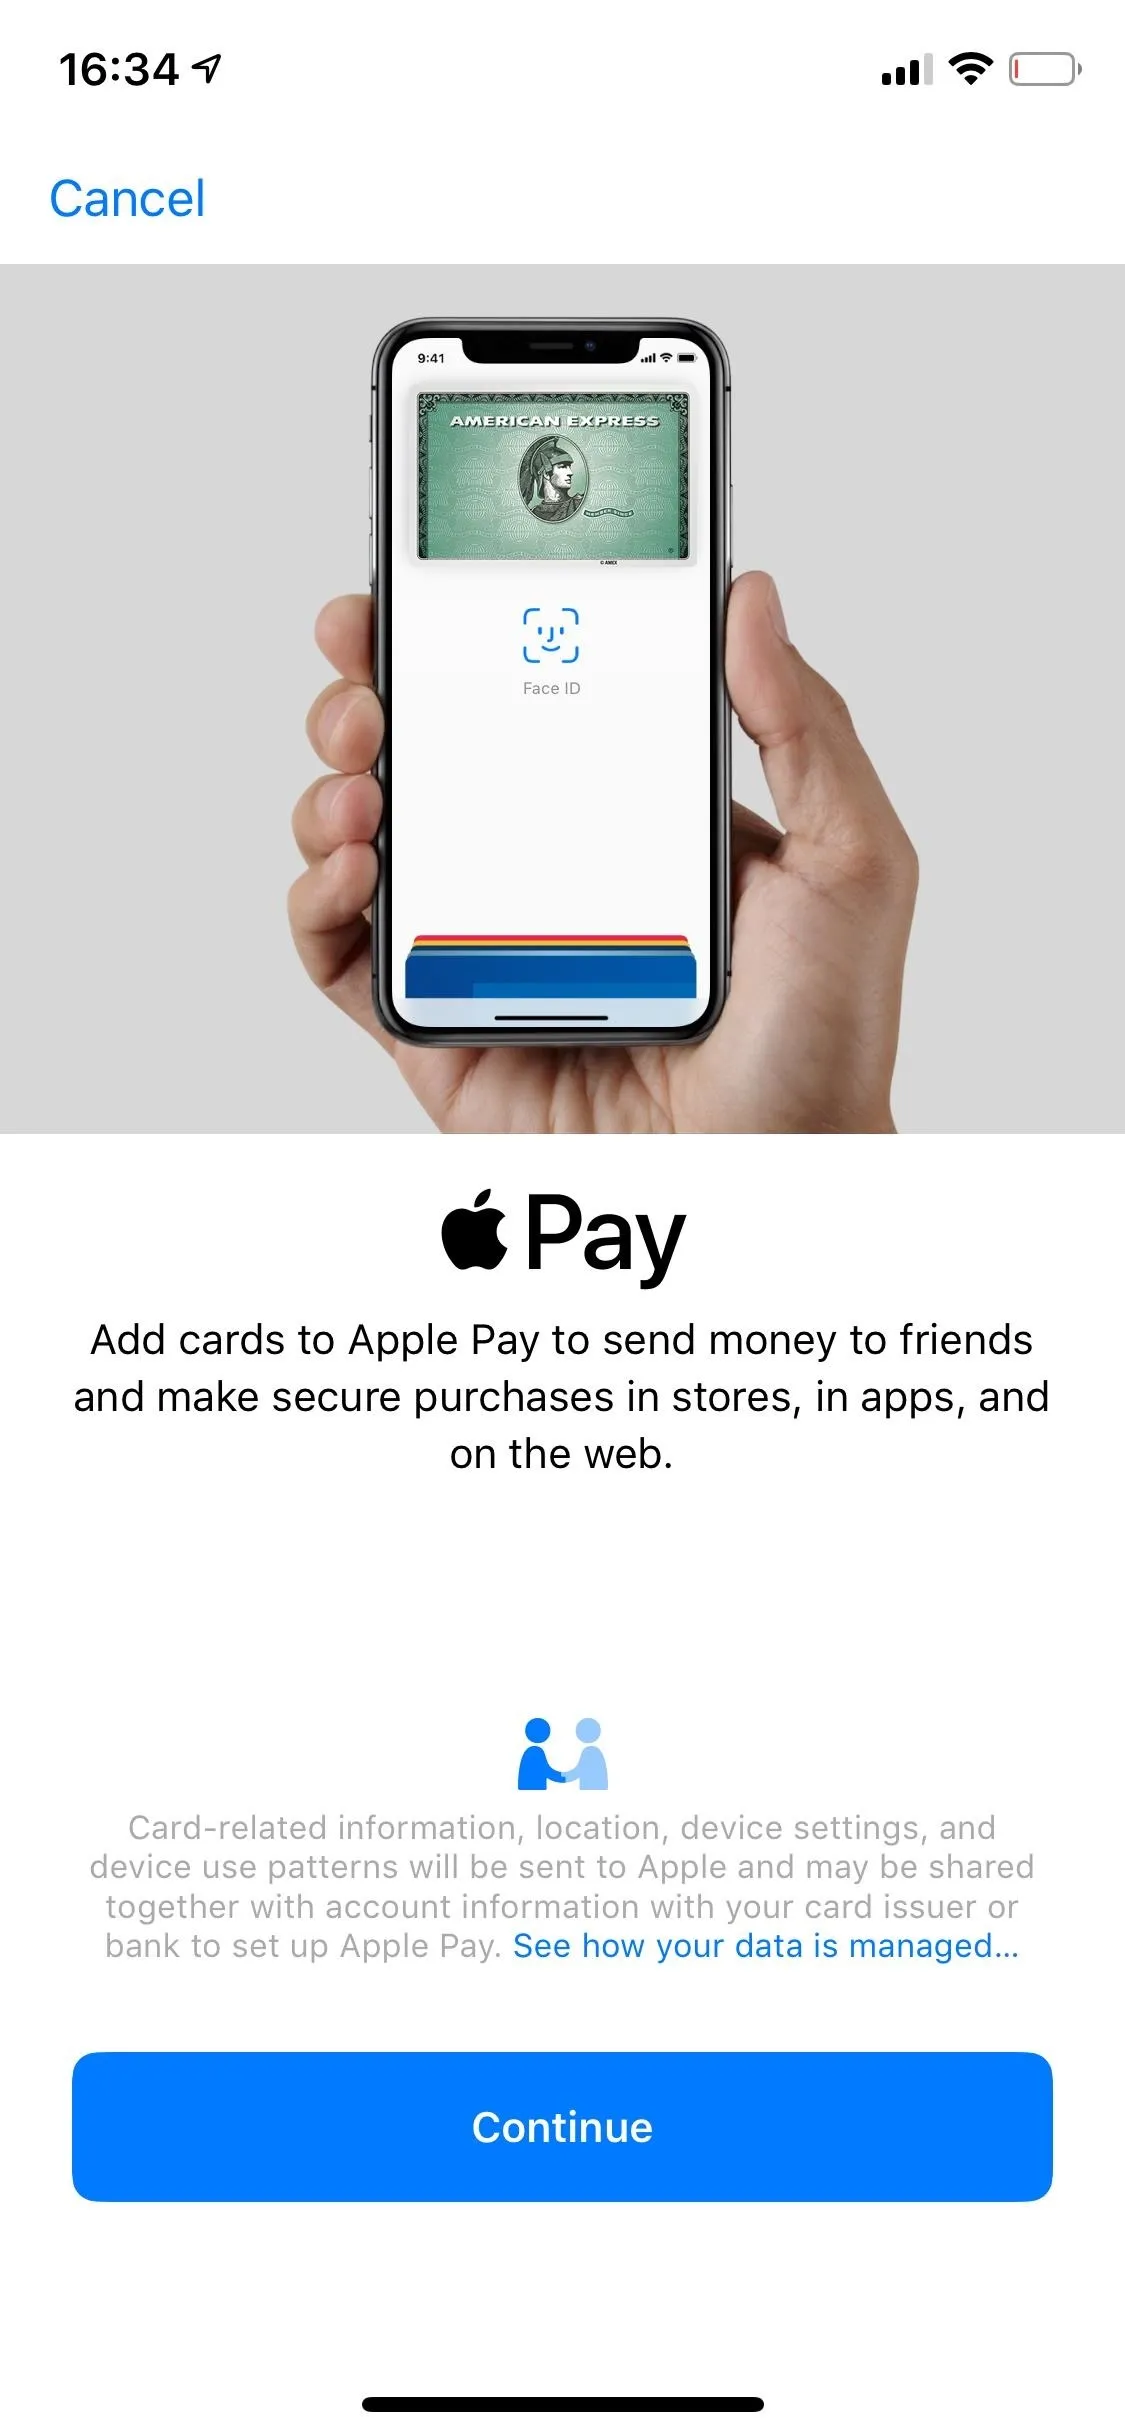
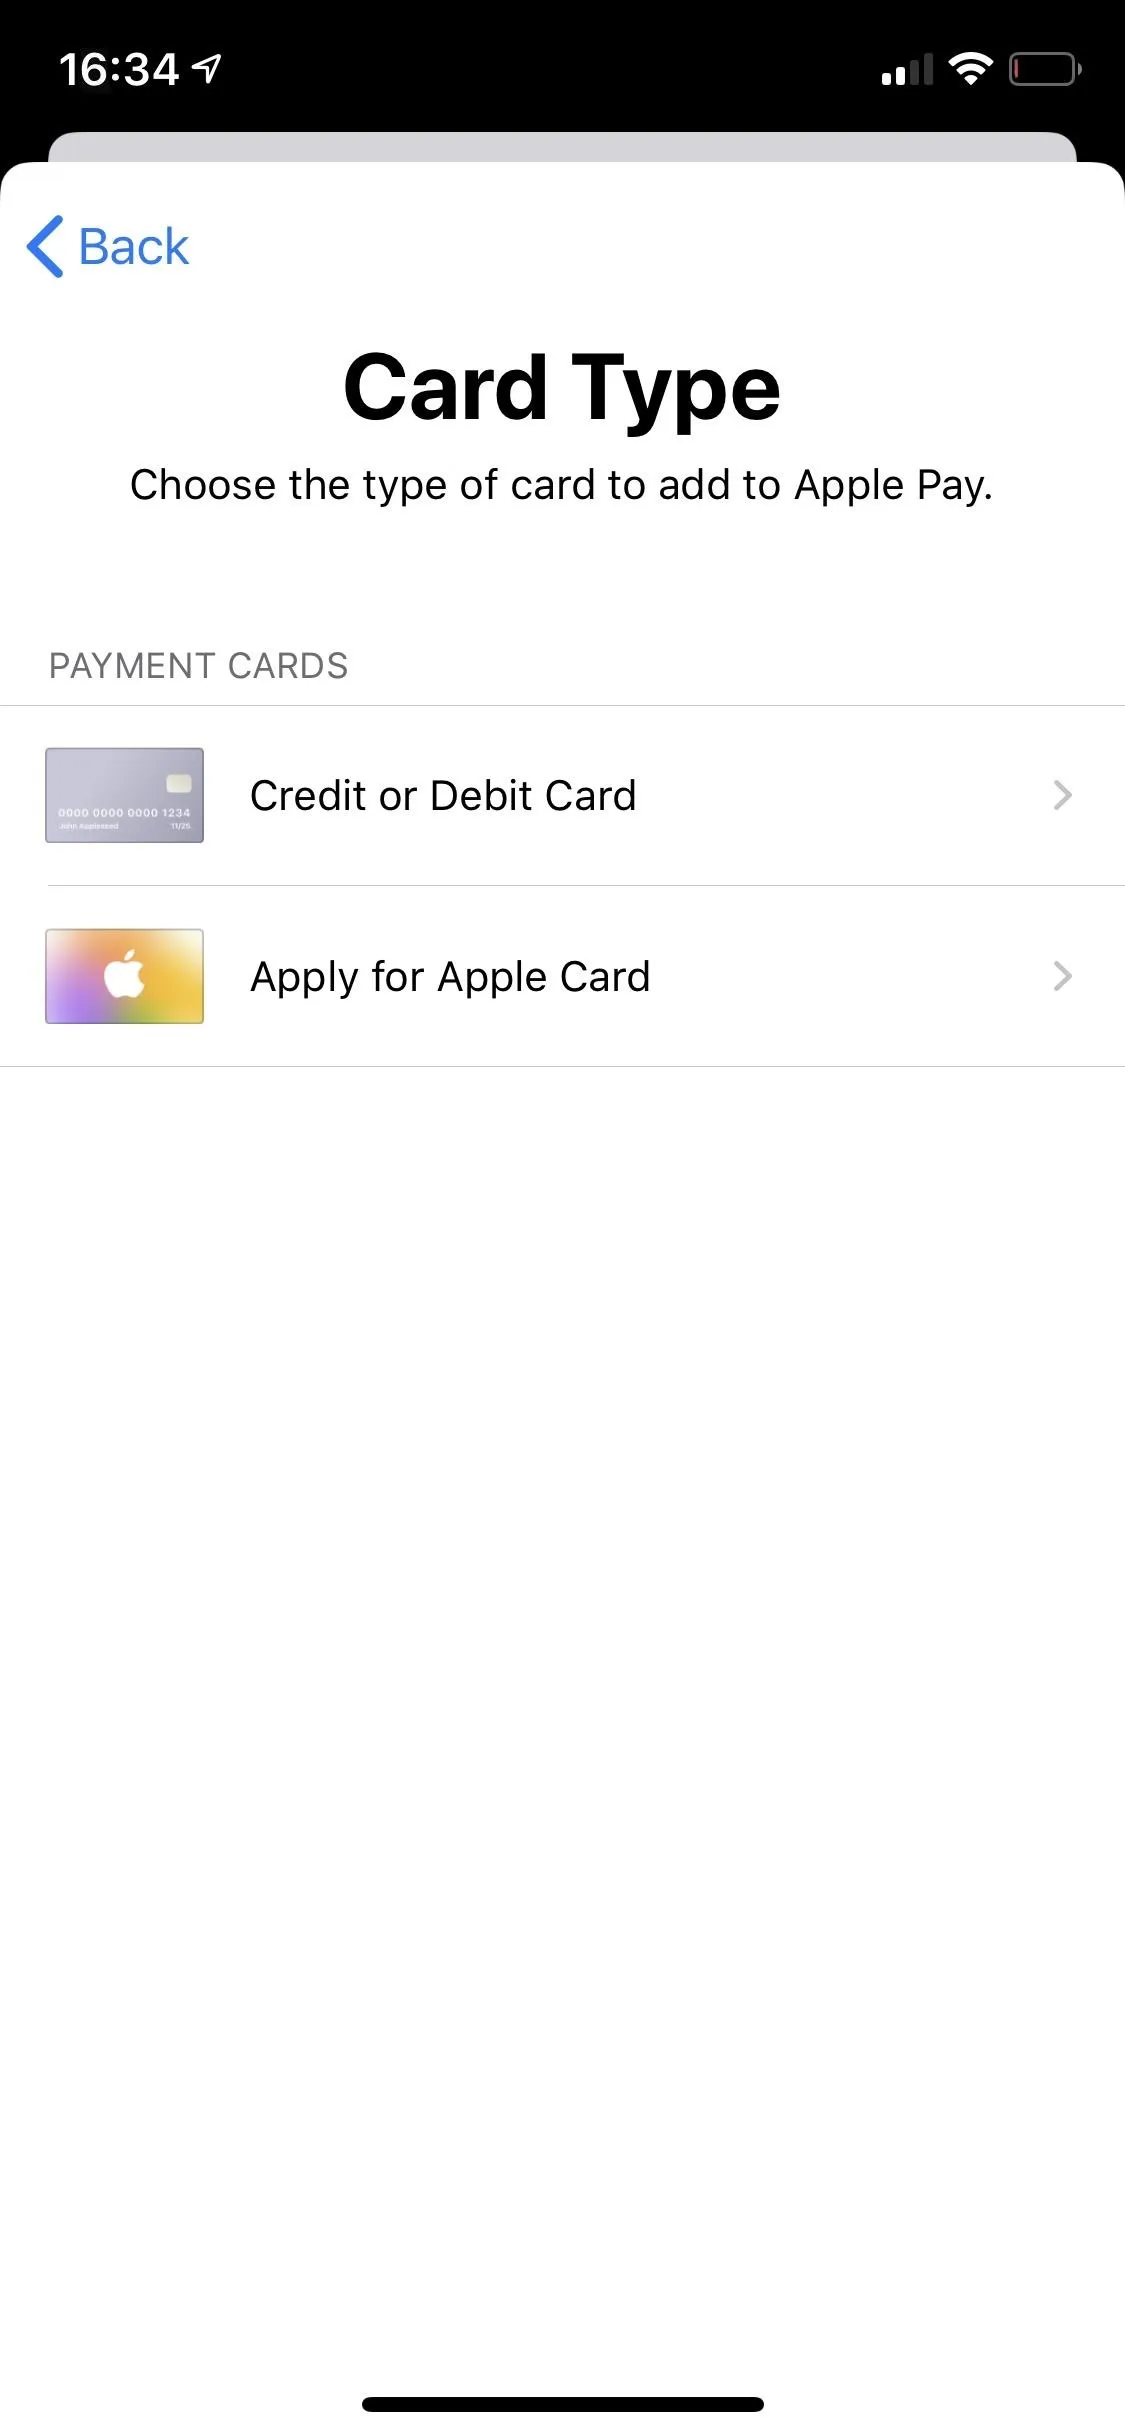


Wallet will open your camera, which you can use to scan the front of your card (or back, if you have one where the name and numbers are on the rear). If you select a card saved to your iTunes, you should jump right to entering the security code to verify it.
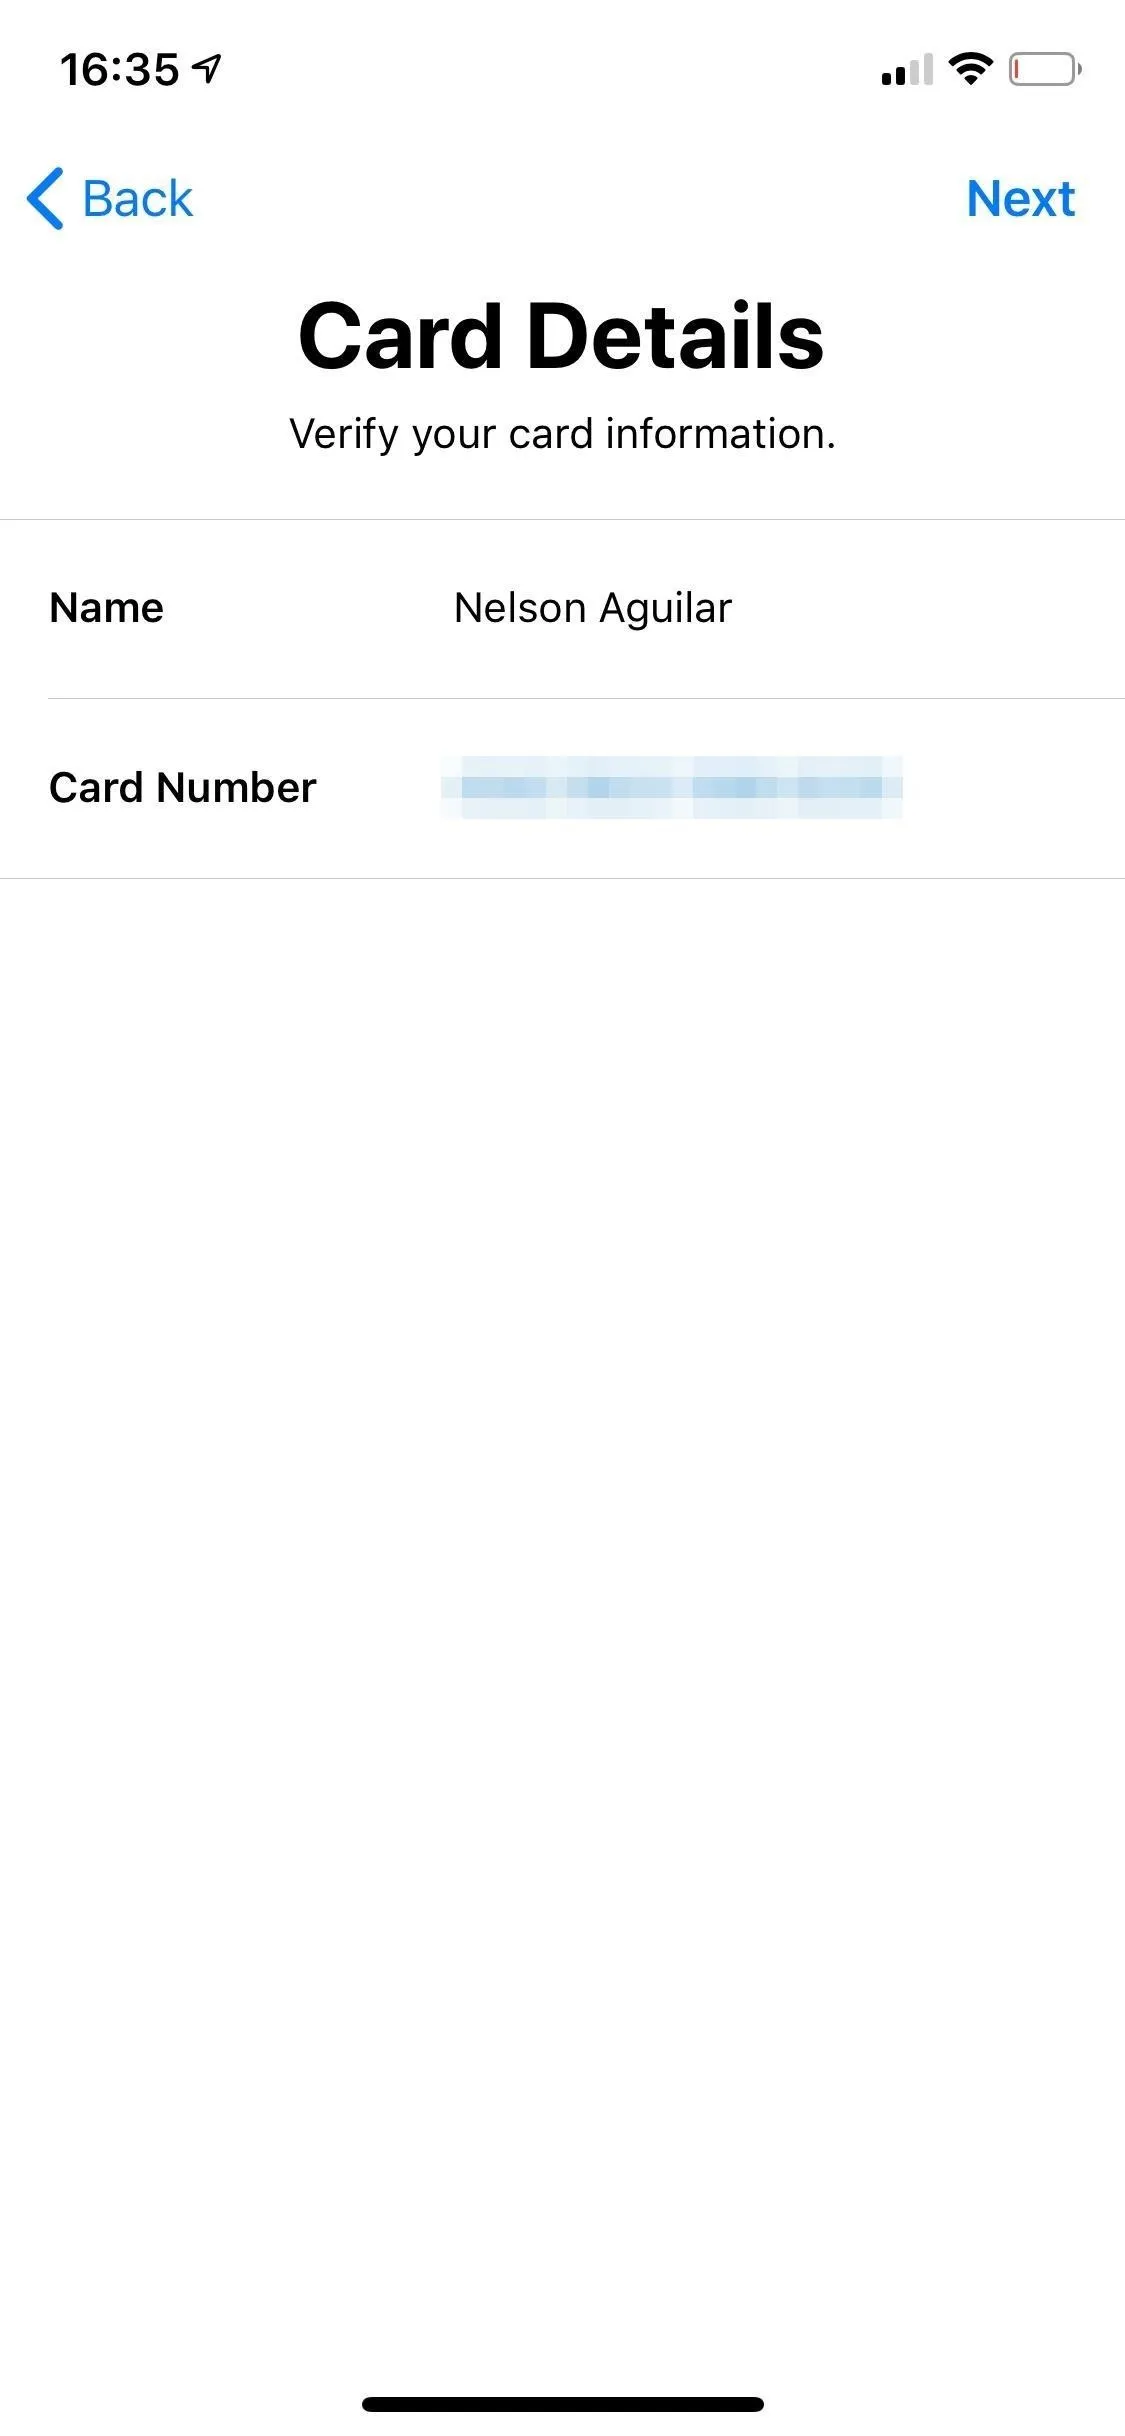
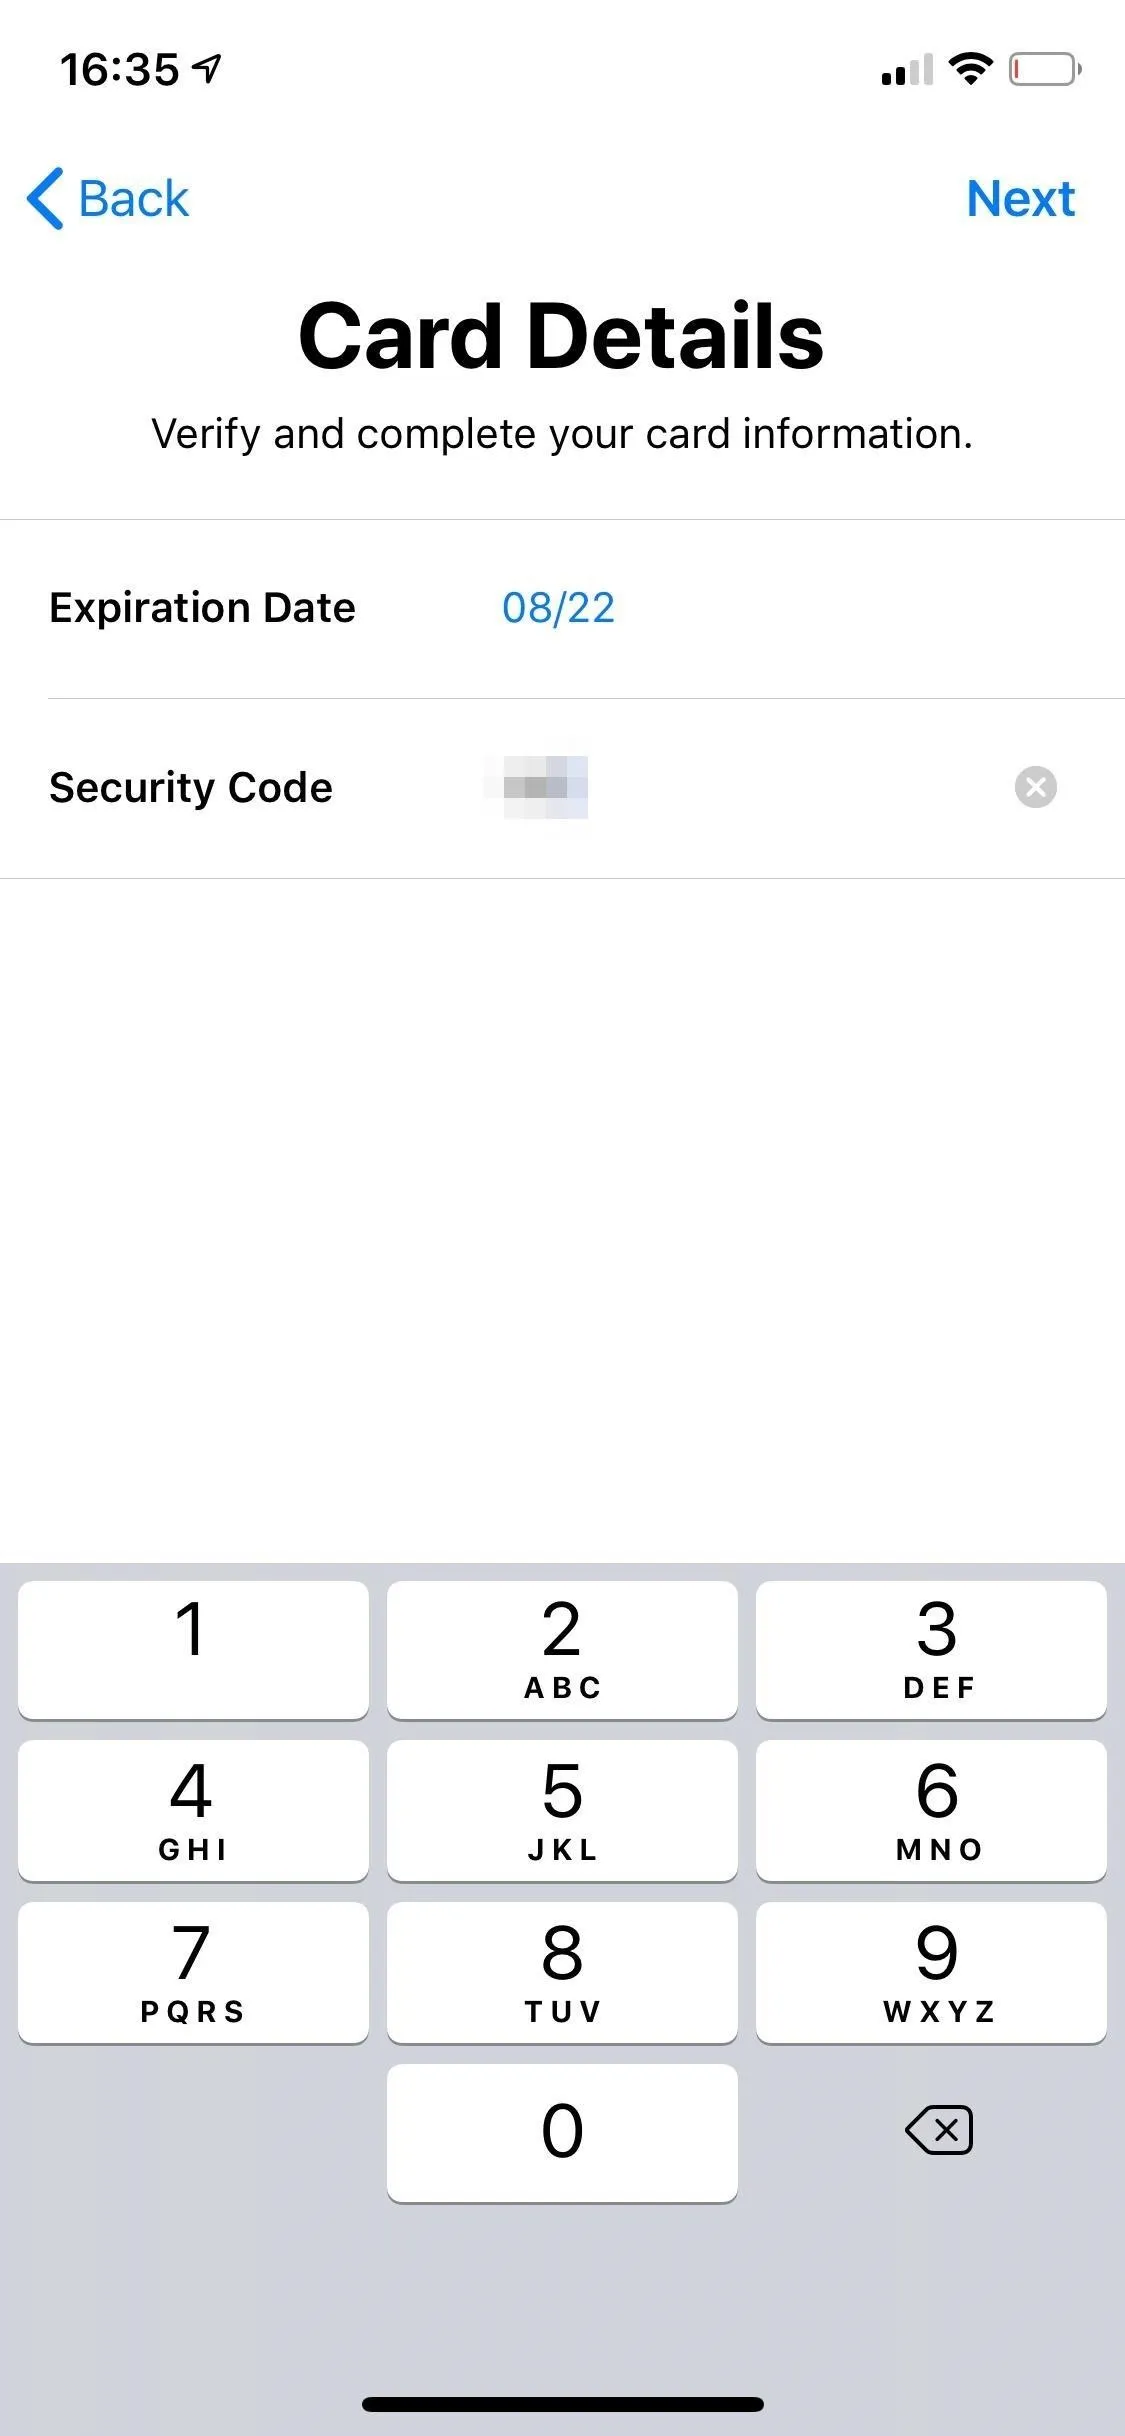
Once a new card is recognized, you'll be taken to the Card Details page to look over your name and card number. If you don't want to scan your card, tap on "Enter Card Details Manually" underneath the camera, then type everything in. Then, tap "Next." Verify or type in your expiration date and security code, then hit "Next" again.
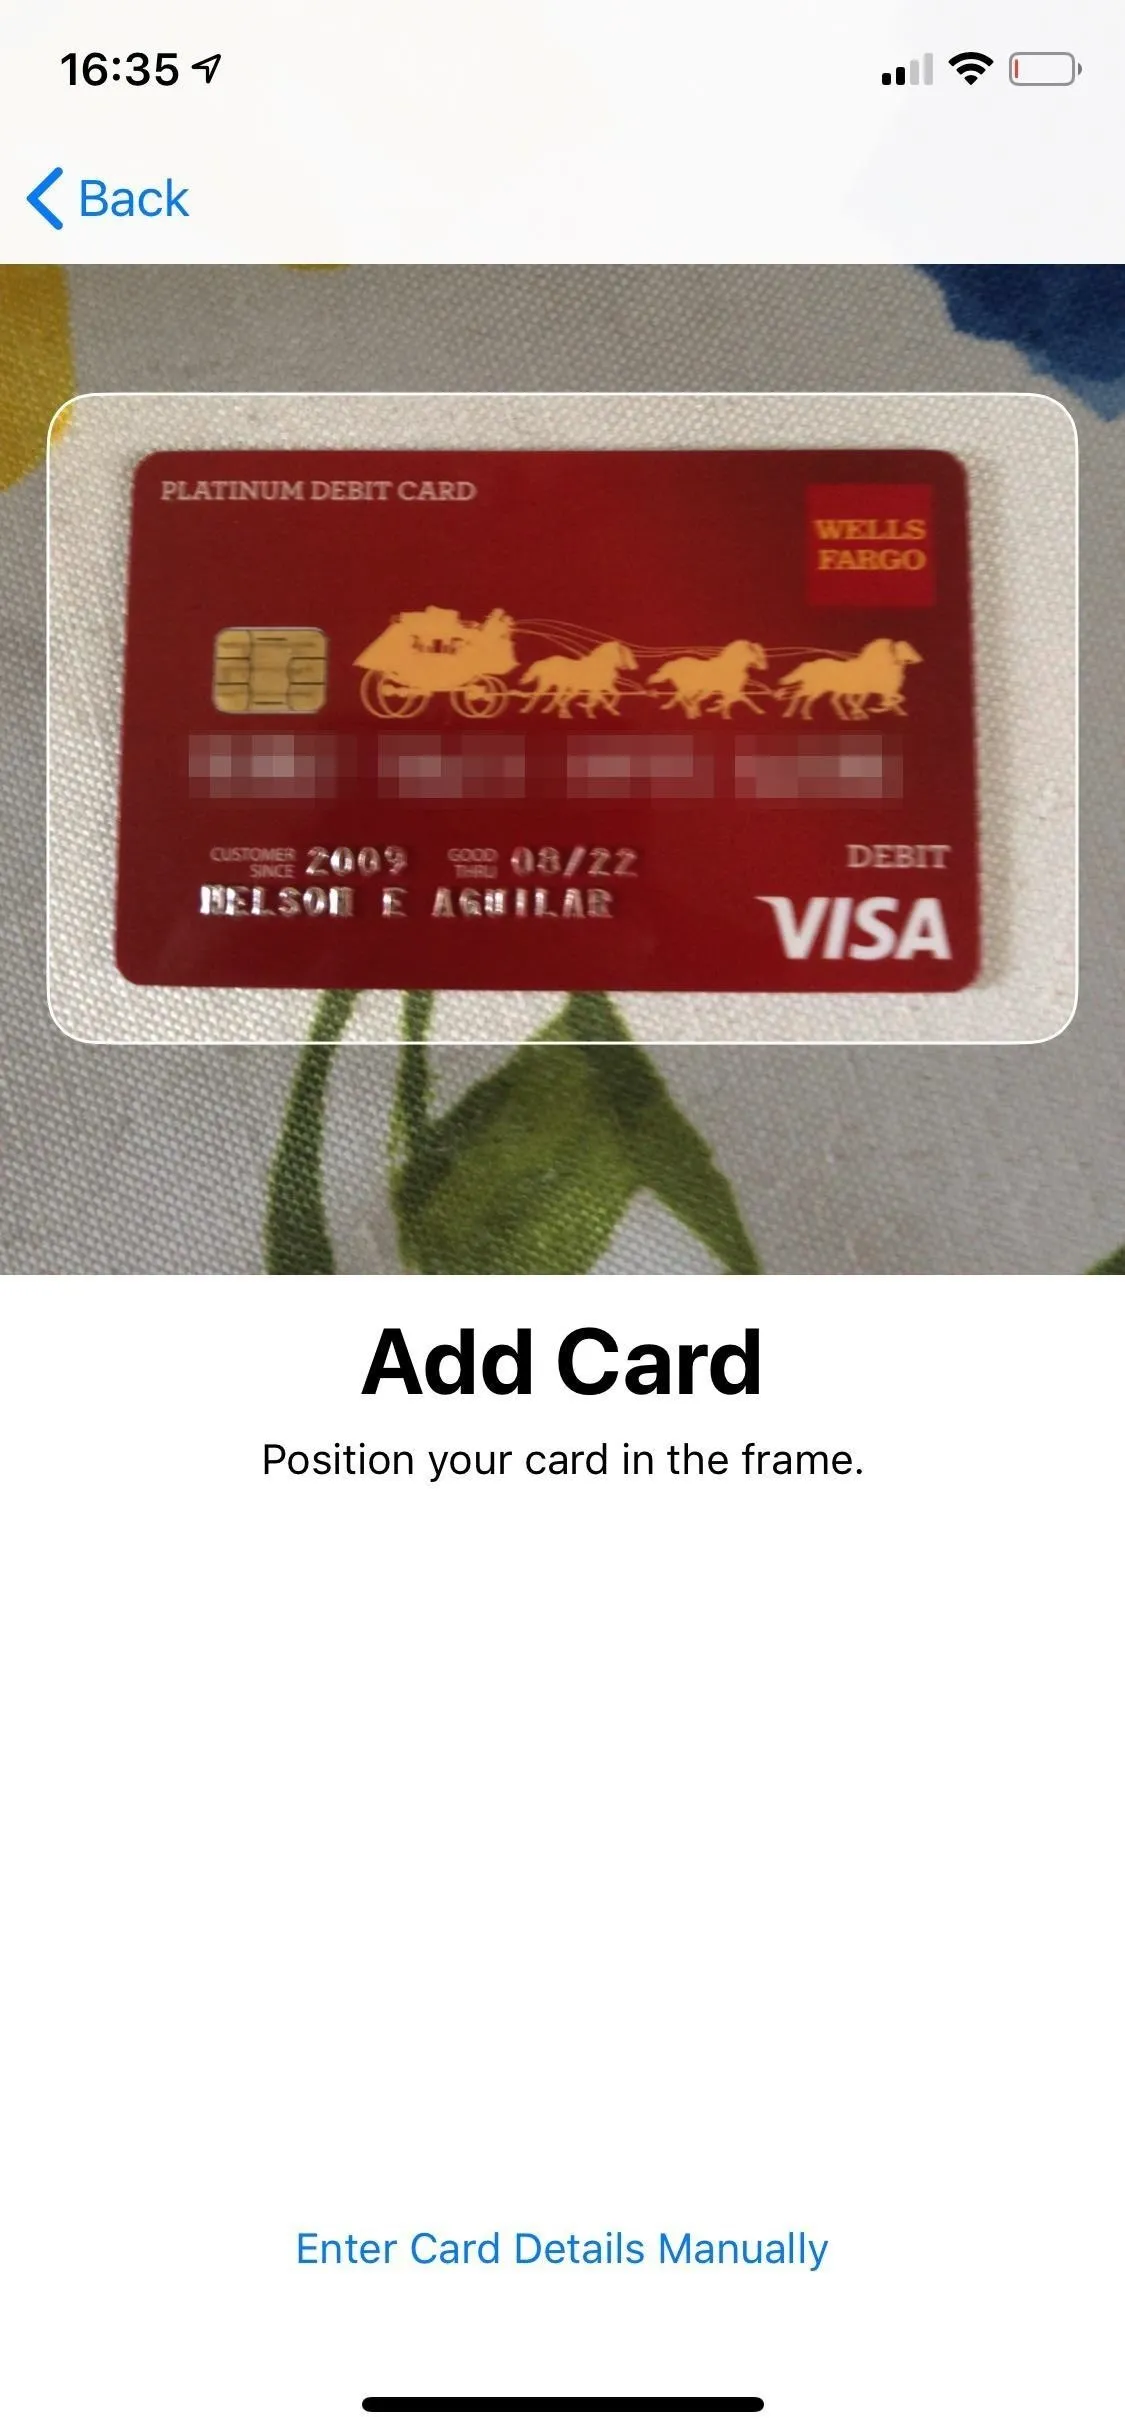


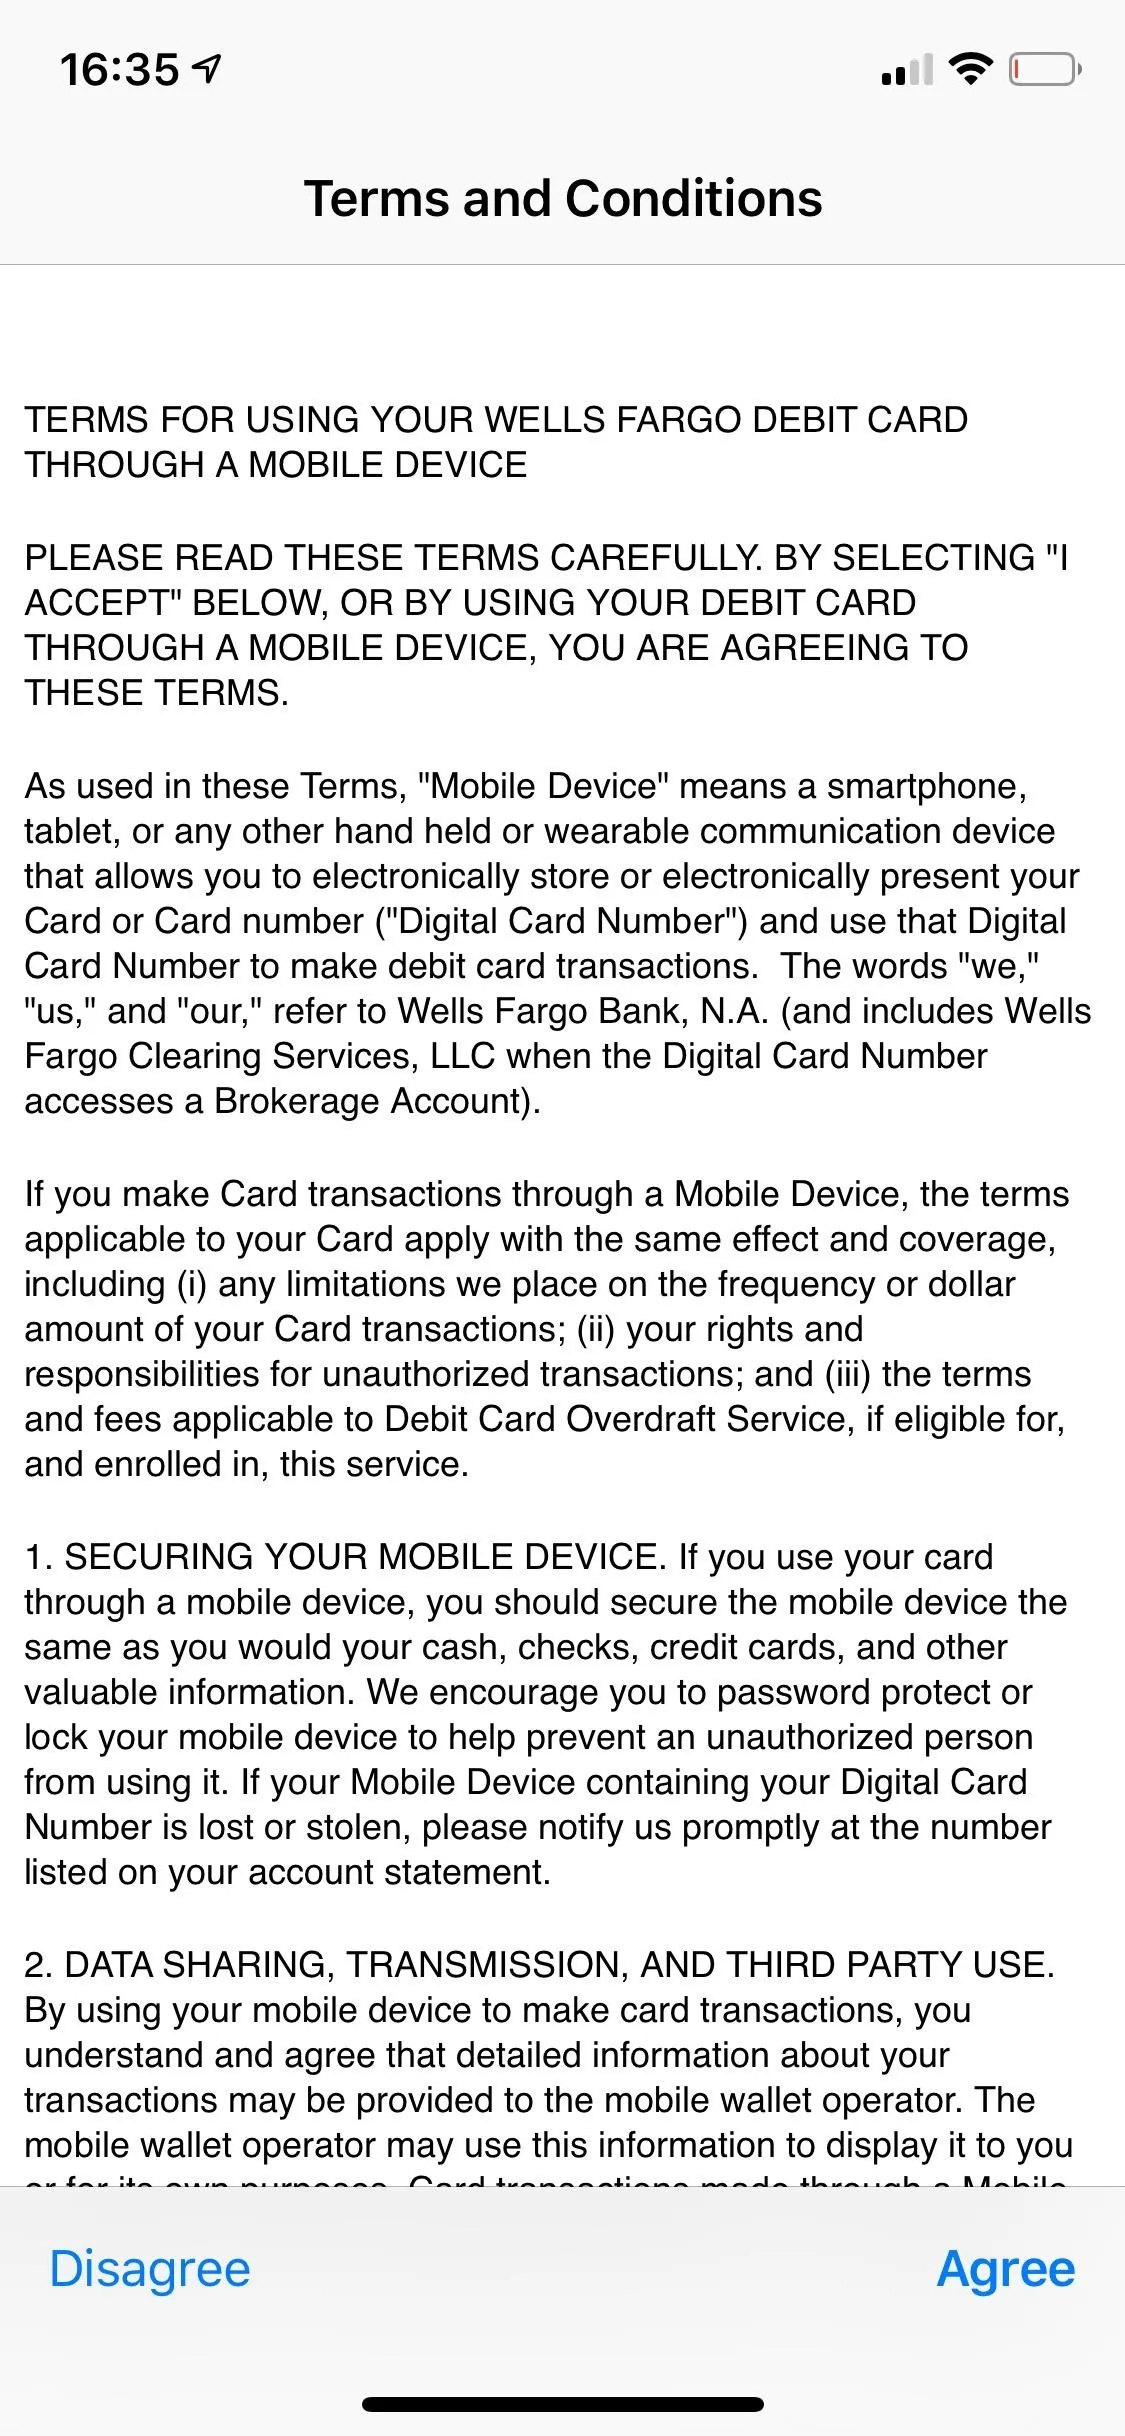
Although you probably won't, read through the terms and conditions on the next page and hit "Agree." Your card will be added to Apple Pay, but depending on your card, you may need to verify it first before you can use it.
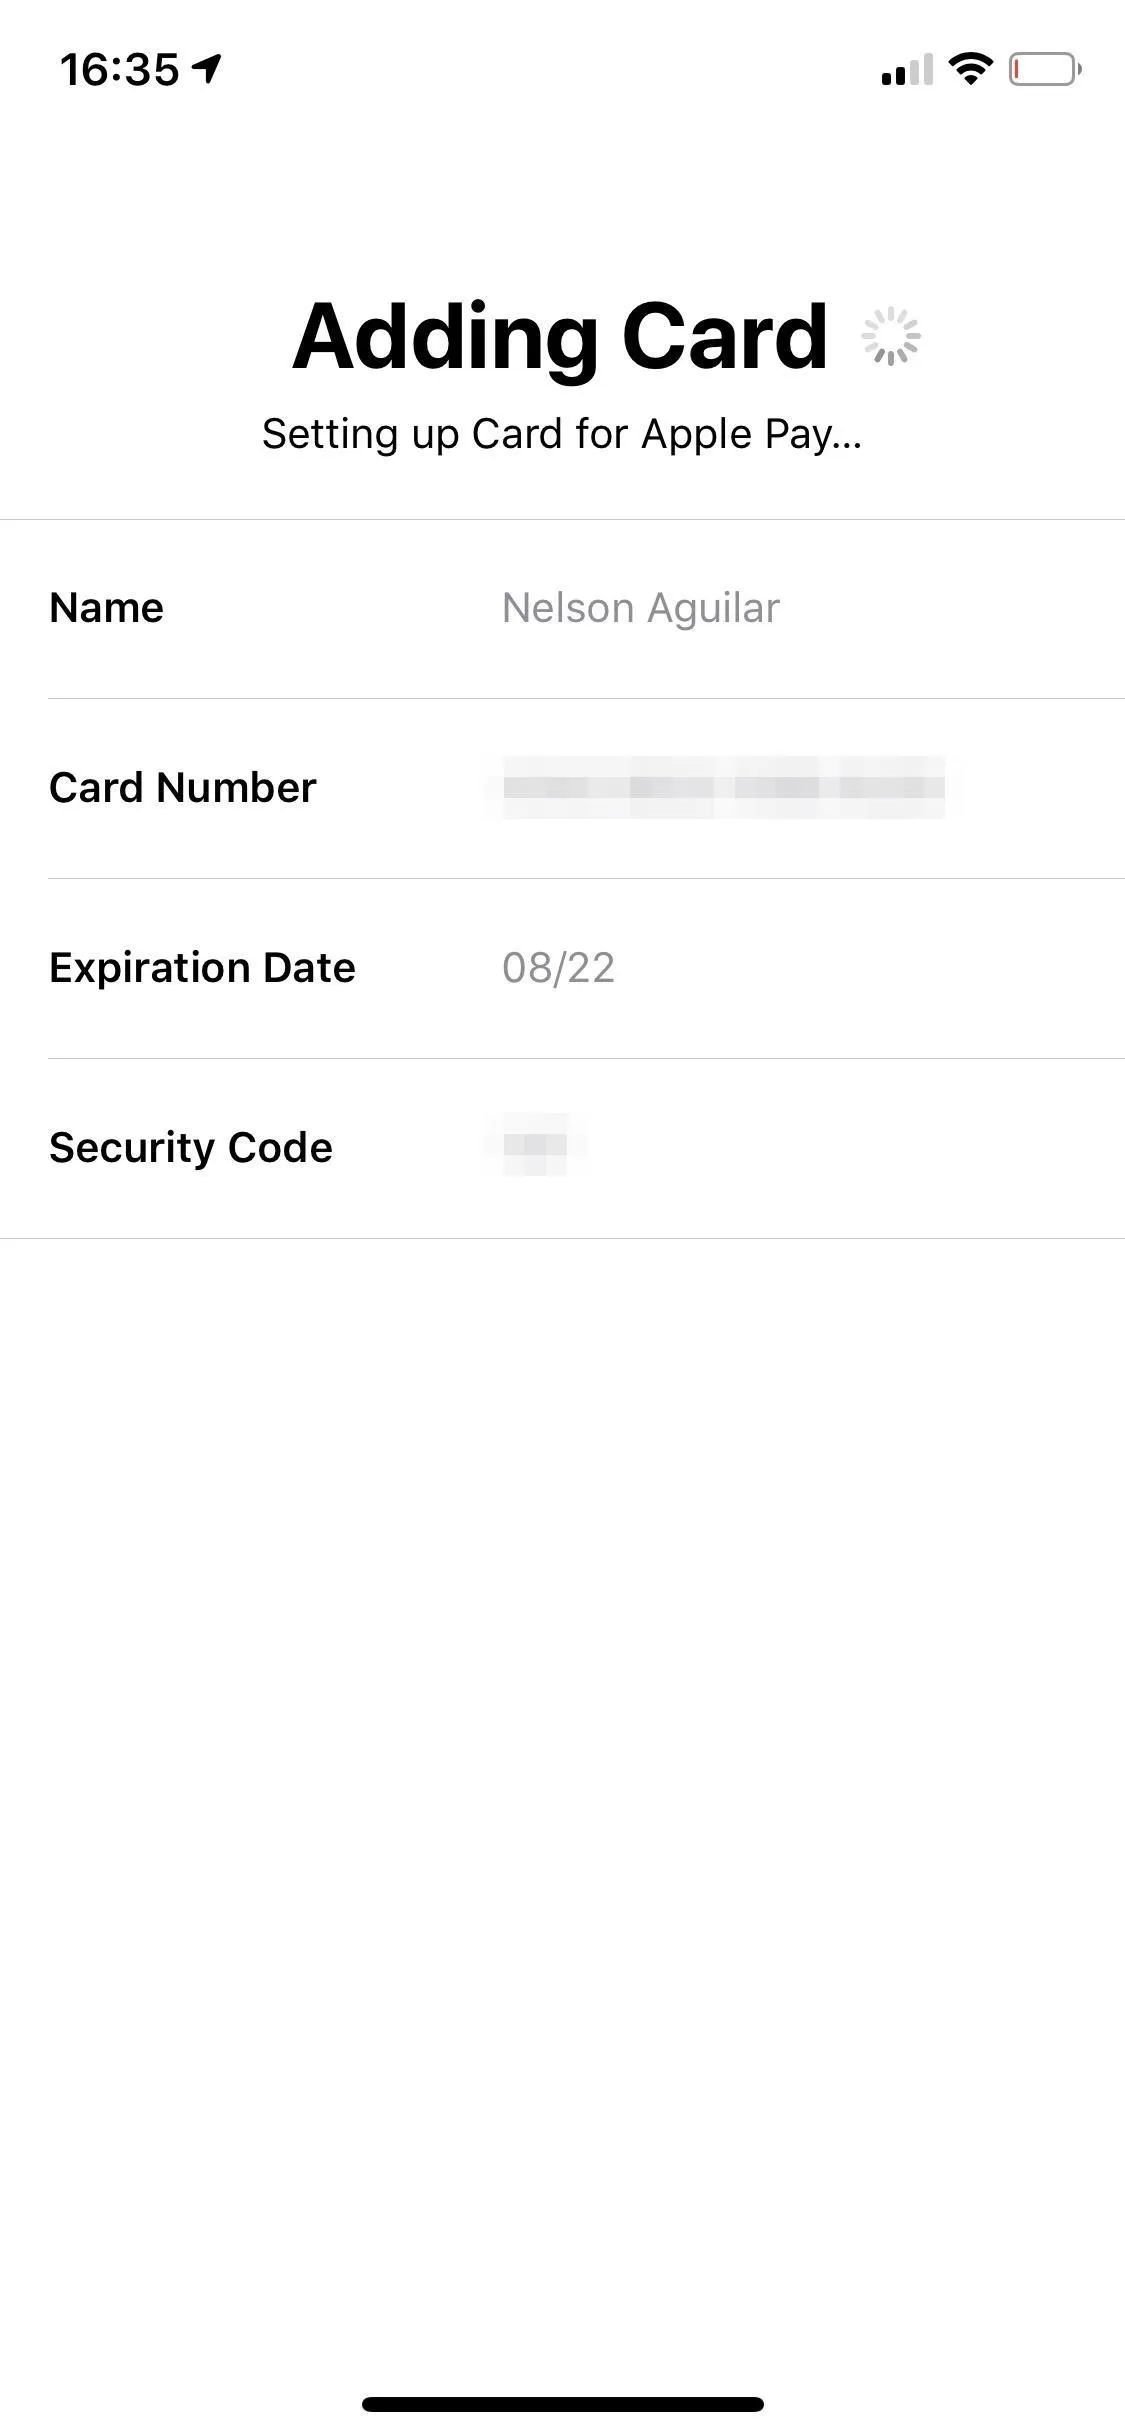


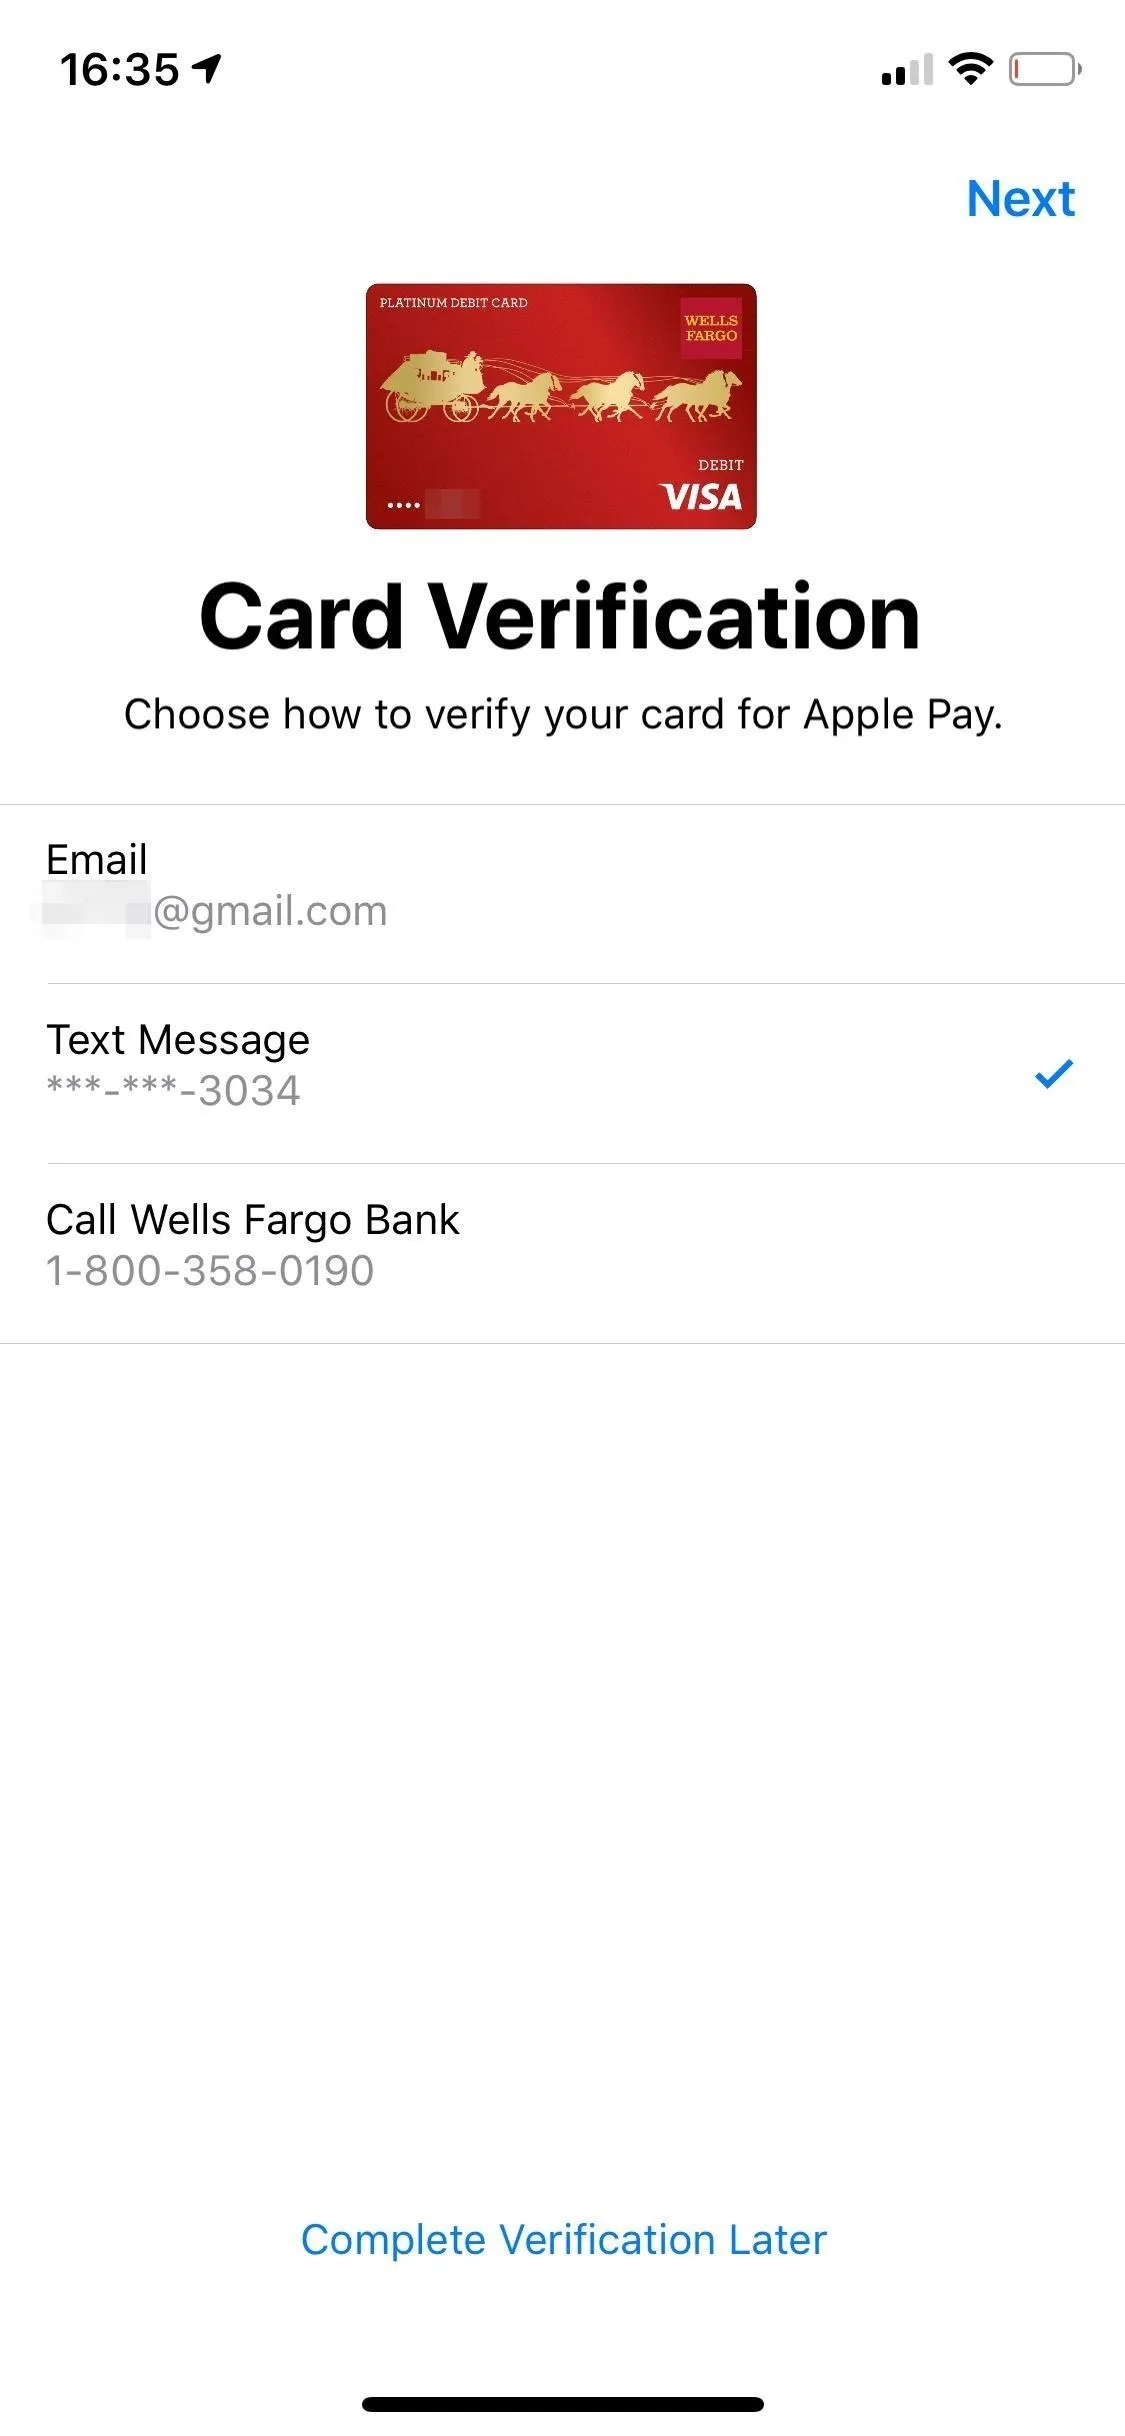
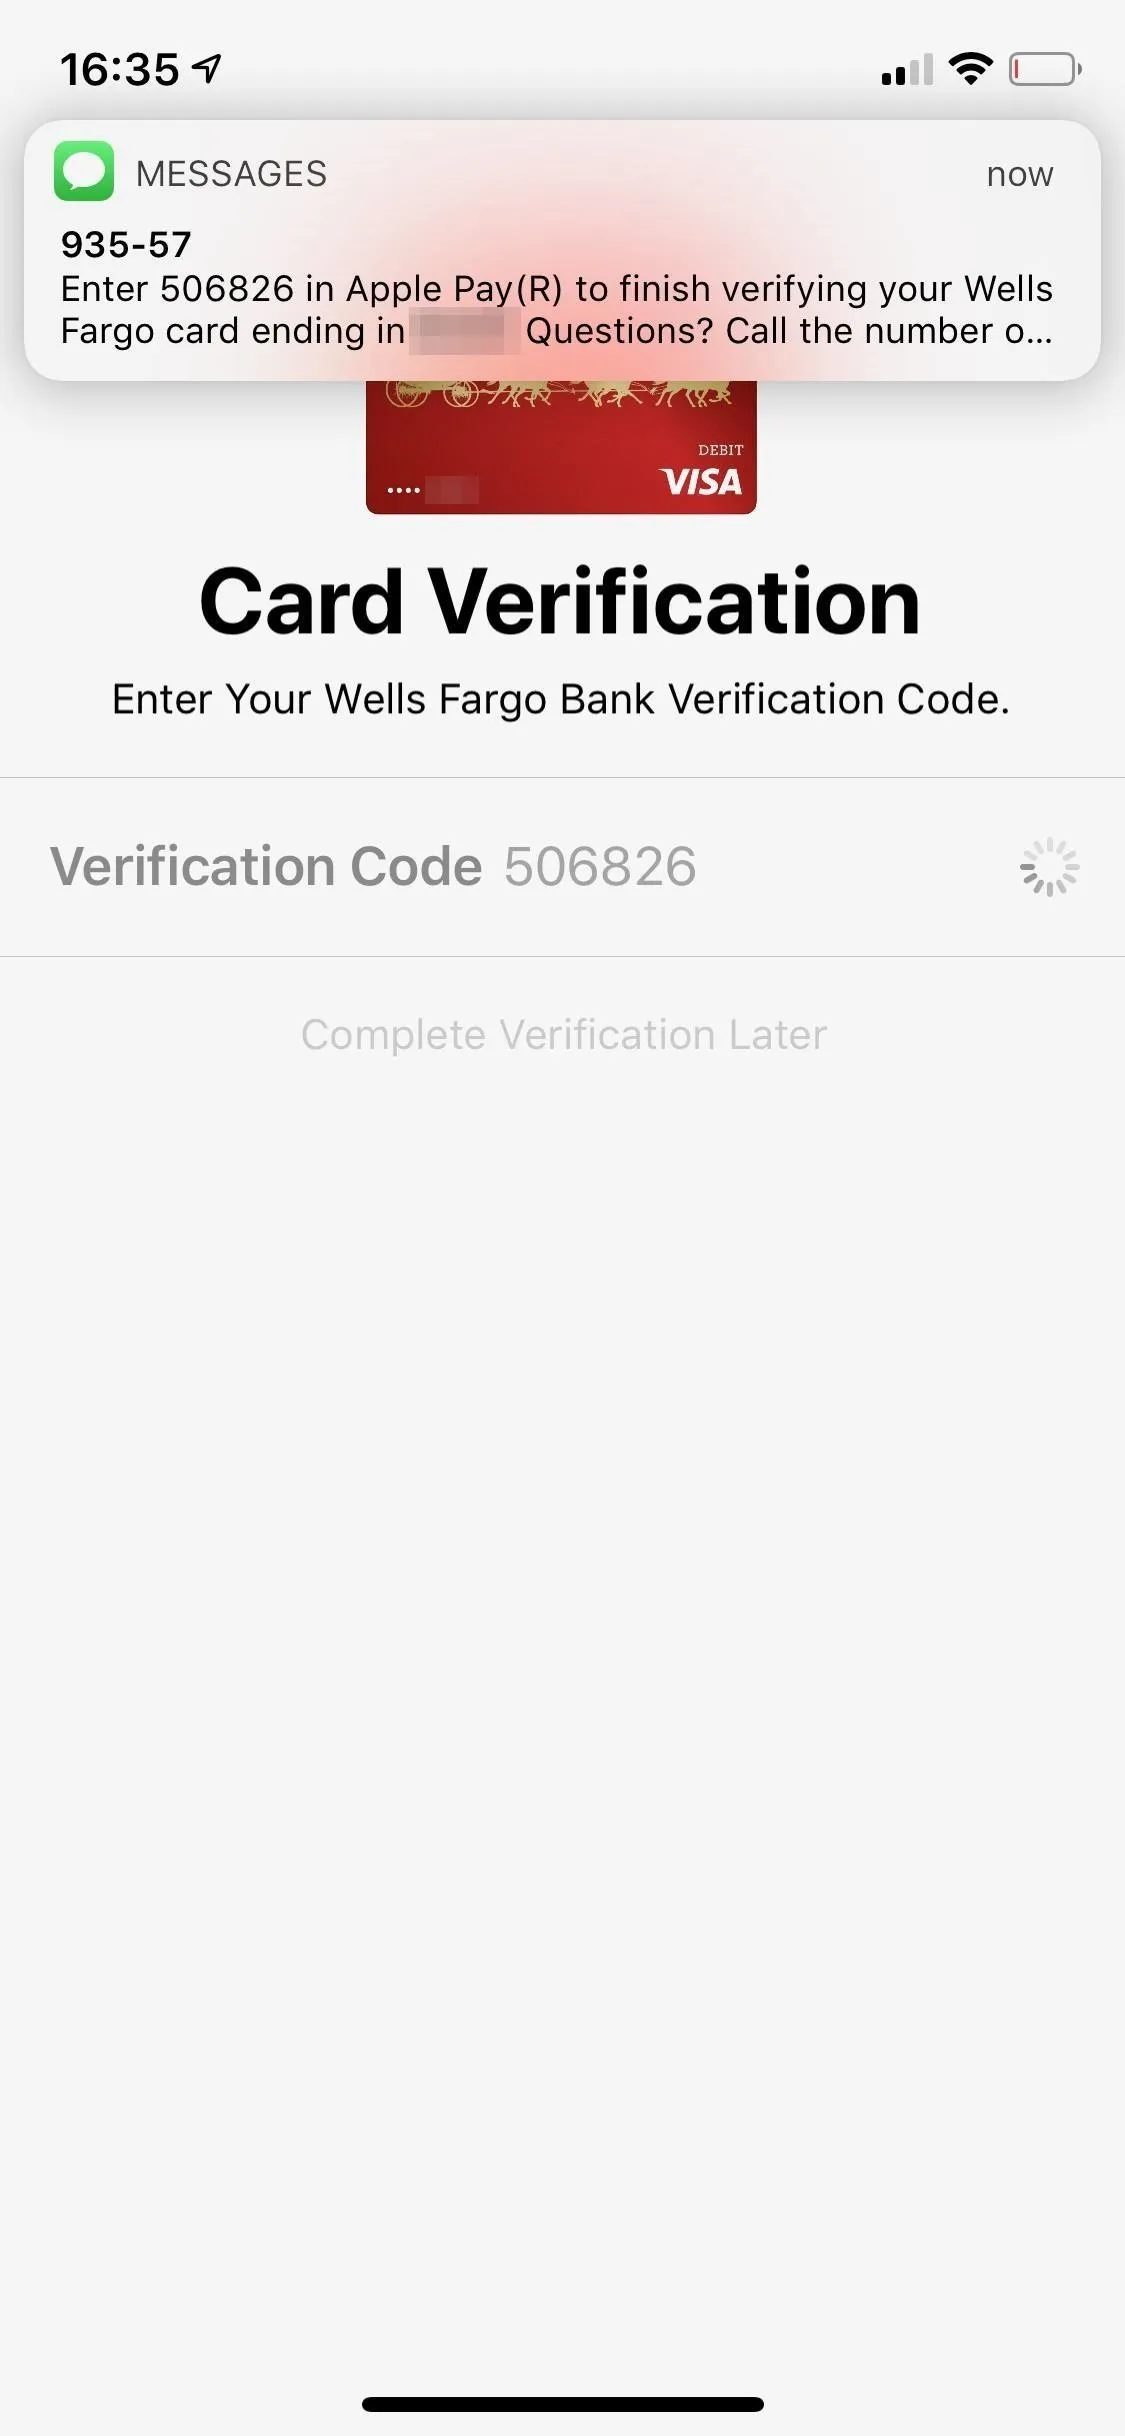
You can verify your card via email, phone number, phone call, or via the bank's mobile app, depending on your card issuer. If you use email, you'll be sent a verification code to the email attached to your Apple account — type it into the text box to verify. For the text message option, you'll receive a text with your verification code, and the code will appear automatically in your keyboard — tap on it to enter it and verify your card.
Then there's calling the bank to verify your card without a code, but the process can take quite a while, and it's a hassle compared to the other options. Lastly, some banks will ask you to log in to their mobile app and confirm the card that way.


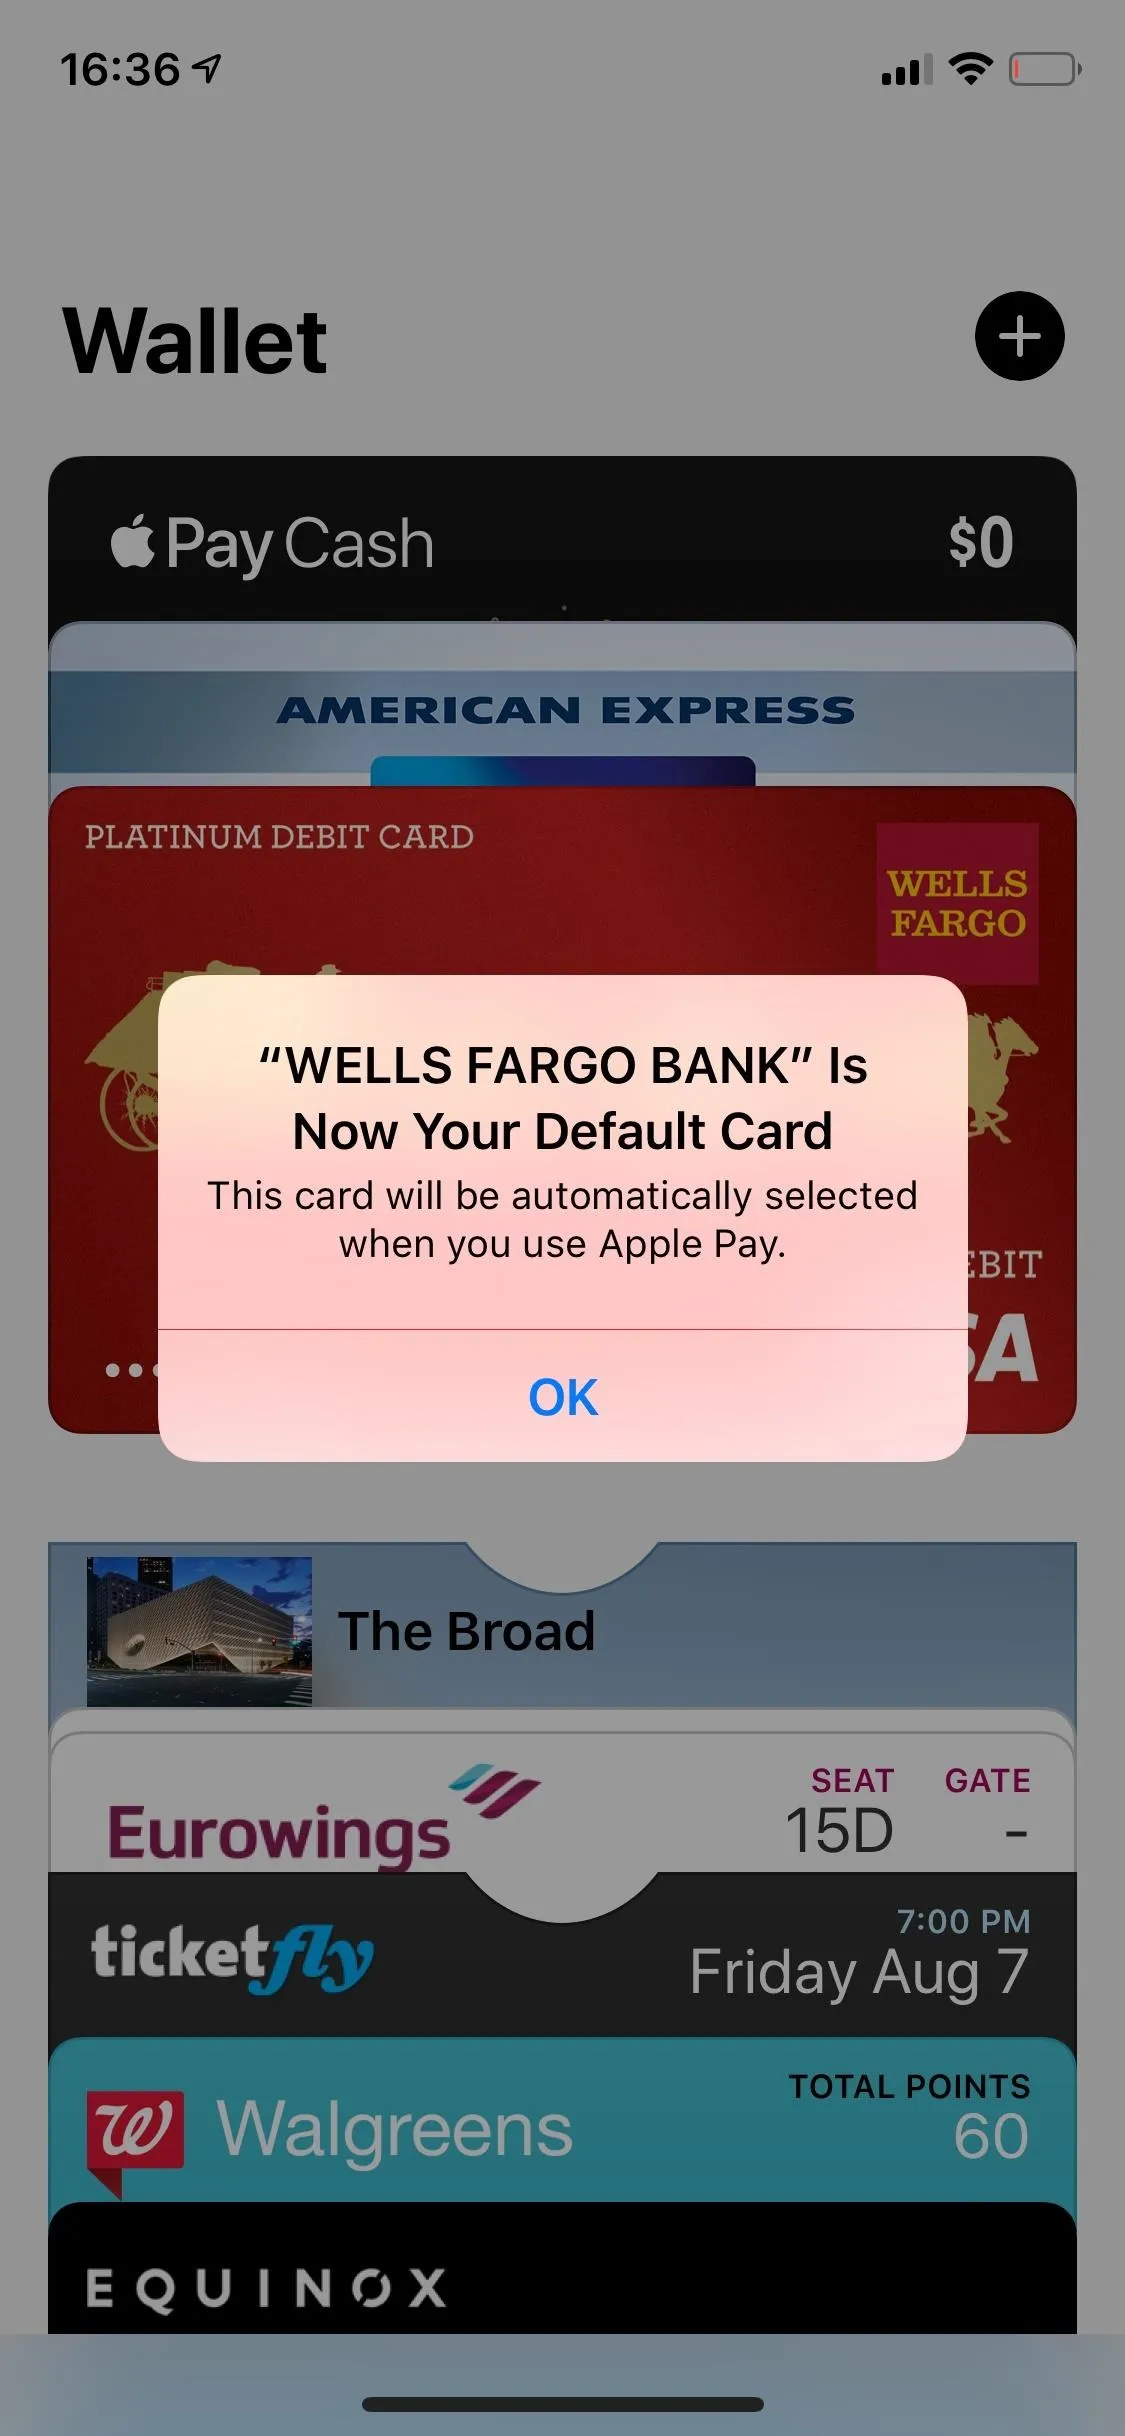
Once your card is verified, you'll see a page that says Card Activated, as well as a notification from Wallet saying your card is ready for Apple Pay. If you want to make the card your primary Apple Pay card, press your finger on it in Wallet and drag it to the front of your cards. A pop-up will appear that says the card is now your default card.



Option 2: Add Card in Settings
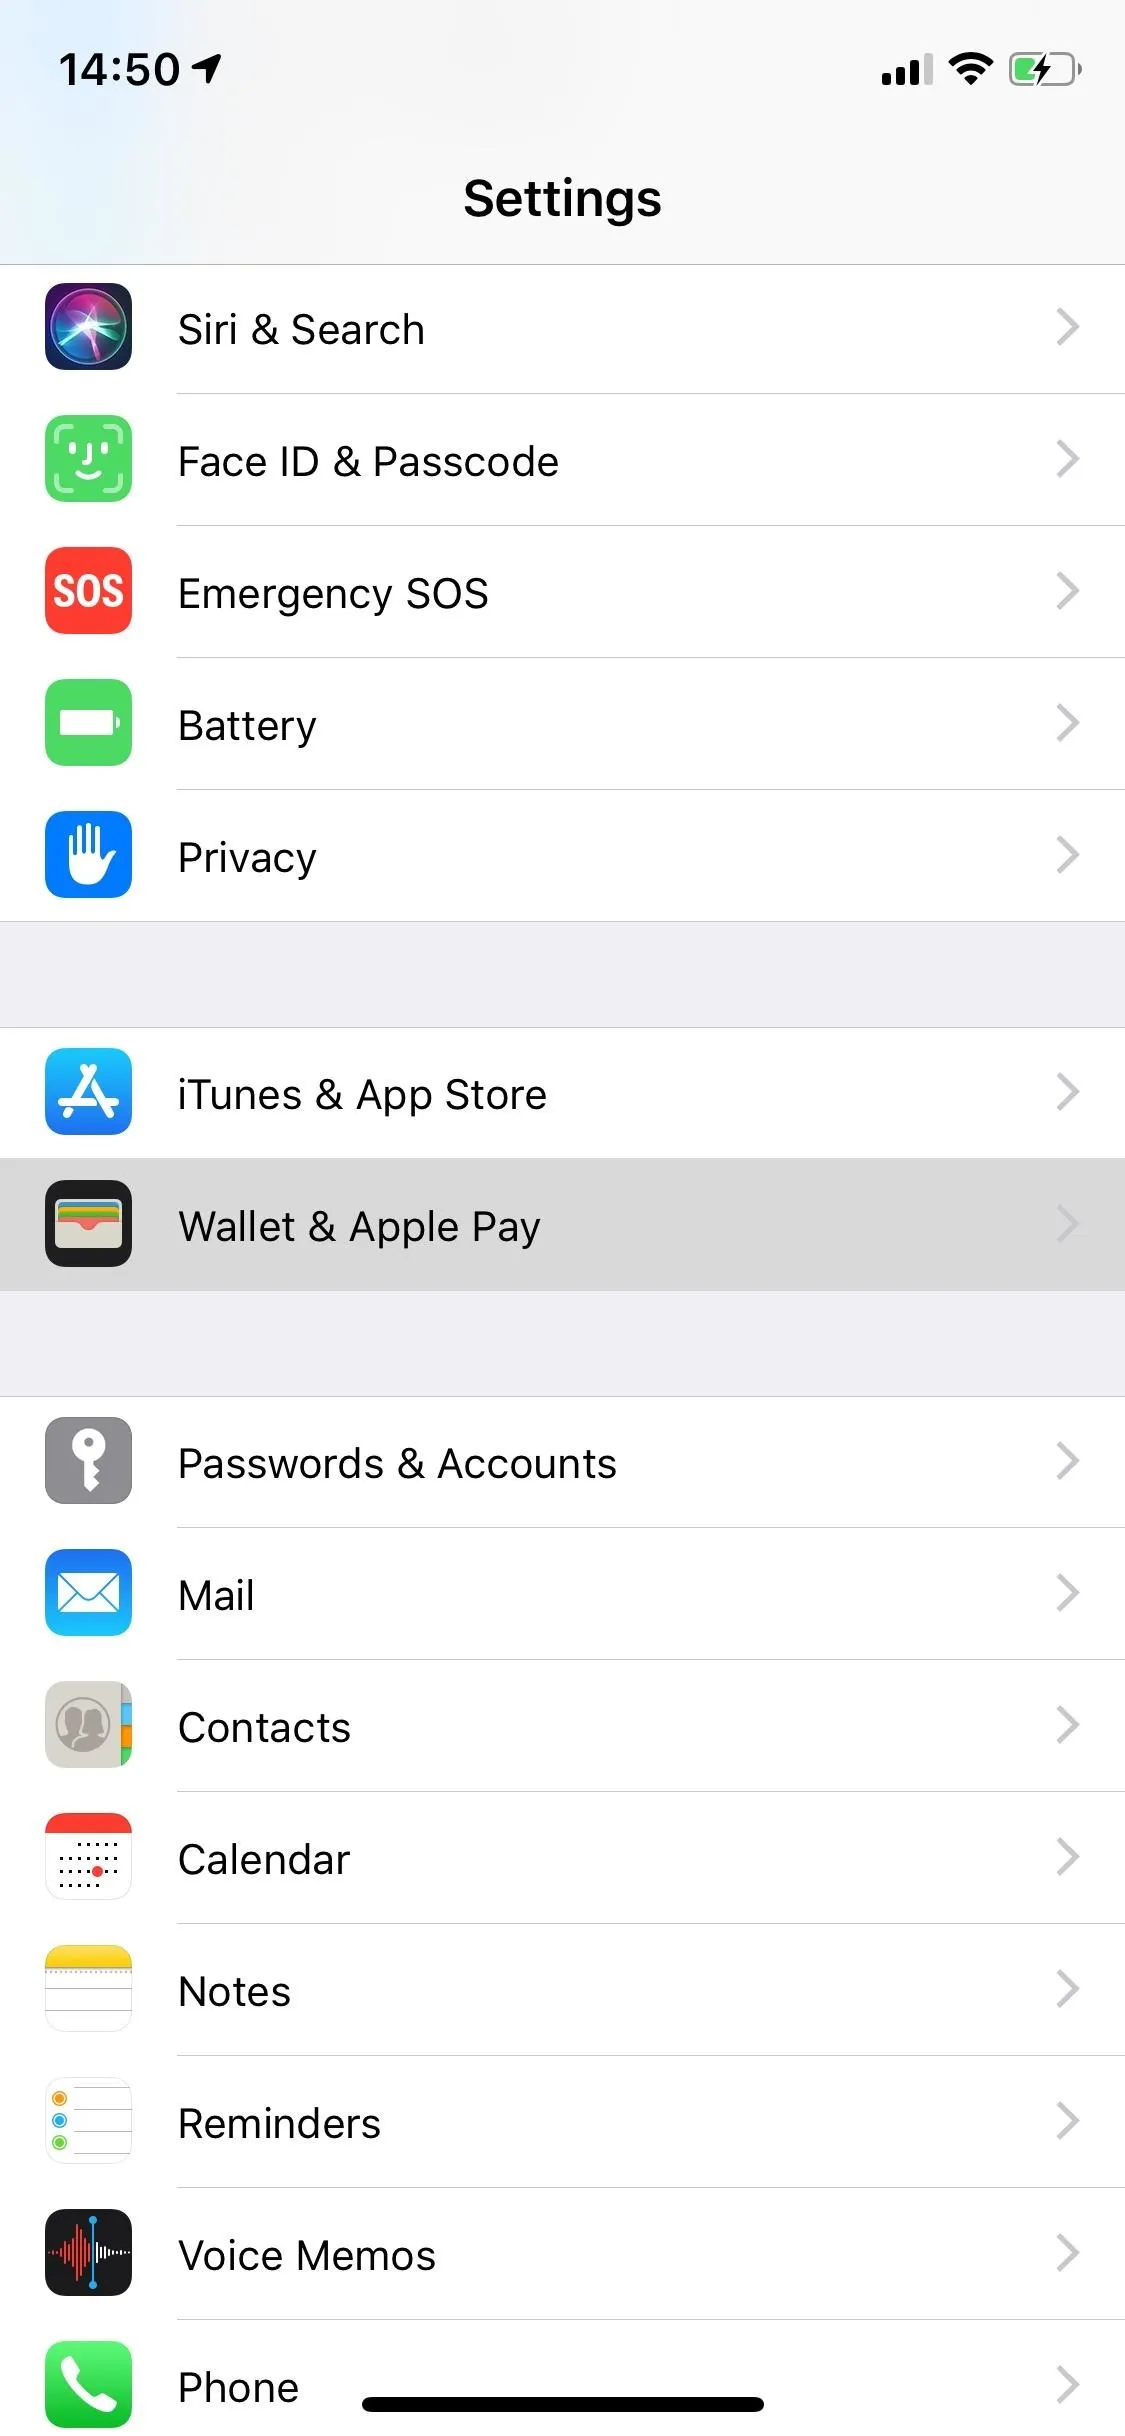
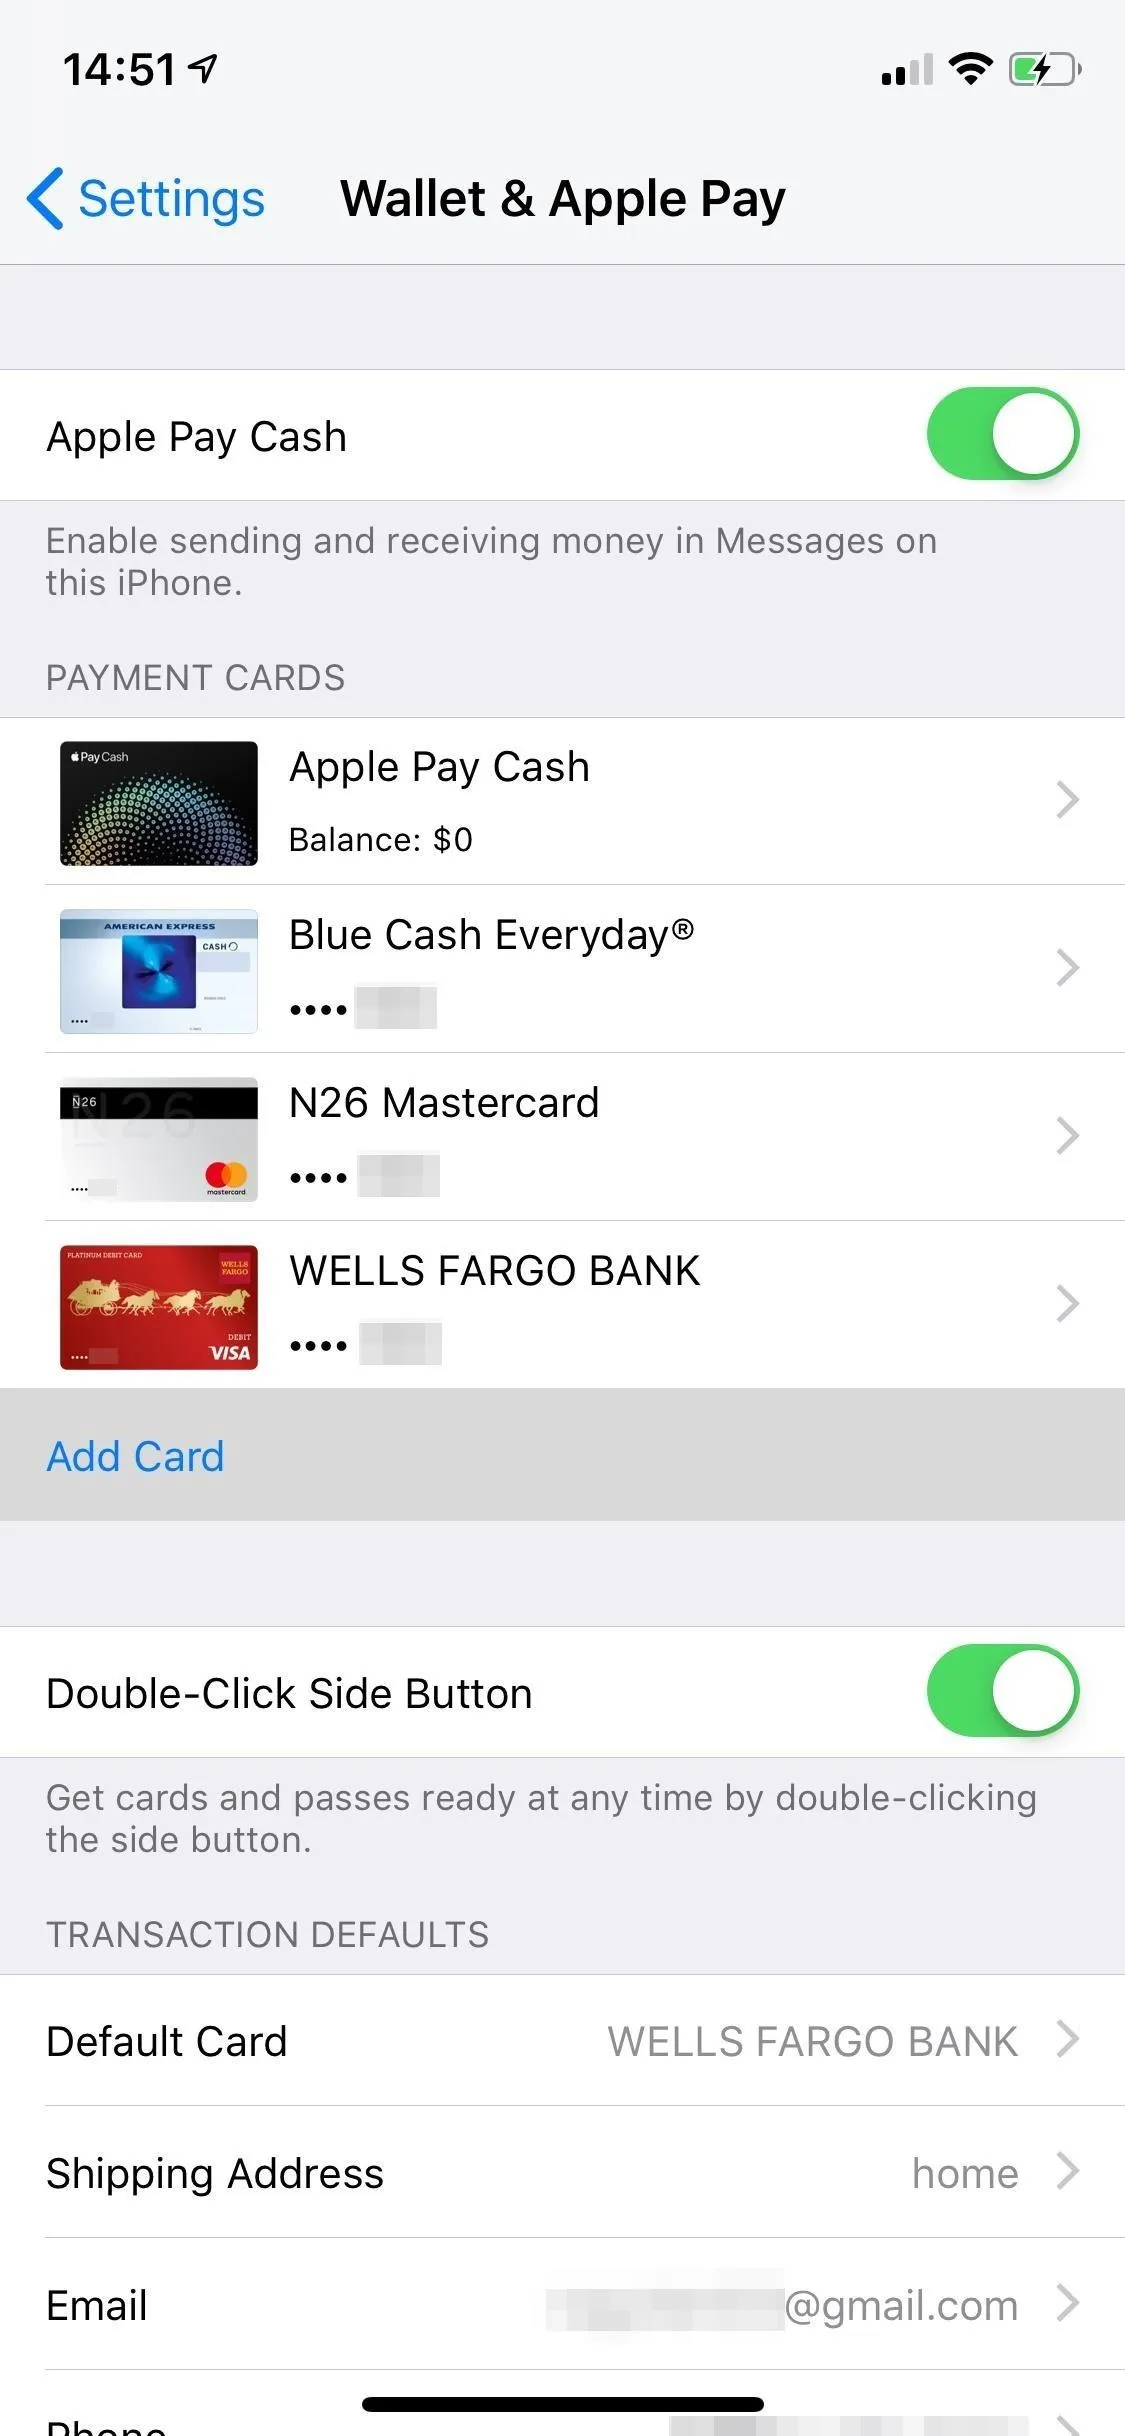
The other way you can add a bank card is through the Settings app. Open it, tap on "Wallet & Apple Pay," and then select "Add Card." From there, the page explaining Apple Pay will appear, and the rest of the process is exactly the same as the first option when adding the card in Wallet.


Removing a Bank Card from Wallet
Removing a bank card from Wallet is a much easier process than adding it. And just like above, there are two ways to do it.
Option 1: Remove Card in Wallet
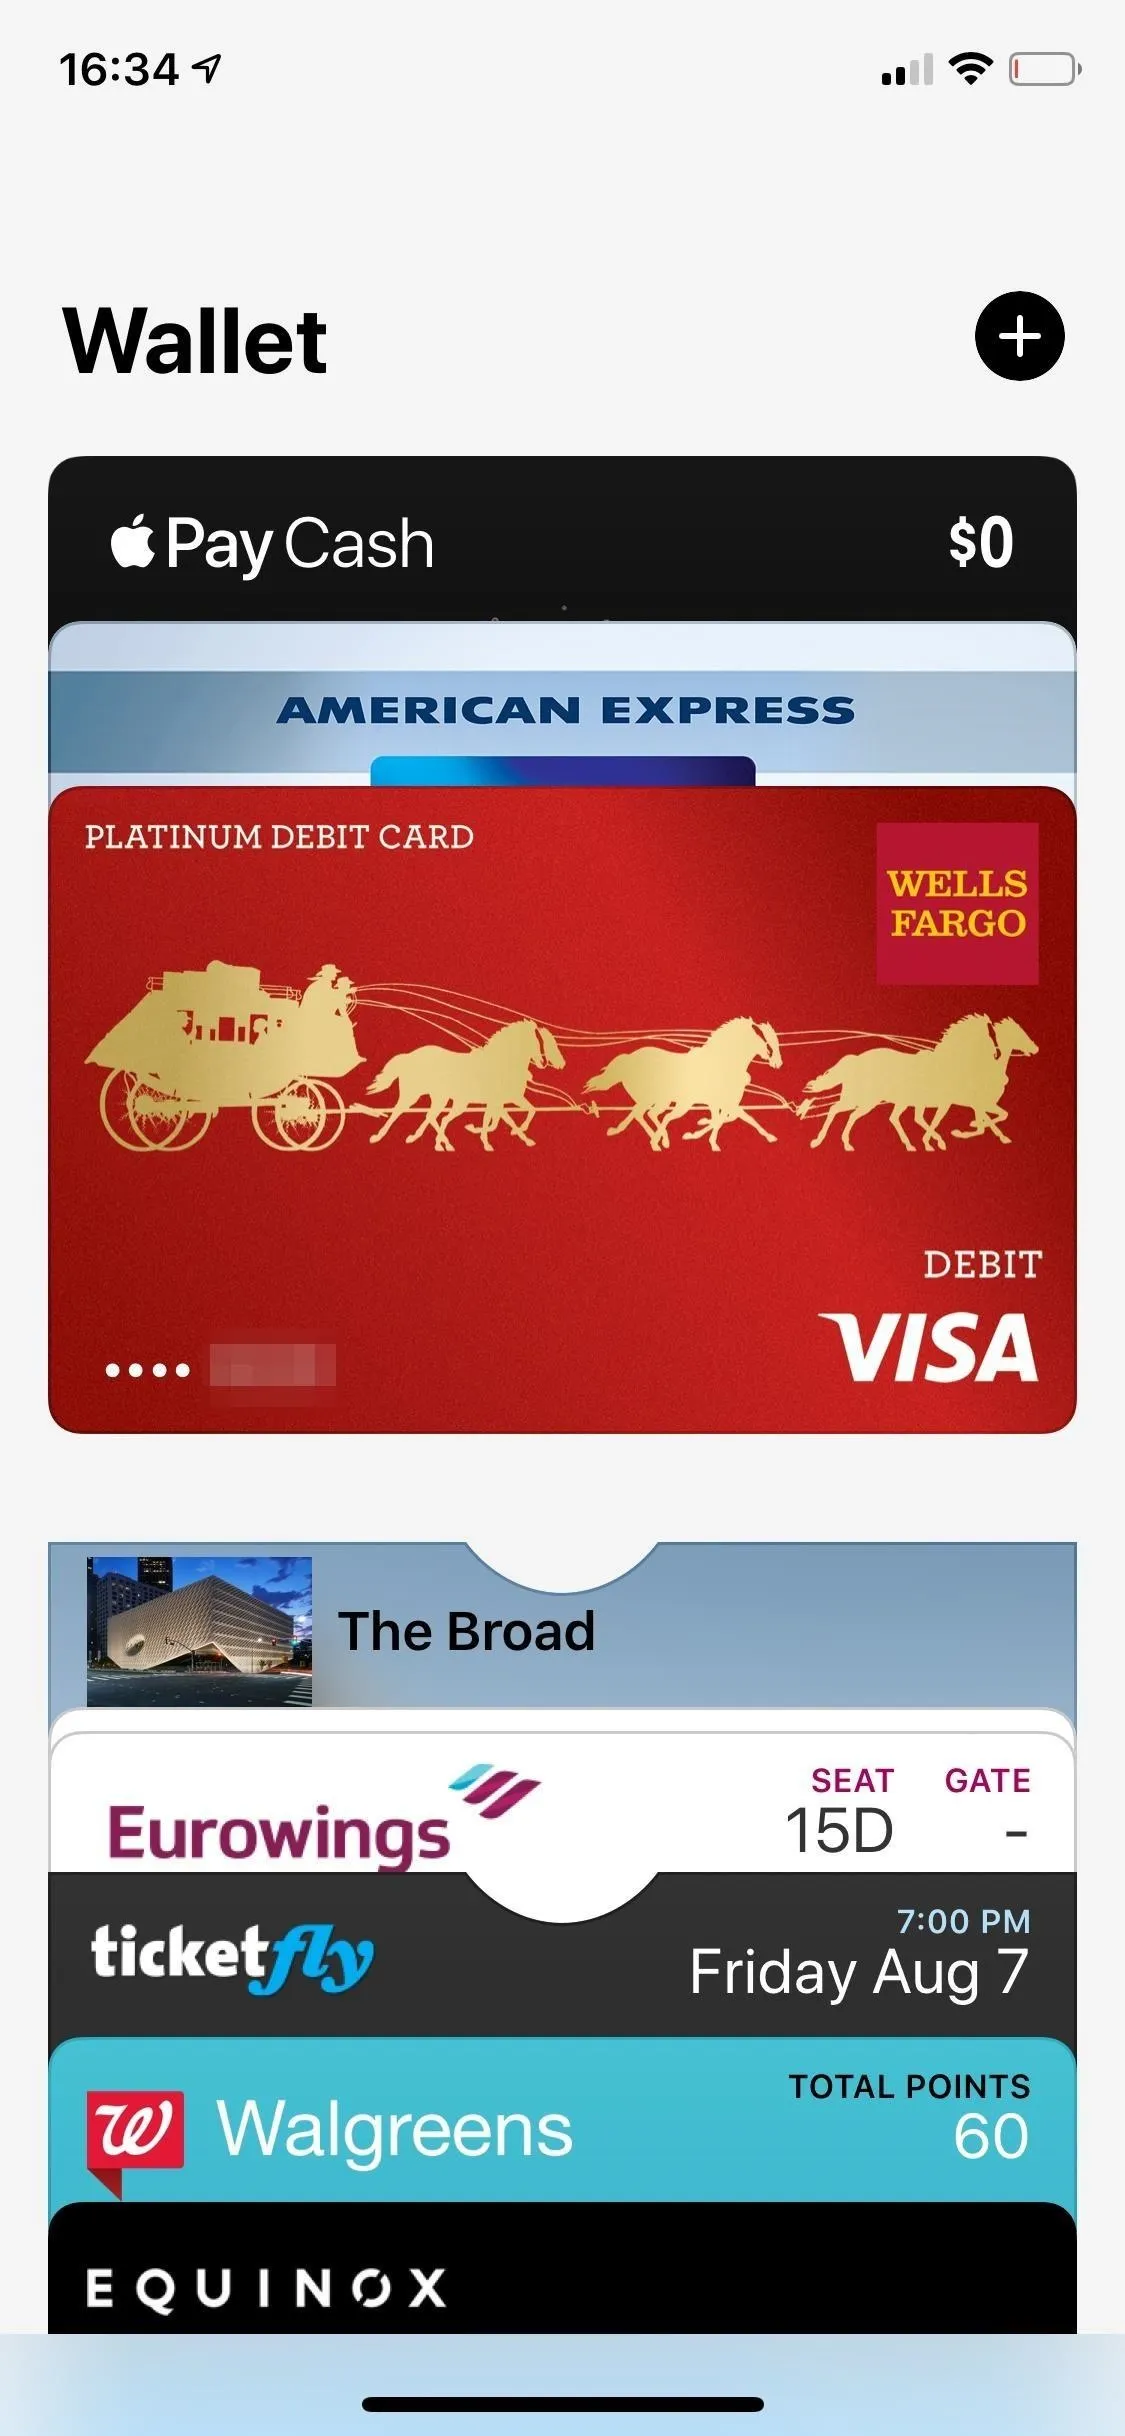
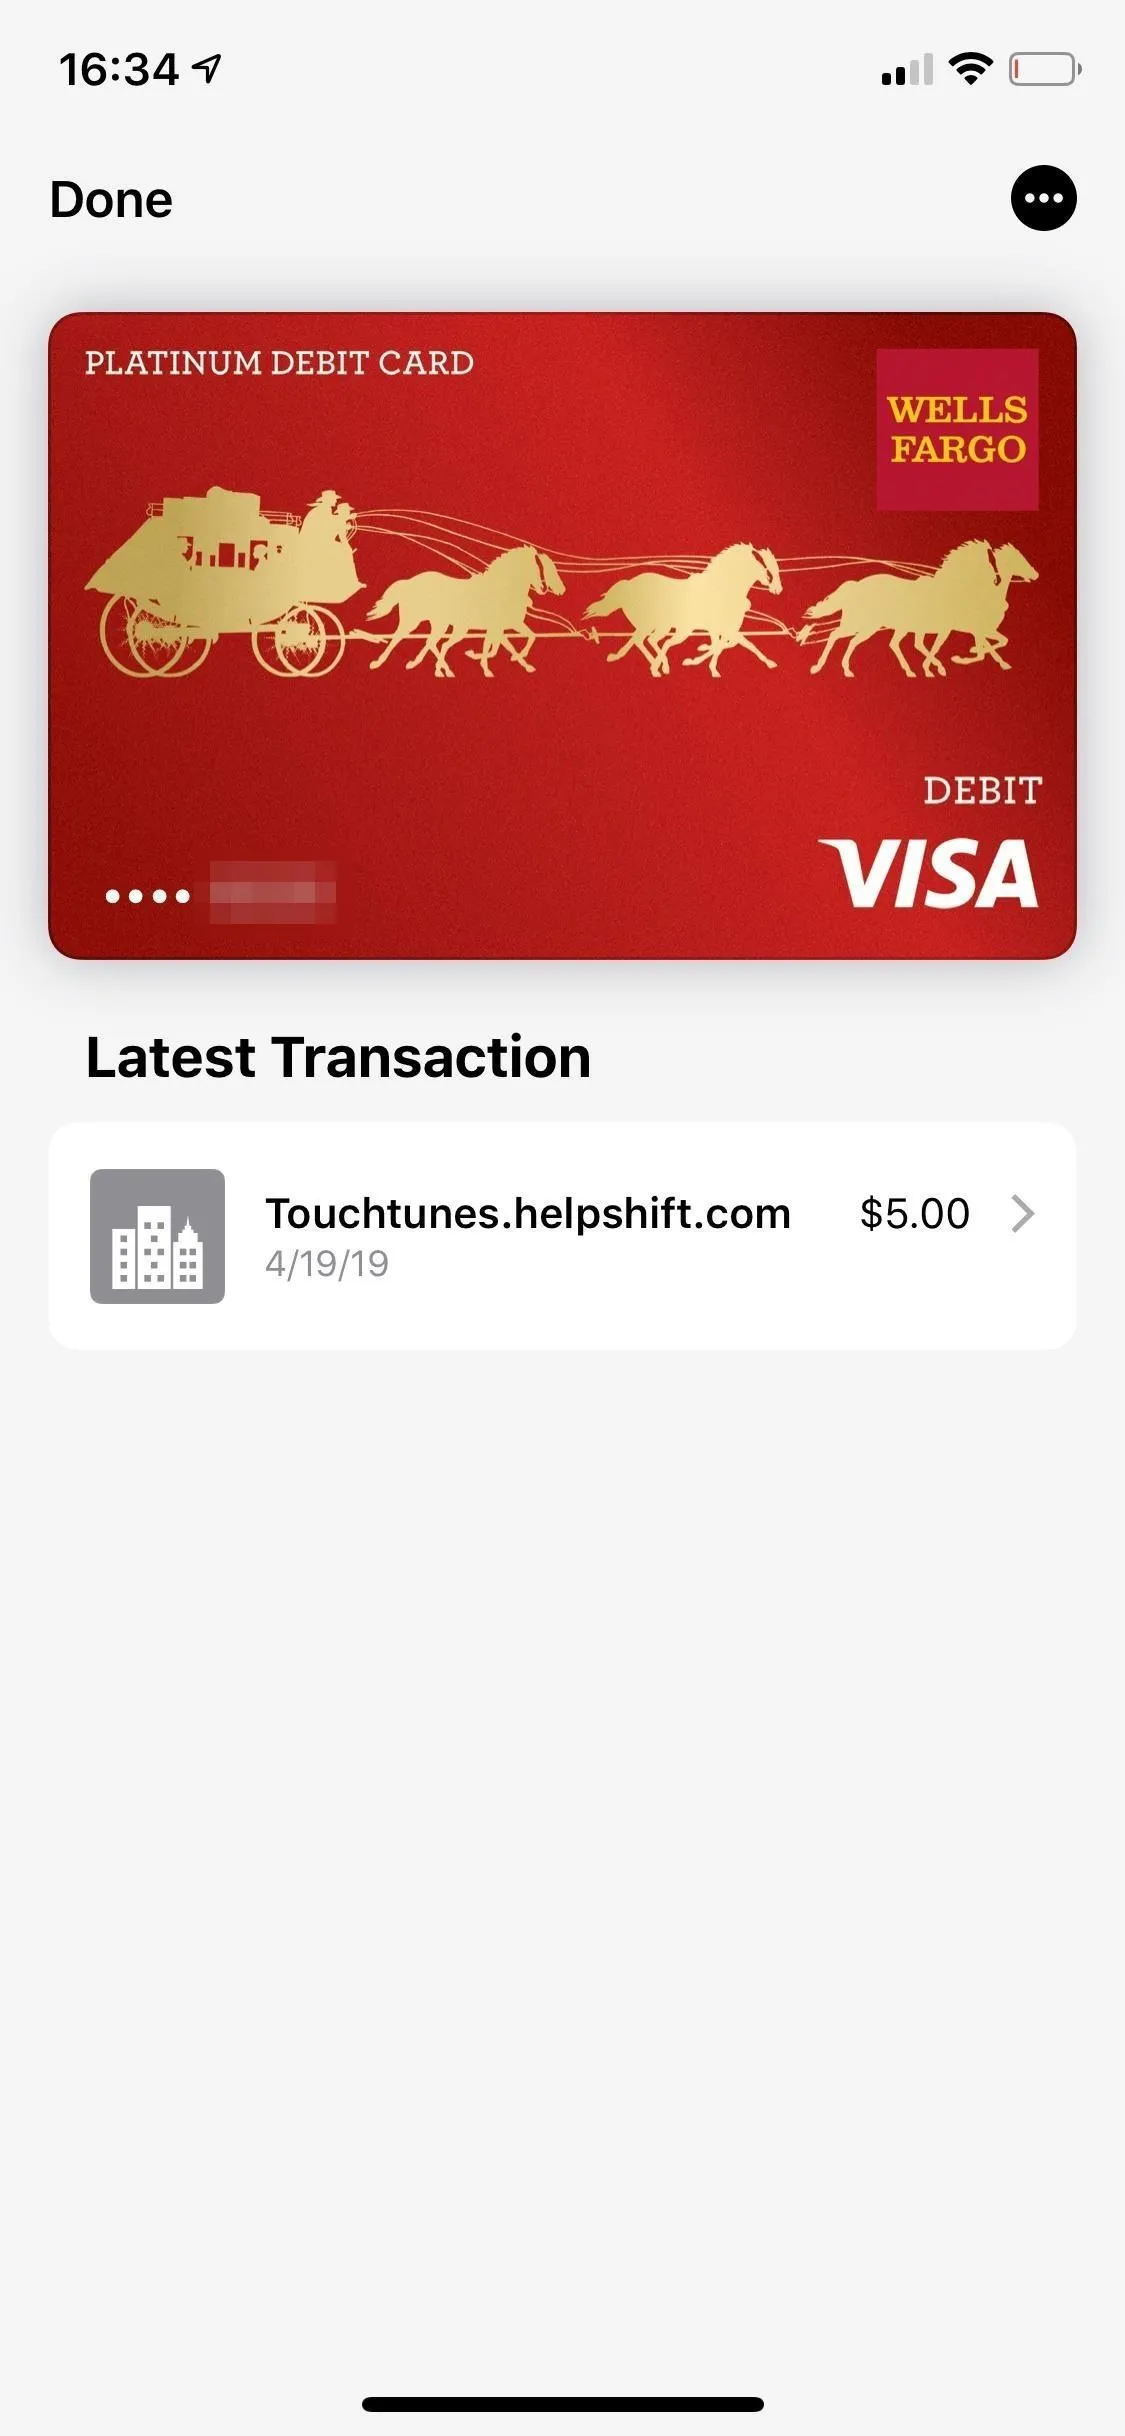
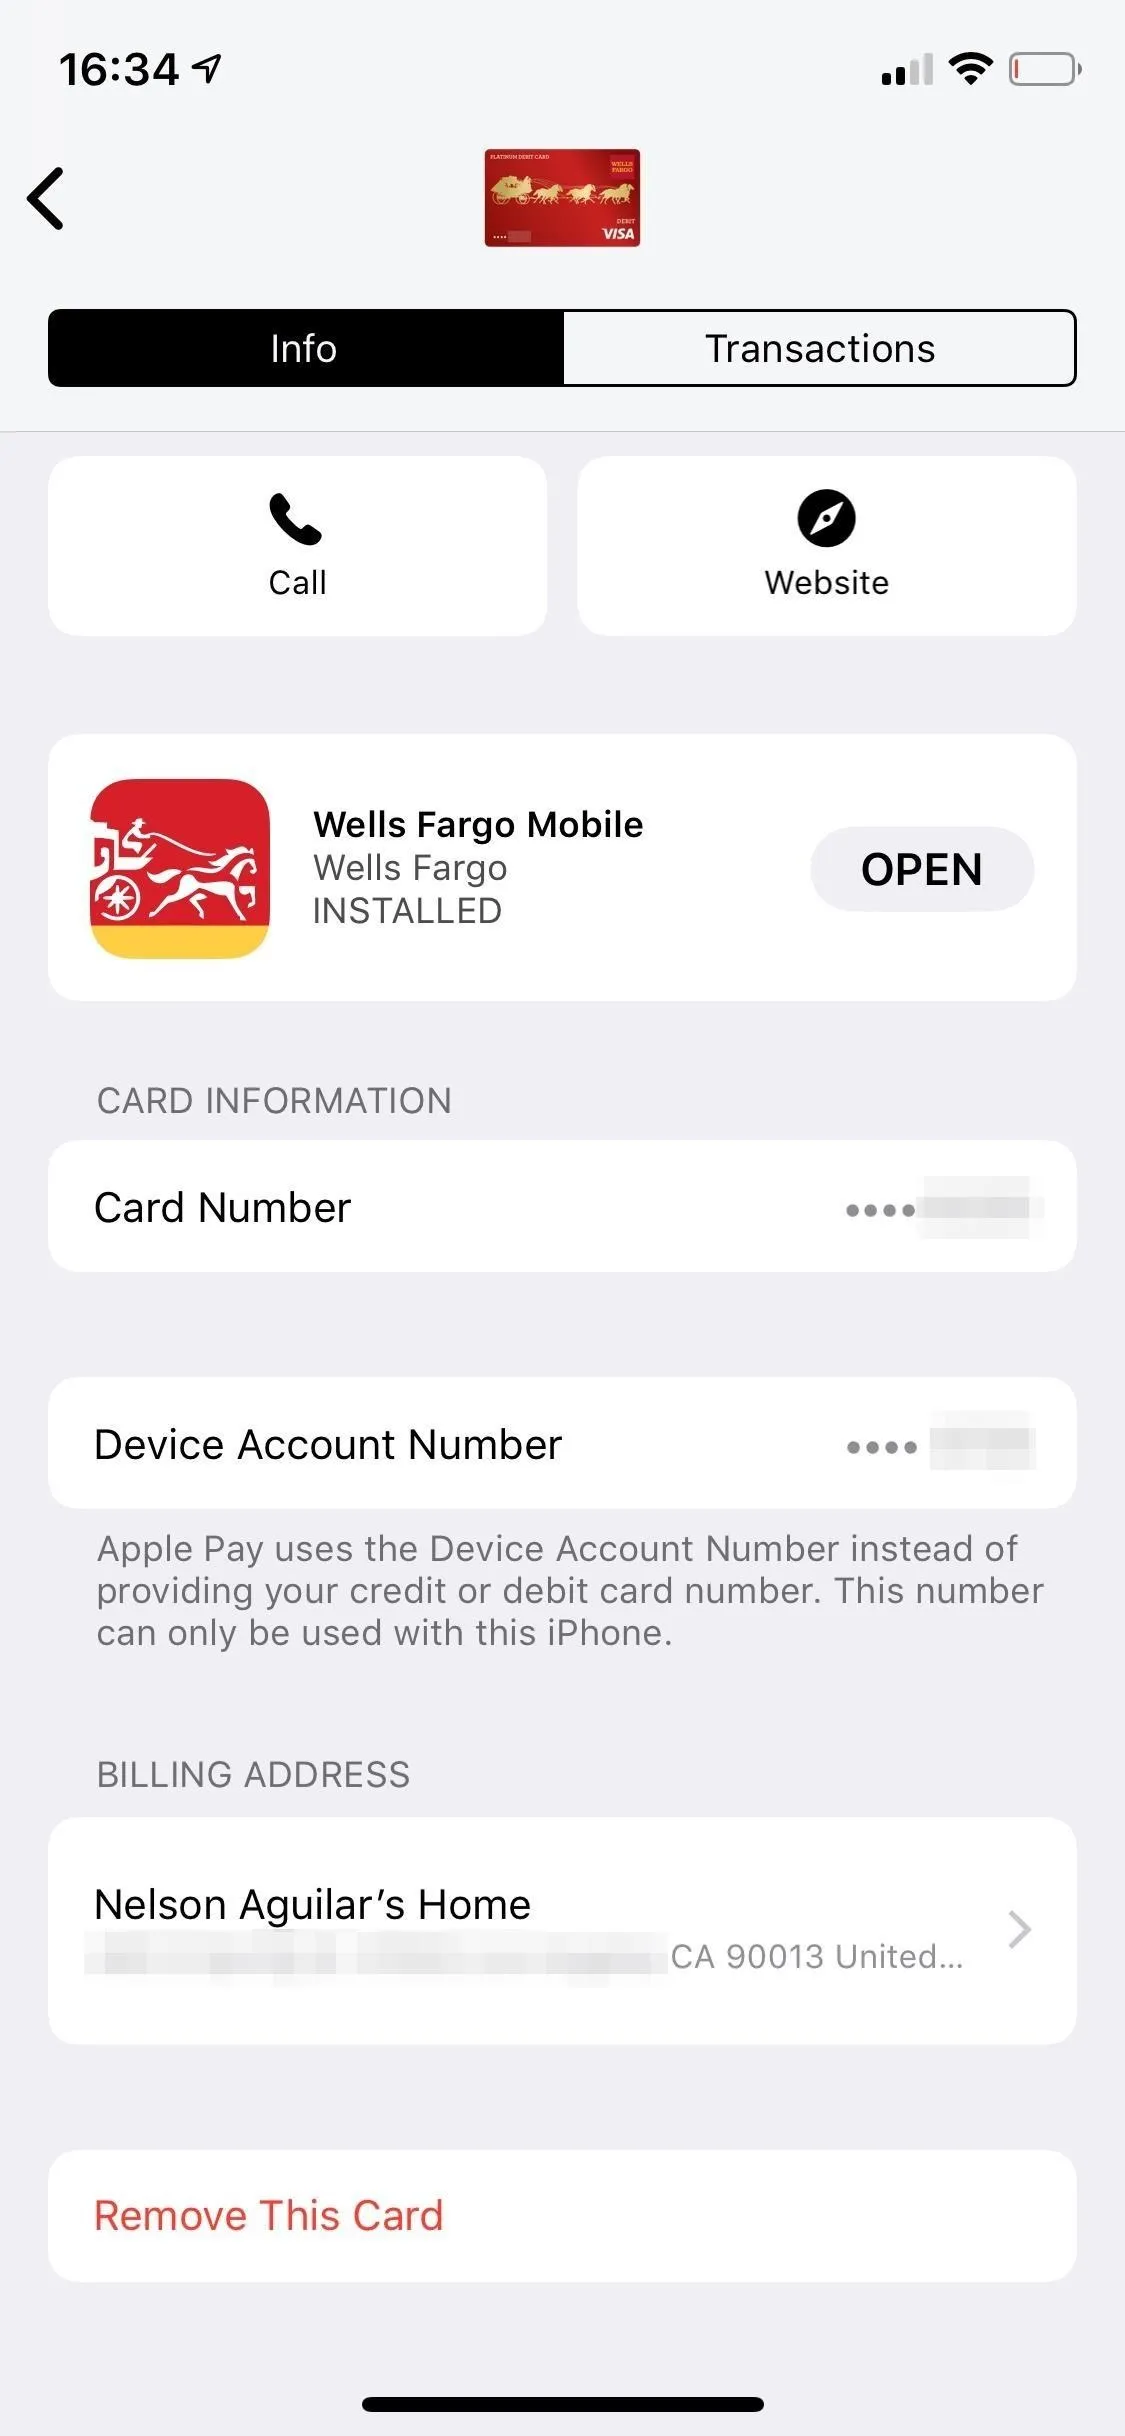
Open Wallet, tap on the card you want to remove, then tap on the circled ellipsis (•••) in the top right. Scroll down and tap on "Remove This Card." A pop-up will appear; tap on "Remove" to delete the card from Apple Pay and Wallet.


Option 2: Remove Card in Settings
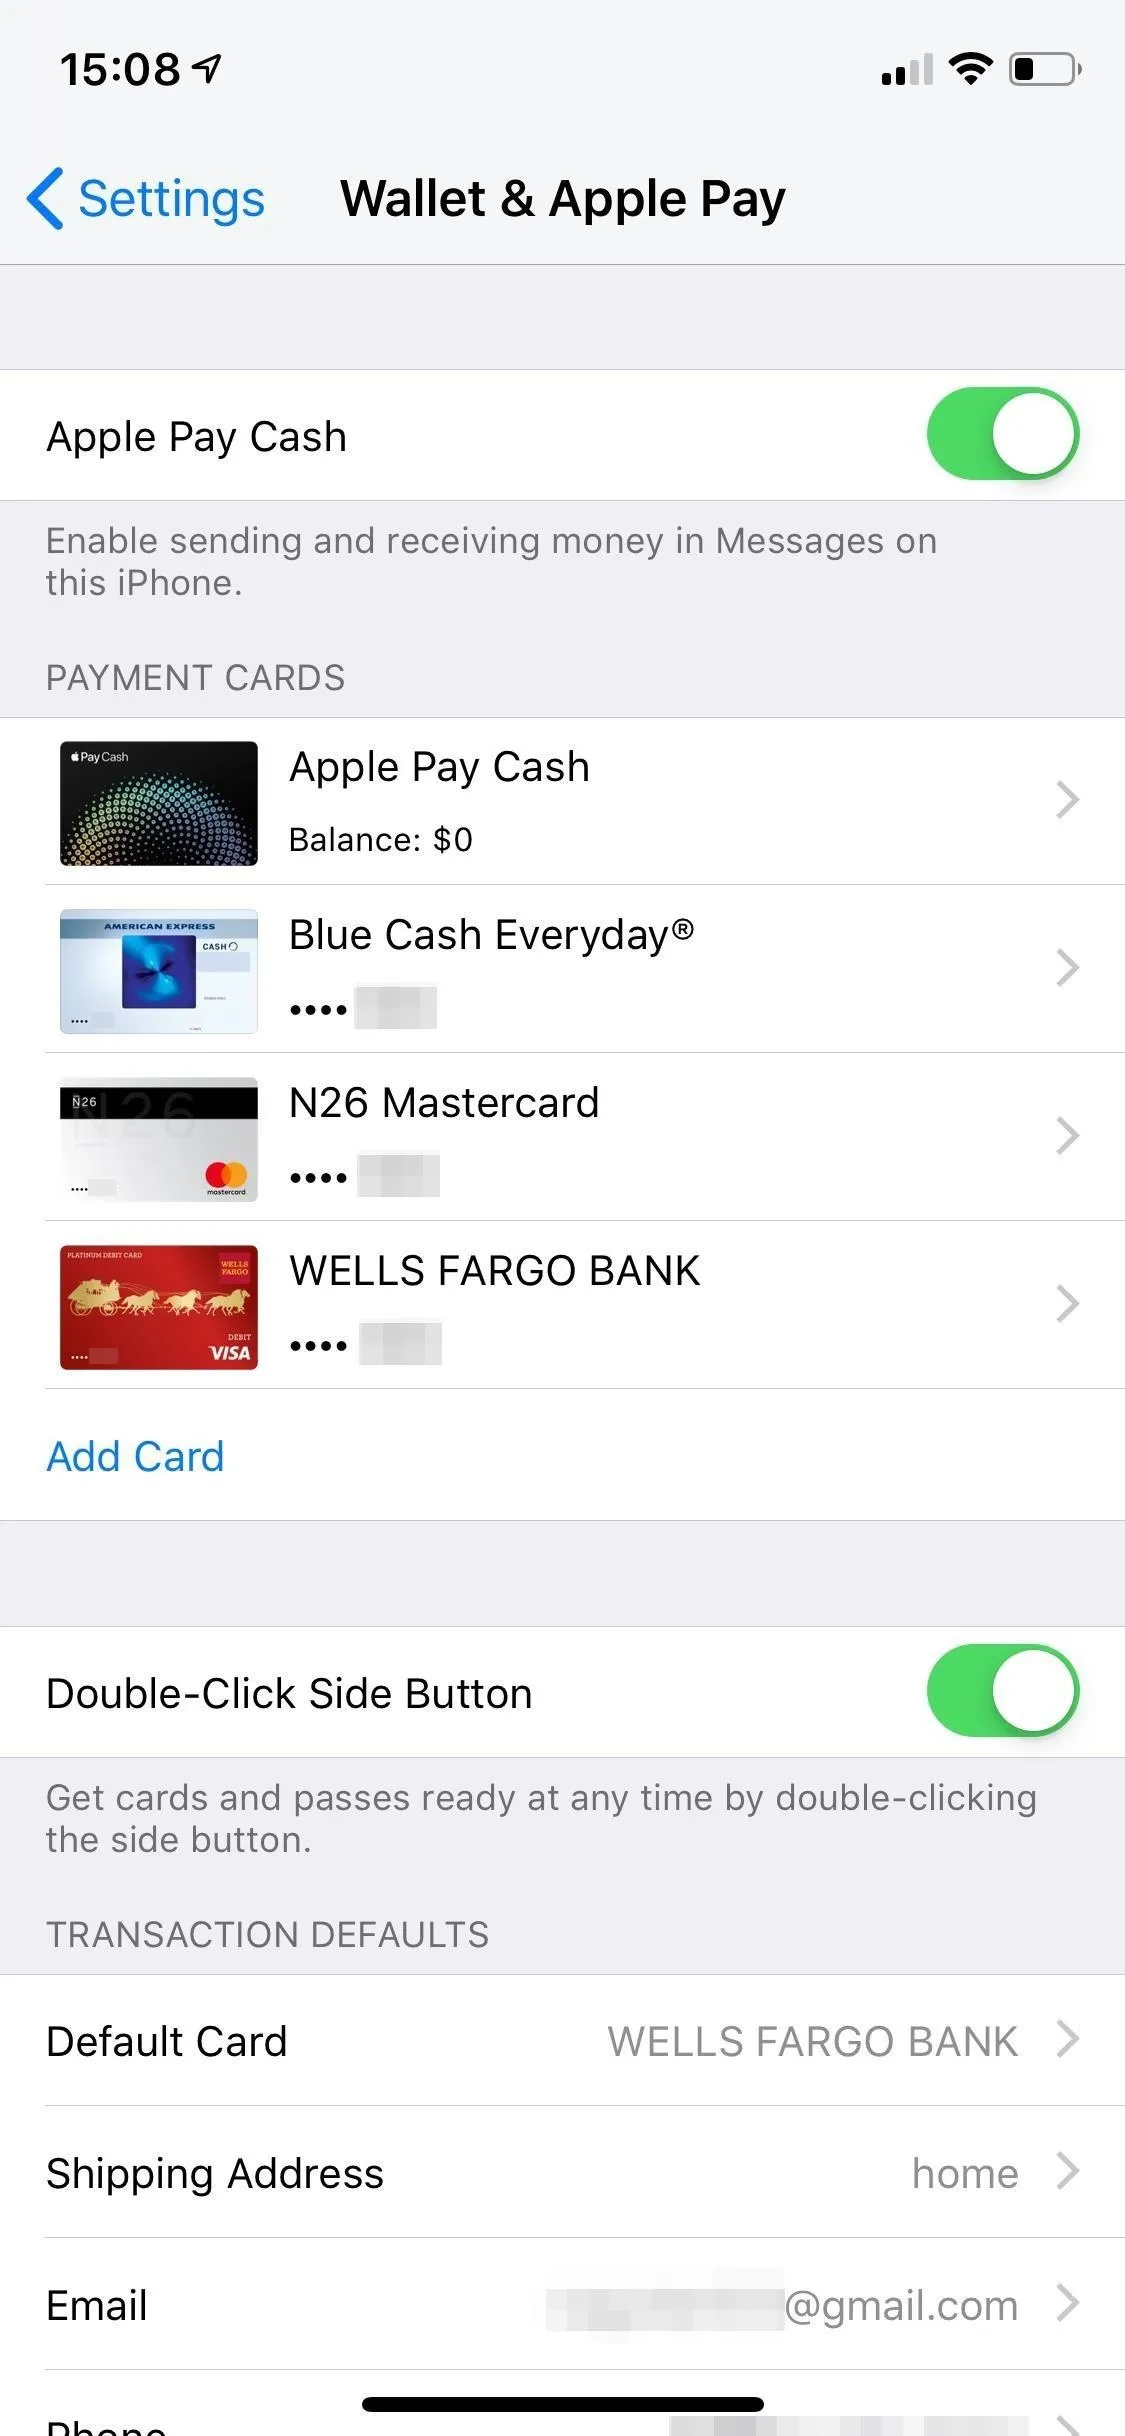
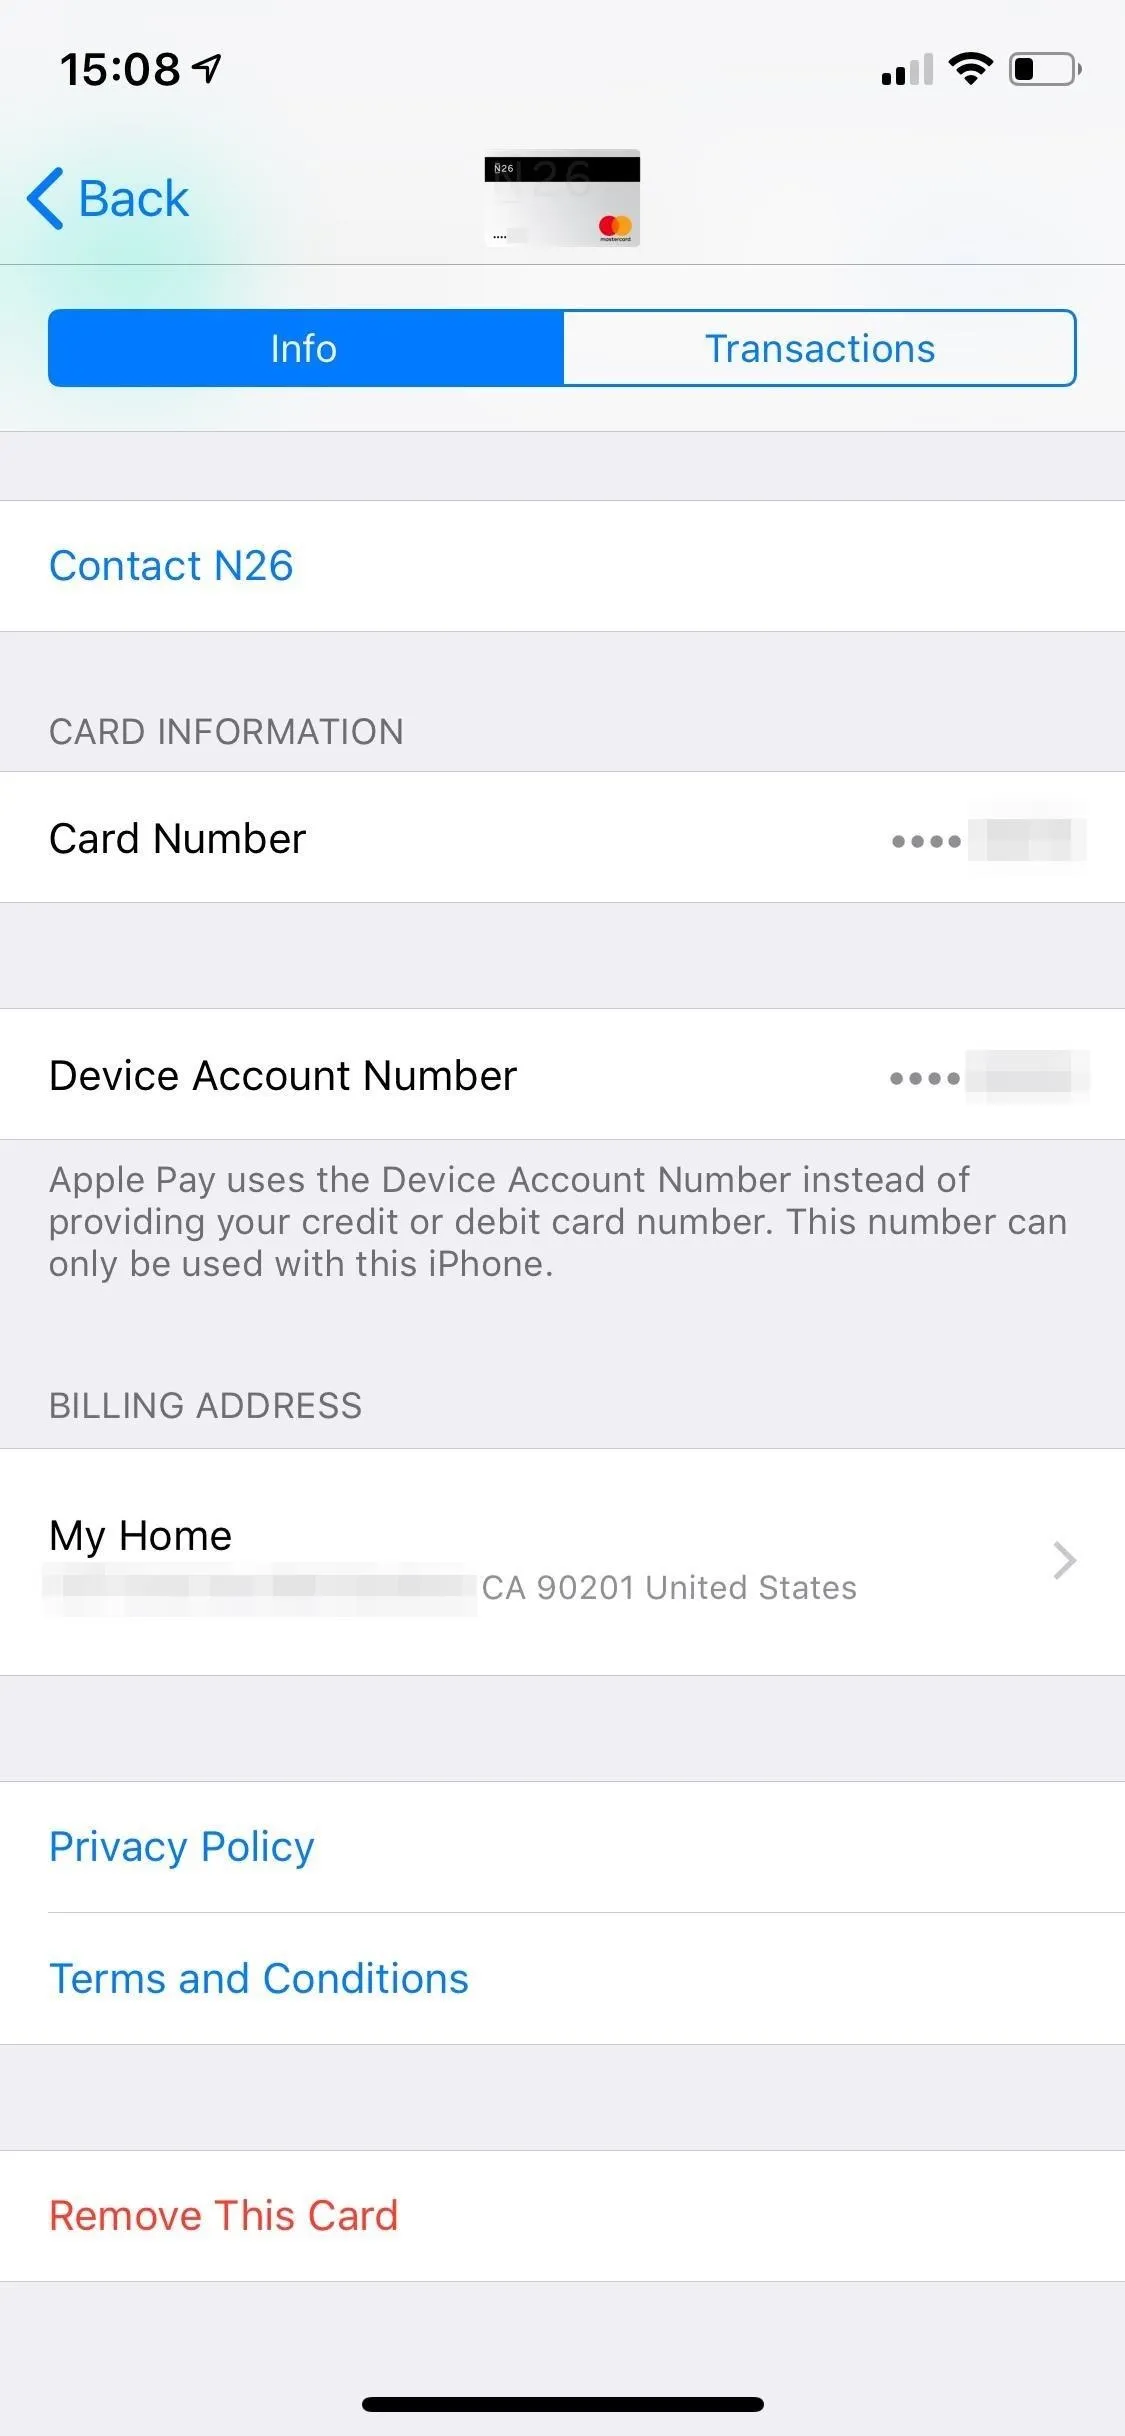
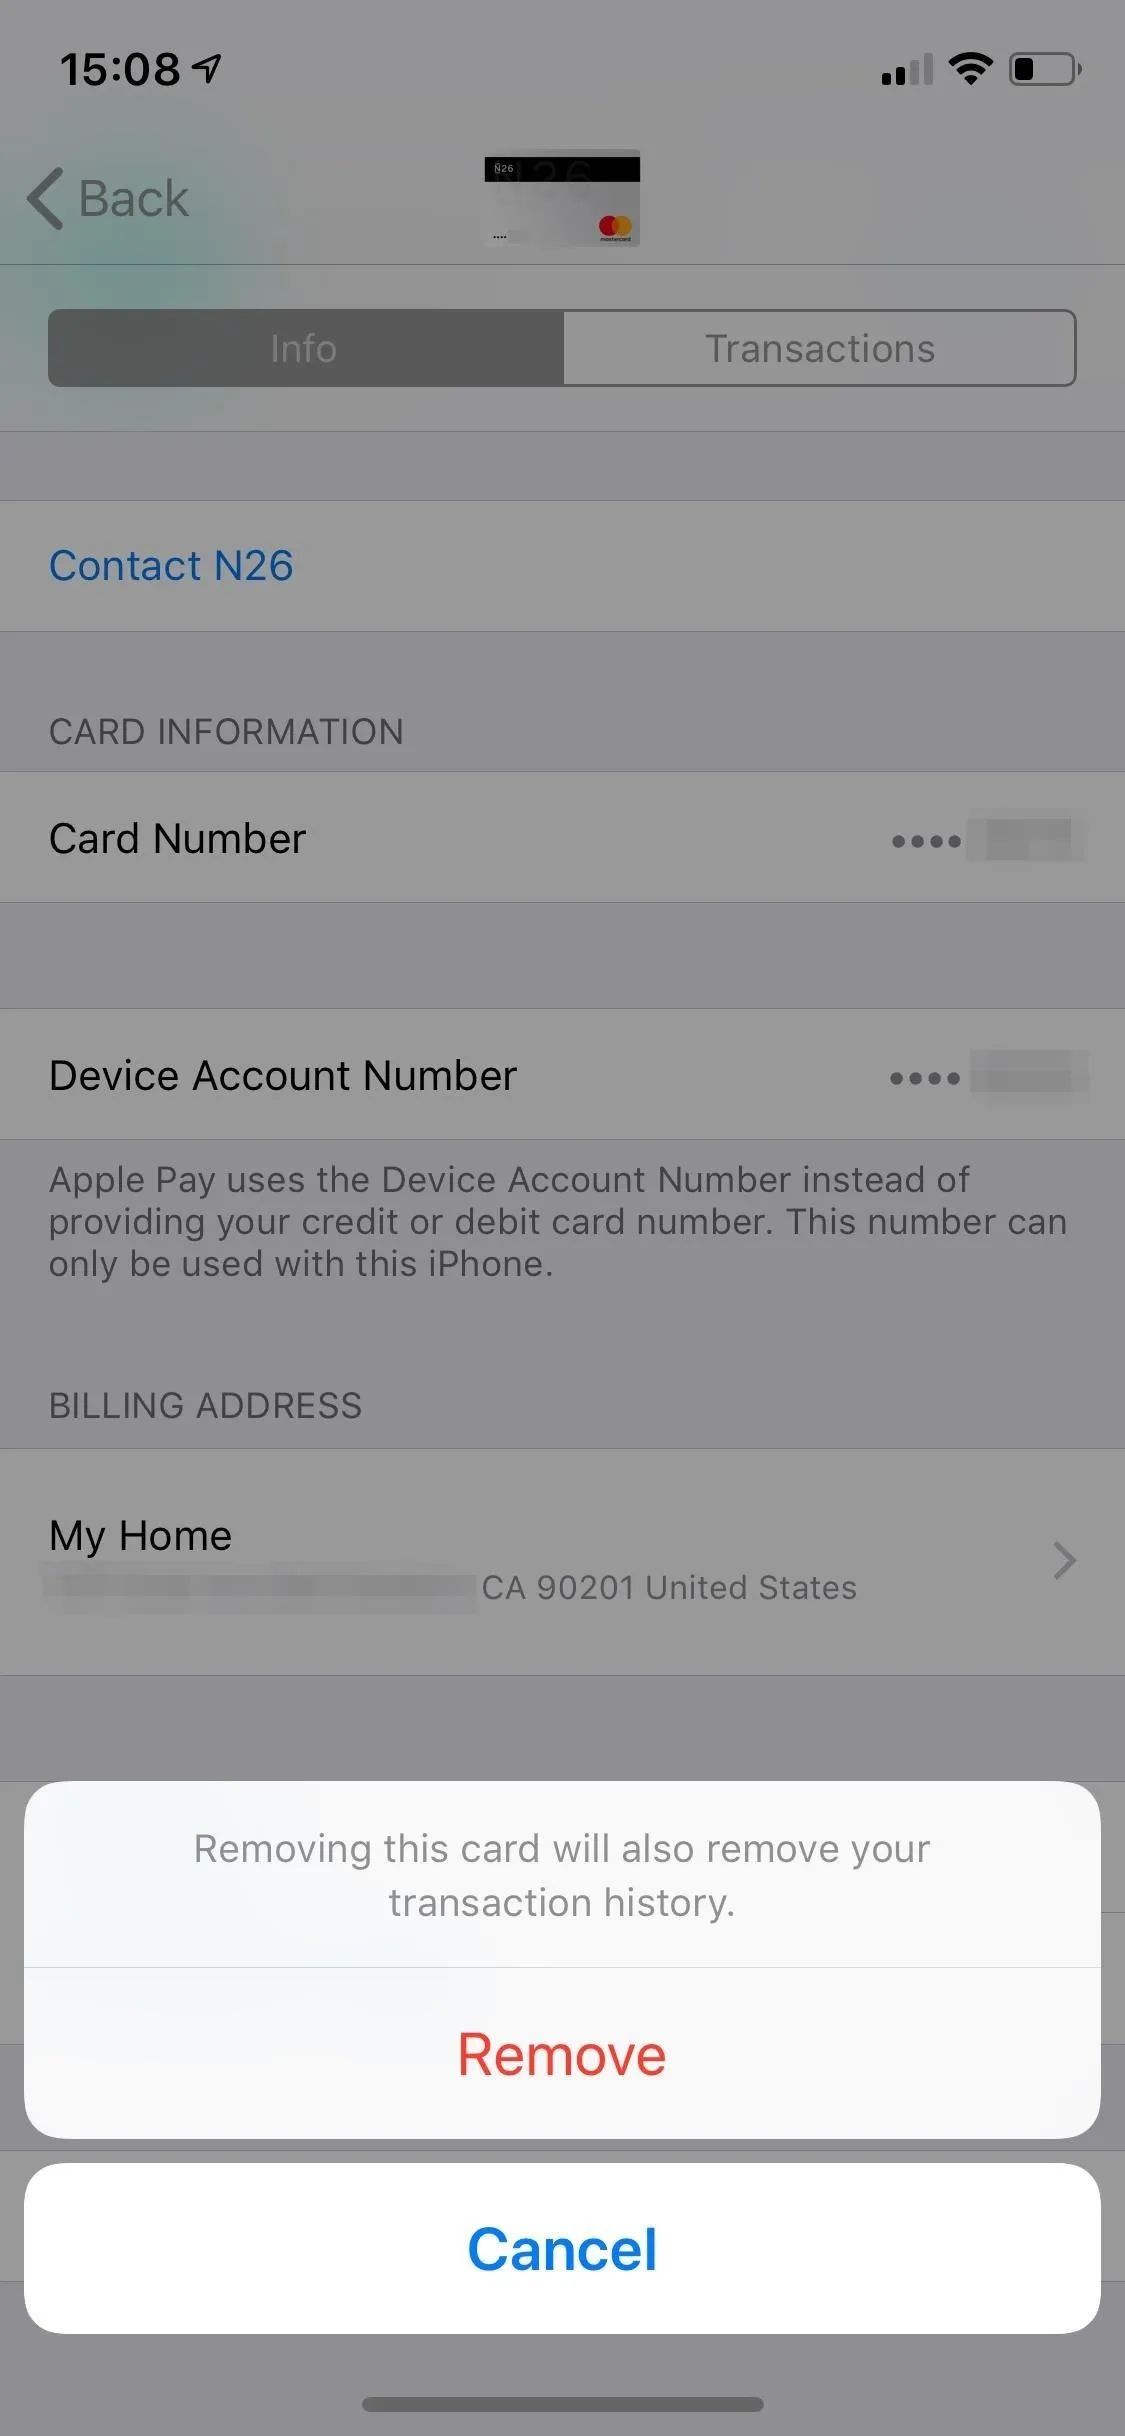
Open Settings, tap on "Wallet & Apple Pay," and then tap on the card you want to remove. Scroll down and tap on "Remove This Card," and then on "Remove" to delete the card.


Cover photo and screenshots by Nelson Aguilar/Gadget Hacks



Comments
No Comments Exist
Be the first, drop a comment!