One of iOS 14's best new features is the ability to add and stack widgets on your home screen, which lets you check in with your favorite apps without actually needing to open them. Apple takes the concept one step further with "Smart Stacks," where iOS intelligently stacks widgets together based on how you use your iPhone.
So what separates Smart Stacks from manually created widget stacks? In effect, not much. Both types of stacks are fully customizable — you can add, edit, sort, and remove individual widgets in the stack — and they both can intelligently rotate through your list of widgets using a feature called "Smart Rotate."
- Don't Miss: 200+ New Features & Changes in iOS 14 for iPhone
What's unique about Smart Stacks is that when you add a Smart Stack to your home screen, iOS chooses the widgets automatically that will fill that stack for you based on your iPhone usage. For example, if you're always catching up on the latest news, checking for rain, and jamming to your favorite tunes, expect your Smart Stack to feature News, Weather, and Apple Music.
Once the stack is added, however, it essentially becomes a regular stack. Your iPhone won't add or remove widgets on its own from the stack, so the apps it started with will be there always. Instead, it's up to you what to do with the stack manually. Still, if you're looking for a quick way to make a stack with widgets that will be relevant to you, a Smart Stack is the way to go.
Step 1: Choose a Smart Stack Size
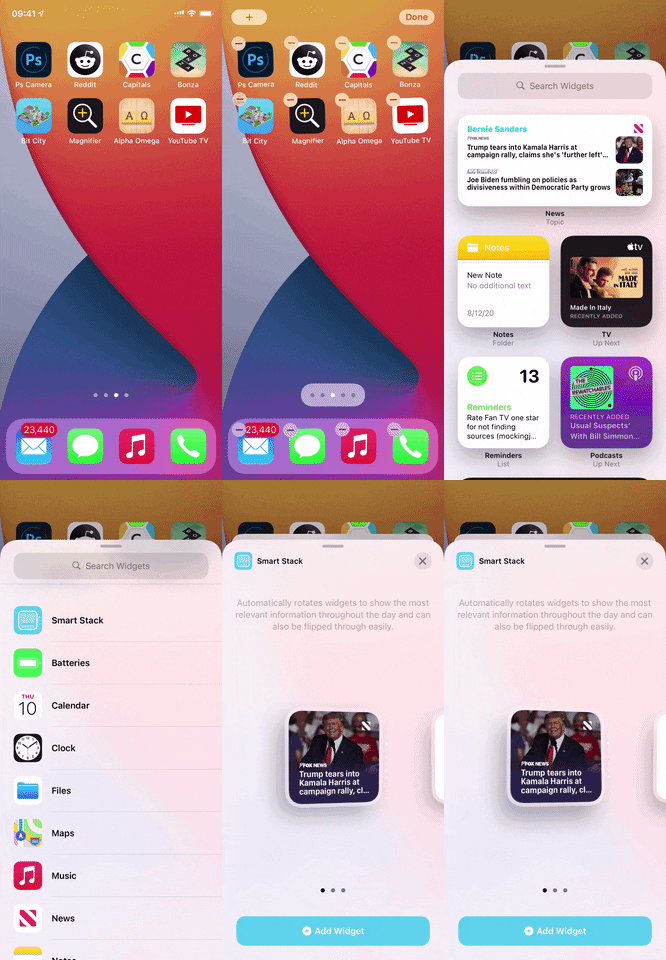
To start, activate the home screen editor. The fastest way to do so in iOS 14 is to long-press an empty space on the home screen until the apps jiggle. From here, tap the (+) icon in the top left, which will bring you to the widgets gallery. Type in "smart" in the search bar or just scroll down and find "Smart Stack," then select it.
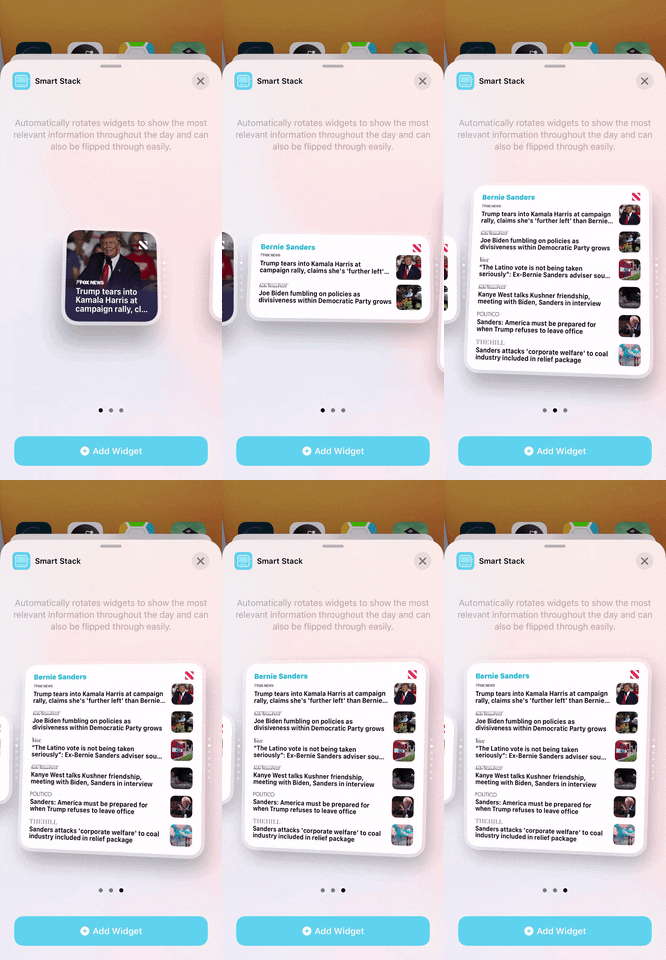
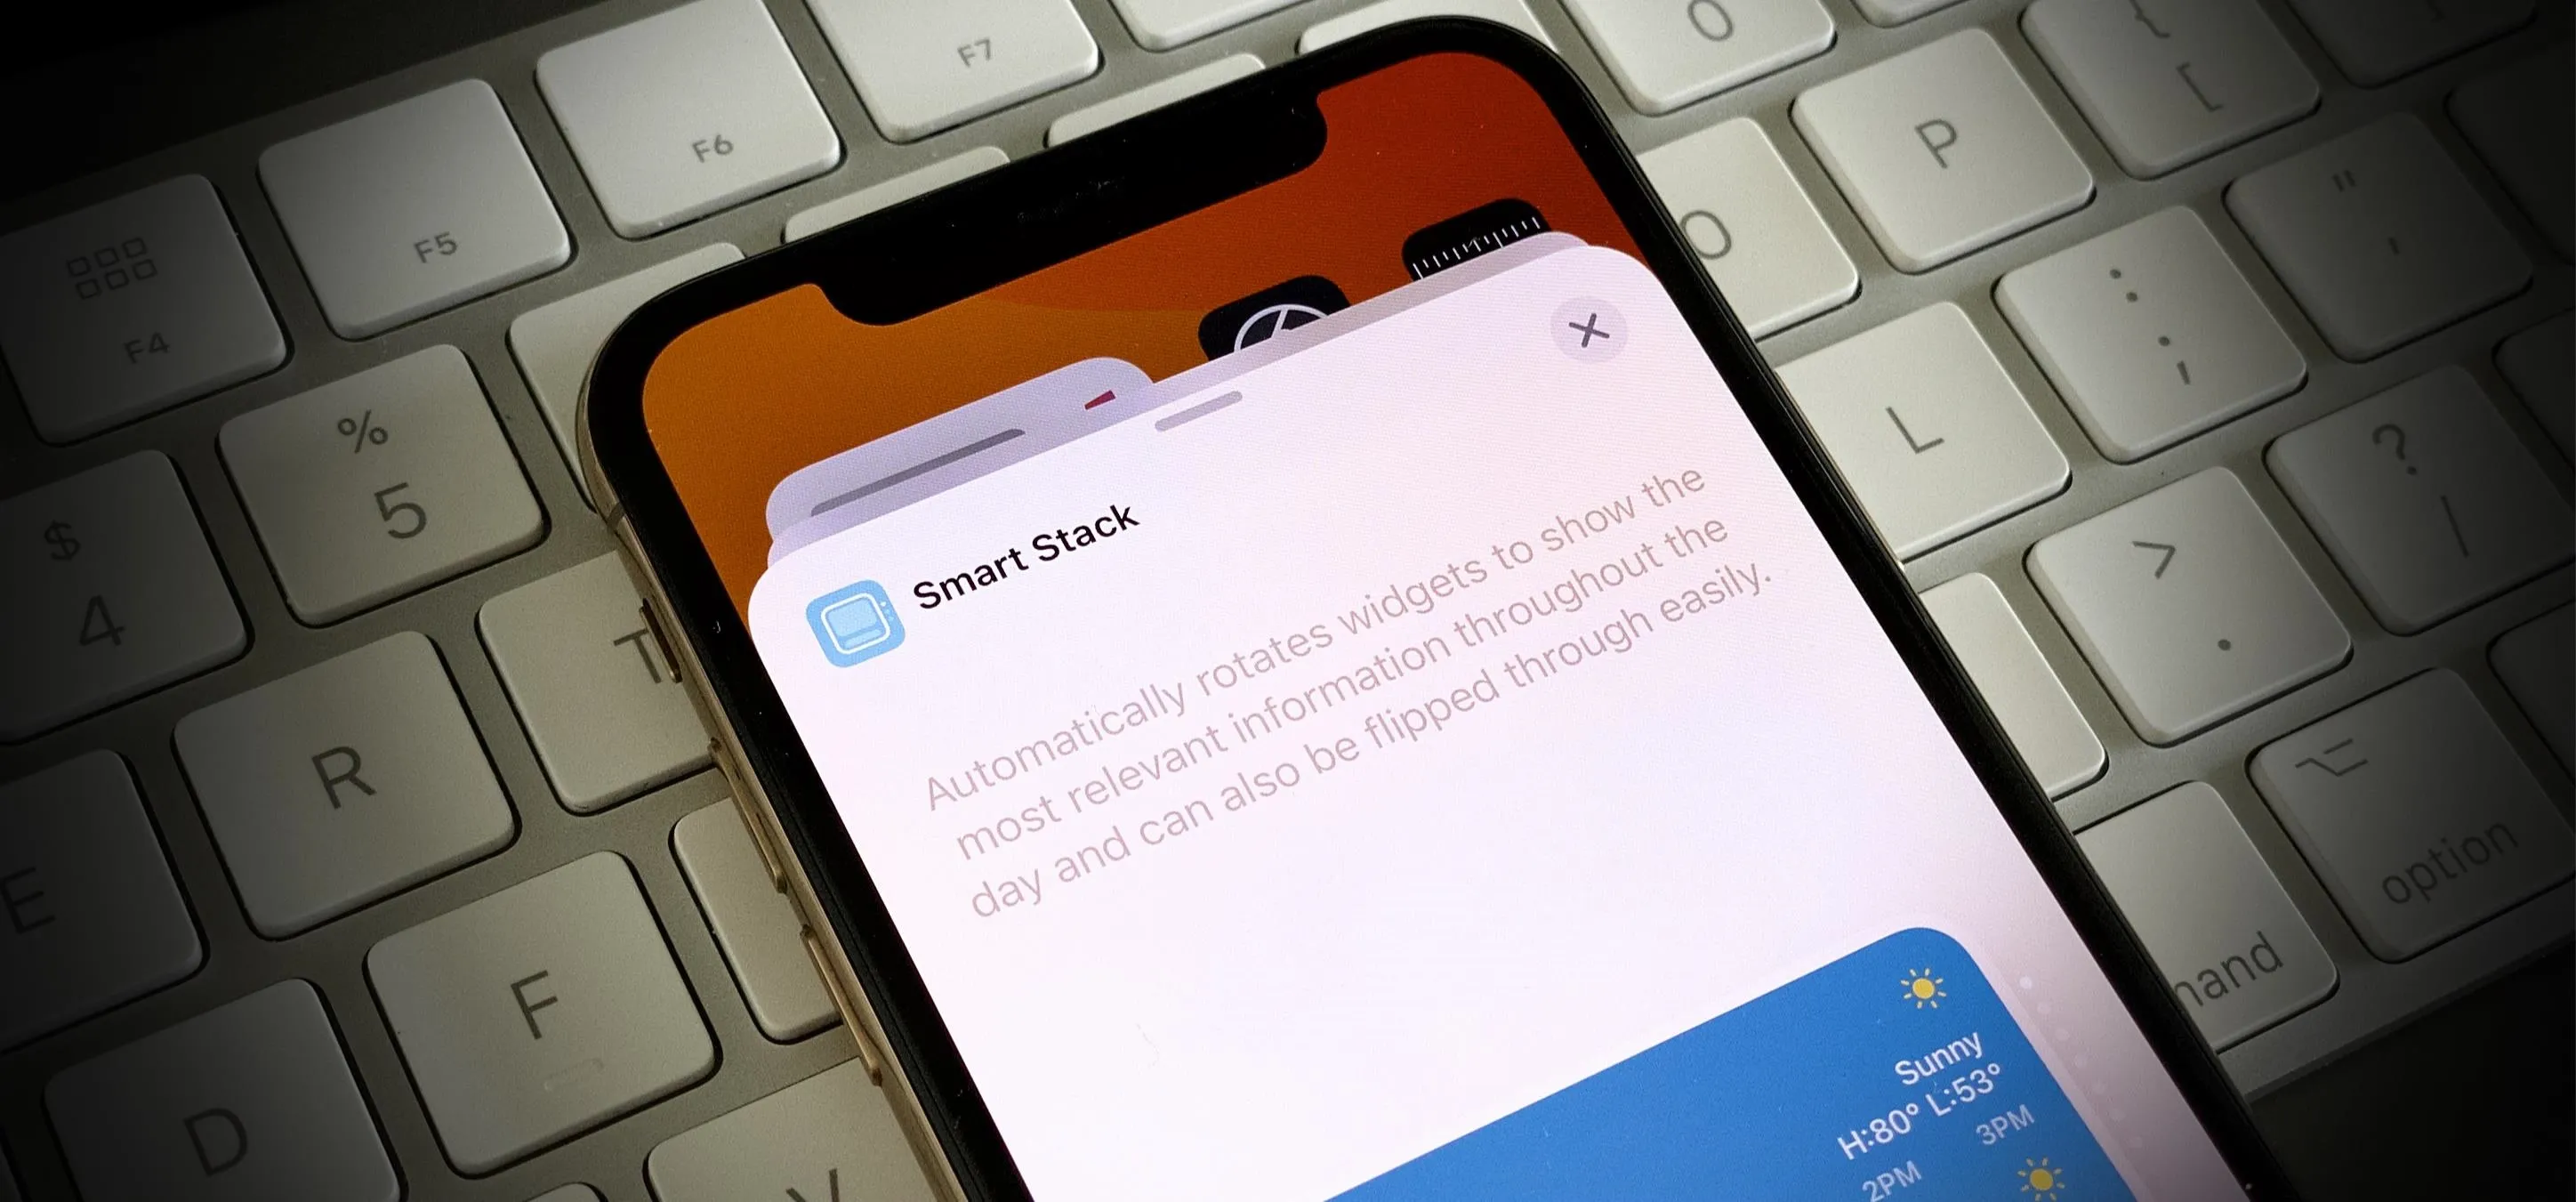
Once you tap it, iOS will give you a summary of how the feature works. Below that summary, you'll find your stack options: small, medium, and large. The small stack takes up four icons worth of screen real estate (2 by 2), the medium stack takes up eight icon spaces (2 by 4), and the large fills up 16 big ones (4 by 4).


Step 2: Add the Smart Stack to Your Home Screen
There are a couple of ways to add your chosen Smart Stack size to the home screen. First, long-press the widget preview, then drag and drop it on the exact spot you want it. Second, tap "(+) Add Widget," and iOS will add the widget automatically to the top of the current home screen page.
In our tests, iOS adds seven widgets to each Smart Stack. Your mileage may vary, however, based on your usage. We've seen it at seven always, but we can't say for sure if that is or always will be the case.
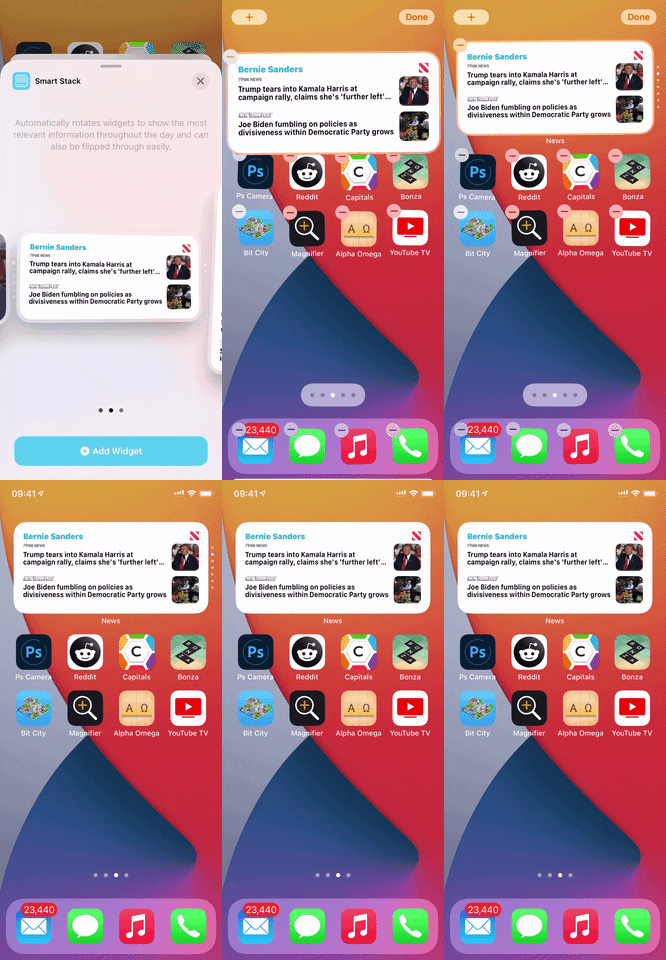
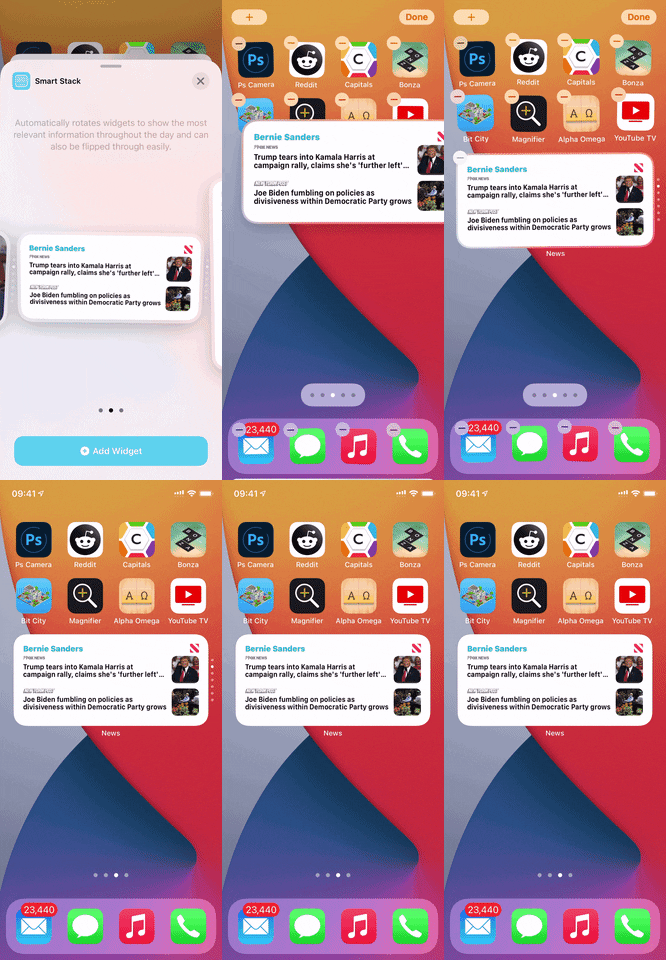
Using the "Add Widget" option (left) vs. dragging and dropping (right).


Using the "Add Widget" option (left) vs. dragging and dropping (right).
Step 3: View & Customize Your Smart Stack
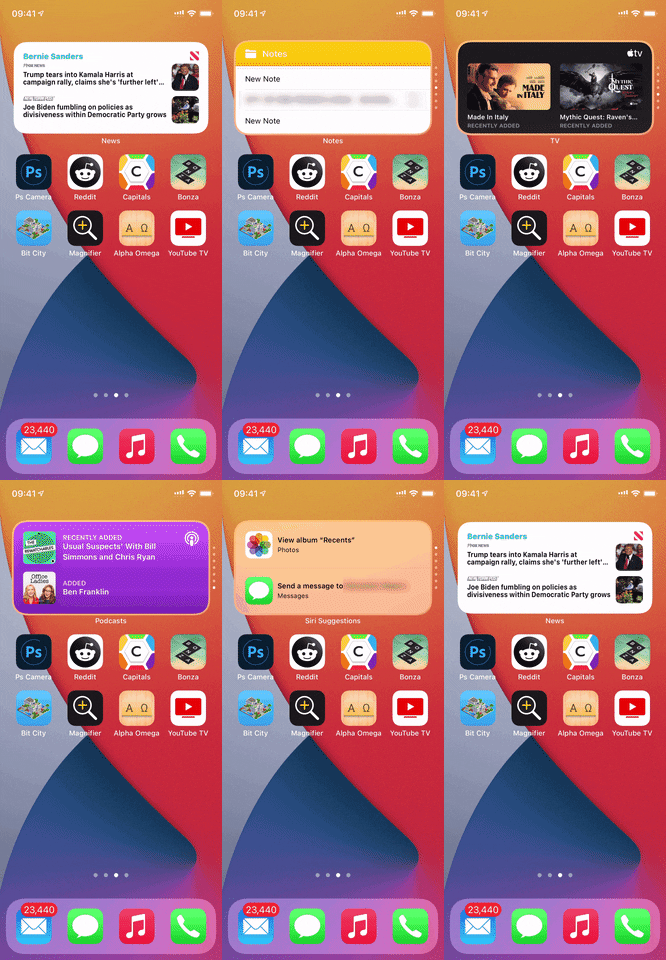
From here, you can flip through the different widgets in your Smart Stack, and the order they appear in will change based on the time of day, what activities you usually perform at that time, and so on. Basically, if iOS thinks you'll want specific information when you view the Smart Stack, it'll show you that first.
If you're happy with the widgets that iOS chose for you, you can leave the stack alone entirely. But if you want to add, sort, or delete any of the widgets stacked, you can. To add some, drag and drop widgets that are the same size on top of the stack.
To make other adjustments, long-press the stack, and choose "Edit Stack" from the quick actions. Here, you can remove widgets by left-swiping fully on them or short-swiping left and hitting "Delete." You can also use drag each one to another location in the list to rearrange them, but if it's a Smart Stack, that won't really matter. To make it a "dumb" stack, toggle off "Smart Rotate." All of these options are the same for regular stacks.
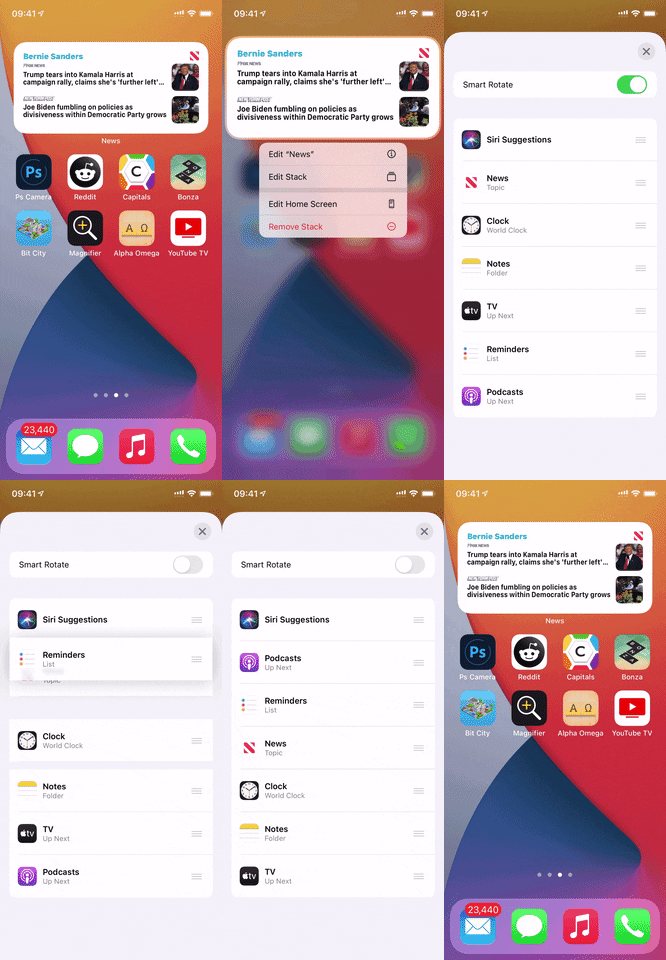


By default, all stacks you create manually are "Smart Stacks," meaning they'll always have "Smart Rotate" enabled. To keep the widgets from moving on you each time, make sure to disable "Smart Rotate."
Cover image and GIFs by Jake Peterson/Gadget Hacks



Comments
No Comments Exist
Be the first, drop a comment!